
Playful Free Crochet Cat Amigurumi Pattern That Everyone Will Love
Bring joy to your home with this Crochet Cat Amigurumi Pattern, featuring simple and seamless design perfect for unique handmade gifts.
There is something truly magical about transforming a simple ball of yarn into a soulful companion using a Crochet Cat Amigurumi pattern that radiates warmth and personality. These handmade treasures serve as the perfect personalized gift for birthdays, charming nursery decor, or even a soothing tactile tool for stress relief.
FREE Crochet Cat Amigurumi Pattern for Keychains

Engaging in this creative process offers a wonderful mental escape; the repetitive, rhythmic motions provide a meditative "flow state" that significantly lowers anxiety and boosts cognitive dexterity. By choosing to create your own plush feline, you aren't just making a toy, you’re cultivating a rewarding skill that allows you to produce sustainable, high-quality keepsakes that far outshine mass-produced alternatives.
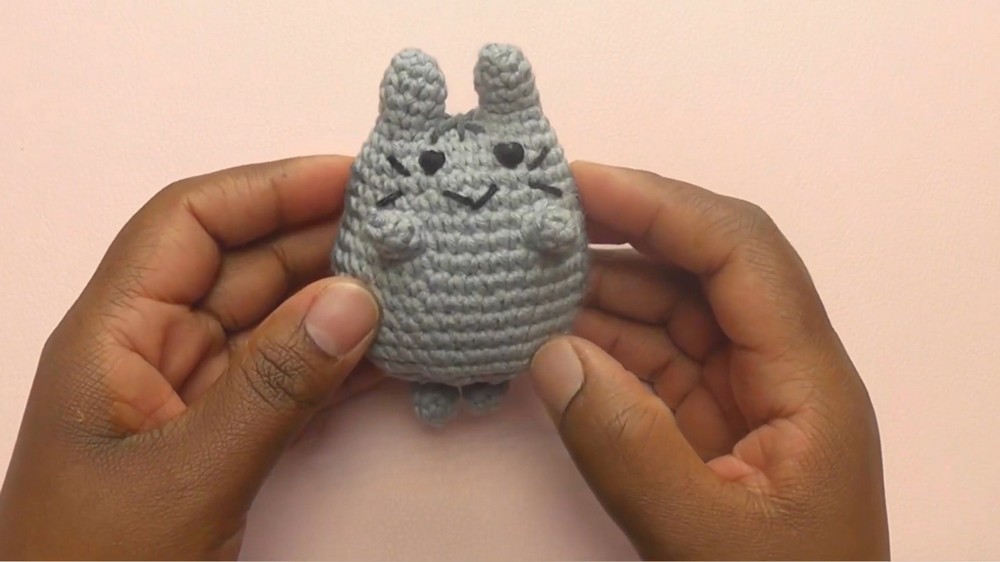
Free Crochet Amigurumi Cat Pattern
Finished Size
The completed cat will measure approximately 4-6 inches, depending on yarn type, hook size, and tension.
Materials Needed
- Yarn:
- Light gray yarn (main body color, medium weight).
- Dark gray yarn (details and accents).
- Black yarn or thread (facial features, whiskers, and small embroidery).
- Crochet Hook: 2.5 mm hook.
- Stuffing: Cotton or polyfill stuffing for the body and limbs.
- Tapestry Needle: For sewing and embroidery.
- Stitch Marker: Safety pins or scrap yarn to track stitches during rounds.
- Scissors: For trimming yarn ends.
- Pins: Optional for positioning features during assembly.
Gauge
Gauge is not critical for this project. Focus on tight, even stitches to prevent stuffing from showing through.
Special Techniques
- Magic Ring: A foundation technique for starting tightly closed pieces.
- Single Crochet (sc): The essential stitch for shaping amigurumi creations.
- Increase: Two single crochets in one stitch for expanding the shape.
- Invisible Decrease: Neatly reduces stitch count without gaps.
- Slip Stitch: Used to join rounds and create seamless edges.
- Embroidery: Adds facial and detail accents for a polished look.
Step-by-Step Instructions
Step 1: Ears (Make 2)
- Round 1:
- Begin with a magic ring.
- Chain 2 and work 5 sc into the ring. Tighten the loop to close the circle.
- Round 2:
- Insert 1 sc into the first stitch.
- Work 2 sc into the next stitch (increase). Repeat pattern of 1 sc, 2 sc until round is complete (7 stitches total).
- Round 3:
- Work 1 sc in each stitch evenly (7 stitches total).
- Round 4:
- Repeat Round 3 (7 stitches total).
- Finishing:
- Leave a long tail for sewing.
- Stuff the ear lightly with yarn scrap or cotton stuffing.
- Make a second ear identical to the first.

Step 2: Body
- Start with Ears:
- Join the ears with a chain: Insert hook through the last stitch of the first ear. Chain 2, and insert hook into the last stitch of the second ear to join them.
- Round 1:
- Work 7 sc around the first ear.
- Work 5 sc along the chain connecting the ears.
- Work 7 sc around the second ear.
- Work 5 sc along the other side of the joining chain (18 stitches total).
- Round 2: Increase evenly:
- Work 1 sc in the first stitch.
- Work 2 sc in the second stitch (increase).
- Repeat this pattern until the round is complete (27 stitches total).
- Rounds 3-6:
- Work 1 sc in each stitch evenly (27 stitches per round).
- Round 7: Increase:
- Work 2 sc, 1 increase around until round is complete (36 stitches total).
- Rounds 8-15:
- Work 1 sc in each stitch evenly (36 stitches per round).
- Rounds 16-18: Begin decreasing:
- Round 16: Work [2 sc, 1 decrease] around until round ends (27 stitches total).
- Round 17: Work [1 sc, 1 decrease] around (18 stitches total).
- Round 18: Work [Decrease in every stitch] until 9 stitches remain.
- Stuff and Finish:
- Firmly stuff the body, ensuring even distribution between the ears and the body base.
- Use the leftover yarn tail to close the opening using a tapestry needle.


Step 3: Back Legs (Make 2)
- Round 1:
- Begin with a magic ring and chain 2.
- Work 6 sc into the ring.
- Rounds 2-3:
- Work 1 sc into each stitch evenly (6 stitches per round).
- Finishing:
- Leave a long tail for sewing.
- Lightly stuff the legs with yarn scrap or cotton stuffing.
- Make a second back leg identical to the first.
- Attach: Secure the back legs on opposite sides of the body with sewing stitches.
Step 4: Front Legs (Make 2)
- Round 1:
- Create a magic ring and chain 2.
- Work 5 sc into the ring.
- Round 2:
- Work 1 sc in each stitch evenly (5 stitches total).
- Stuff and Attach:
- Lightly stuff the legs and attach symmetrically below the ears. Ensure there is proper positioning.
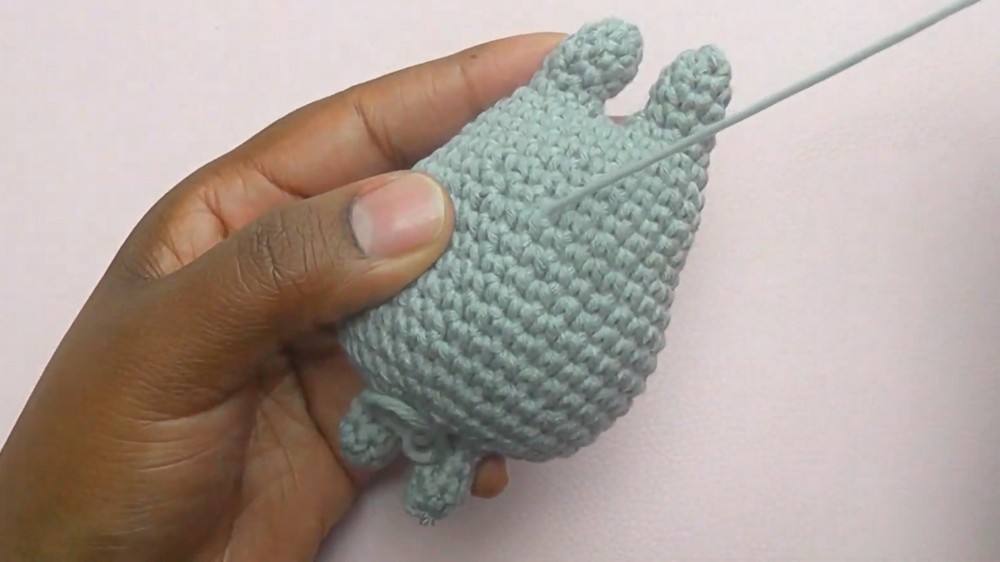
Step 5: Tail
- Chain 15: Skip the first stitch and work 14 slip stitches backward along the chain.
- Finishing:
- Leave a long tail for sewing.
- Attach the tail securely at the back of the body near the lower edge.
Step 6: Embroidery
- Facial Features:
- Use black thread to embroider the eyes, mouth, whiskers, and other facial details.
- For the eyes, embroider ovals if safety eyes are not being used.
- Body Details:
- Use dark gray yarn for additional fur-like accents around the ears or body if desired.

Assembly
- Position the ears, limbs, tail, and head symmetrically for a well-proportioned look.
- Attach pieces securely using whip stitches or sewing techniques to avoid loose connections.
- Stuff all areas firmly for shape retention while avoiding overstuffing that could distort the overall form.
Final Words
Congratulations on completing your amigurumi cat! This thoughtful design makes for a cozy decoration or a charming gift. Craft variations by experimenting with colors and embroidery to customize your creation.
Tips for Success
- Symmetry: Use pins to test placement of features before attaching pieces to ensure balance.
- Stuffing: Avoid overstuffing small pieces like ears and legs to maintain proportion.
- Patience: Tiny sections like the ears and legs require careful attention—take your time and enjoy the process.
- Customization: Add bows, collars, or playful patterns to make each cat unique.