
Crochet Basic Plush Body Amigurumi Pattern with Easy Instructions
Show your love for crochet with our Basic Plush Body Amigurumi Pattern, perfect for making cuddly plush creations uniquely suited to your taste.
With a compact size around 18 cm, it is both versatile and beginner-friendly, designed to inspire creativity for both novice and experienced crochet enthusiasts. Its soft texture and adorable finish make it a perfect gift for loved ones or a fun project for unwinding while creating something unique and special for any occasion.
Crochet Basic Plush Body Amigurumi
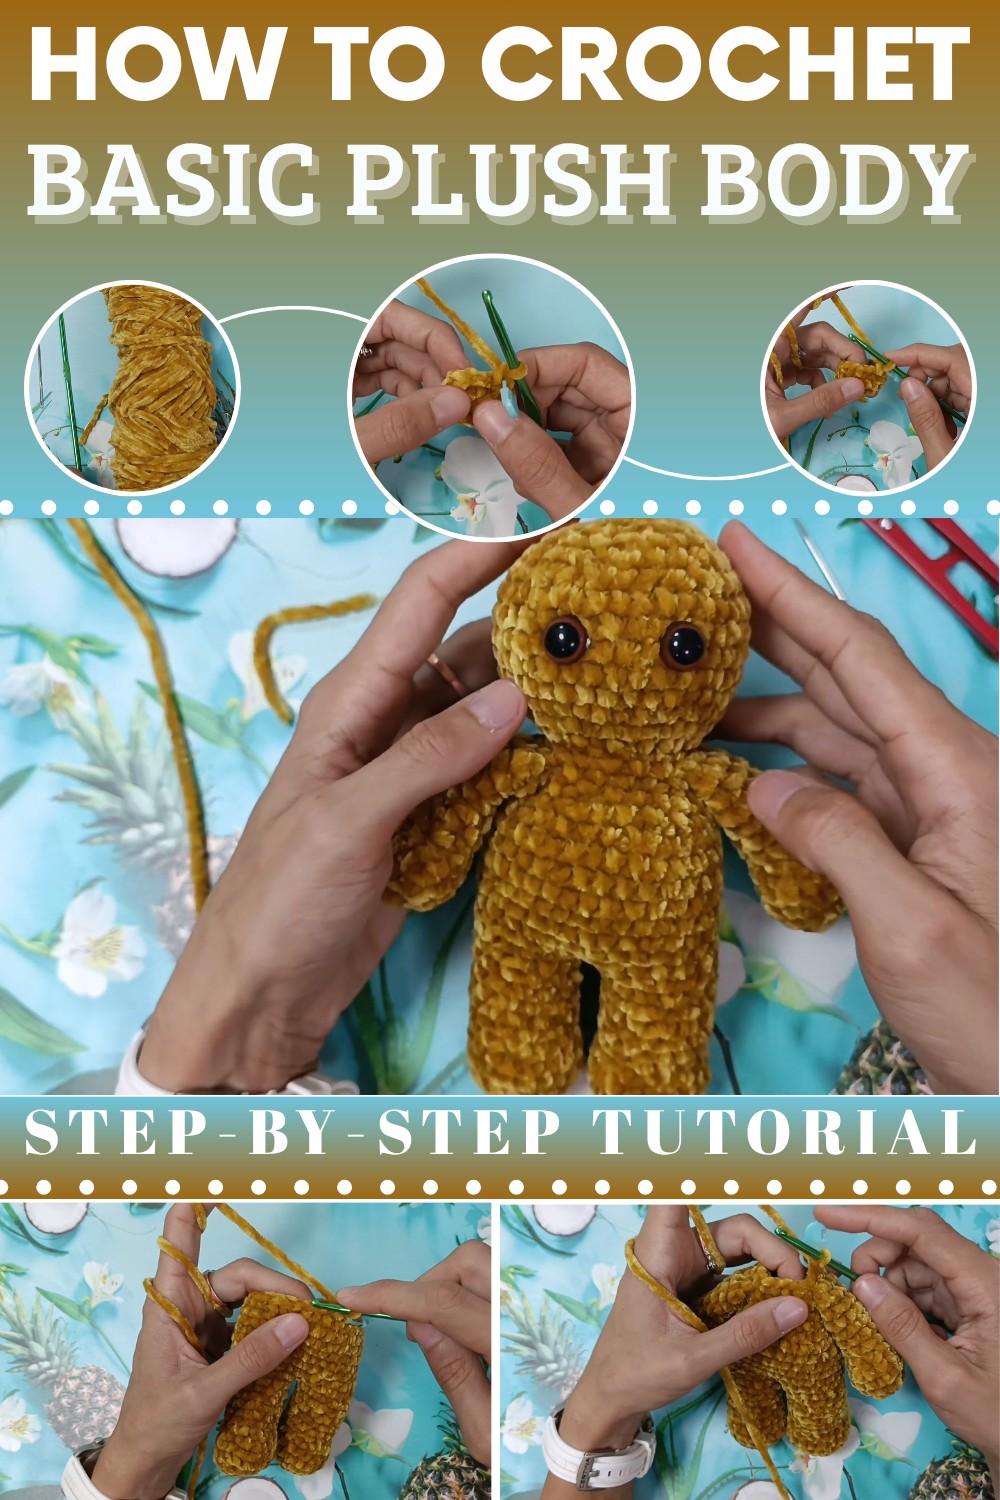
The step-by-step tutorial emphasizes simplicity and precision, making it accessible for crafters of any skill level. Each stitch contributes to forming a sturdy and delightful body, allowing you to personalize it with endless possibilities like safety eyes, patterns, and other details. Designed for beginners, it’s an engaging, repeatable design that lets your creativity shine.
Crochet Basic Plush Body - Step-by-Step Detailed Guide
This guide is based on the video tutorial, which demonstrates how to create a versatile, basic plush body shape. This body pattern is perfect for creating various stuffed animals and characters. It’s simple and beginner-friendly, using basic stitches and minimal materials. The completed plush body has an approximate height of 18 centimeters and can be personalized with colors, features, and accessories.
Materials Needed
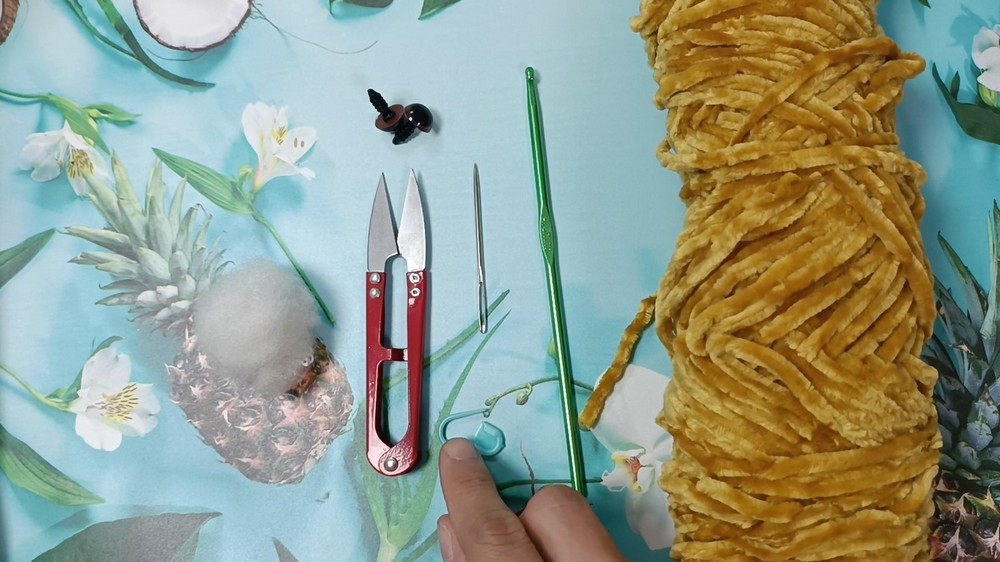
You will need the following items:
- Yarn: Any yarn that fits a 4mm crochet hook, such as Chenille velvet yarn (used in the video). Choose a color that matches the animal or plush you’re creating.
- Crochet Hook: 4mm crochet hook.
- Tapestry Needle: For sewing stitches at the top of the head and finishing the hole after decreases.
- Scissors.
- Stuffing: To fill the plush body, head, arms, and legs.
- Safety Eyes: 12mm safety eyes (or other sizes based on your project).
- Stitch Marker: To mark the last stitch of each row to keep track of rounds.
Abbreviations
Here are the crochet abbreviations used in this pattern:
- MR: Magic Ring
- CH: Chain
- SC: Single Crochet
- Inc: Increase (two SCs in the same stitch).
- Dec: Decrease (two stitches combined into one).
- Sl St: Slip Stitch
Step-by-Step Pattern
Arms (Make 2)
- Row 1: Create a magic circle and make 6 SC inside the circle. Pull tight to close the circle. Place a stitch marker in the last stitch.
- Stitch Count: 6 stitches
- Row 2: Make 6 Inc (work 2 SCs into each stitch).
- Stitch Count: 12 stitches
- Rows 3–4: Work 1 SC in each stitch all the way around for 2 rows.
- Stitch Count: 12 stitches
- Row 5: Work 1 SC followed by 1 Dec. Repeat 4 times. Use the invisible decrease method if you prefer.
- Stitch Count: 8 stitches
- Row 6 (and next 6 rows): Work 1 SC in each stitch for 6 rows.
- Stitch Count: 8 stitches
- After completing the rows, slip stitch into the next stitch, chain one, and cut the yarn (leave no tail – just enough to weave the end in).
- Stuffing: Fill the arm halfway with fiber filling to give it shape without overstuffing. Use tweezers for precision.
- Repeat the process to create the second arm.

Feet (Make 2)
- Row 1: Create a magic circle and make 6 SC inside the circle. Tighten the circle and place a stitch marker in the last stitch.
- Stitch Count: 6 stitches
- Row 2: Work 6 Inc across the round (two SC in each stitch).
- Stitch Count: 12 stitches
- Row 3: Work 1 SC in the first stitch and then work Inc in the next stitch, repeat 6 times.
- Stitch Count: 18 stitches
- Rows 4–5: Work 1 SC in each stitch around for 2 rows.
- Stitch Count: 18 stitches
- Row 6: Work 1 SC in the first stitch and Dec in the next stitch and repeat 6 times.
- Stitch Count: 12 stitches
- Rows 7–12: Work 1 SC in each stitch around.
- Stitch Count: 12 stitches
- When finishing the first leg, make a slip stitch into the next stitch, chain 1, and cut the yarn. For the second leg, do not make the slip stitch or cut the yarn. This leg will remain attached as you join it with the first leg to form the body.
Joining Legs
- Begin the round by chaining 1 after finishing the second leg but do not cut the yarn.
- Pick up the first leg and insert the hook into any stitch near the previous finish-off point. Work 12 SC into the stitches of the first leg.
- Work 1 SC into the chain space between the legs, and then insert the hook into the first stitch on the second leg. Follow with 12 SC around the second leg.
- Complete the round with 1 SC into the chain stitch after the second leg.
- Stitch Count: 26 stitches

Body
- Row 14: Start by making one single crochet in the first 5 stitches, followed by Inc in the next stitch. Repeat this sequence across the row.
- Stitch Count: 30 stitches
- Rows 15–21: Work 1 SC in each stitch around for 7 rows.
- Stitch Count: 30 stitches
- Row 22: Work SC in the first 3 stitches, followed by Dec across the row. Repeat 6 times.
- Stitch Count: 24 stitches
- Row 23: Work 1 SC in each stitch around.
- Stitch Count: 24 stitches
- Row 24: Work SC in the first 2 stitches, followed by Dec across the row. Repeat 6 times.
- Stitch Count: 18 stitches
Adding Arms
- Work SC into the first 4 stitches, then attach one arm by working through the stitches from both the body and the arm simultaneously. Attach the arm by single crocheting through the arm and the body stitches for 4 stitches.
- Continue working SC in the next 6 stitches, and attach the second arm using the same process for 4 stitches.
- Stitch Count: 18 stitches

Head
- Row 28: Work Inc in each stitch around.
- Stitch Count: 30 stitches
- Row 29: Work SC in the first 4 stitches, followed by Inc, and repeat 6 times.
- Stitch Count: 36 stitches
- Rows 30–35: Work 1 SC in each stitch around for 6 rows.
- Stitch Count: 36 stitches
- Row 36: Work SC in the first 4 stitches, followed by Dec. Repeat 6 times.
- Stitch Count: 30 stitches
- Row 37: Work SC in the first 3 stitches, followed by Dec. Repeat 6 times.
- Stitch Count: 24 stitches
- Safety Eyes: Choose the placement for the safety eyes. Count down 4 rows from the top of the head and insert the eyes between rows 4 and 5. Space the safety eyes 4 stitches apart. Secure them with washers.
- Row 38: Work SC in the first 2 stitches, followed by Dec across the row. Repeat 6 times.
- Stitch Count: 18 stitches
- Stuff the head and neck using fiber filling. Ensure the stuffing is firm so the plush keeps its shape.
- Row 39: Work SC in the first stitch, followed by Dec, and repeat 6 times.
- Stitch Count: 12 stitches
- Row 40 (Last Row): Work 6 Dec to close the head completely.
- Stitch Count: 6 stitches
- Finish Off:
- Work a slip stitch into the next stitch, chain 1, and cut the yarn leaving a long tail.
- Using a tapestry needle, pass through the front loops only of each remaining stitch and pull tight to close the hole.
- Secure the tail with a knot, insert the needle into the plush, and hide the excess yarn inside. Trim the remaining yarn.

Conclusion
The basic plush body you’ve just created is the perfect starting point for making stuffed animals, dolls, or characters. With slight tweaks to the pattern (adding ears, tails, or other details), you can transform this base into a variety of adorable creations. This project is beginner-friendly and uses only simple crochet stitches, such as the magic ring, single crochet, increase, and decrease.