
Chic Crochet Flamingo Amigurumi Pattern for Playroom Bliss M complete
Flap into fun with Crochet Flamingo Amigurumi Pattern that turns yarn into a cheerful, wobbly bird full of color and playful charm.
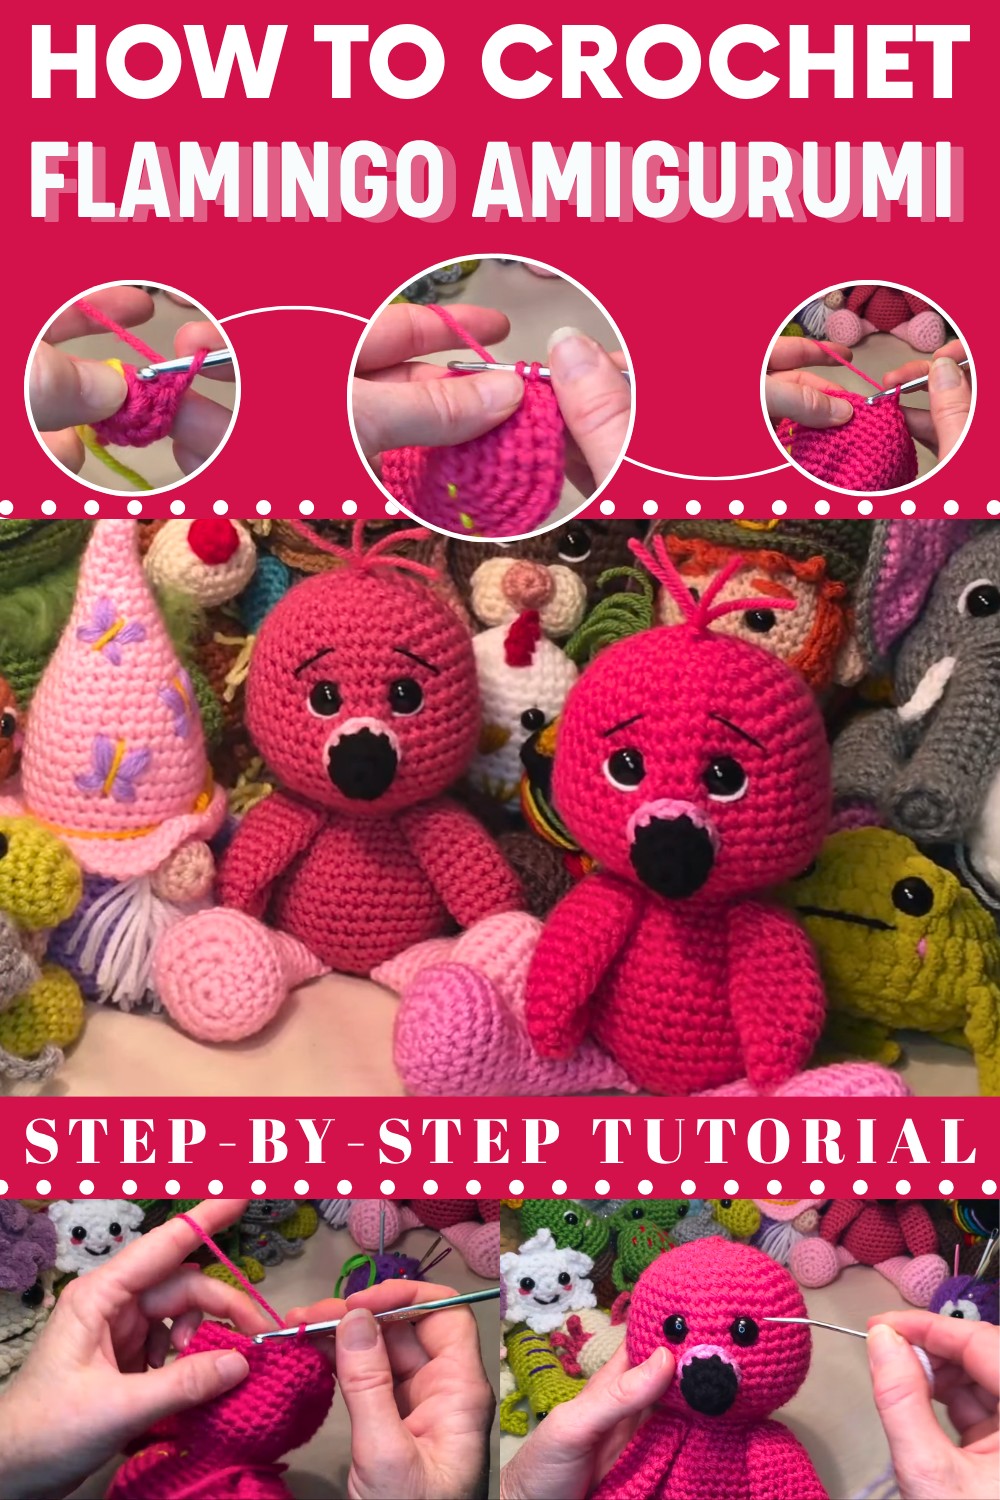
A delightful journey into the world of crochet awaits with this pattern for making an adorable flamingo amigurumi. The project emphasizes a no-sew body structure, eliminating much of the assembly hassle while ensuring a flawless, attached look for features like the wings and legs.
Simple Crochet Flamingo Amigurumi Pattern to Decorate Any Space
The pattern's clear structure makes it easy to follow for most crocheters, especially with the video-first approach that guides you through every stitch in real time. Whether gifted, displayed, or added to your personal handmade collection, it is a rewarding piece that inspires joy. This crochet flamingo is not just a craft but a creation full of life and character.
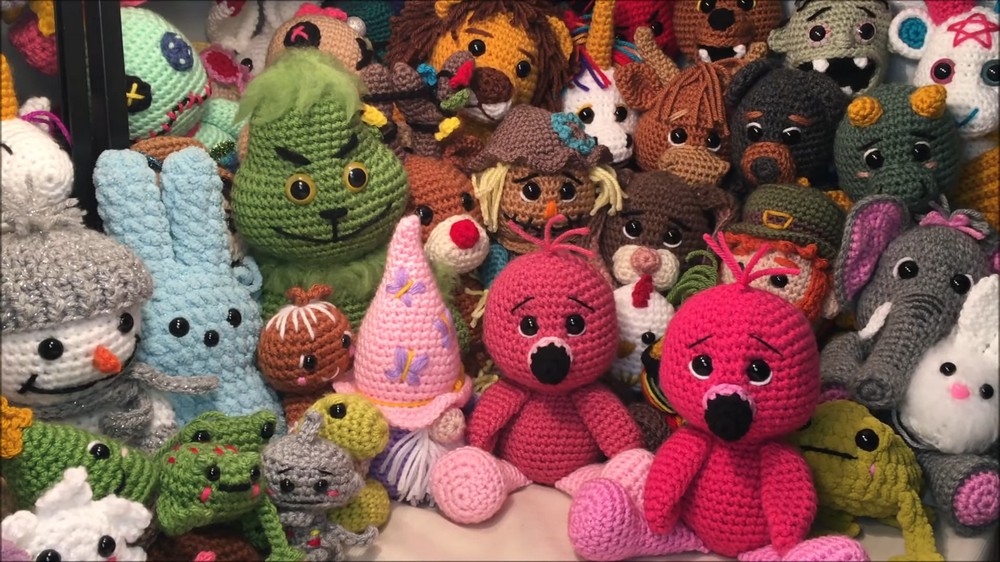
Flamingo No-Sew Body Crochet Pattern
Skill Level
Intermediate to Advanced
This pattern requires familiarity with rounds, increases, decreases, invisible decreases, basic hand sewing, and color changes in amigurumi.
Materials
- Yarn:
- Medium Weight (Category #4):
- Main Body Color (Pink): One skein (~125g).
- Accent (Light Pink): Small quantity for the beak.
- Black: Small amount for the beak and embroidery details.
- White: Small amount for white eye accents.
- Medium Weight (Category #4):
- Crochet Hook: 4.25 mm/Size G hook.
- Safety Eyes: 14 mm for the eyes.
- Stuffing: Polyfiber filling for shaping the flamingo body.
- Darning Needle: For sewing parts such as the beak, securing wings/legs, and embroidering accents.
- Stitch Markers: Optional, but highly recommended to track rounds.
- Scissors: For cutting yarn and trimming ends.
- Pins: Useful for positioning parts for sewing/assembly.
Abbreviations (US Terminology)
- ch: Chain.
- sc: Single Crochet.
- inc: Increase (2 single crochet stitches in one stitch).
- dec: Single Crochet Decrease.
- sl st: Slip Stitch.
- st(s): Stitch(es).
- FO: Fasten Off.
Special Notes
- Invisible Decreases: Work only in the front loop of two stitches for a seamless finish.
- Assembling Wings and Legs: Parts are crocheted separately and joined while working the body—minimal sewing required.
- Stuffing Instructions: Stuff lightly for wings and legs, but compactly for the body and head.
- Color Changes: Use seamless techniques described in the pattern to prevent overlap of colors.
Pattern Instructions
Wings
Make 2 wings using the main pink yarn.
- Round 1: Create a magic circle, work 6 sc into the loop. Tighten the circle. (6 sts)
- Round 2: [1 sc, 1 inc] repeat around. (9 sts)
- Round 3: [2 sc, 1 inc] repeat around. (12 sts)
- Round 4: [3 sc, 1 inc] repeat around. (15 sts)
5-10. Rounds 5–10: Work 15 sc evenly. (15 sts per round) - Round 11: [3 sc, 1 dec] repeat around. (12 sts)
- Round 12: Work 12 sc evenly. (12 sts)
- Round 13: [2 sc, 1 dec] repeat around. (9 sts)
Flatten the Wing:
- Fold the piece in half so stitches align.
- Crochet 4 sc across through both layers to join. Leave a long tail for securing during assembly.
Legs
Make 2 legs using pink yarn.
- Round 1: Create a magic circle, work 6 sc into the loop. Tighten the circle. (6 sts)
- Round 2: [1 sc, 1 inc] repeat around. (12 sts)
- Round 3: Work the following instruction:
- 4 sc, 2 increases (2 inc into one stitch), 2 sc, 2 increases, 4 sc. (18 sts)
- Round 4: 6 sc, 1 inc, 3 sc, 1 inc, 2 sc, 3 sc, 1 inc, 6 sc. (24 sts)
5-7. Rounds 5–7: 24 sc evenly for three rounds. (24 sts per round) - Round 8: Work [7 sc, 1 dec] repeat around. (18 sts)
Stuff legs lightly with stuffing so the shape is defined yet maintains flexibility for movement.
Head
Using pink yarn.
- Round 1: Create magic circle, work 6 sc into the loop. (6 sts)
- Round 2: [1 sc, 1 inc] repeat around. (12 sts)
- Round 3: [1 sc, 1 inc] repeat around. (18 sts)
- Round 4: [2 sc, 1 inc] repeat around. (24 sts)
- Round 5: [3 sc, 1 inc] repeat around. (30 sts)
- Round 6: [4 sc, 1 inc] repeat around. (36 sts)
- Round 7: [5 sc, 1 inc] repeat around. (42 sts)
8-12. Rounds 8–12: Work evenly 42 sc for five rounds. (42 sts per round)

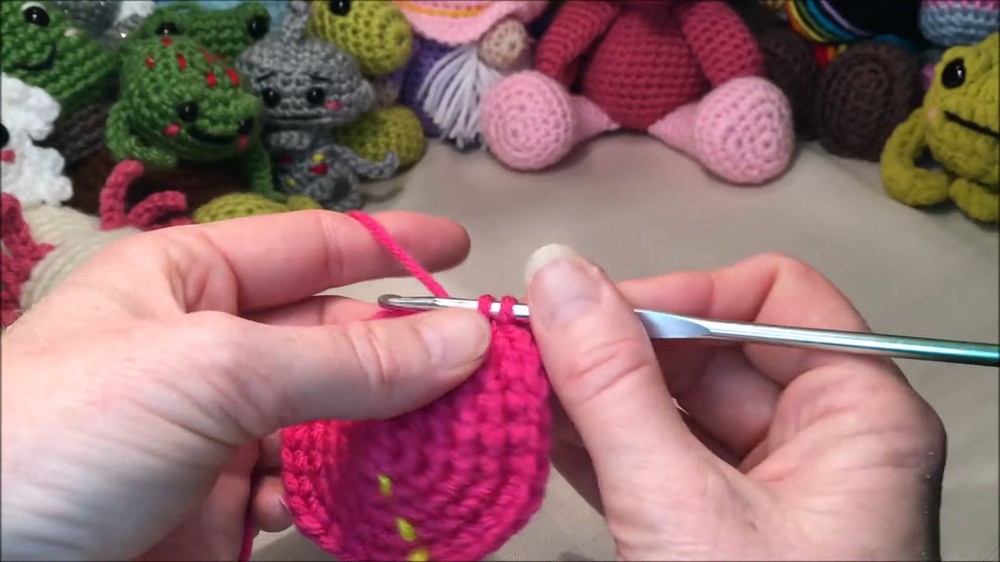

Add safety eyes after Round 12, placing them between rows 9 and 10, with 4 stitches of spacing between them. Securely attach eye backs.
Body
The body joins the head, wings, and legs seamlessly.
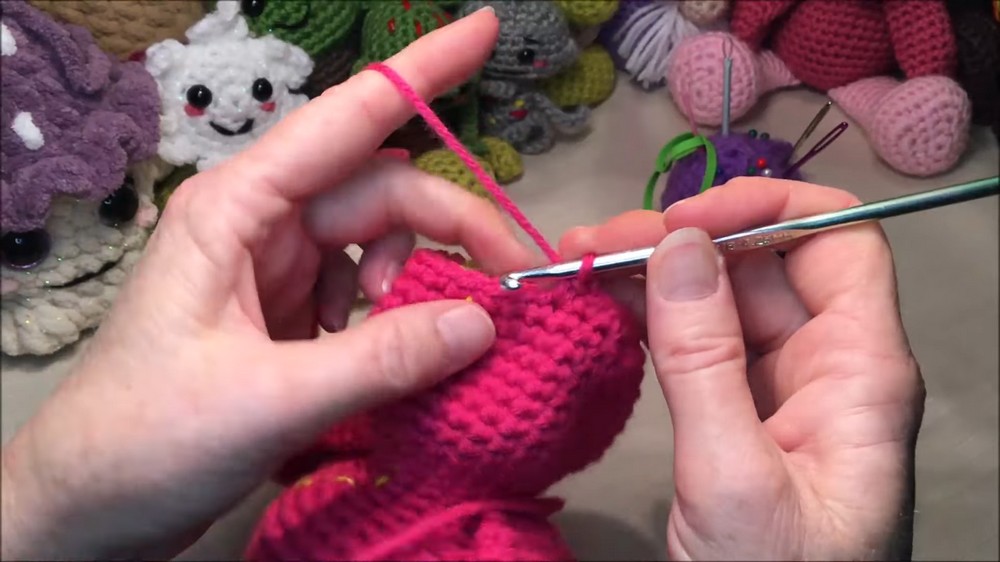
- Rounds 14–20: Start decreasing to shape the neck:
- Work [5 sc, 1 dec] repeat around, alternating between rounds of decreases and equal sc rows until reaching 30 sts.
- Round 21: Join wings:
- Work 3 sc, work 4 sc through wing and body, then 4 sc across, repeat the process with the second wing, and finish with 3 sc. (18 sts)
- Round 34: Join legs to body using the same technique as wings. Ensure proper alignment so toes face forward. Continue working evenly around, decreasing slightly every couple of rows until reaching 12 sts.
- Round 37: [1 sc, 1 dec] repeat around. (6 sts) Finish the round with a slip stitch and leave a long tail.
Beak
Start with black yarn, then switch to light pink.
- Rounds 1–3: Work instruction for a magic circle, increase to 9 sc, then work 9 sc evenly.
- Round 4: Change yarn to light pink and increase to 12 sc using [2 sc, 1 inc].
Stuff lightly and sew the beak to the flamingo’s head one row below the eyes.

Decorative Features
- Tuft of Hair: Fold pink yarn strands at the top-center of the head and knot neatly.
- Eye Accent: Use white yarn to embroider subtle accents above the eyes.
- Eyebrows: Embroider lifted black eyebrows above the eye accents for additional personality.
Conclusion, Corrections & Tips
- Conclusion: Your flamingo is now complete, with its elegant features and adorable personality perfect as a plush toy or decor. Its seamless body ensures durability and aesthetic appeal.
- Pattern Correction: Ensure wings and legs align symmetrically on the body for a polished look. Double-check safety eyes for correct spacing.
- Tip: If embroidery doesn’t hold, opt to glue delicate features like eyebrows for precision or use thin threads.