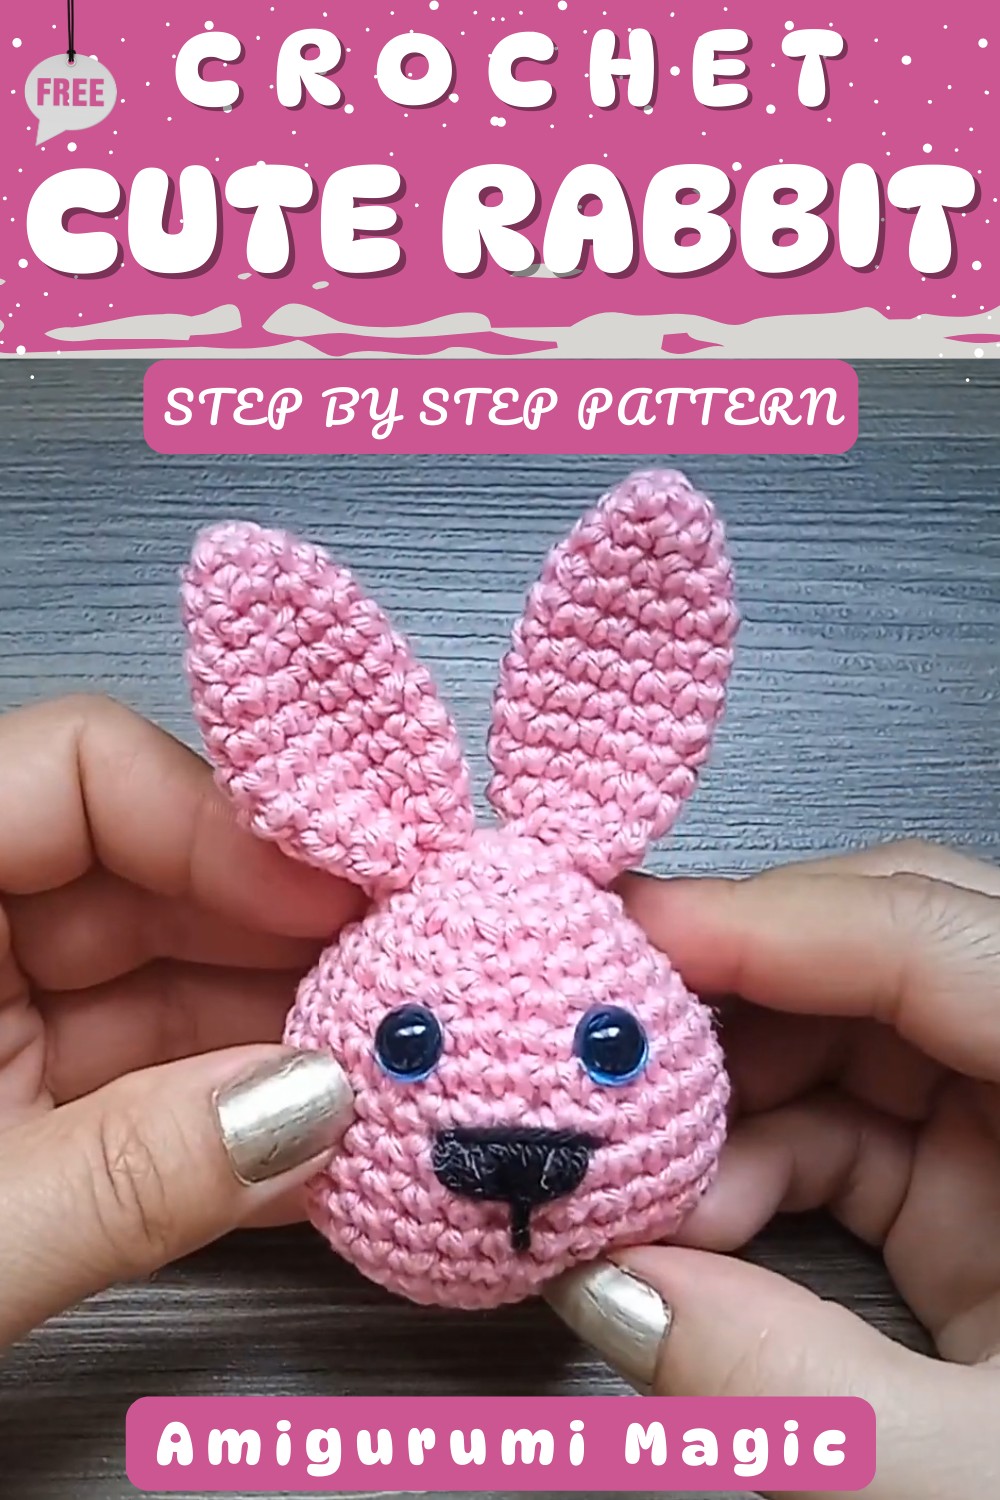
Chic Crochet Bunny Easter Egg Pattern Stylish Spring Decor
A tiny bunny hides among bright and colorful eggs, bringing joy and fun to any home during Easter. Its soft, smooth yarn and gentle curves make it feel warm and friendly to touch. With little ears, a smiling face, and detailed features, it looks almost alive and instantly makes people smile. Using the Crochet Bunny Easter Egg pattern, you can make a cheerful decoration that fits perfectly in Easter baskets, on shelves, or as a table centerpiece.
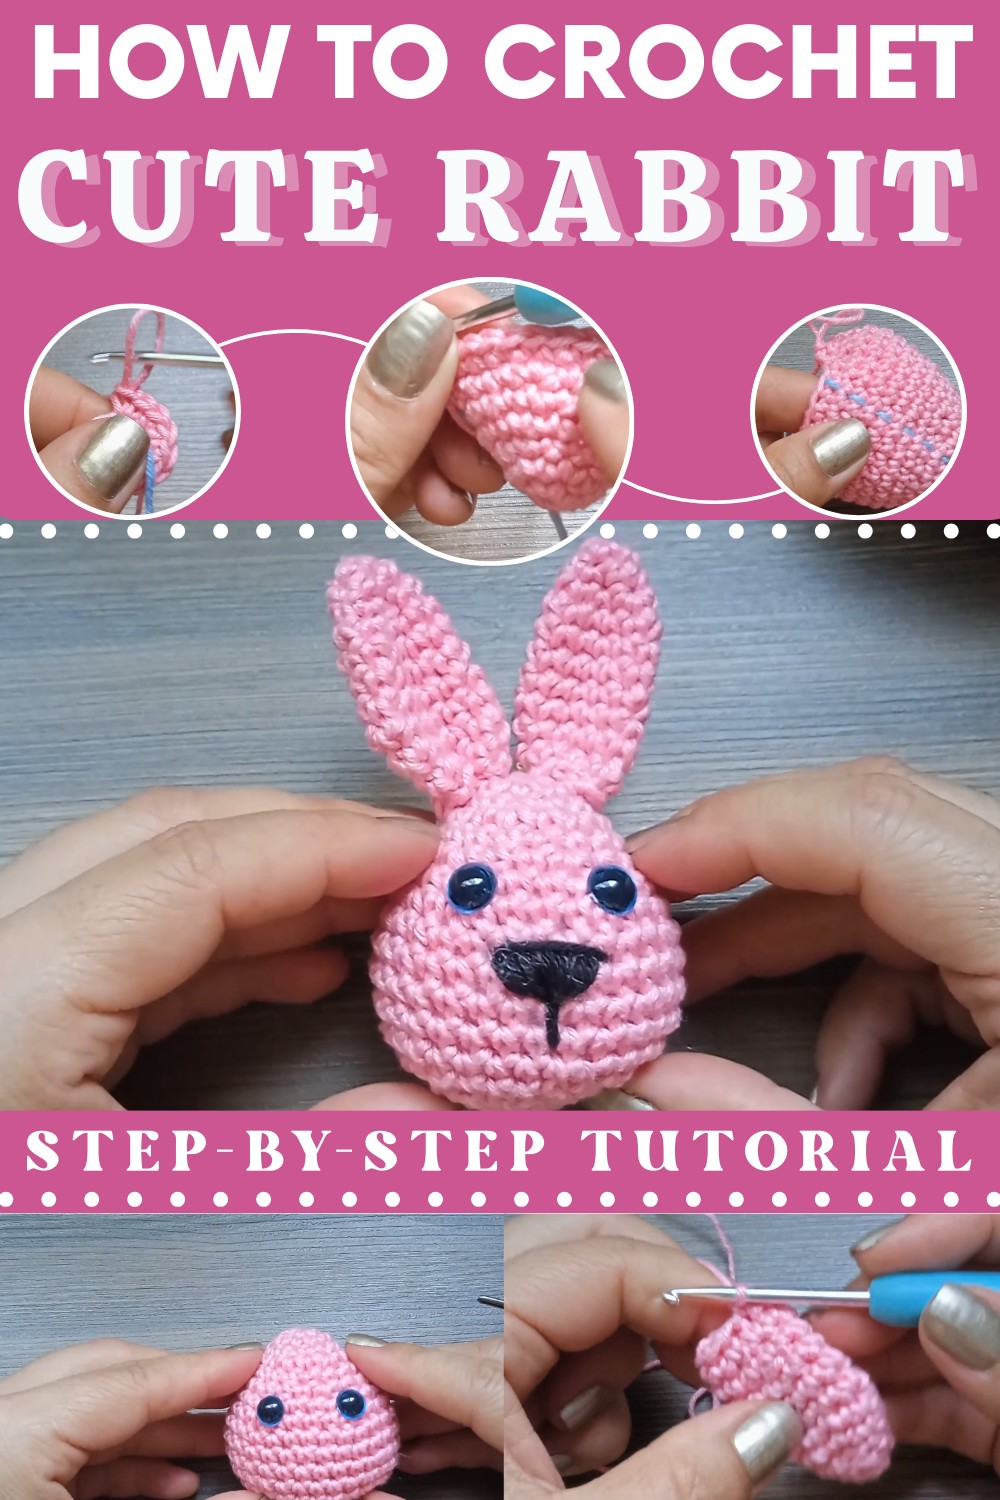
Children love to hug it, and adults enjoy seeing its colorful charm displayed around the house. Its lightweight and durable design means it can be enjoyed year after year, keeping the festive spirit alive. What makes it truly special is the combination of a cute bunny and a bright Easter egg in one soft, cuddly figure, bringing happiness, color, and fun to everyone who sees it. This pattern turns simple yarn into a magical Easter delight.
Bring spring to life with Crochet Bunny Easter Egg Pattern that's a playful and adorable piece perfect for adding charm to any celebration.
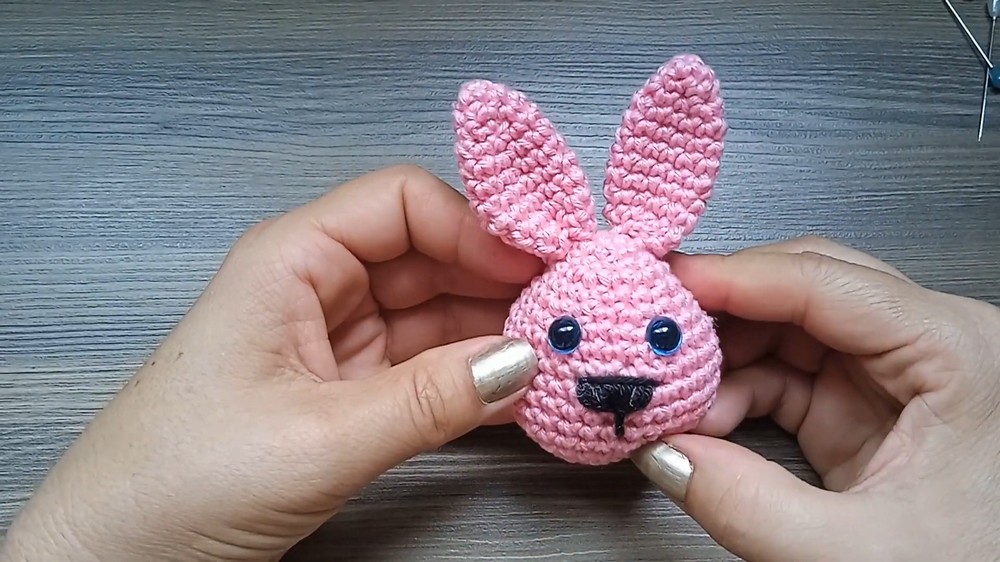
Playful Crochet Bunny Easter Egg Pattern Fun for All Ages
Materials Needed
- Yarn: Fine or light worsted weight (ex: Circulo Amigurumi, color #3131 Bubblegum, or any preferred shade)
- Hook Size: 3.0 mm crochet hook
- Stuffing: Polyester fiberfil
- Safety Eyes: 2 (5-6 mm, any color)
- Black Embroidery Thread or Yarn: For nose and mouth
- Tapestry Needle: For sewing and embroidery
- Stitch Marker: To mark rounds
- Scissors and Pins: Pins will help with positioning ears and embroidery
Optional: Pink or blush powder/marker for cheeks
Key Abbreviations
| Abbreviation | Meaning |
|---|---|
| MR | Magic Ring |
| sc | Single Crochet |
| inc | Increase (2 sc in same stitch) |
| dec | Decrease (sc 2 together) |
| sl st | Slip Stitch |
| ch | Chain |
Special Notes
- Use a stitch marker to mark your round’s first stitch.
- Work in continuous rounds unless noted otherwise.
- Stuff as you go for a smooth, even shape.
Customization Ideas
- Try different yarn colors for creative eggs (classic white, pastel, bright).
- Use embroidered or plastic eyes in various colors.
- Experiment with facial expressions, blushing cheeks, or patterned ears.
- Hang as ornaments or use as table decor for Easter.
Pattern
Bunny Egg
Round 1:
- Make a MR and work 6 sc into ring. (6)
Round 2:
- 6 inc ([2 sc] into each st around). (12)
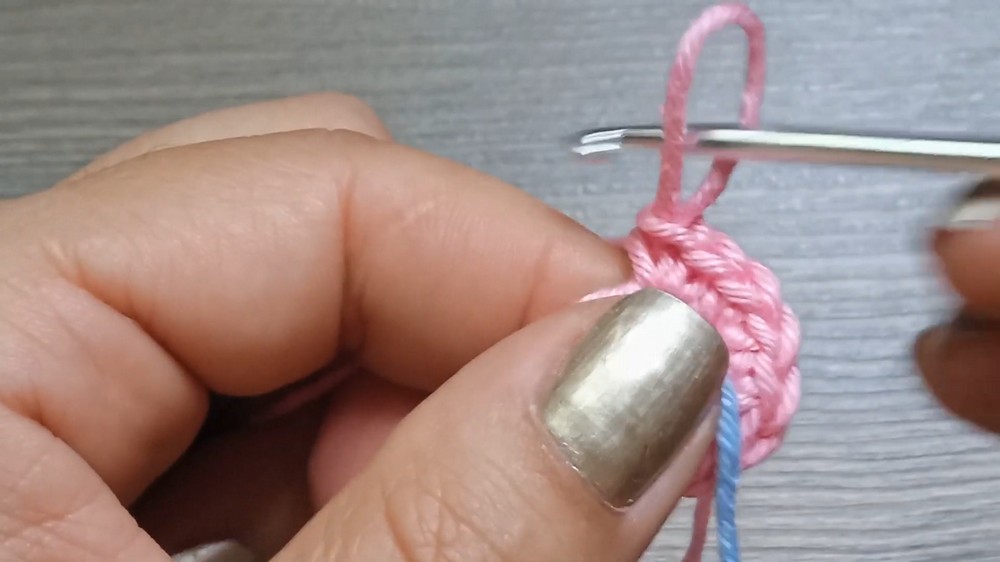
Round 3:
- 1 sc in each st around. (12)
Round 4:
- [1 sc, 1 inc]—repeat around. (18)
Round 5:
- [1 sc, 1 inc, then 2 sc, 1 inc] alternating as indicated in video for a nice egg shape.
- Tip: For smoother increases, you can [2 sc, 1 inc] x 6 (24).
Round 6:
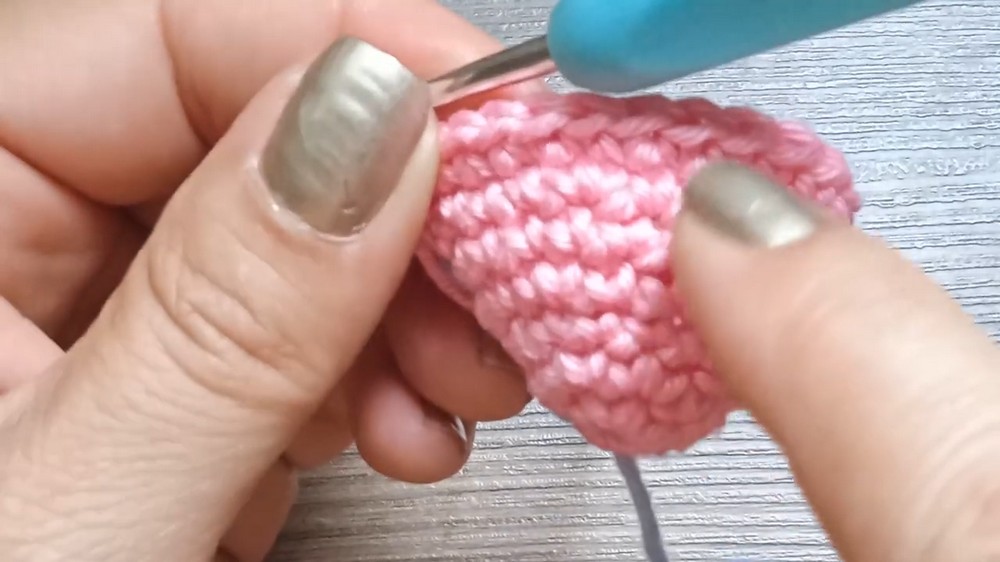
- [2 sc, inc] x 5, 1 sc. (24)
Round 7:
- 1 sc in each st around. (24)
Round 8:
- [3 sc, 1 inc] x 6. (30)
Rounds 9-13:
- 1 sc in each st around. (30)
(Work 5 rounds of 30 sc.)
Round 14:
- [3 sc, 1 dec] x 6. (24)
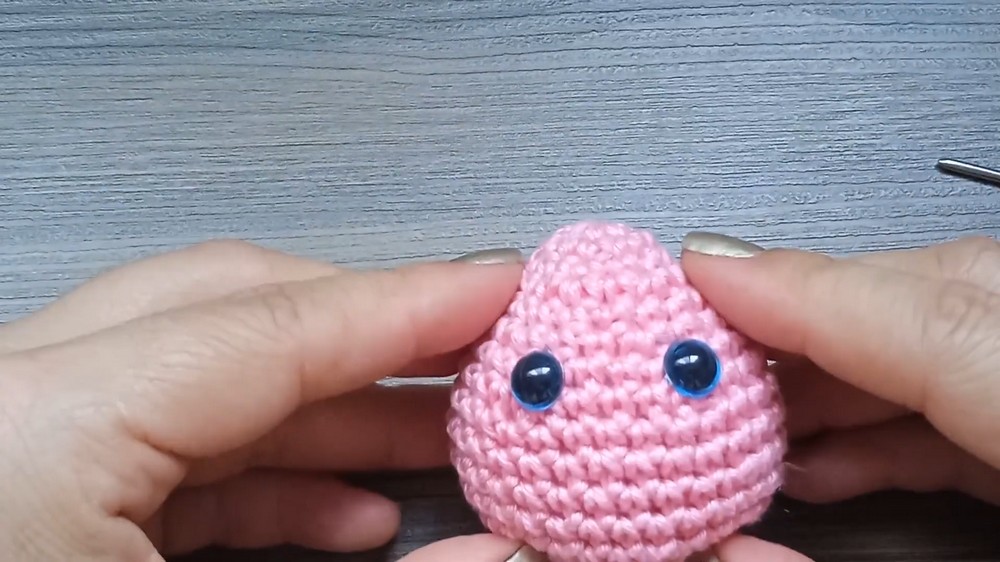
Insert safety eyes between Rounds 7 & 8, 3 stitches apart.
Round 15:
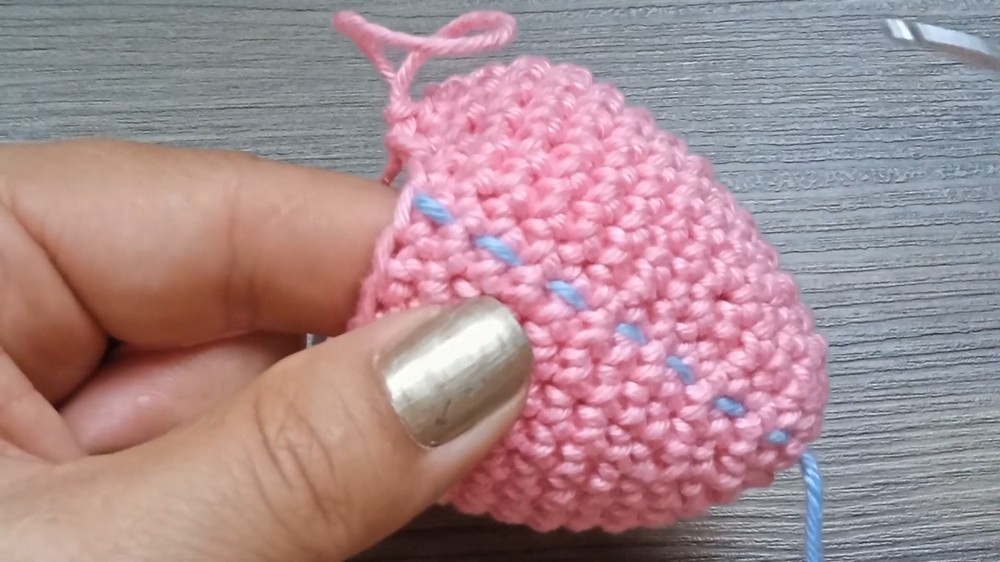
- 1 sc, 1 dec, [2 sc, 1 dec] x 5, 1 sc (video uses slightly offset groupings for symmetrical shaping, ending with 18 st).
- Tip: [2 sc, 1 dec] x 6 for simplicity (18).
Round 16:
- [1 sc, 1 dec] x 6. (12)
Stuff firmly
Round 17 (Final Round):
- [dec] x 6 (6).
- Cut thread, close top with needle, weaving through front loops of each stitch. Pull and secure.
Bunny Ears (Make 2)
Round 1:
- MR, 4 sc (4)
Round 2:
- 4 inc ([2 sc] in each st). (8)
Round 3:
- 1 sc in each st around. (8)
Round 4:
- [1 sc, 1 inc] x 4 (12)
Rounds 5-9:
- 1 sc in each st around. (12)
(5 rounds total)
Round 10:
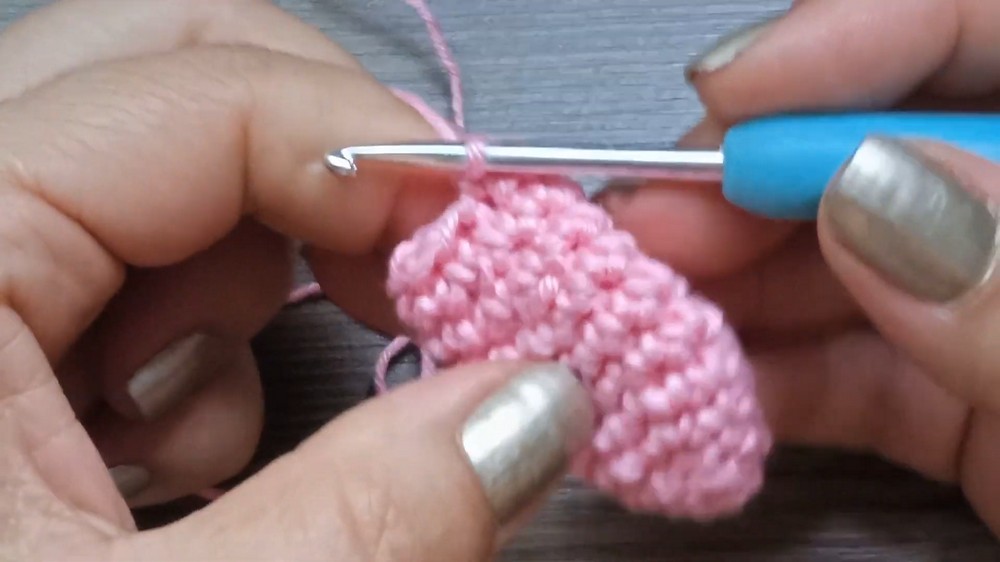
- 1 dec, 10 sc (11)
Round 11:
- 1 dec, 9 sc (10)
Finish with sl st in next st.
Cut a long tail for sewing. Fold ear and sew to egg.
Assembly
- Sew the Bunny Ears:
- Fold ears slightly for shape.
- Sew on top of egg, evenly spaced (not too close).
- Facial Features:
- Use embroidery thread/yarn for the mouth and nose.
- Stitch an upside-down "Y" for mouth.
- Add an oval/triangle for the nose.
- Secure thread inside and knot twice before snipping.
- Use embroidery thread/yarn for the mouth and nose.
- Tidying:
- Hide all thread tails inside the egg.
- Adjust stuffing for shape if needed.
Conclusion
This adorable amigurumi bunny egg is perfect for gifts, decoration, or Easter baskets. The pattern is simple, but pay careful attention to increases and decreases for a smooth shape. Stuff firmly as you go and secure all seams.
Pattern Correction & Tips
- Remember to always count stitches after increases or decreases to keep your shape neat.
- If the bottom bulges, use a smaller hook or adjust stuffing.
- For more expressive faces, use pins to plan out mouth and nose before sewing.
- Ears will stand better if sewn with a slight curve.
Final Thoughts
With just a bit of yarn and creativity, you can craft endless variations of this sweet bunny.
Gift them, share with friends, or add to your festive table!