
Charming Free Crochet Skeleton Pattern Kids Will Truly Love
Bring spooky fun to life with Crochet Skeleton Pattern that turns yarn into a tiny, playful figure full of charm, mischief, and Halloween vibes.
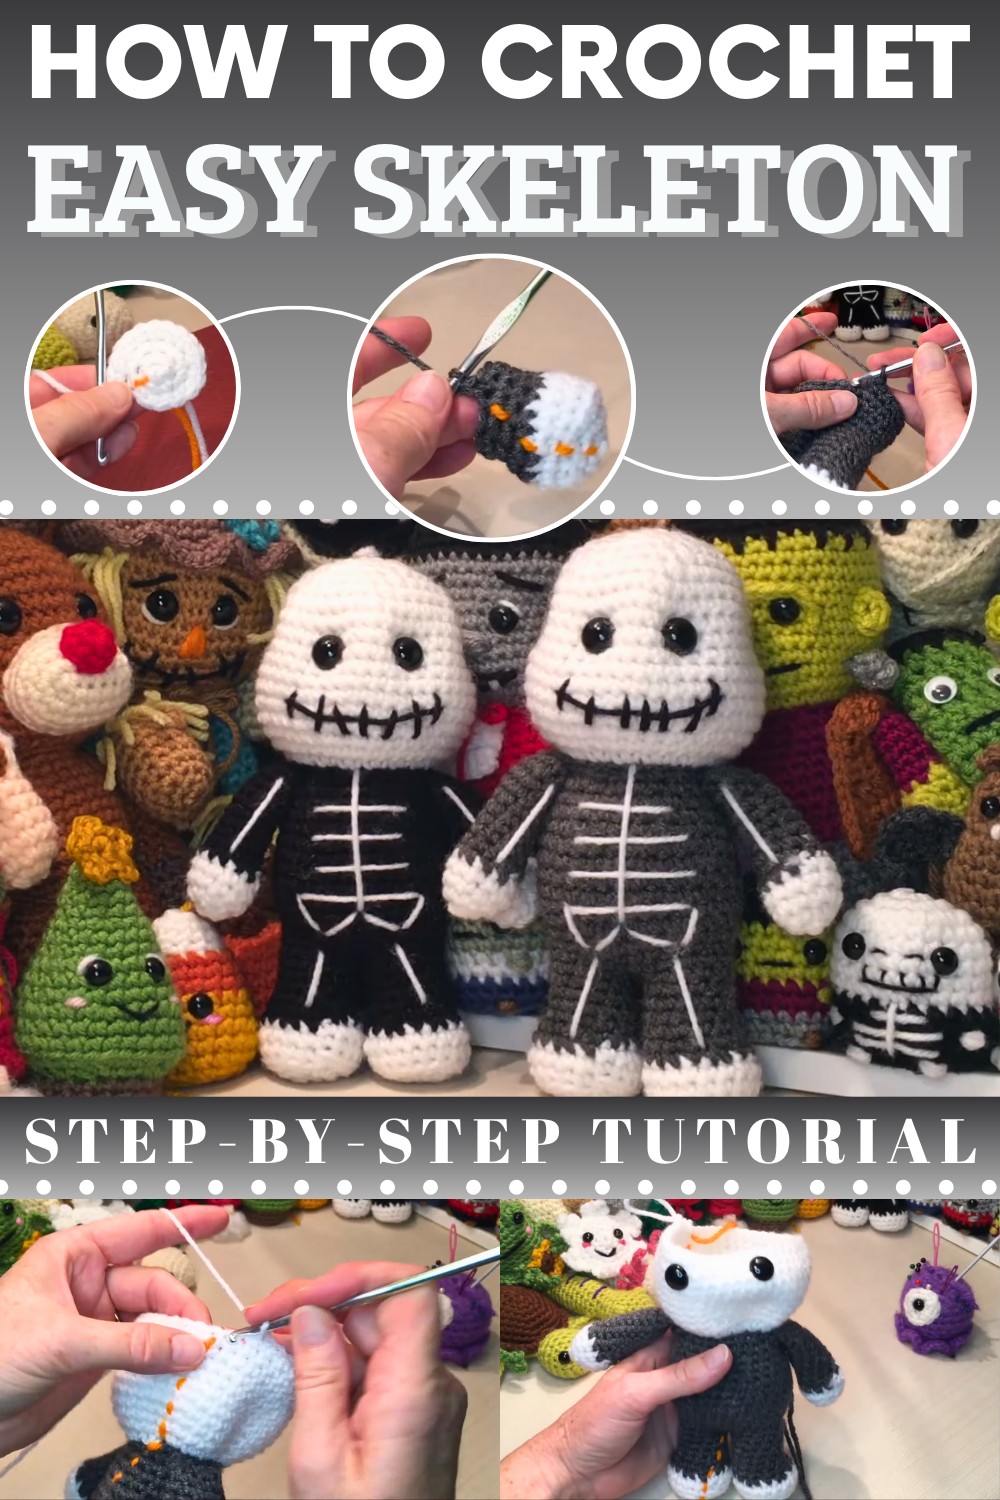
A creative and charming project, this crochet skeleton pattern is perfect for anyone who enjoys making unique handmade items. This pattern lets you experiment with textures and colors, using medium-weight yarn and safety eyes to create striking details.
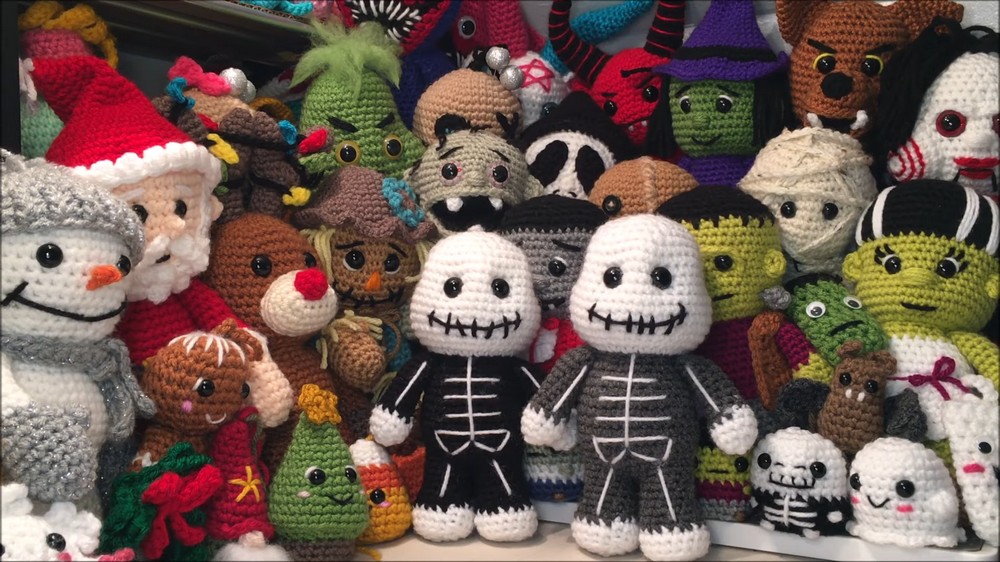
The tutor includes pinned markers to keep everything symmetrical and structured, making it easy to follow the shaping and attach parts correctly. Thoughtful techniques, such as stuffing gradually and securely tying off threads, enhance the overall quality of the amigurumi. Its playful features, like the carefully shaped head with dimples and the embroidered smile, add character and bring this design to life.
Materials
- Yarn:
- Worsted weight (#4 medium) yarn in two colors
- Main color for skeleton body (e.g., black or charcoal)
- Contrast color for skeleton (e.g., white/ivory)
- Worsted weight (#4 medium) yarn in two colors
- Crochet hook: 4.25 mm
- Safety eyes: 14 mm (or size of your choice; embroider if for young children)
- Stitch marker
- Stuffing: Fiberfill/polyester stuffing
- Yarn needle & embroidery needle
- Scissors
Key Abbreviations (US Terms)
| Abbreviation | Meaning |
|---|---|
| MR | Magic ring |
| ch | Chain |
| sc | Single crochet |
| inc | Increase (2 sc in a st) |
| dec | Decrease (sc2tog; invisible decrease recommended) |
| BLO | Back loop only |
| FO | Fasten off |
| st(s) | Stitch(es) |
| (..) | Repeat the sequence inside |
Special Notes
- This is a "noso body" pattern: Arms, legs, and body are made as one piece. Head is worked seamlessly on top.
- All rounds are worked in a spiral unless specified.
- Use a marker to note the first st of each round and move it up as you go.
- Stuff limbs and body firmly but not overstretched.
- Embroider skeleton details as described or use your creativity.
- Color changes: Cut yarn, tie new color to old, and pull the new color through the last two loops of final st in old color.
Pattern
Arms (Make 2)
With main color:
- MR, 6 sc in ring (6)
- inc in each st around (12)
- sc in each st around (12)
- sc in each st around (12) — on last sc, CHANGE to body color
- (sc in next 2 sts, dec) x3 (9)
6–14. sc in each st around (9) — 9 rounds- Stuff the hand firmly and the arm lightly for flexibility.
- Flatten, sc across to close the end (3 sc). Leave long tails for later securing.

Legs (Make 2)
With main color:
- MR, 6 sc in ring (6)
- inc in each st around (12)
- (sc, inc) around (18)
- BLO: sc in each st around (18)
- sc in each st around (18)
- On last sc, CHANGE to body color
- (sc, dec) around (12)
7–12. sc in each st around (12) — 6 rounds- First leg: Sl st to close, FO. Leave long tail to close the center hole when joining.
- Second leg: Do not cut yarn. Continue for joining.

Join the Legs, Form Body
- Hold both legs together.
- sc around the first leg (12)
- Continue to second leg; sc around (12). (24 sts total)
- Use the tail on the first leg to sew up the hole between legs.
Continue working in a spiral:
- sc in each st around (24)
- (sc in next 3 sts, inc) x6 (30)
- sc in each st around (30)
- sc in each st around (30)
- sc in each st around (30)
- sc in each st around (30)
- (sc in next 3 sts, dec) x6 (24)
- sc in each st around (24)
- sc in each st around (24)
- sc in each st around (24)
- sc in each st around (24)
- (sc in next 2 sts, dec) x6 (18)
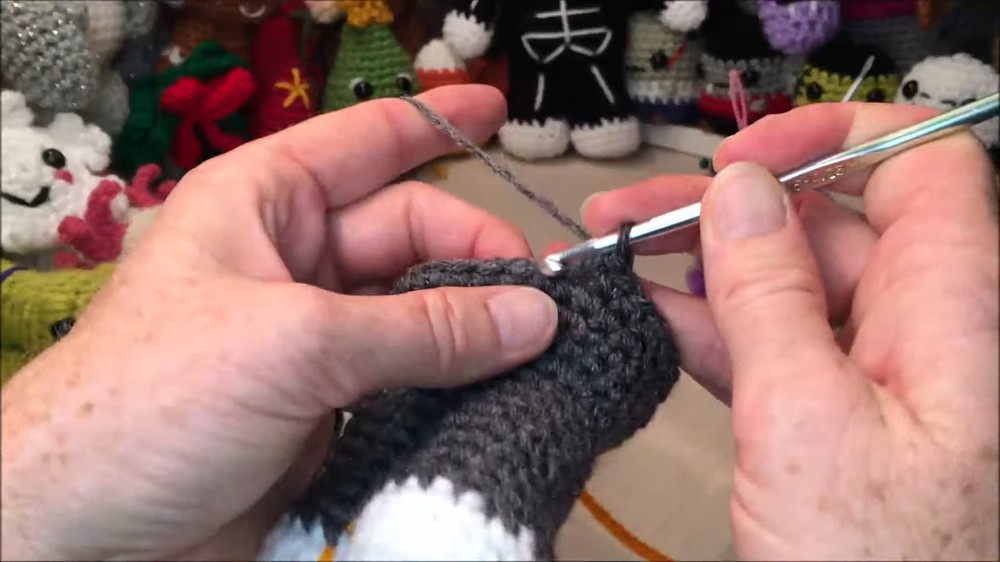
Join the Arms
Next round attaches the arms:
- sc in next 5 sts on body
- Align arm, insert hook through arm and body — sc through both layers, 3 times (joins arm)
- sc in next 6 body sts
- Align second arm, sc through both layers, 3 times
- sc in final st (1), changing to head color on this last stitch
Start the Head
Change to head color (ex: white):
- inc in each st around (18 inc = 36)
- sc in each st around (36)
- sc in each st around (36)
- (sc in next 5 sts, inc) x6 (42)
5–12. sc in each st around (42) — 8 rounds
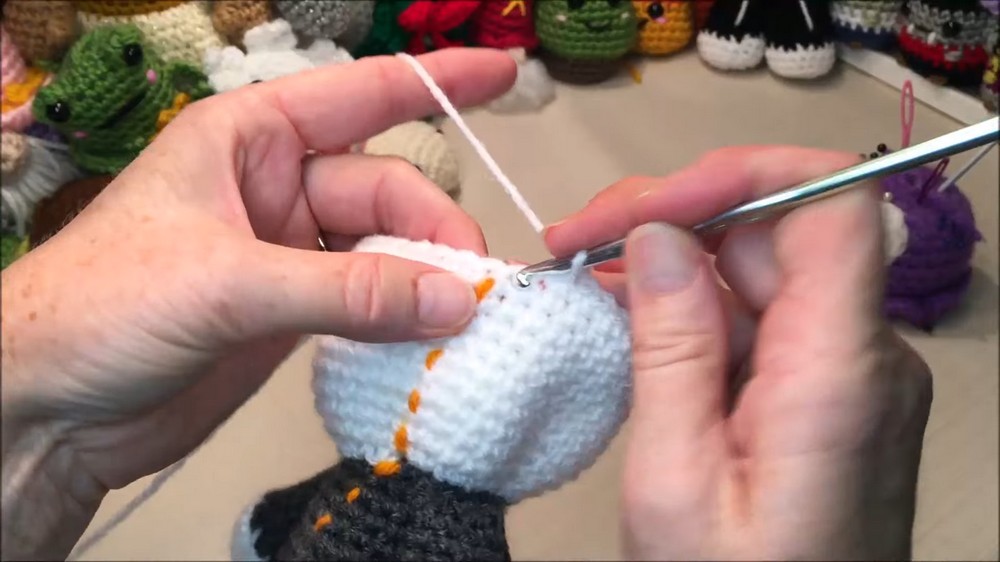
Insert Eyes/Stuff
- Insert safety eyes between rounds 10 & 11 of the head, spaced to your liking.
- Start stuffing body/legs/arms/neck firmly while working head.
- (The video uses between rows 36 & 37, as counted from start)
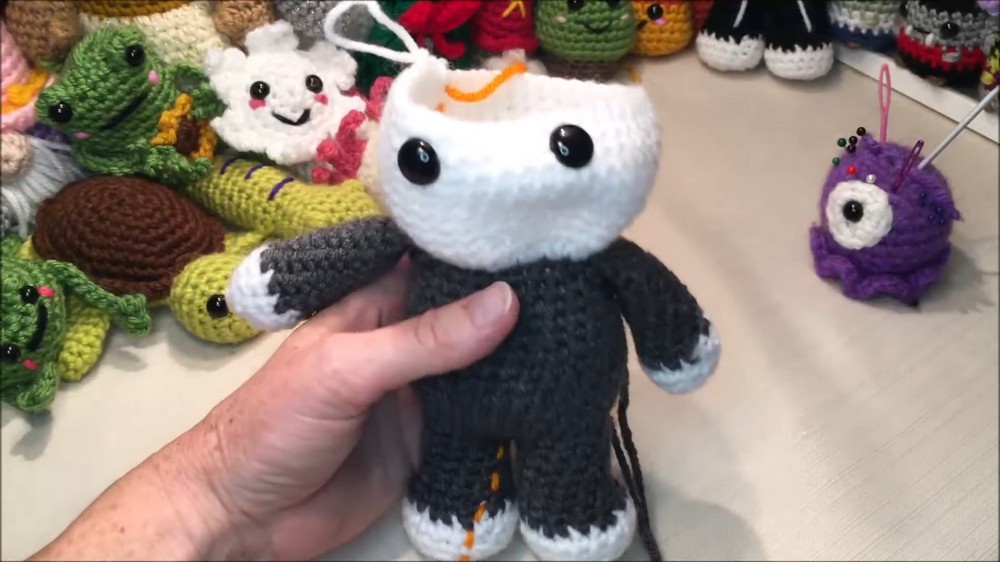
Shape and Close Head
- (sc in next 5 sts, dec) x6 (36)
- (sc in next 4 sts, dec) x6 (30)
- (sc in next 3 sts, dec) x6 (24)
- (sc in next 2 sts, dec) x6 (18)
- Stuff head fully, shape cheeks/face.
- (sc, dec) x6 (12)
- dec around (6)
- FO, leave a long tail.
- Use yarn needle to weave through last 6 sts and pull to close. Weave in end.
Embroidery & Details
Eye Indents:
- With matching head color, thread in between eyes, wrap around and pull slightly to indent the eyes and form "nose bridge." Secure inside head.
Mouth/Smile:
- With black, embroider a wide mouth, beginning from center, curving down at the sides. Add short vertical lines for teeth.
Skull Dents (optional):
- Use head color to needle sculpt a slight dent on each side, parallel to the eyes.
Skeleton Details on Body:
- With white/ivory yarn:
- Embroider pelvic shape (two short horizontal bars below body color change).
- Lower ribs: Embroider 3-4 horizontal lines across the chest.
- Spine: Embroider a vertical line centrally, if desired.
- Optionally add shorter lines across arms for "bone" effect.
Conclusion
Congratulations! Your squishy little skeleton is complete. This pattern creates an adorable skeleton character perfect for Halloween decor, desk buddies, or gifting. Use extra embroidery to personalize your creation or make a set in coordinating colors.
Pattern Correction & Tips
- Counts are based on the provided transcription; please adjust as needed for symmetry.
- Use invisible decreases and invisible color joins for best results.
- Stuff firmly but not so much that the stitches stretch.
- Embroider face and skeleton features after assembly for easier handling.
- Tip: You can adapt this base to make zombies, monsters, or other fun 'noso' creations with alternating colors and different embroidery styles!