
Charming Crochet Pansy Flower Pattern for Home Accents
Bring charm to any project with the Free Crochet Pansy Flower Pattern, a delicate handmade accent perfect for décor, gifts, and creative accessories
Spring mornings often bring the delicate sight of pansies blooming in garden beds, their vibrant colors and gentle curves catching the eye and lifting the spirit. Inspired by this natural beauty, the Free Crochet Pansy Flower pattern offers a way to bring that same charm into your home or creative projects. These handcrafted flowers serve multiple purposes, from decorating table settings and embellishing accessories to personalizing gifts and brightening indoor spaces.
How Crochet Pansy Flower Pattern Adds Color to Décor
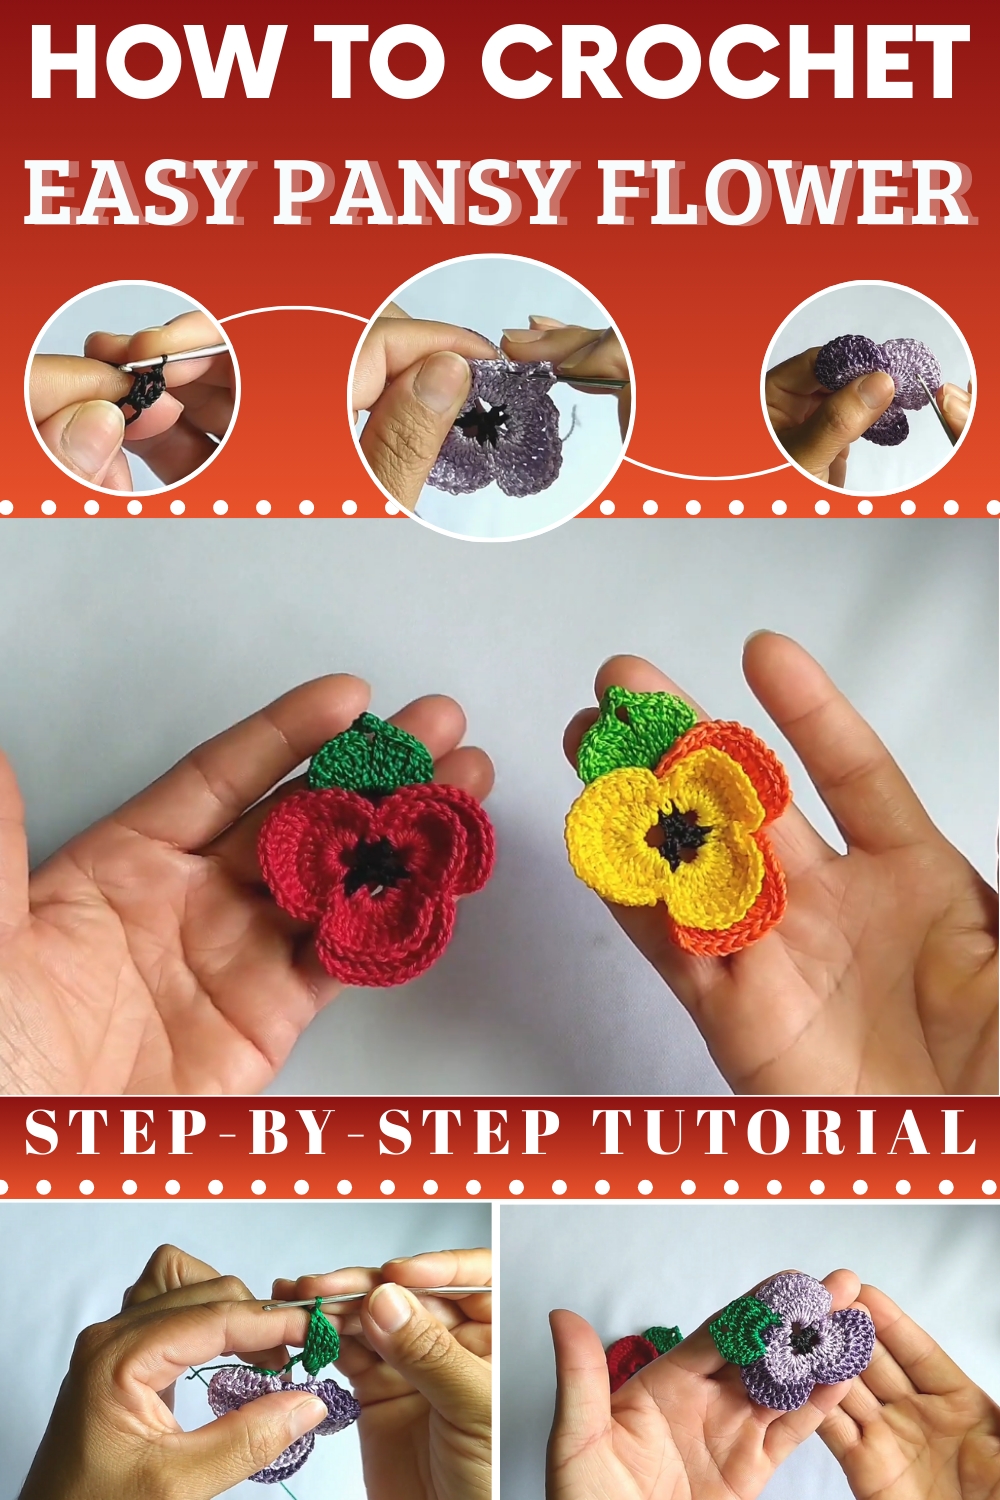
The pattern guides crocheters through clear, step-by-step instructions, making it approachable for both beginners and experienced enthusiasts. Each flower is soft yet durable, allowing it to maintain its shape while adding a tactile and visual appeal to any project. Beyond aesthetics, these crochet pansies are practical, they can be used as brooches, hair clips, keychains, or sewn onto bags and garments, offering endless customization possibilities.
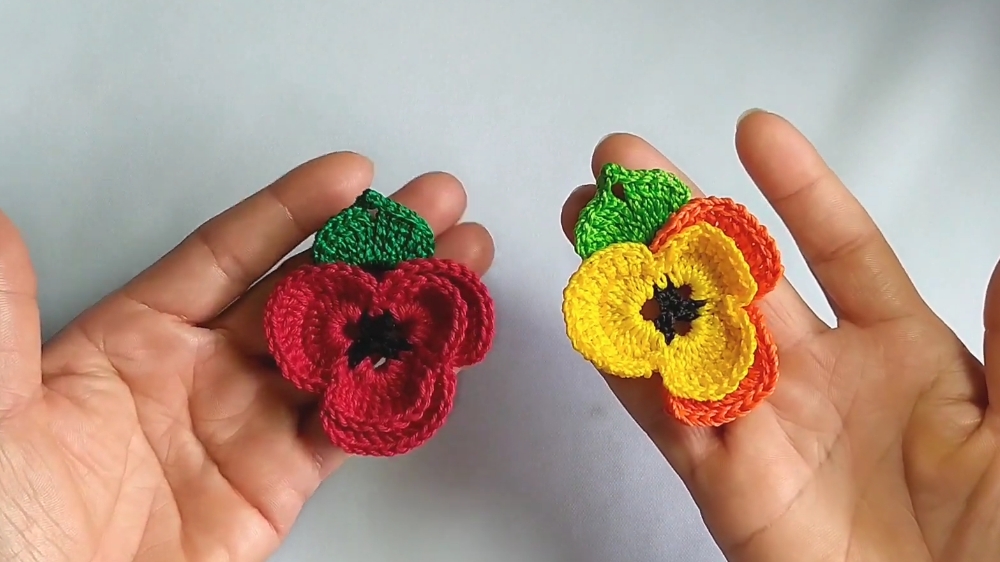
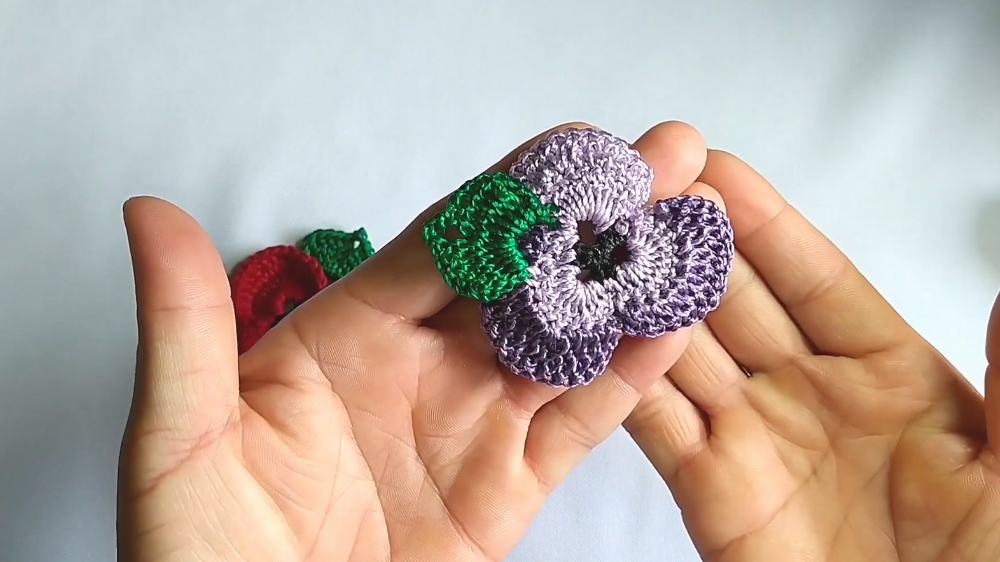
The layered petals and subtle textures create depth, making each piece feel like a tiny work of art. Lightweight and versatile, these flowers can be arranged in bouquets, framed for décor, or attached to everyday items for a cheerful, handmade touch. This pattern transforms simple yarn into a lively, colorful accent that brings warmth, joy, and a handcrafted elegance to both personal and gift projects.
Materials Required
- Threads and Colors:
- Silk threads with a texture of 288.
- Black thread (for the flower's center).
- Lilac and pink threads (for petals).
- Flag green thread (for creating leaves).
- Tools:
- Crochet needle (1.75 mm).
- Scissors.
- Lighter (to seal the threads).
Step-by-Step Process
1. Starting the Flower Center
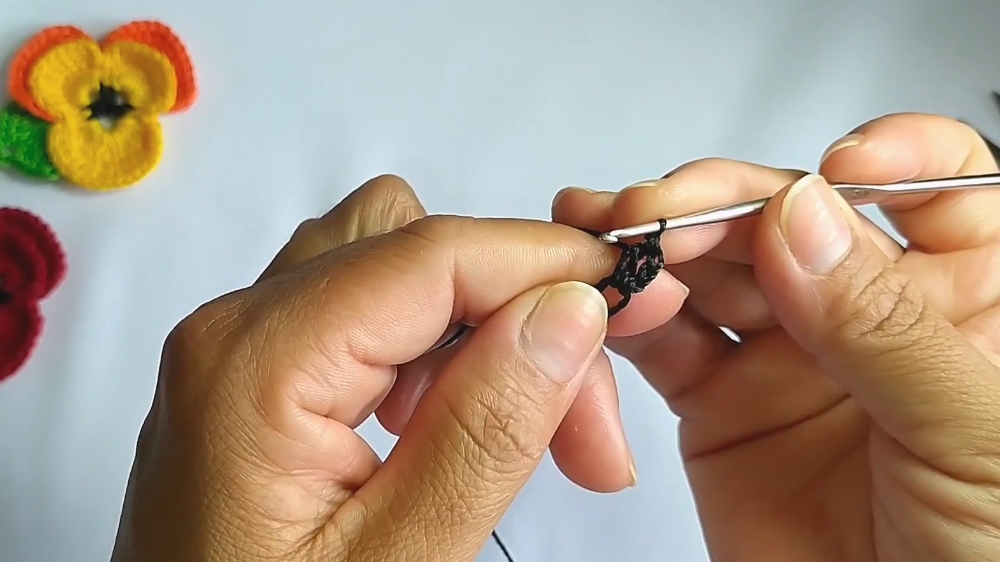
- Using black thread, begin with a magic ring.
- Chain two stitches to secure the magic ring, followed by two more chains to establish the height for the pattern.
- Create a series of blocks with two half double crochets, separated by chains. Start by making three chain spaces between the first two blocks, continuing until you complete three total blocks.
- In the final block, create four chain spaces and close the magic ring, securing it with a slip stitch. Cut the thread to finish the center.
2. Forming the First Layer of Petals
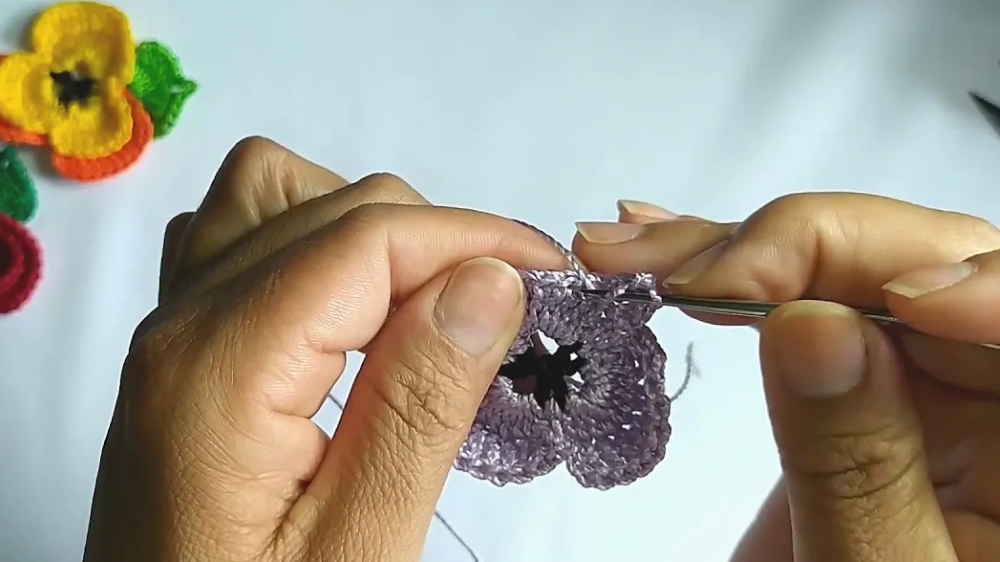
- Switch to lilac thread, inserting the needle into the middle of the blocks and making a single crochet.
- Inside the spaces created by chains, crochet ten double crochets for each petal. After each group of ten stitches, secure it to the base with a single crochet stitch.
- For the larger spaces (e.g., the four-chain space), crochet 14 double crochets instead of 10. Once completed, fasten each petal section with a slip stitch to the base.
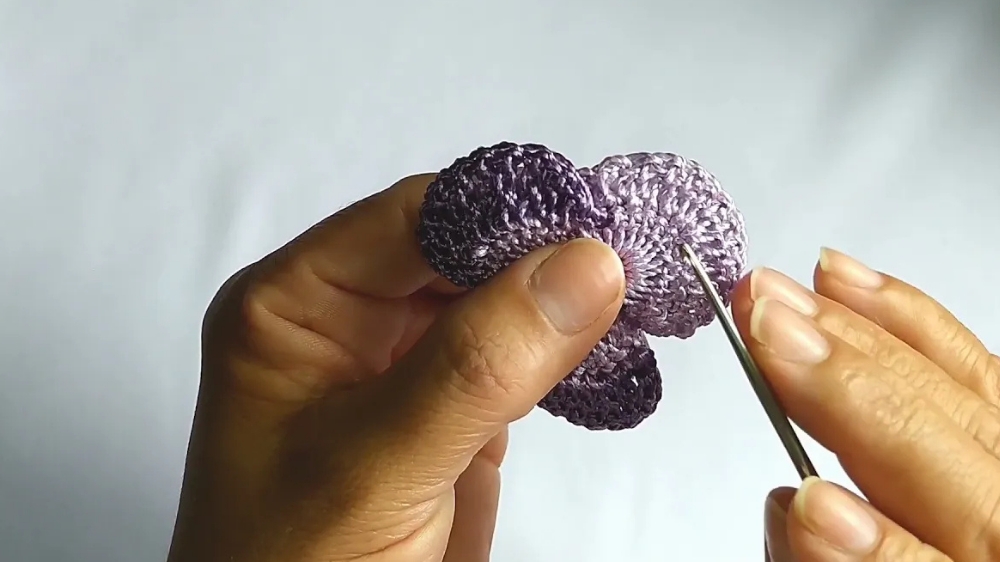
3. Working on Petal Detailing
- For detailing, work with the front loops of the previous row stitches only.
- On top of each loop, crochet individual double crochets for the entire petal length, replicating the number of stitches from the base, without increasing them.
- In the middle of each petal, there are double crochet increases (two double crochets in one stitch for additional dimension).
- Once detailing is completed, fasten the petal securely with slip stitches, leaving the petals with a textured and layered look.
4. Creating the Leaf
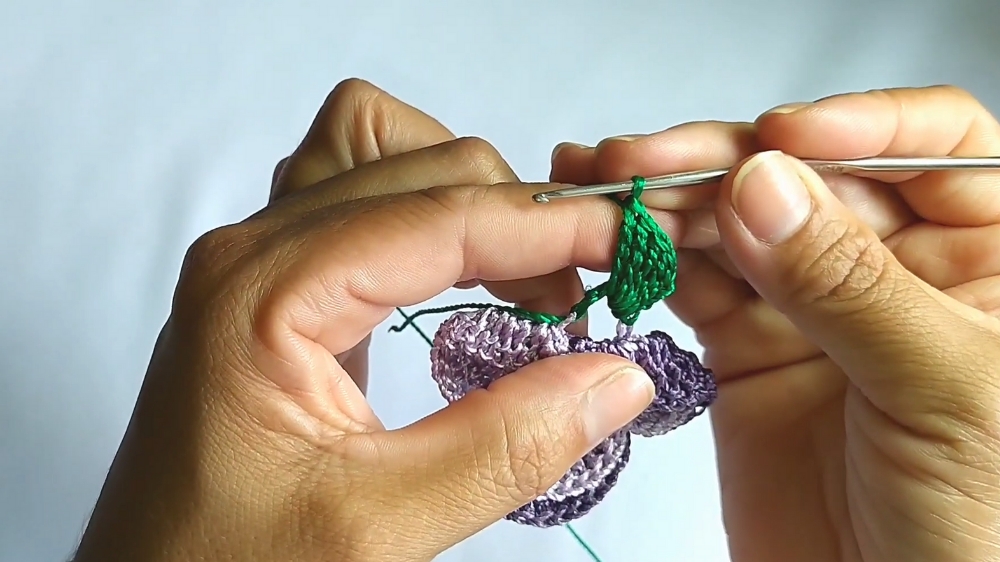
- Use flag green thread to form the leaf structure.
- Begin on the wrong side of the flower, picking a back loop from the stitch. Fasten it with a slip stitch and make three chains.
- Flip the work to the right side and use these chains as the foundation to create five double crochets.
- Add another series of three chain spaces before continuing with five more double crochets for symmetry.
- Finish the leaf at the base with a slip stitch and secure it with a final chain before cutting the thread.
Special Features
- Beautiful flower pattern with layered petals.
- Minimal material requirement, making it cost-effective.
- Versatile design that can be used in various applications, such as decorating bags, clothing, or crafts.
Level of Difficulty
This project is beginner-friendly but requires some basic familiarity with crochet techniques, such as handling a magic ring, creating double crochets, and working with chain spaces. With guidance from the video, even novices can master the process quickly.
Tutor’s Suggestions
- Always seal loose thread ends with a lighter to prevent unraveling.
- Pay close attention to the chain spaces and stitch count for each petal layer to maintain symmetry.
- Use sturdy yet flexible threads (like silk threads) for optimal texture.
- Experiment with colors to suit seasonal themes or match specific crafts.
Uses
The "Perfect Love" flower can be applied in numerous ways:
- Adding decorative touches to accessories (headbands, brooches).
- Embellishing clothing items.
- Integrating into home décor projects like pillow covers or table runners.
Tip
When working on layered petals, ensure consistency in stitch tension to avoid uneven edges, especially during detailing. Additionally, always check your middle increases in the petals to give them a rounded and more visually appealing finish.
Conclusion
The "Perfect Love" flower design is a charming and functional crochet creation packed into a manageable step-by-step process suitable for all skill levels. Whether you're looking to decorate an item or simply enjoy a quick yet rewarding crochet project, this tutorial provides clear guidance and thoughtful tips.