
Fresh Crochet Flower Pattern to Spruce Up Your Collection
Delicate charm blooms with this easy Crochet Flower Pattern perfect for adding a handmade touch to gifts, accessories, and decor in minutes.
Tucked away among crocheting supplies, a small crochet flower caught the eye, soft, bright, and full of quiet charm. Though only a few inches wide, it carried a lasting presence. There’s something timeless about these simple blooms: they don’t need to shout for attention. Whether sewn onto a pouch, pinned to a corkboard, or used to finish a wrapped gift, they bring personality and a touch of thoughtfulness in the smallest space.
Modern Crochet Flower Pattern With Classic Charm
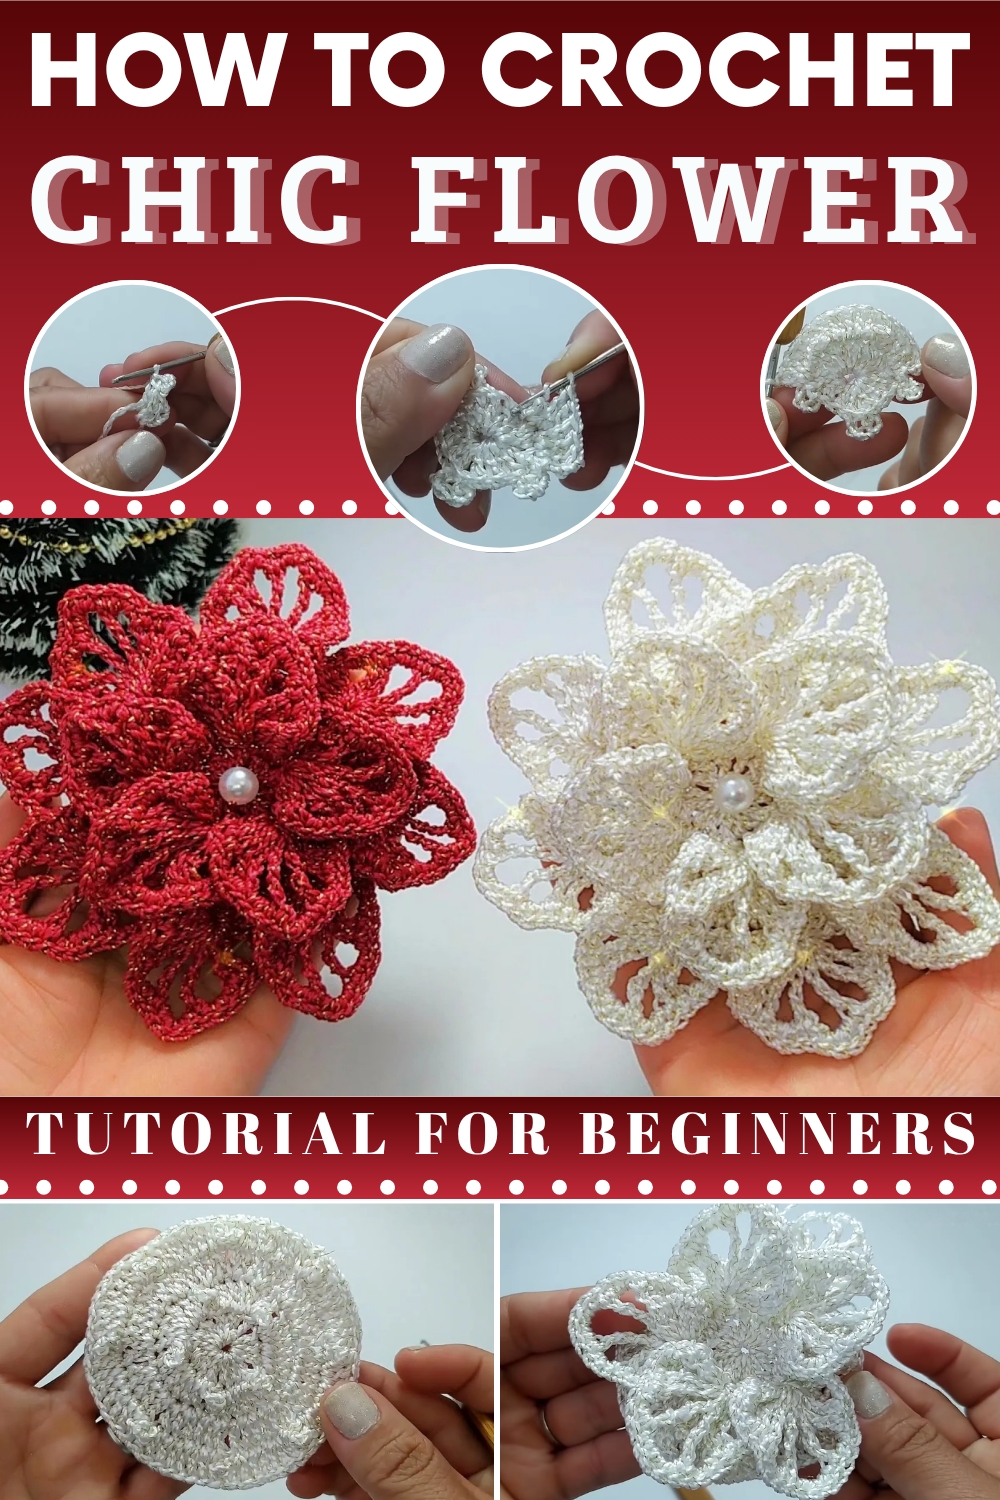
This flower is ideal for a variety of uses. It’s perfect for hair accessories, gift toppers, bookmarks, keychains, or embellishing garments and home décor. The pattern is beginner-friendly, quick to complete, and a great way to use leftover yarn. Its clear steps, small size, and flexible purpose make it especially rewarding for those who enjoy simple, thoughtful projects.
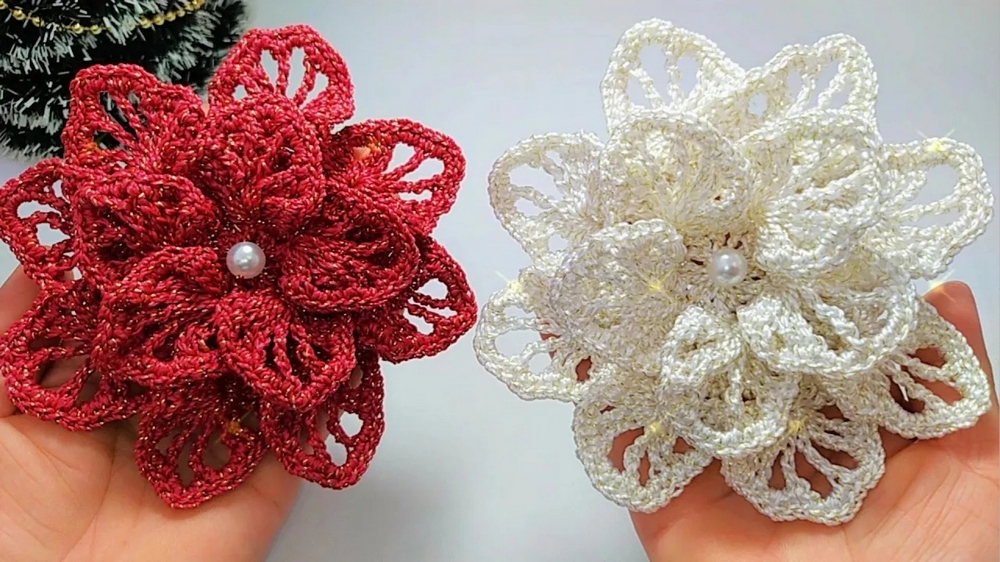
Crochet Christmas Flower Pattern
Materials Needed
- Yarn:
- Shiny silk thread, Tex 288, 100% polypropylene (or a similar shiny yarn suitable for decorations).
- Hook Size:
- Hook size compatible with your yarn (e.g., 3.5 mm or 4 mm for Tex 288).
- Optional Embellishments:
- Pearl bead (size: No. 8).
- Needle and thread for attaching the pearl.
- Scissors for cutting yarn.
- Tapestry Needle for weaving in ends.
Special Techniques
- Magic Ring: Creates a tightly closed center for the flower.
- Slip Stitch (sl st): Connects ends of rounds or secures stitches.
- Chain (ch): Forms the foundation and decorative details like picots.
- Single Crochet (sc): Used for defining the edges and connecting rounds.
- Double Crochet (dc): Main stitch for petals; adds height and structure.
- Double Treble Crochet (dtr): Adds height to petals for a 3D effect.
- Triple Treble Crochet (trtr): Used for elongated and dramatic petal details.
Finished Size
- Approximately 14 cm in diameter (size may vary depending on yarn and hook).
Pattern Instructions
Step 1: Center of the Flower
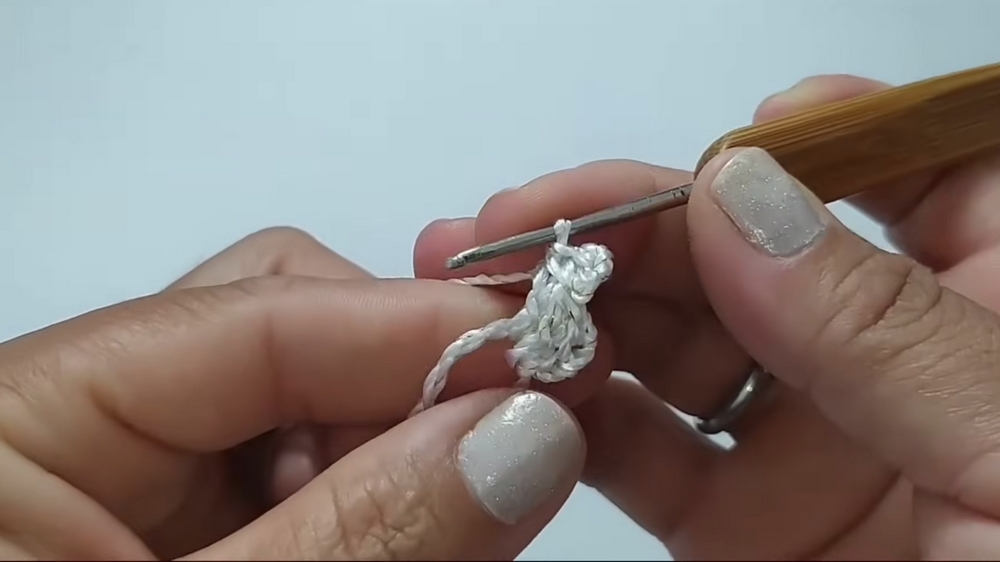
- Start with a Magic Ring:
- Make a loop with the yarn around your fingers, insert the hook, pull up a loop, and chain 1 to secure.
- Round 1:
- Ch 3 (counts as your first dc). Work 14 dc into the magic ring (total: 15 dc in the ring, including the starting chain).
- Pull the tail to close the ring tightly. Insert the hook into the first dc (top of the ch-3) and join with a sl st.
Step 2: First Layer of Petals
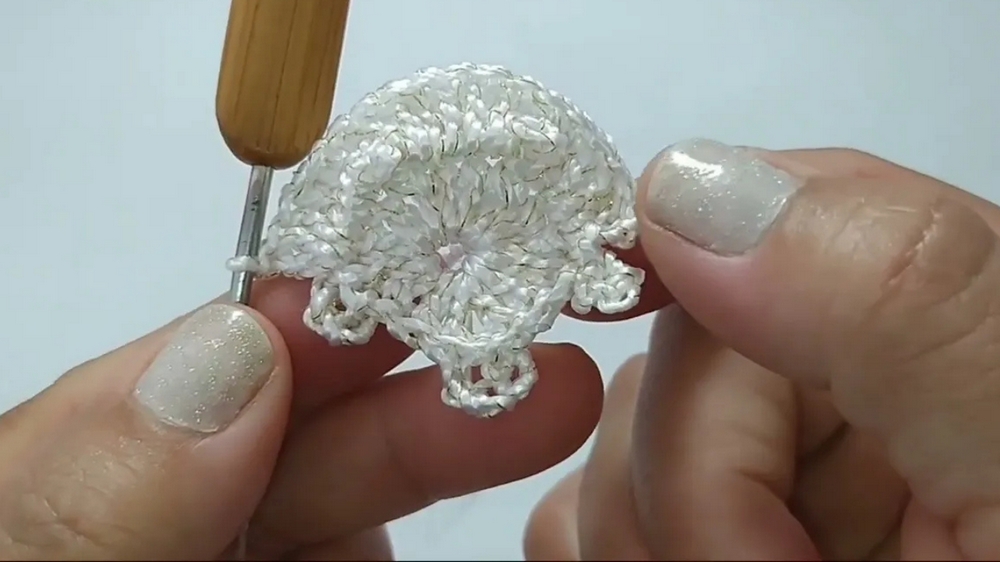
- Round 2:
- Begin by chaining 3 ch (counts as your first dc).
- Work 2 dc into the same stitch (this makes your first "petal group").
- Ch 5 to form a picot.
- Insert the hook into the top of the last dc, grab the yarn, and close with a sl st to create the picot.
- Work another 3 dc in the same stitch.
- Continue working (3 dc, picot, 3 dc) into each stitch around.
- You’ll have 5 petal groups in total. Slip stitch into the top of the ch-3 from the start.
Step 3: Second Layer of Petals (Increases)
- Round 3:
- Chain 3 ch (counts as first dc).
- Work 2 more dc into the same space, forming your first increase group.
- In the next stitch, work 2 dc (increase), then follow with 1 dc in the next space.
- Repeat the increase pattern:
- 2 dc in one space, 1 dc in the next, around the row.
- Continue until you finish this round. You should end with 30 dc. Slip stitch into the top of the starting chain to join.
- Optional Adjustments for Extra Dimensions:
- Add an extra dc in one or two spaces to make the round total 32 dc. This helps ensure symmetry in the next round.
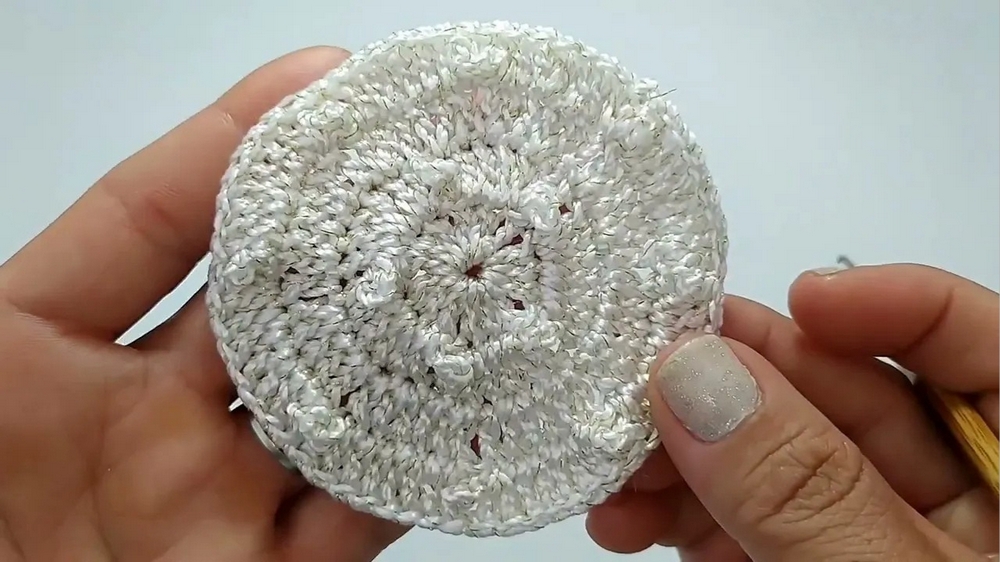
Step 4: Third Layer of Petals (Larger Petals)
- Ch 3 (counts as first dc). In the following stitches, work:
- 1 dc, 2 dc (increase) in the next stitch, then 1 dc in the following stitch.
- Repeat this sequence to create petal bases.
- Decorative Elements for Petals:
- After completing 6 dc in a section, work a 5-ch picot at the top of the last dc stitch.
- Continue the pattern of 6 dc per petal with a picot at the top. Work this sequence around the flower until you have 8 petals.
- Join the round with a slip stitch to the starting stitch and fasten off.
Step 5: Final Layer of Petals (Outer Layer for Depth)
- Insert your hook into the spaces between petals from Round 2. You will be creating a second layer behind the first.
- Work the same petal sequence as before:
- Start with 3 dc, followed by a picot, 2 double treble crochets, and 1 triple treble crochet.
- Add 4 chains at the apex of the petal before beginning to decrease. Reverse the petal structure on the other side (trtr, dtr, picot, 3 dc).
- Repeat this sequence in each petal gap to yield 8 large, outer petals.

Finishing Details
- Single Crochet Border:
- Work a round of sc stitches around the edges of the petals to define their shape and add a polished finish.
- For picots or spaces, work 3 sc into chain spaces to maintain smooth transitions.
- Embellishments (Optional):
- Attach a pearl to the center of the flower using a tapestry needle and thread or fabric glue.
- Sealing and Trimming:
- Cut all loose ends and weave them securely into the backside of the flower using a tapestry needle.
- Use a small amount of fabric glue to secure loose threads for longevity.
Final Words
Congratulations on completing the Crochet Christmas Flower! This stunning piece is elegant, versatile, and perfect for adding a festive or decorative touch to any setting. Consider making several and attaching them to wreaths, garlands, or even as embellishments for gifts. The shiny silk thread and pearl accents provide a luxurious feel that beautifully captures the holiday spirit.
Tips for Success
- Yarn Choices: Use metallic or shiny threads to highlight the petals' intricate structures.
- Tension Control: Maintain even tension, especially in the picots and tall stitches, to ensure a balanced design.
- Customization: You can create smaller or larger flowers by adjusting the number of petals, the starting round, or experimenting with different stitch heights.
- Blocking: Lightly block the finished flower to ensure a flat and even appearance. Use a damp cloth and gently press down the petals.
- Storage: Store the flowers flat to avoid deforming the petals.