
Bright Crochet No-Sew Kitty Pattern to Use as a Travel Companion
Create magic with Crochet No-Sew Kitty and enjoy an easy plush cat project perfect for gifts, nursery decor, and beginner crochet fun.
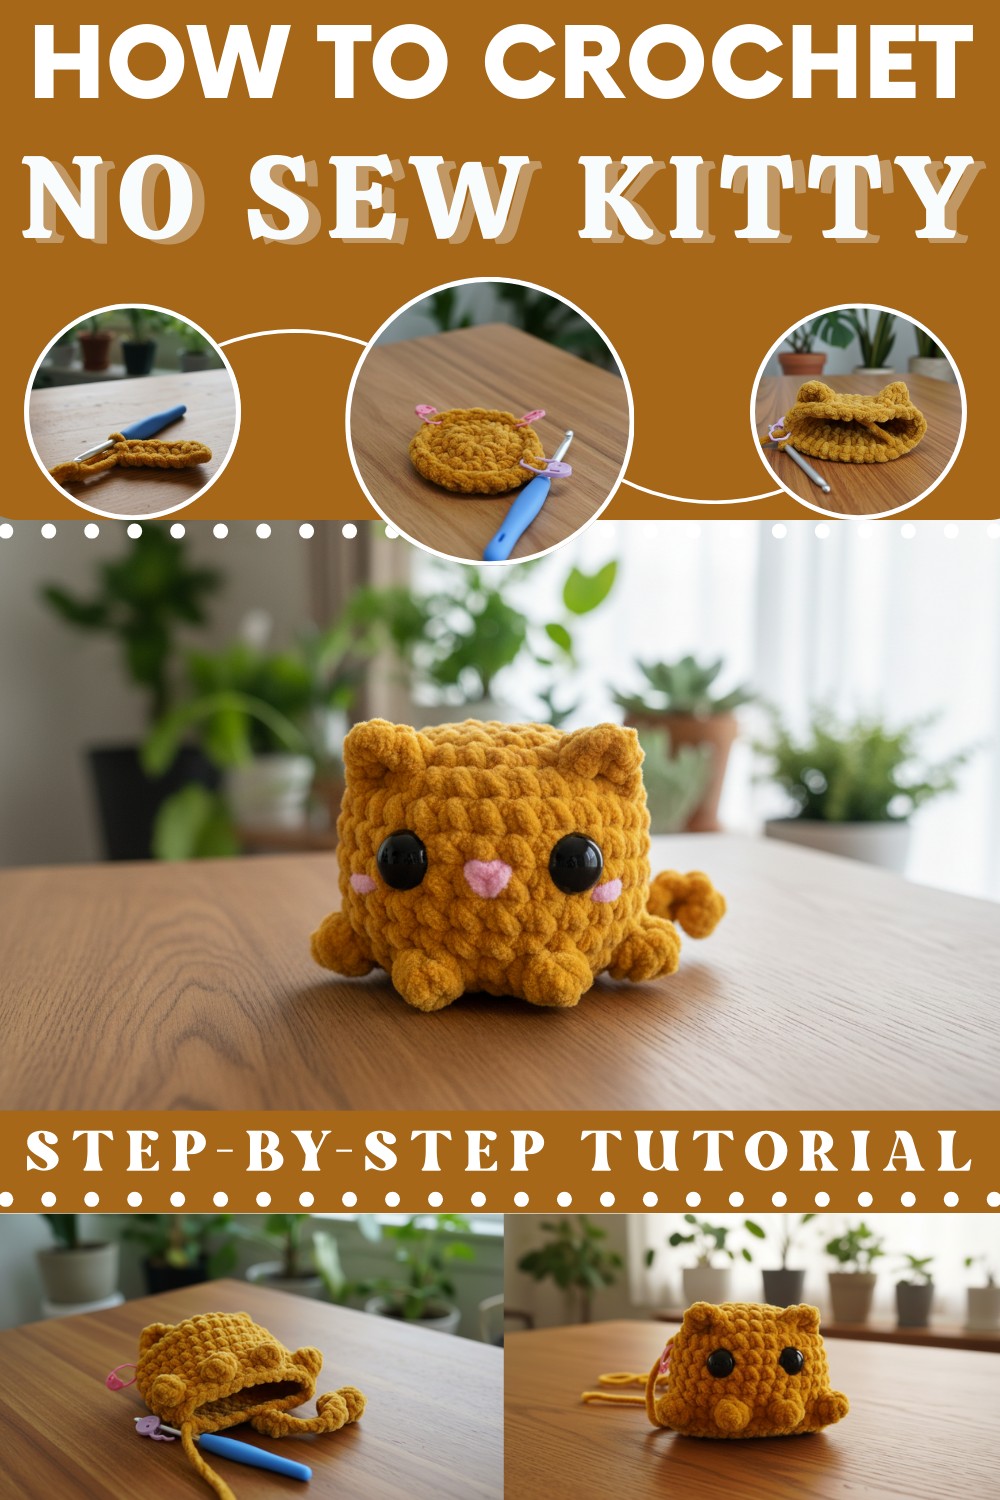
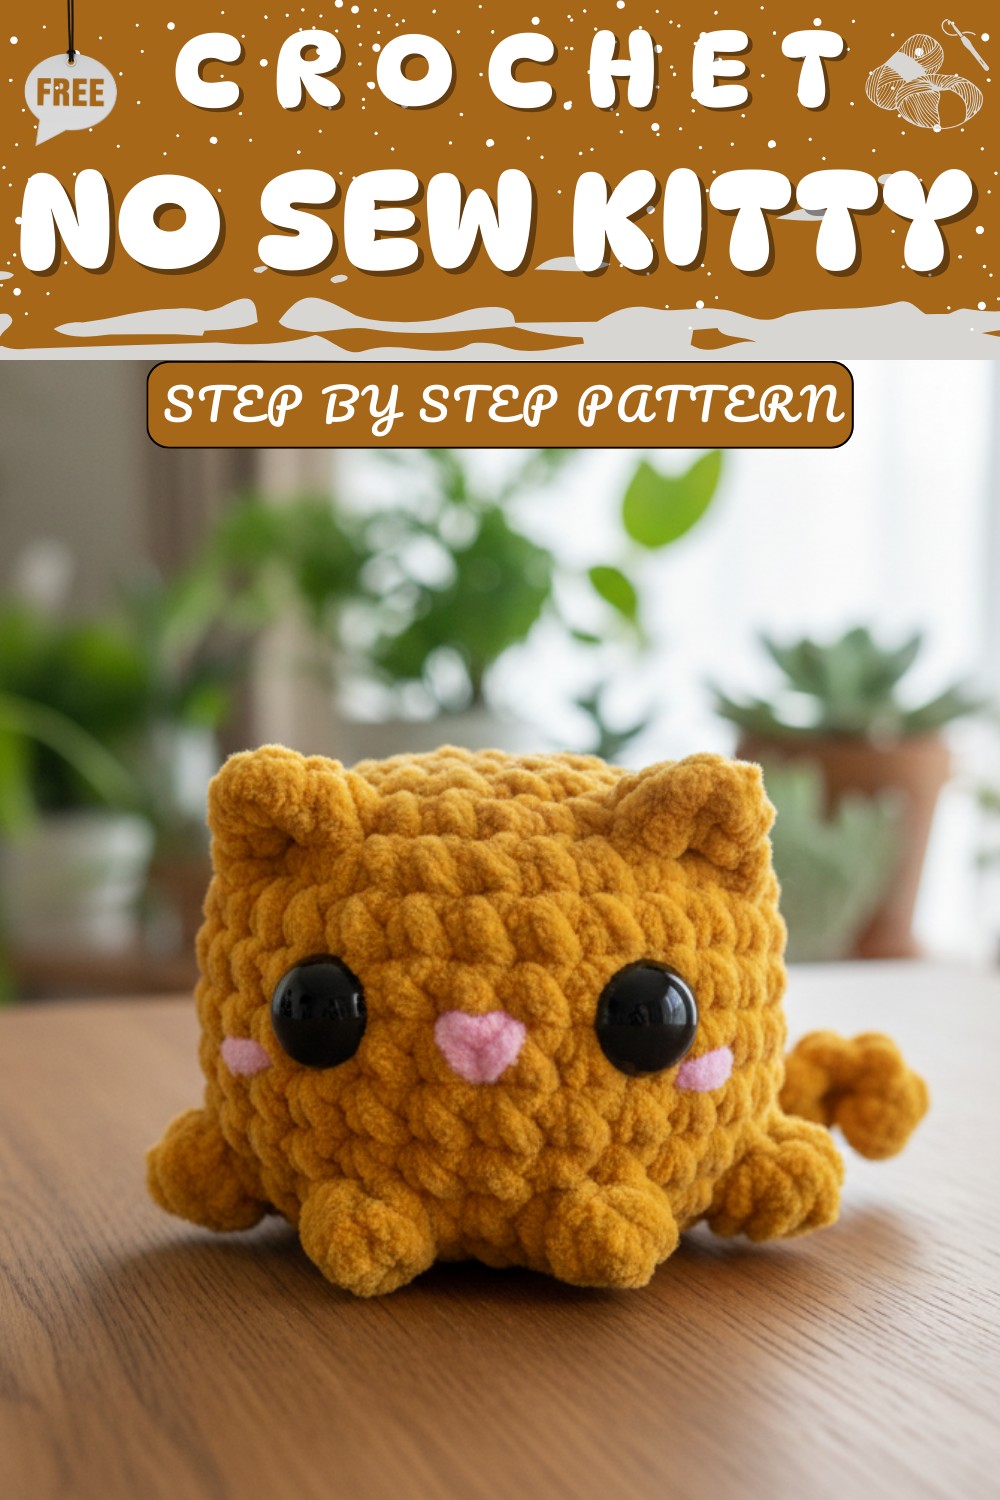
A pocket kitty is irresistibly charming with its adorable 2.5-inch size, soft texture, and whimsical little features that make it a delight for anyone to create. Designed to be small yet full of personality, this Crochet No-Sew Kitty Pattern makes a lovely companion in vibrant colors and varied styles, ideal for decorating shelves, gifting to loved ones, or simply bringing joy to your workspace. Its playful design is enhanced by details like floppy ears, tiny bobble feet, and even a curly tail that adds a lively touch to its overall look.
A Fun and Simple Way to Make This Crochet No-Sew Kitty
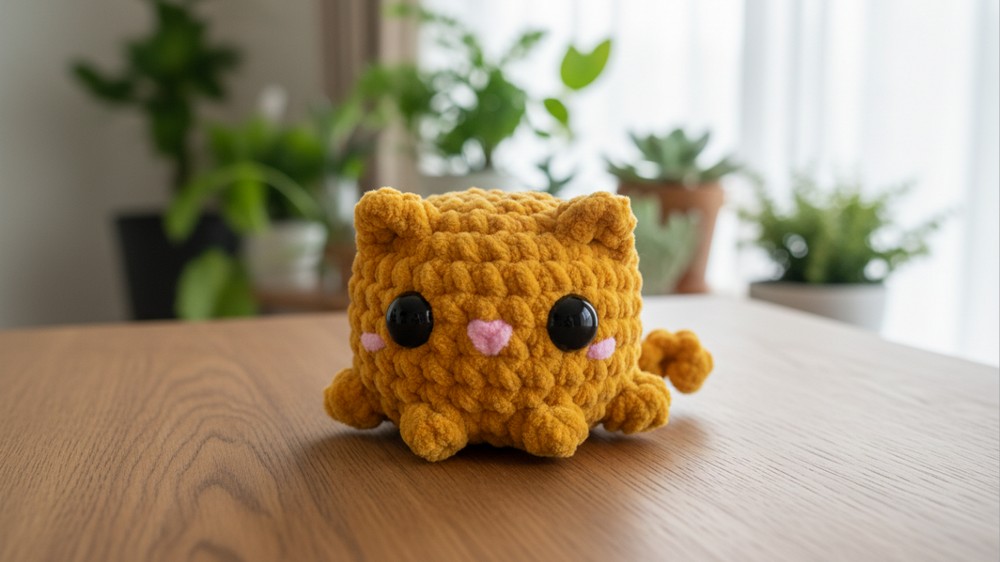
This pocket kitty can accompany you on your bag as a charm or sit cozily as a desk buddy. You could even make two to give it a friend—because why not spread double the cuteness? With a straightforward approach and endless customization possibilities, crafting this kitty is a treat.
Special Features
- Size: 2.5 inches tall.
- Material: Bulky chenille yarn for a soft and plush finish.
- Difficulty Level: Beginner-friendly, but a fun challenge for anyone due to small details like ears, bobbles (feet, hands, and tail), and shaping.
- Uses: Perfect as a gift, decoration, or pocket-sized friend.
- Tutor’s Suggestions: Add variations in color and make a pair of kitties for extra cuteness. The tutor also recommends making a matching “Pocket Pup” as a companion.
Supplies Needed
- Yarn: Bulky chenille yarn.
- Hook: H hook (5.0mm recommended in the video).
- Stitch Markers: Recommended for tracking specific areas like ears and rounds.
- Stuffing: Fiberfill or similar materials.
- 14mm Safety Eyes: For finishing the face (optional size as per personal preference).
- Yarn Needle: For sewing and weaving in the ends.
Step-by-Step Pocket Kitty Pattern
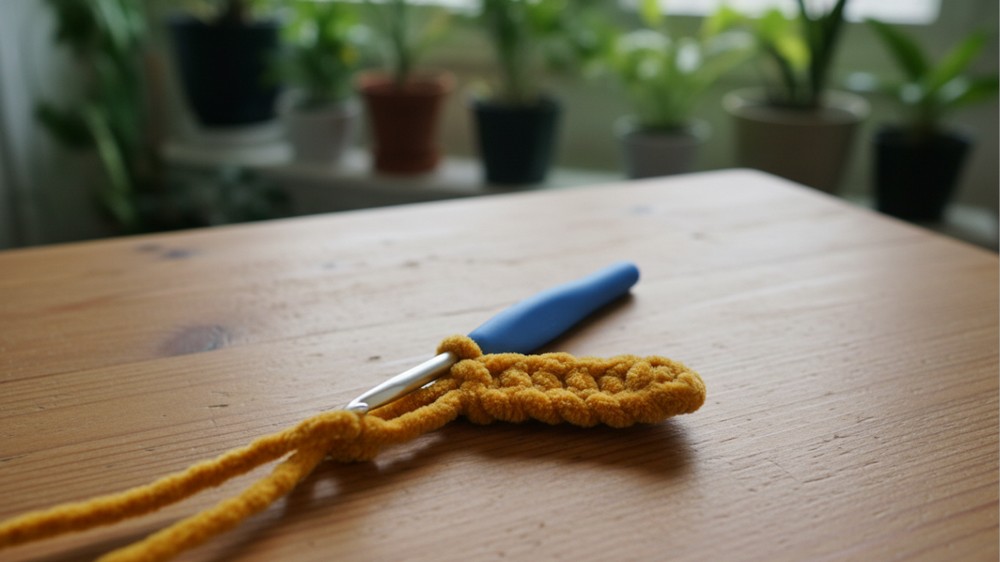
1. Base and Initial Rounds (Body)
- Start with the Foundation:
Begin with a slip knot and chain 7. - Round 1 (Body Foundation):
- Single crochet (SC) in the second chain from the hook.
- Single crochet across in the next 5 chains (6 SC total).
- Rotate your work and crochet 6 SC into the other side of the chain to form an oval base.
- Total stitches at the end of this round: 12 stitches.
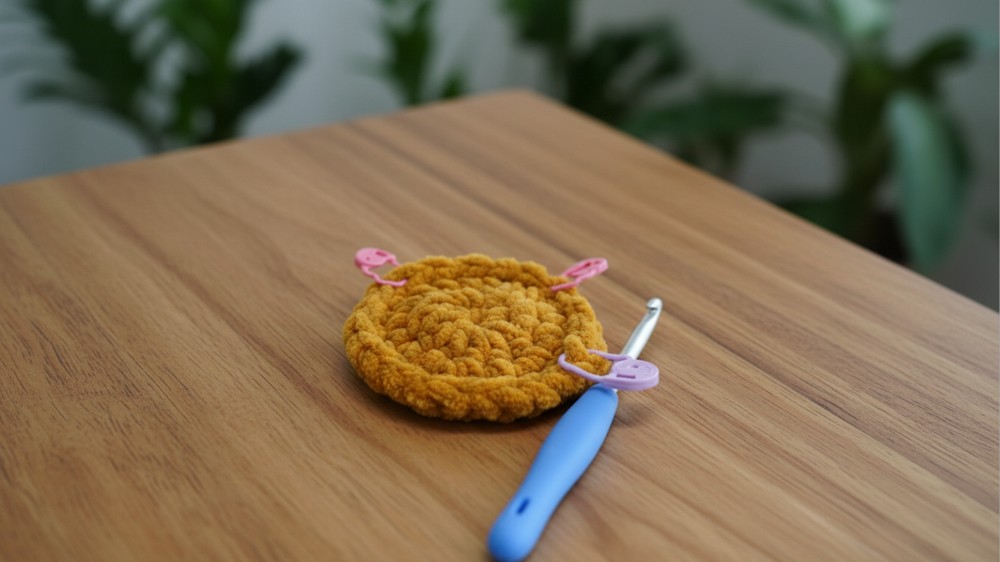
- Round 2:
- Start working in continuous rounds.
- Increase: Work 2 single crochets (SC) into the first stitch.
- Single crochet (SC) in the next stitch.
- Repeat this sequence (1 increase, 1 SC) all the way around.
- Total stitches: 18 stitches.
- Round 3:
- Increase: Work 2 SC into the first stitch.
- Single crochet (SC) in the next 2 stitches.
- Repeat the sequence (1 increase, 2 SC) all the way around.
- Total stitches: 24 stitches.
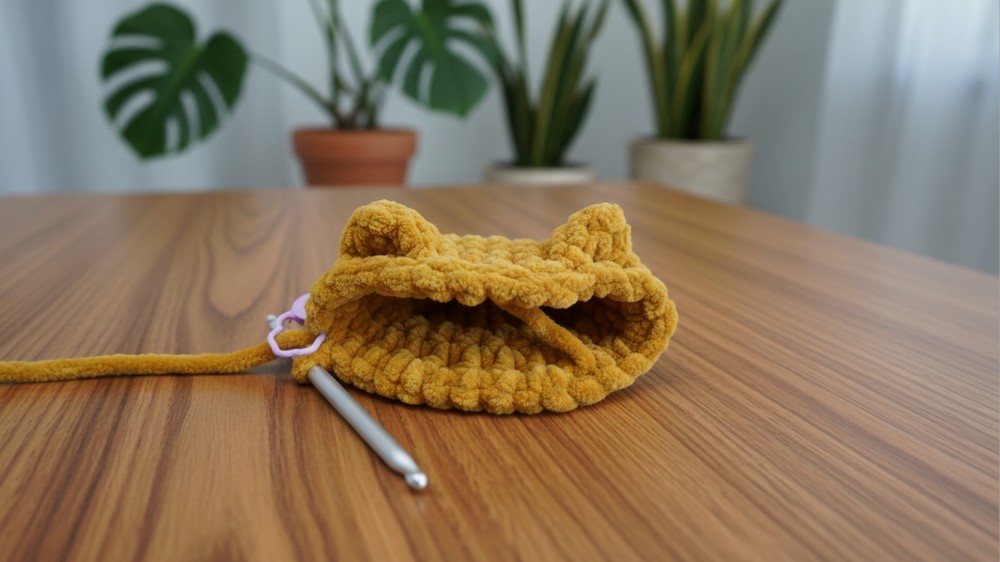
2. Adding the Ears
- Mark Points for Ears:
Use stitch markers to mark the 4th stitch and the 10th stitch in the round for ear placement. - Creating the First Ear:
- In the front loop only of the marked stitch, work the following:
- Half double crochet (HDC).
- Double crochet (DC).
- Another half double crochet (HDC).
- Use stitch markers to secure these stitches for the next round.
- In the front loop only of the marked stitch, work the following:
- Single Crochet Between Ears:
- SC in the next 5 stitches.
- Create the Second Ear:
- Repeat the same process as the first ear in the front loop of the second marked stitch: HDC, DC, HDC.
- Complete the Round:
- Finish the round with 14 SC, leaving the ear stitches marked.
3. Shaping the Body
- Rounds 6 to 10:
- Single crochet (SC) in each stitch all the way around, keeping the total stitch count 30 stitches. Use a stitch marker to mark the beginning of Round 6 to make counting easier.
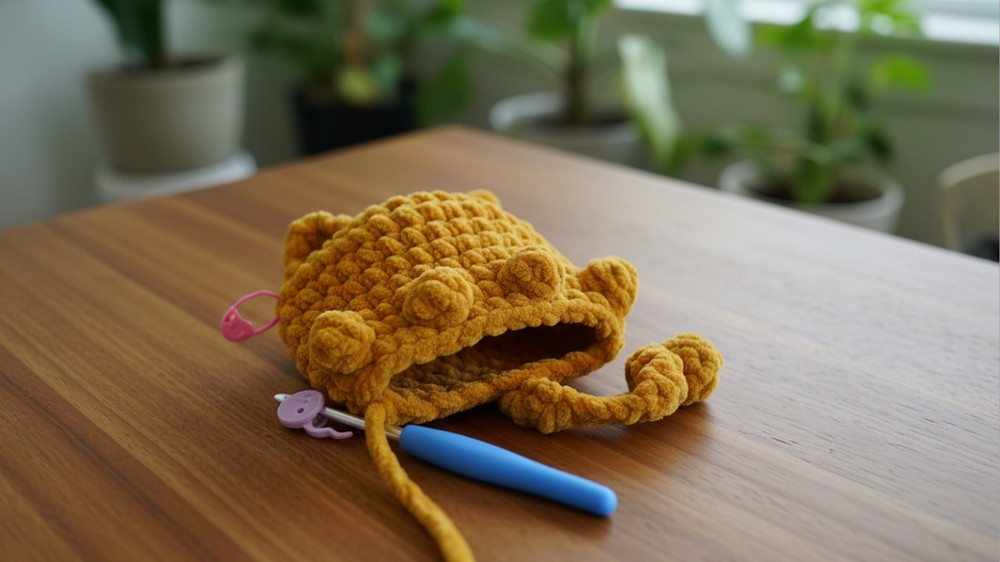
4. Adding Feet, Hands, and Tail (Round 11 - Bobble Round)
- Bobble Stitch for Features:
- Bobble stitches create the feet, hands, and the tail of the kitty.
- Bobble Stitch: Yarn over, insert into a stitch (front loop only), yarn over, pull through 2 loops. Repeat 5 times, leaving 6 loops on the hook, then yarn over and pull through all loops.
- Use smaller bobbles (3 double crochets undone) for hands and create a long chain tail for the back.
- Sequence for Round 11:
- SC in the first 3 stitches.
- Add a bobble stitch (front loop) for a foot.
- SC in the next 3 stitches.
- Add a small bobble stitch (front loop) for a hand.
- Repeat bobbles and SC for the second foot, hand, and also create a chain tail (optional).
5. Adding the Face
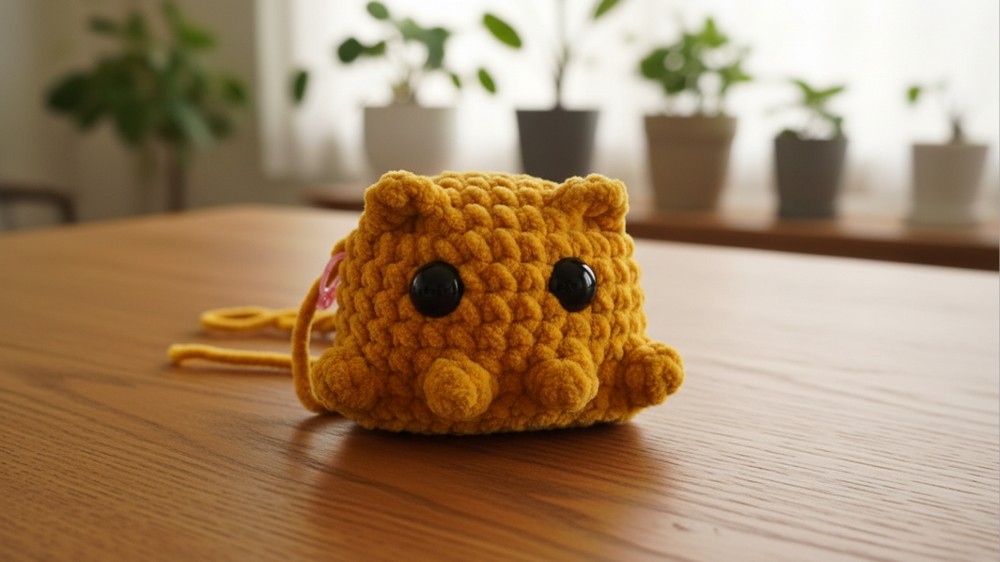
- Eyes Placement:
- Place 14mm safety eyes between Round 7 and 8, leaving 4 stitches between them. Secure them with backs.
- Nose & Cheeks:
- Use pink yarn and a yarn needle to stitch the nose in between the eyes. For a heart-shaped nose, stitch a “V” shape. Add small cheeks with the same pink yarn near the eyes.
- Ensure the yarn is properly secured inside to avoid pulling when stuffing.
6. Closing and Shaping
- Stuffing:
- Add stuffing at Round 13, being careful not to overstuff as it could distort the shape.
- Round 14:
- Work decreases: SC 2 stitches together (invisible decrease) followed by SC in the next stitch. Repeat.
- Reduce the total stitch count to 18 stitches.
- Round 15 (Final Closure):
- Work all decreases until only 6 stitches remain.
- Use a yarn needle to close the hole by weaving through the remaining stitches. Pull tight to secure.
Conclusion
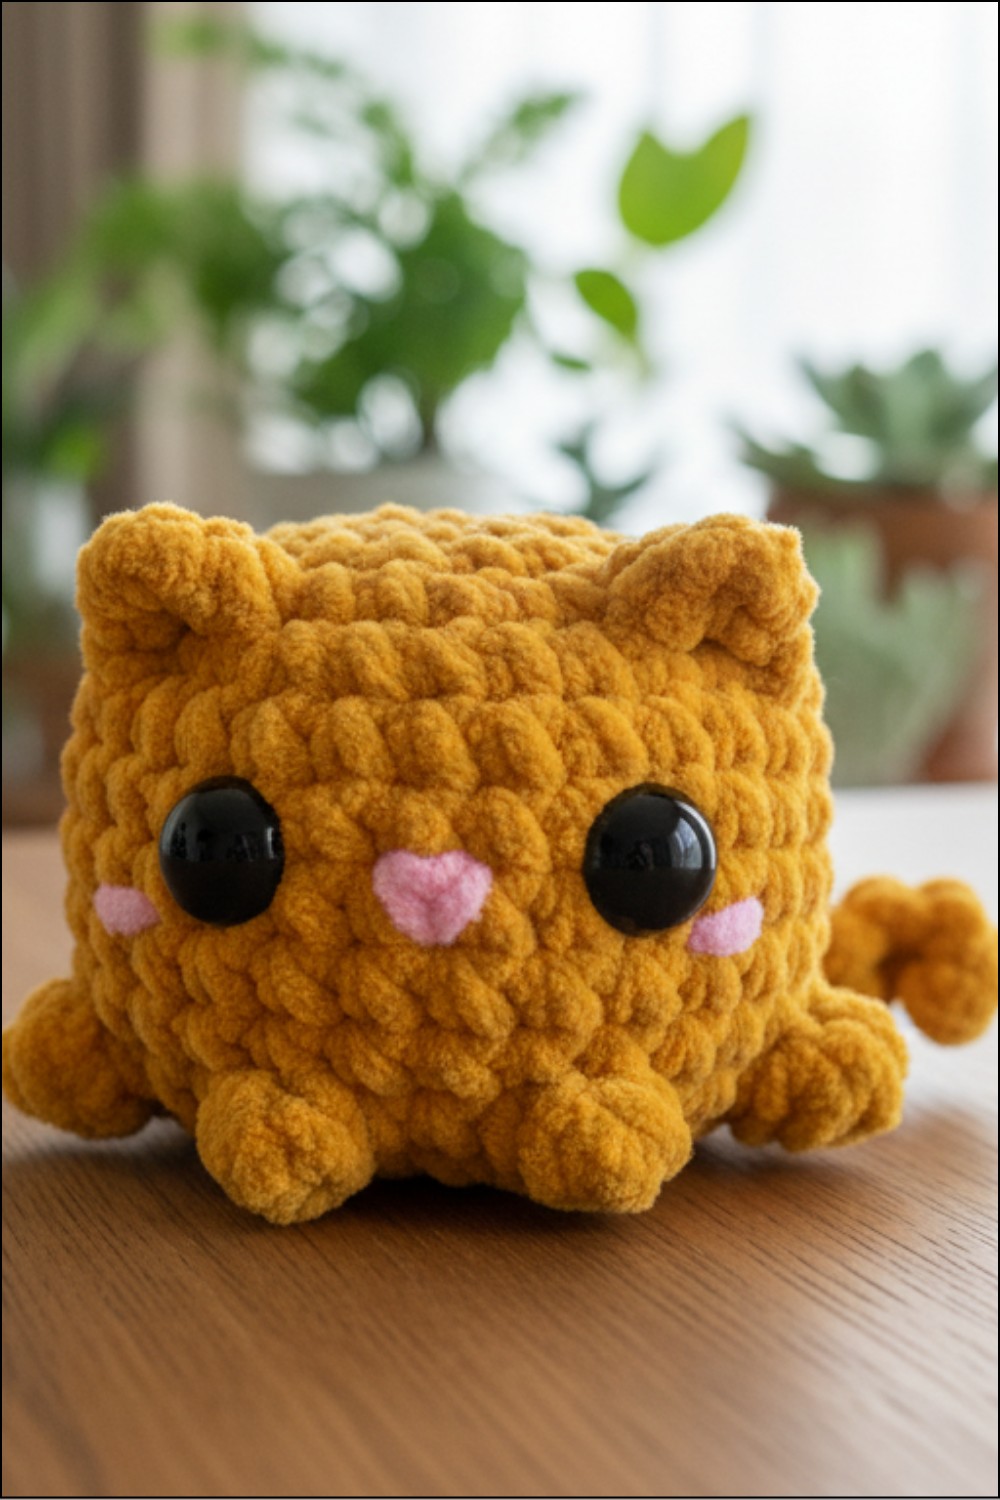
Your adorable Pocket Kitty is now complete! From its tiny floppy ears to its playful bobble feet and curly tail, this mini kitty is full of personality. Whether you make one for a child or keep it as a companion of your own, the Pocket Kitty is sure to bring joy.
Tip for Beginners
When working with chenille yarn, it can be tricky to see the stitches clearly. Use a light-colored yarn for easier visibility. Adding stitch markers at each key point will save you time and effort in keeping track of rounds and details.