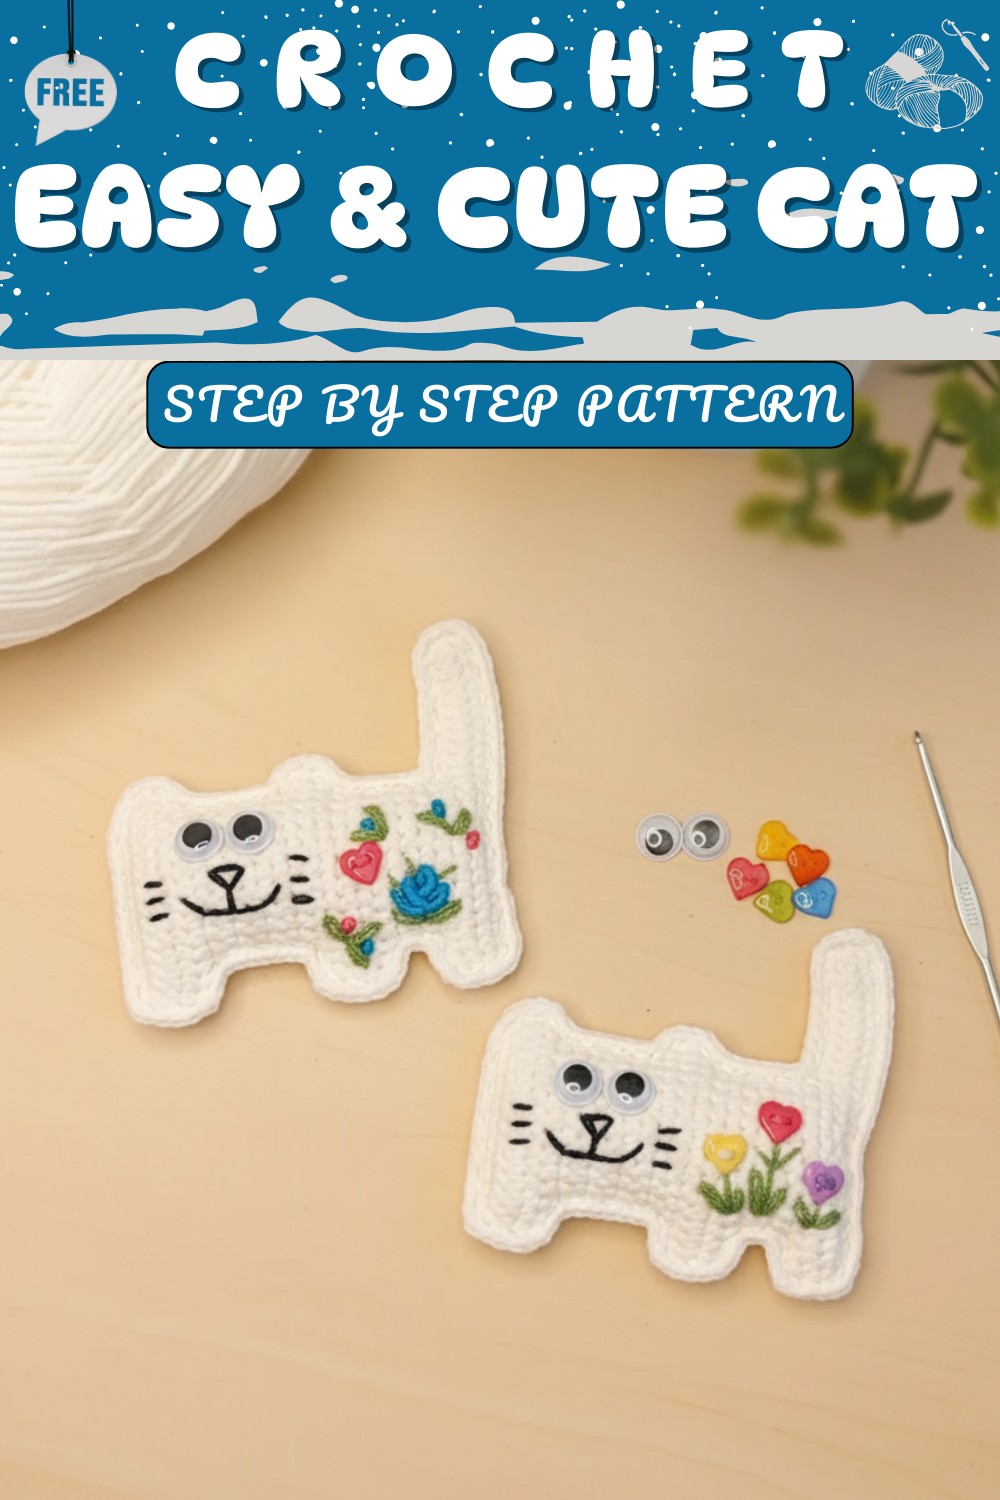
Fantasy-Inspired Crochet Flat Cat Pattern That Captures Hearts
A tiny companion can bring happiness and a touch of charm to your day. This crochet flat cat pattern shows gentle textures and soft yarn that feel pleasant in the hand. Its flat design makes it easy to store in a bag, keep on a shelf, or display on a bed. You can take it along for outings, keep it nearby as a friendly presence, or give it to someone as a thoughtful gift. Each cat has its own tiny details, making it unique and full of character.
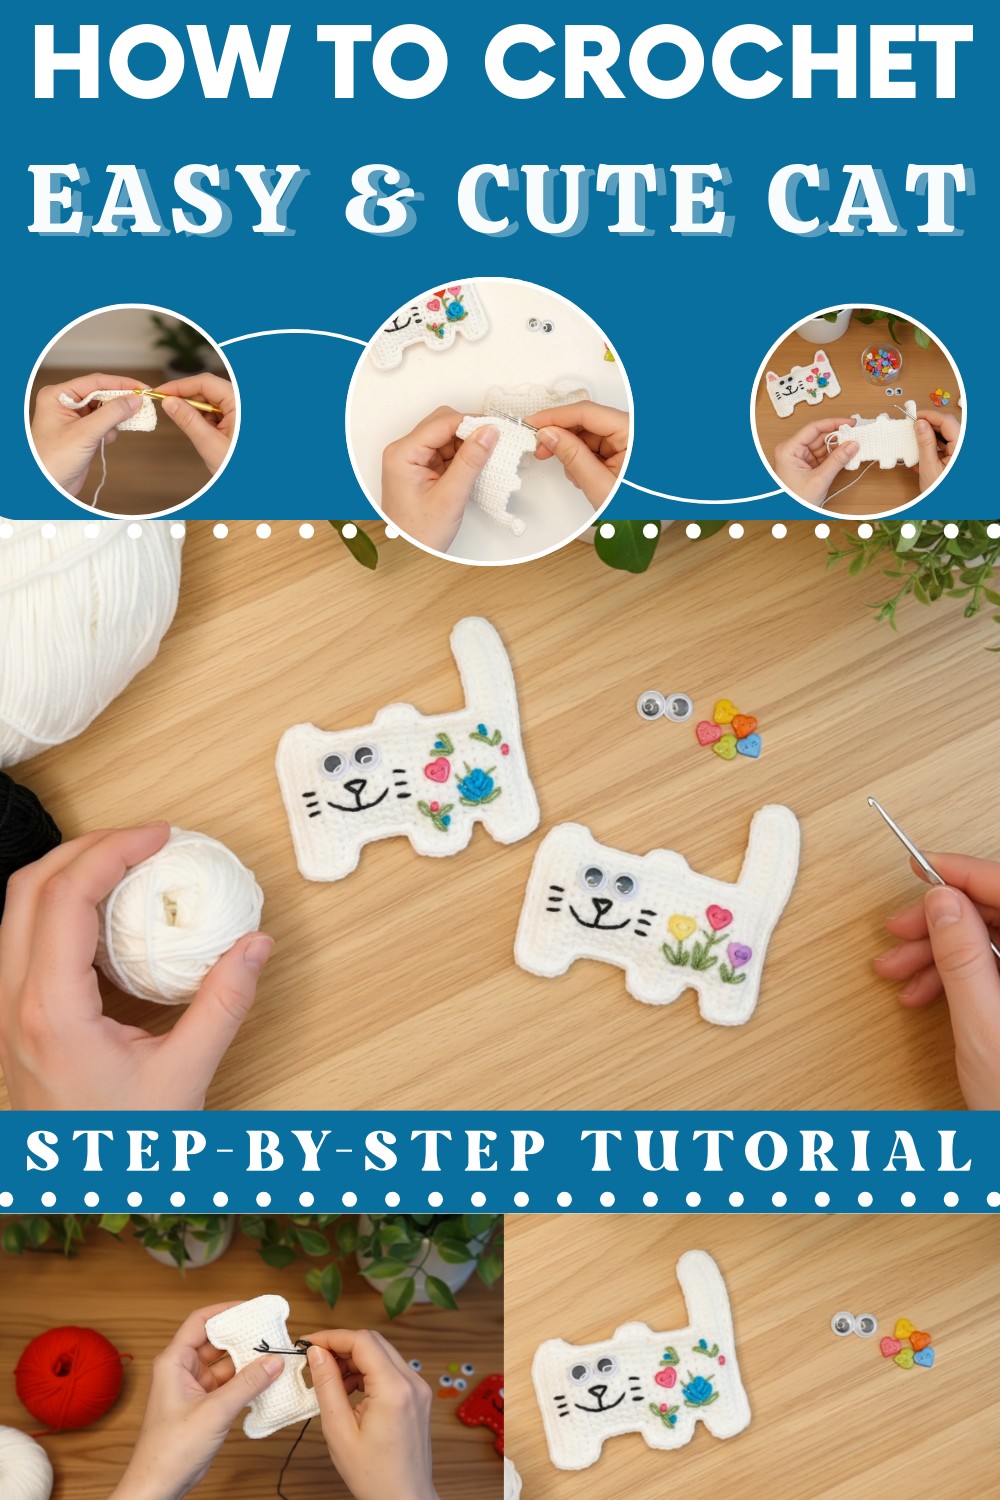
Light, soft, and visually pleasing, it combines comfort and fun in a single piece. This little cat adds personality to any space, turning ordinary corners into cheerful spots. Its playful appearance and comforting feel make it a special item that brings smiles, warmth, and a sense of joy wherever it goes.
Flaunt a lovable creation from this Crochet Flat Cat Pattern that guides you to an adorable design perfect for everyday charm or gifting.
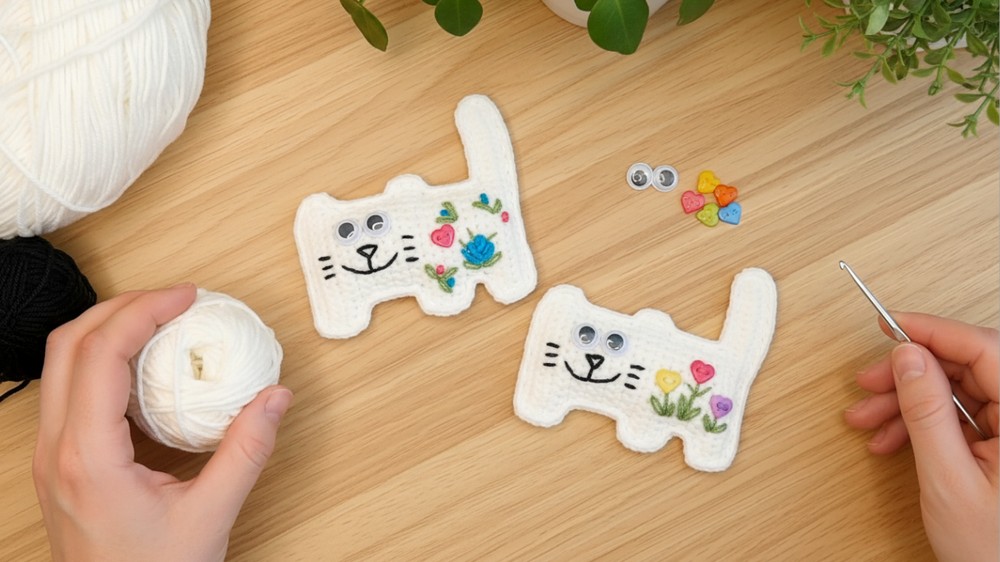
Adorable Crochet Flat Cat Pattern That Every Cat Lover Will Adore
Materials
Yarn
- Primary Yarn: YarnArt Jeans or similar cotton-acrylic blend (Weight: Sport/Light DK).
- Color A (Cat Base): Off White color for the body.
- Color B (Outline): Contrasting shade white, for borders.
- Color C (Details): Yellow, green, blue, or pink for embroidery or decoration.
Hook and Tools
- Crochet Hook: 1.5mm hook (or matching your yarn’s size).
- Stuffing: Polyester fiberfill or holofiber to lightly stuff flat parts like ears, tail, and legs.
- Adhesive: Quick-drying fabric glue for securing features (if using wiggly eyes).
- Additional Decorative Items:
- Wiggly eyes with pupils (optional) for facial features.
- Buttons (e.g., heart-shaped) or ribbons for extra decoration.
- Other Tools:
- Tapestry needle for sewing ends and embroidery.
- Scissors.
Key Stitch Abbreviations
- ch = Chain
- SC = Single Crochet
- SC2tog = Single Crochet Two Together (decrease)
- sl st = Slip Stitch
- st(s) = Stitch(es)
- hdc = Half Double Crochet
Customization Ideas
- Colors: Swap colors for seasonal themes such as orange and black for Halloween, or red and green for Christmas.
- Face Details: Use embroidery for whiskers, a smile, or other facial expressions.
- Embroidery Options: Add flowers or trailing vines using green yarn for extra decoration.
- Additional Features: Sew on buttons, beads, or small ribbons to personalize the toy further.
Special Notes
- Flat Toy Technique: Unlike amigurumi, this pattern creates a flat cat toy consisting of two panels joined together.
- Assembly: Make sure all finishing details and stuffing are added before fully closing the edges.
- Stuffing: Use very little stuffing as it’s a flat toy; overstuffing will lose the desired appearance.
- Glue Warning: Ensure the glue used is safe for fabric if giving the toy to younger children.
Pattern Instructions
Panel 1 & Panel 2 (Make Two Identical Pieces)
Step 1: Create the Base
- With Color A, start with a slip knot on your hook.
- Ch 27 to form the foundation chain.
Step 2: Rectangle Body (Flat Rows)
- Begin from the second chain from the hook:
- Work 1 SC in each ch to the end of the row. (26 sts)
- Ch 1, turn, and repeat 1 SC in each st for 5 rows.
Step 3: Shaping the Tail Section (Decreasing Rows)
- Row 6:
- Ch 1, turn, and skip the first st.
- Work 1 SC in the next 2 sts, then SC2tog.
- Continue working SC in each st across for 13 total sts.
- Row 7: After decreasing, ch 1, turn, and work SC in each st (14 sts).
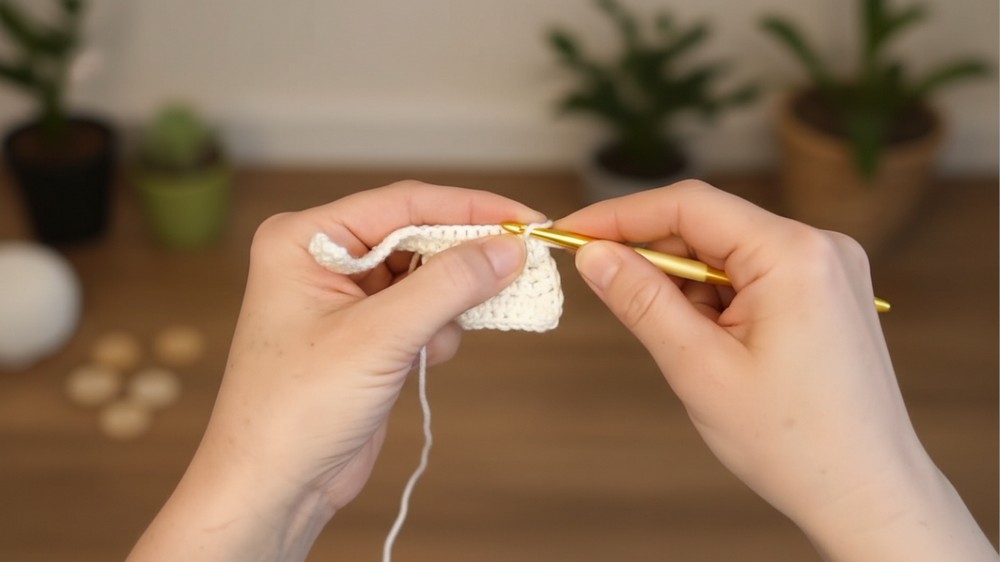
Step 4: Shaping the Ears
- Begin with ch 4 for the ear base.
- Work 3 SC into the chain from the second loop, then crochet 11 SC along the edge of the body.
Step 5: Legs and Details
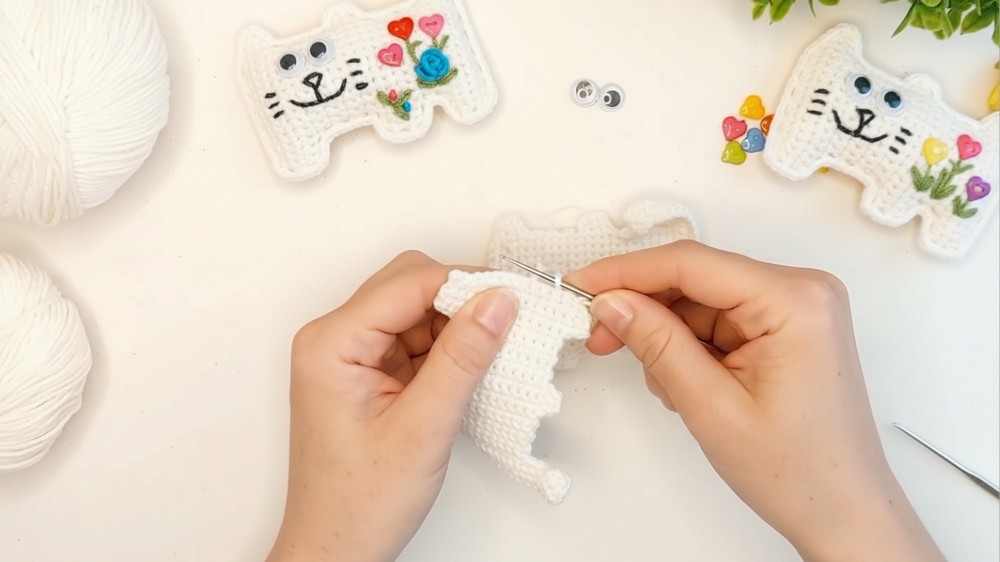
- Legs: Create the legs by chaining and returning with stitches. Leave space between each leg section.
- Holes for the Tail and Legs: Securely work SC into edges to form openings for the tail curve or rounded parts.
Assembly and Joining
Step 1: Preparing the Panels for Joining
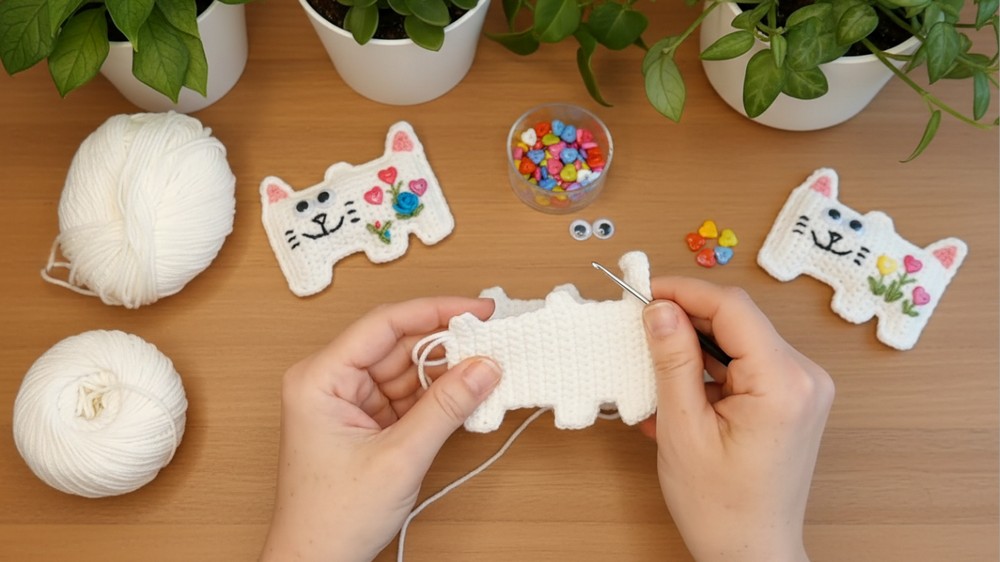
- After completing both panels, align them wrong sides together.
- Ensure the borders and features (like tails and ears) match evenly.
Step 2: Attach Panels
- With Color B (for the border):
- Attach yarn between any two legs or tail section.
- Work sl st or SC through both panels to secure edges neatly.
Step 3: Stuff the Toy
- As you crochet or sew along the panels, gently insert holofiber stuffing into small areas like the tail, ears, and legs to add lift.
- Avoid overstuffing to keep the toy flat.
Decorating the Toy
Adding Facial Features
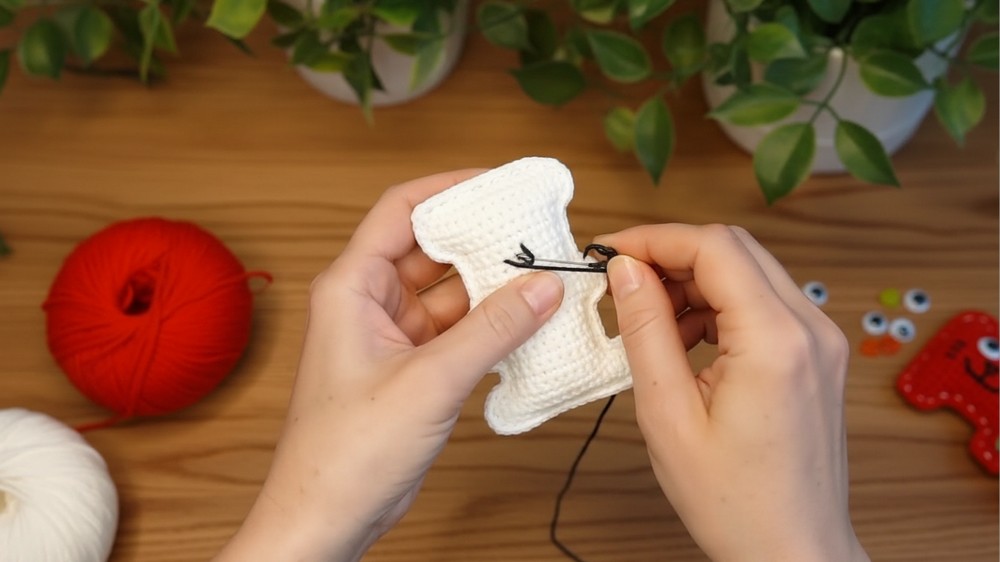
- Use Color C to embroider facial details:
- Nose: Count rows and stitch a triangle shape at the center of the face.
- Mouth and Whiskers: Embroider across the face in evenly spaced rows beneath the nose.
Optional Decorations
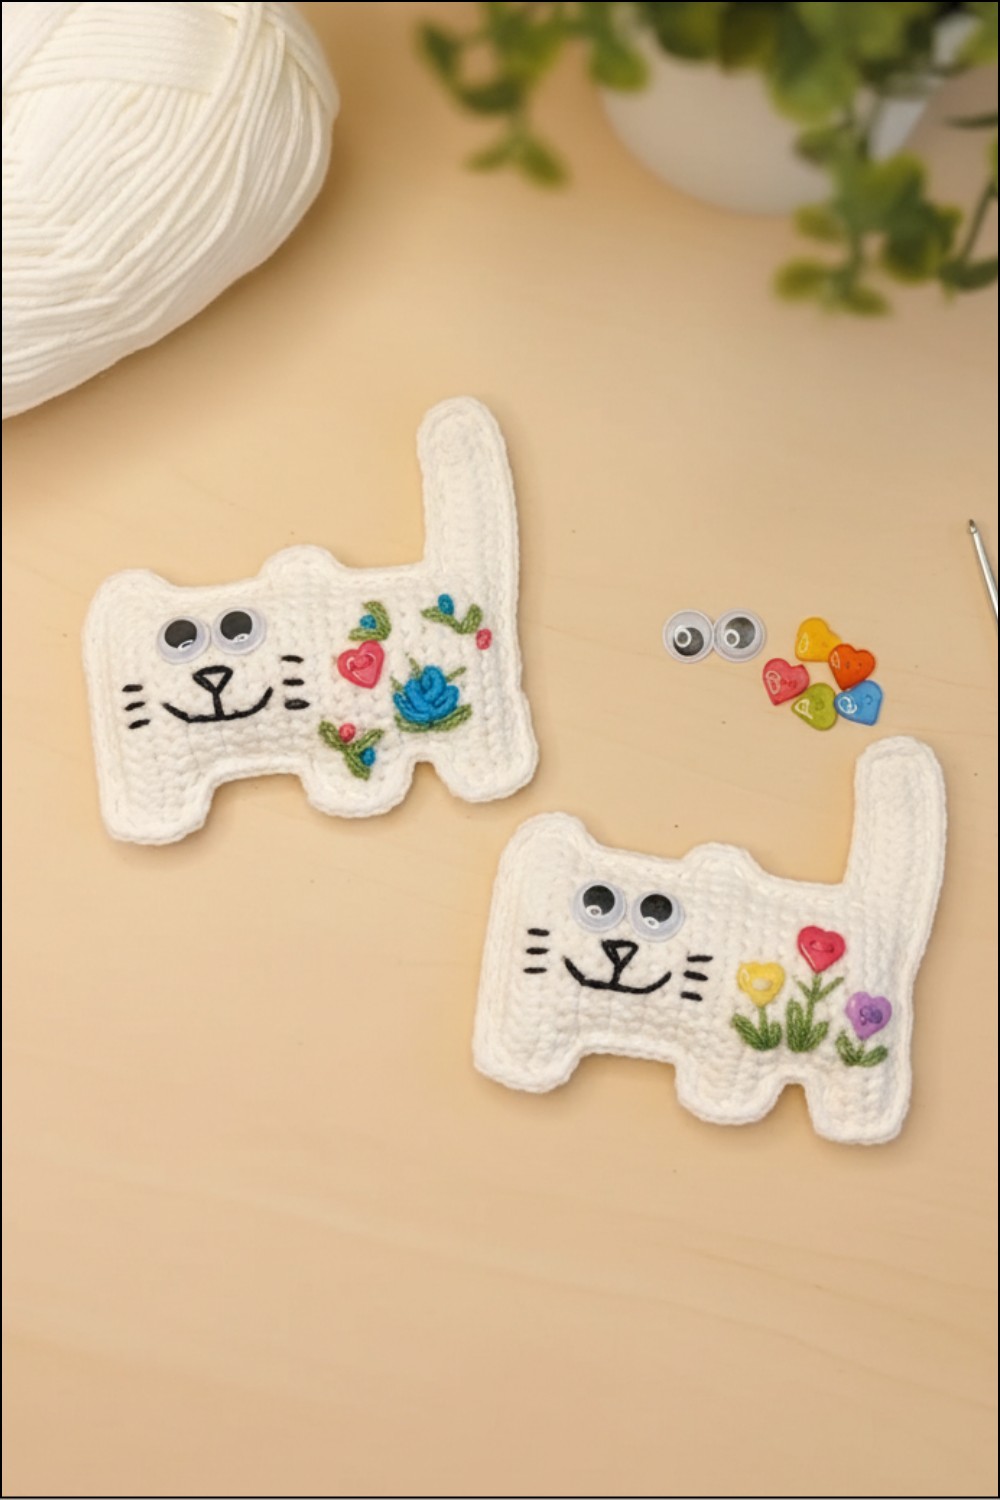
- For extra personality:
- Glue wiggly eyes or buttons in place at the top of the face.
- Create embroidered vines or hearts along the body or tail.
Finishing Details
- Carefully sew together any gaps. Weave in all loose ends using a tapestry needle.
- Secure the closure with a final knot for durability.
- Add glue for facial features like wiggly eyes and allow to dry under light pressure for half an hour.
Conclusion
The flat cat toy is a beginner-friendly crochet project, perfect for gifting or seasonal decor. Its lightweight shape makes it versatile for embellishments—and the addition of embroidery and colorful details allows for endless customization.
Pattern Correction
- Ensure symmetrical shaping of ears and legs on both panels to avoid mismatched assembly.
- Count stitches carefully during decreases to create uniform edges.
Tips
- Embroider First: It’s easier to emboss the facial design on one panel before crocheting both sides together.
- Use Stitch Markers: These are helpful when placing features like legs or ensuring panels align.
- Light Stuffing: Only lightly stuff ears and tails; heavy stuffing will make the toy bulge.