
Amigurumi Shooky Free Crochet Pattern to Make at Home
Bring your beloved Shooky to life with the Free Crochet AMIGURUMI SHOOKY Pattern, a fun and straightforward way to crochet this whimsical character.
Creating small, adorable character toys is a delightful way to practice crochet and add a touch of personality to your handmade collection. One popular project captures the playful charm of a round-faced, mischievous figure with big eyes and a cheeky smile. This pattern offers a fantastic opportunity to crochet a soft, stuffed amigurumi that appeals to both beginners and experienced crocheters alike.
Free Crochet Amigurumi Shooky Pattern with Simple Instructions
The finished toy showcases a smooth, rounded shape with a plush, soft texture that’s perfect for holding or displaying. Its standout design features include an expressive, embroidered face that brings the character’s lively personality to life. Compact and neatly finished, this amigurumi can easily be used as a keychain, desk buddy, or decorative accent. The simple yet eye-catching style makes it a fun addition to any space or accessory collection.
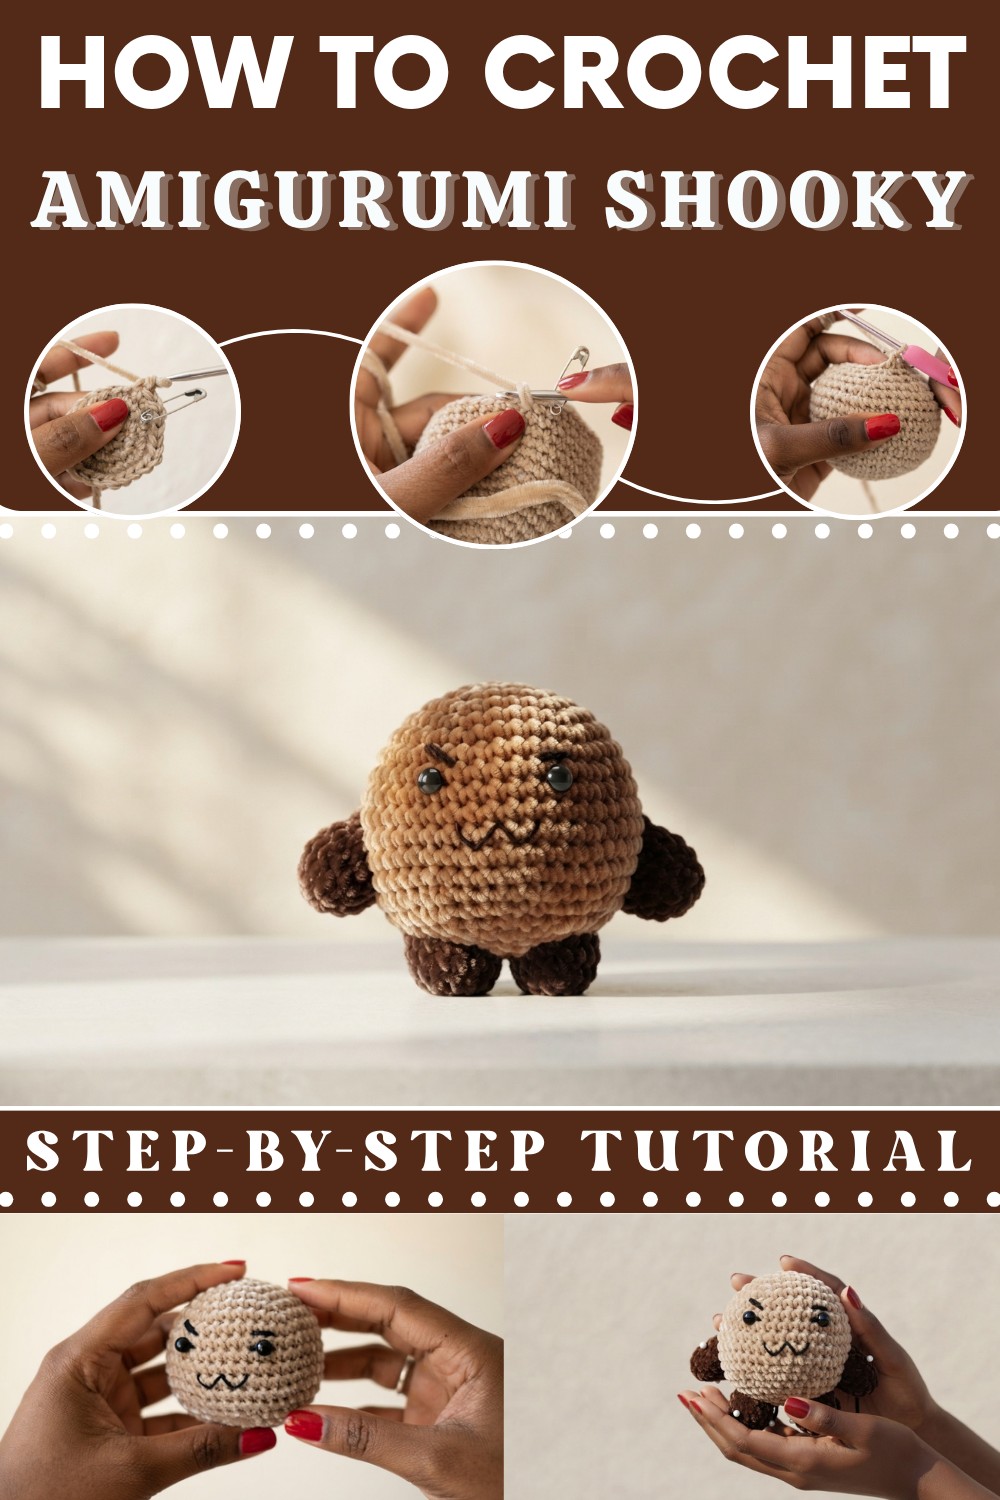
Ideal for crocheters at beginner to intermediate skill levels, this project mainly uses single crochet stitches worked in continuous rounds to build a firm and consistent fabric. It also incorporates basic shaping techniques and simple facial embroidery, which add charm without making the pattern complicated or overwhelming.
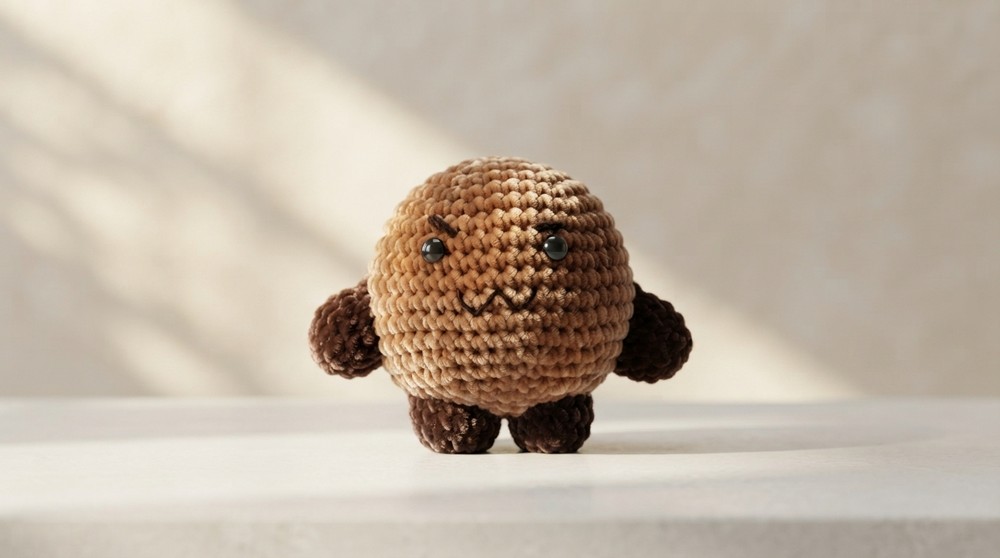
This free crochet AMIGURUMI SHOOKY pattern is a wonderful choice for anyone seeking a quick, enjoyable project that results in a cute and versatile creation. Whether you make it as a thoughtful gift, a unique decoration, or a wearable accessory, this amigurumi is sure to bring joy and a splash of fun to your crocheting experience.
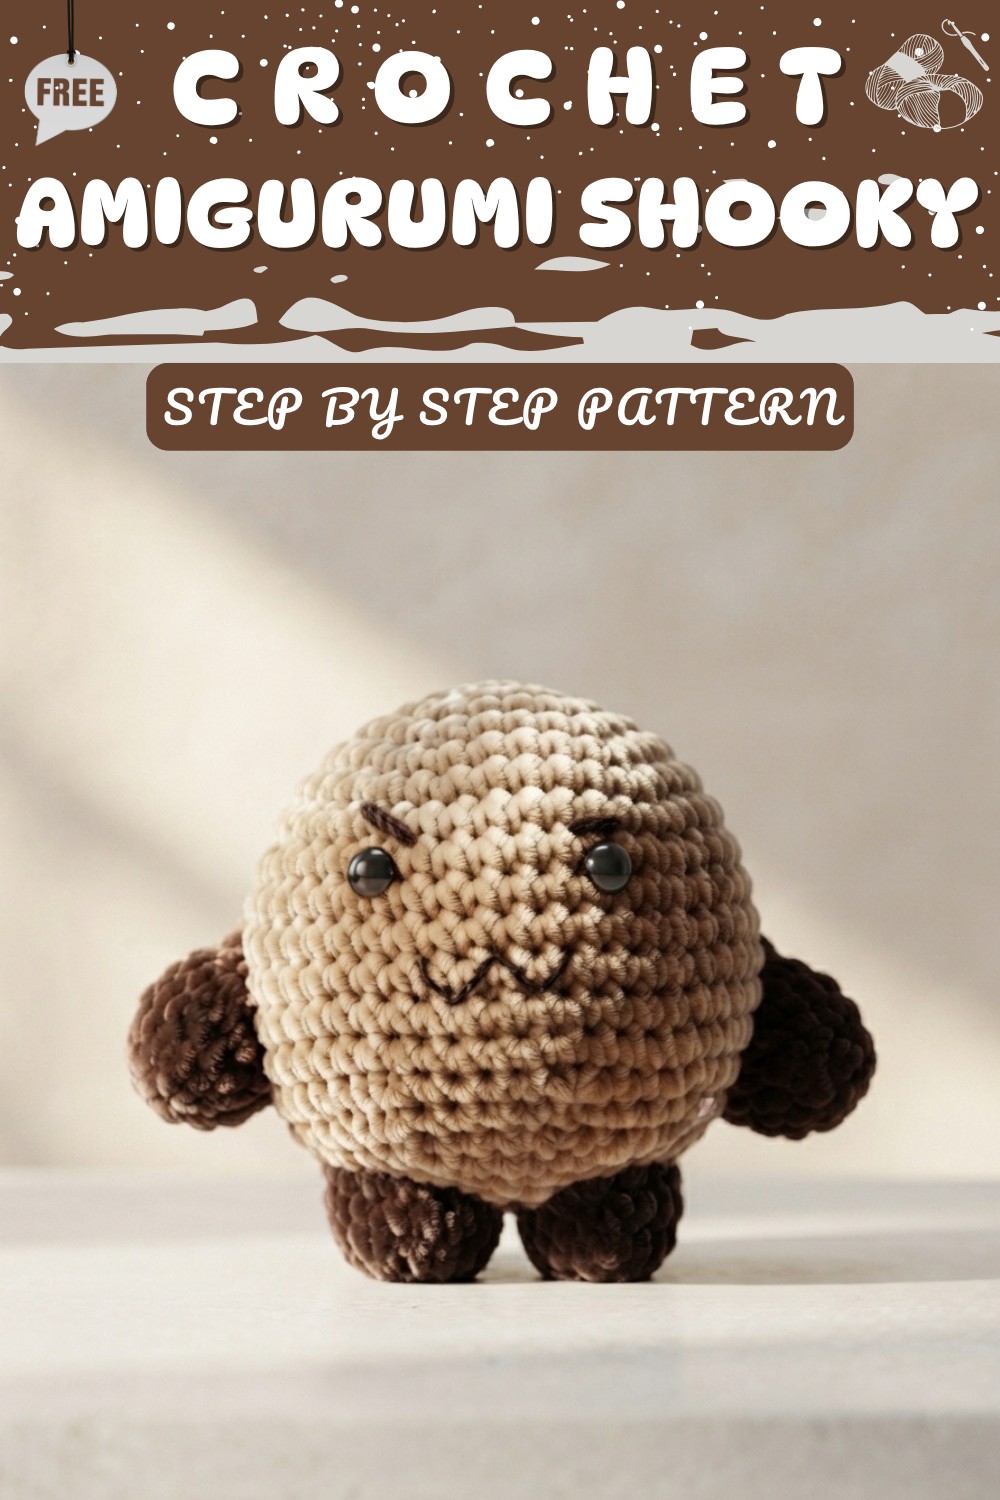
Crochet AMIGURUMI SHOOKY Free Pattern
Making your own amigurumi Shooky is a fantastic project for anyone just starting out. Shooky is a beloved character known for being a mischievous little cookie, and because this design is essentially a rounded, circular shape with simple limbs, it is the perfect "first project" to help you learn how to crochet in the round without getting overwhelmed. This guide is written specifically for beginners, breaking down the complex parts into simple, manageable steps. By following this pattern, you aren’t just making a toy; you are learning how to create 3D shapes from a flat piece of yarn, which is the magic of amigurumi. We will focus on keeping your stitches tight and even so your character looks professional and clean. Take your time, breathe, and remember that every stitch is practice. Let’s turn that yarn into your new favorite cookie friend!
Quick Overview Of Pattern
-
Technique: We use the "continuous round" method, which means we don’t stop or join the yarn at the end of each circle; we just keep spiraling outward and then inward.
-
The Shape: The body is a simple sphere (a ball shape) that you will build up, then close.
-
The Limbs: You will create four identical, small, tube-like pieces—two for the arms and two for the legs.
-
Skill Level: Very Beginner-Friendly.
-
Assembly: Once all pieces are crocheted, you will sew them together and add the face.
Notes
-
The "Invisible" Difference: In this pattern, you will see the term "Invisible Decrease." Don't let the name scare you! It is just a special way to make the hole where you decrease your stitches look neat instead of gapped. It keeps the "stuffing" inside the cookie where it belongs.
-
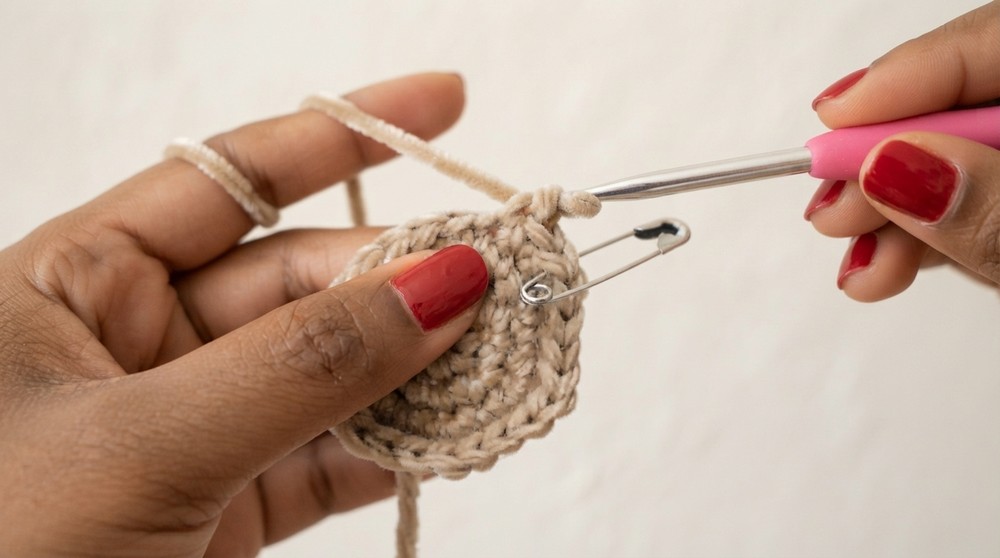
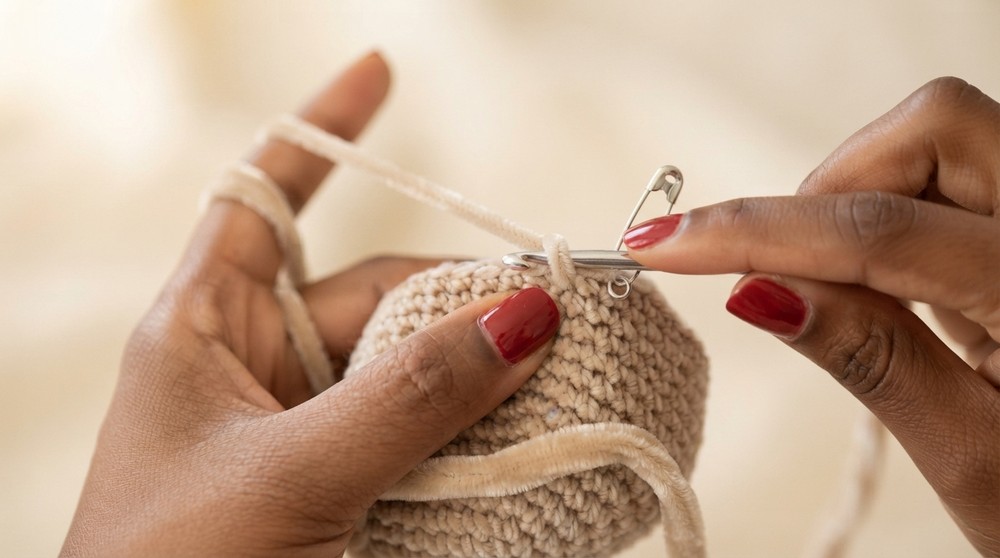
Stitch Markers are Your Best Friend: Because we are working in continuous rounds, it is easy to lose count of where your circle ends. Always use your safety pin or stitch marker to mark the very first stitch of every round. If you don't use it, you will get lost—trust the marker!
-
Keep it Tight: When you make your single crochet stitches, try to keep the yarn tension somewhat firm. If your stitches are too loose, the "stuffing" inside the toy will peek through the holes, and we want Shooky to look solid and smooth.
-
Stuffing: Don’t wait until the very end to stuff the toy. Stuff it gradually as the opening gets smaller. It is much easier to push the stuffing into a larger opening than a tiny one.
Skill Level
Beginner. This pattern focuses on the three main building blocks of amigurumi: the Single Crochet, the Increase, and the Decrease.
Materials
-
Yarn: One ball of Dark Brown (100% poly-acrylic) and one ball of Light Brown (80% poly-acrylic, 20% wool blend). You can use any yarn you have on hand, but try to keep the weights similar.
-
Crochet Hook: A 3.5mm hook works best for this weight of yarn.
-
Stuffing: Polyester fiberfill (often called toy stuffing).
-
For the Face: Two small black beads for eyes, and thin black and white thread for the mouth and eye highlights.
-
Tools: A yarn needle (with a dull tip), a safety pin (stitch marker), and sharp scissors.
Measurements / Sizing
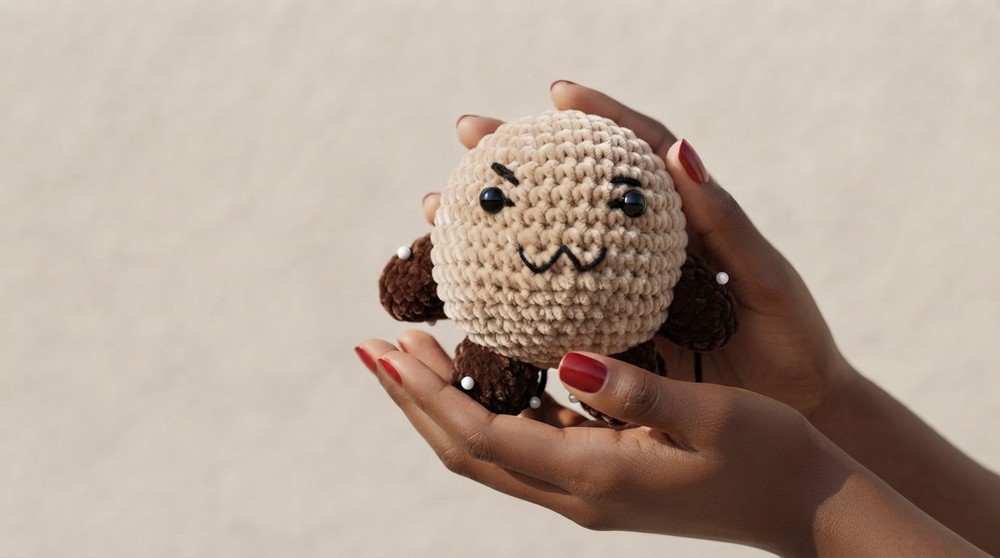
This Shooky will be about 3 to 4 inches tall once finished. It is the perfect size to sit on a desk or to be held in the palm of your hand.
Gauge
For amigurumi, we don't worry about standard gauge, but we do worry about "gap-free" fabric. If you see big gaps between your stitches, try pulling your yarn slightly tighter or switching to a hook that is one size smaller.
Stitch Abbreviations
-
MR: Magic Ring (the starting loop)
-
Ch: Chain
-
SC: Single Crochet (the standard stitch)
-
Inc: Increase (make 2 SC in the same stitch)
-
Dec: Decrease (combine 2 stitches into 1 to make the piece smaller)
-
St/Sts: Stitch/Stitches
Special Stitches
-
Magic Ring (MR): Imagine a loop of yarn. You work your first 6 stitches into that loop, then pull the tail, and the hole vanishes! It’s like magic.
-
Invisible Decrease: Instead of the regular decrease, insert your hook only under the front loops of the next two stitches. This creates a smooth finish.
The Crochet Pattern!
The Body (Dark Brown Yarn)
-
Round 1: Make a Magic Ring. Chain 1. Work 6 SC into the ring. Pull the tail tight to close the hole. (Total: 6 stitches). Place your marker here.
-
Round 2: Increase in every stitch. (Work 2 SC in each of the 6 stitches). (Total: 12 stitches).
-
Round 3: Repeat (1 SC, then 1 Inc) six times. (Total: 18 stitches).
-
Round 4: Repeat (2 SC, then 1 Inc) six times. (Total: 24 stitches).
-
Round 5: Repeat (3 SC, then 1 Inc) six times. (Total: 30 stitches).
-
Round 6: Repeat (4 SC, then 1 Inc) six times. (Total: 36 stitches).
-
Round 7: Repeat (5 SC, then 1 Inc) six times. (Total: 42 stitches).
-
Round 8–14: Crochet 1 SC in every single stitch around. Do this for 7 rounds. (Total: 42 stitches per round).
-
Round 15: Repeat (5 SC, then 1 Dec) six times. (Total: 36 stitches).
-
Round 16: Repeat (4 SC, then 1 Dec) six times. (Total: 30 stitches).
-
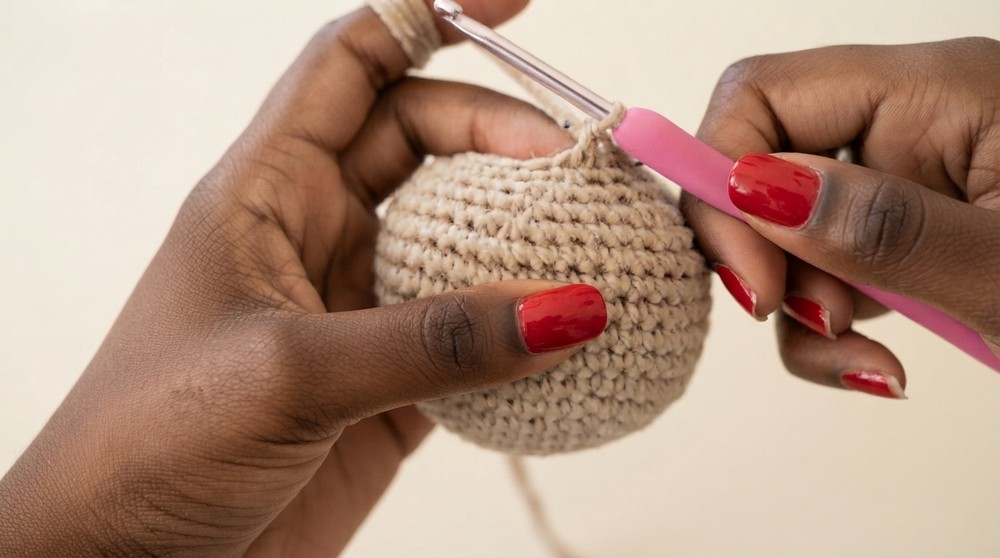
Round 17: Repeat (3 SC, then 1 Dec) six times. (Total: 24 stitches). Begin adding stuffing now!
-
Round 18: Repeat (2 SC, then 1 Dec) six times. (Total: 18 stitches). Add more stuffing.
-
Round 19: Repeat (1 SC, then 1 Dec) six times. (Total: 12 stitches).
-
Round 20: Decrease all the way around. (You will do 6 decreases total). (Total: 6 stitches).
-
Finishing: Slip stitch into the next stitch, cut your yarn (leave a long tail!), and thread it onto your needle. Weave the needle through the front loops of the 6 stitches and pull tight to seal the head like a drawstring bag. Hide the yarn end inside.
The Arms & Legs (Make 4 Identical Pieces)
-
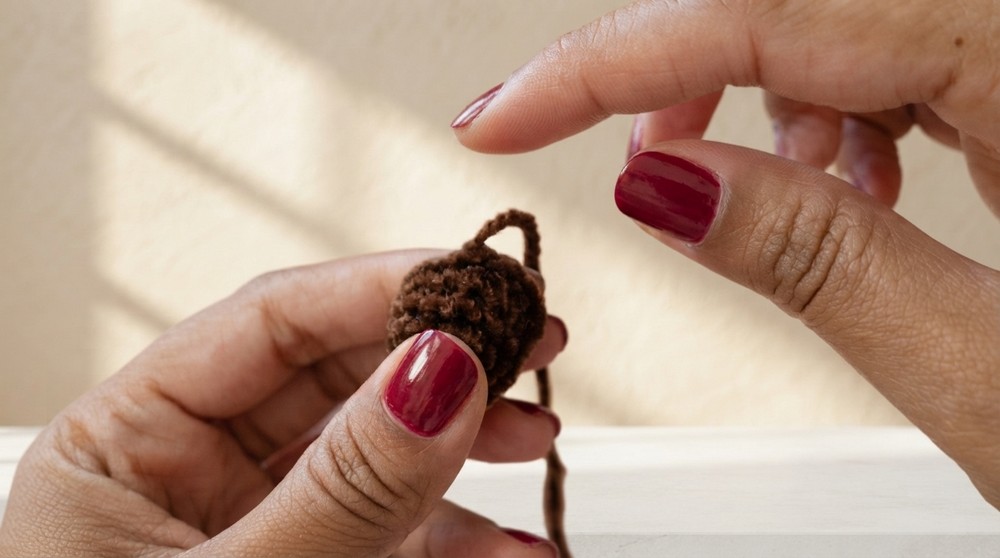
Round 1: Make a Magic Ring. Chain 1. Work 6 SC into the ring. Pull tight. (Total: 6 stitches).
-
Round 2: Increase in every stitch. (Total: 12 stitches).
-
Round 3–5: Work 1 SC in every stitch around for 3 rounds. (Total: 12 stitches).
-
Finishing: Slip stitch to finish. Fasten off and leave a tail for sewing. Repeat this until you have 4 small tubes. Put a tiny amount of stuffing in each one, just to give them some shape.
Assembly & Finished Size
Now, let's put our cookie friend together!
-
Attaching Limbs: Take your four tubes (the arms and legs). Use your yarn needle and the yarn tails you left on these pieces to sew them to the main body. Position the two legs at the bottom and the two arms on the sides. Make sure they look even. Use a simple "whip stitch"—go through the body, then through the arm, then through the body again—to make them secure.
-
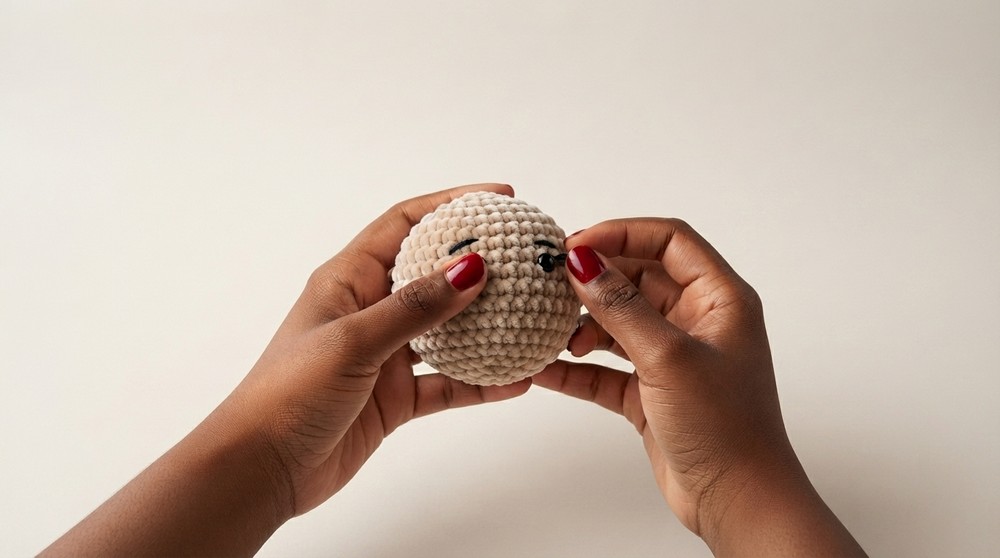
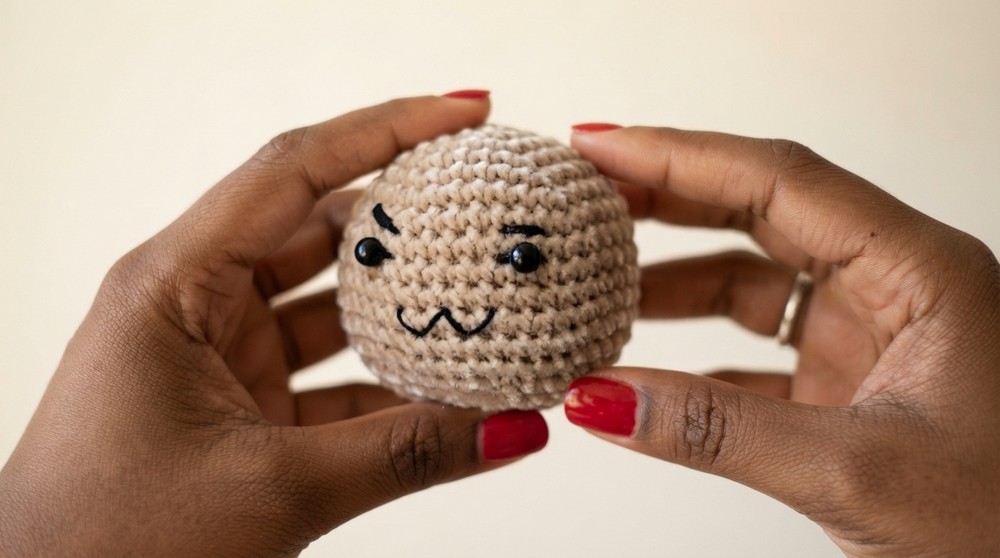
The Face: This is the most important part! Take your two black beads. Sew them onto the upper part of the front of the body. You can use thin white thread to make a tiny "glint" in the corner of each eye to make Shooky look lively.
-
The Smile: With a needle and thin black thread, stitch a small, wide smile underneath the eyes. You can gently curve the thread to make it look like a mischievous grin.
-
Final Polish: Look over your Shooky. Are there any loose ends? Use your needle to tuck any remaining tails back inside the body. Pat the plush gently to distribute the stuffing evenly so it sits nicely.
Conclusion and ending words
You have officially completed your own amigurumi Shooky! By following these steps, you have mastered the basics of circular crochet, increasing, decreasing, and assembly. It might seem tricky at first, but remember that even the most expert crocheters started exactly where you are today. If your Shooky isn't perfect, that is okay—each one you make will get better, neater, and faster. You have learned how to create something from a simple string of yarn, and that is a wonderful skill to have.