
Crochet Taco Keychain Pattern with Free Yarn Ideas
Easily make this free crochet taco keychain pattern and add a playful, taco-inspired charm to your keys that’s sure to spark smiles and fun everywhere.
If you love cute and small handmade items, you’ll really enjoy making this fun little accessory. The free crochet taco keychain pattern is a great project to try if you want something quick, easy, and adorable. This tiny taco is perfect for adding a pop of color and personality to your keys, backpack, purse, or even as a gift to friends and family.
Free Crochet Taco Keychain Pattern for Cute Accessories
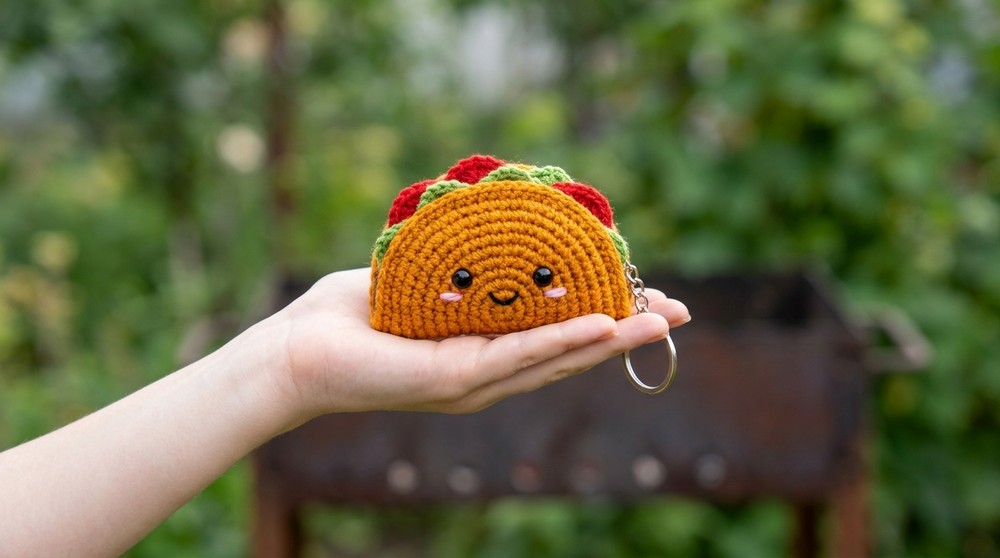
One of the most attractive design features of this keychain is its bright and cheerful colors. The taco’s shape is nicely rounded, giving it a soft and plump appearance that looks very inviting. The “fillings” inside the taco are made with different colorful yarns, making it lively and fun to look at. Its texture is soft and cozy thanks to the type of yarn used, yet it stays firm enough to keep its shape well over time. This balance of softness and structure makes it a great charm you can carry around daily.
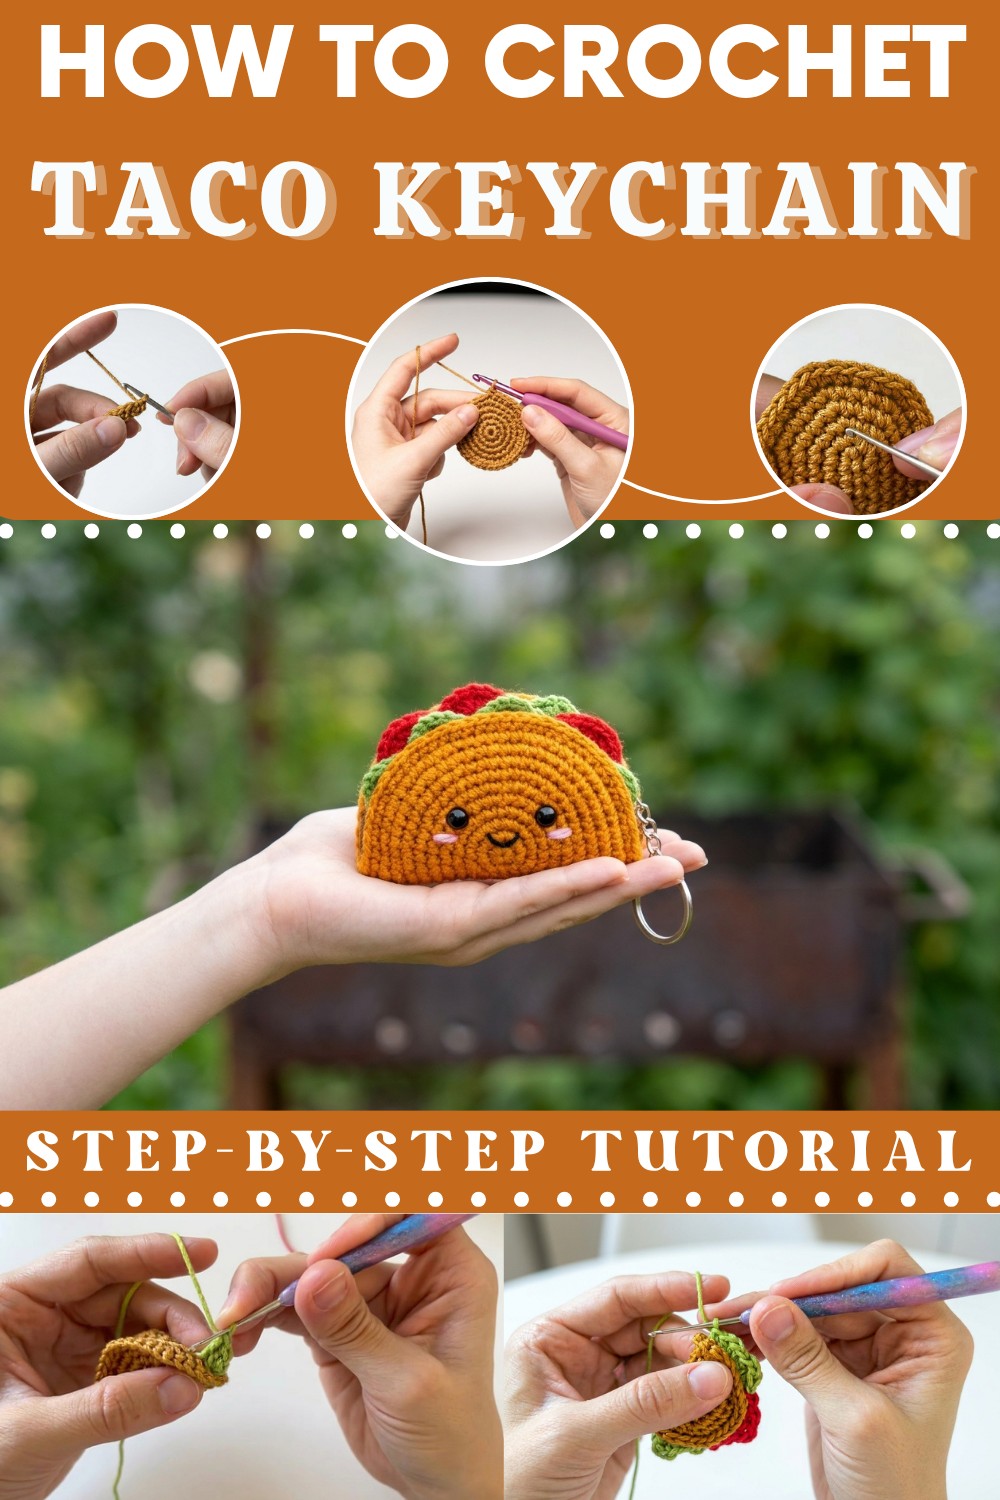
You can make this taco keychain using simple crochet stitches, which means even beginners can complete it without trouble. It doesn’t take a long time, so if you’re new to crochet or want a small quick project, it’s perfect. Besides being a cute accessory, it’s practical because it helps you find your keys easily.
Overall, this free crochet taco keychain pattern is suitable for anyone who enjoys crocheting small, fun, and useful items. Whether you are a beginner or an experienced crocheter looking for a creative gift idea, this charming taco will bring a bit of joy and colorful flair to everyday life.
Yarn Choice and Tips for Your Crochet Taco Keychain
For this cute taco keychain, I’m using 100% mercerized cotton yarn, which I found perfect for the project. It’s got a smooth texture and a slight sheen that really helps the stitches stand out, giving the taco a nice, clean look. The yarn feels soft but still holds its shape well, so the little taco doesn’t get floppy. I’ve used similar cotton yarns in accessories and am happy with how durable and easy to wash they are, great for something you’ll carry around daily. If you try a new yarn, I recommend making a small swatch first to see how it behaves before starting.
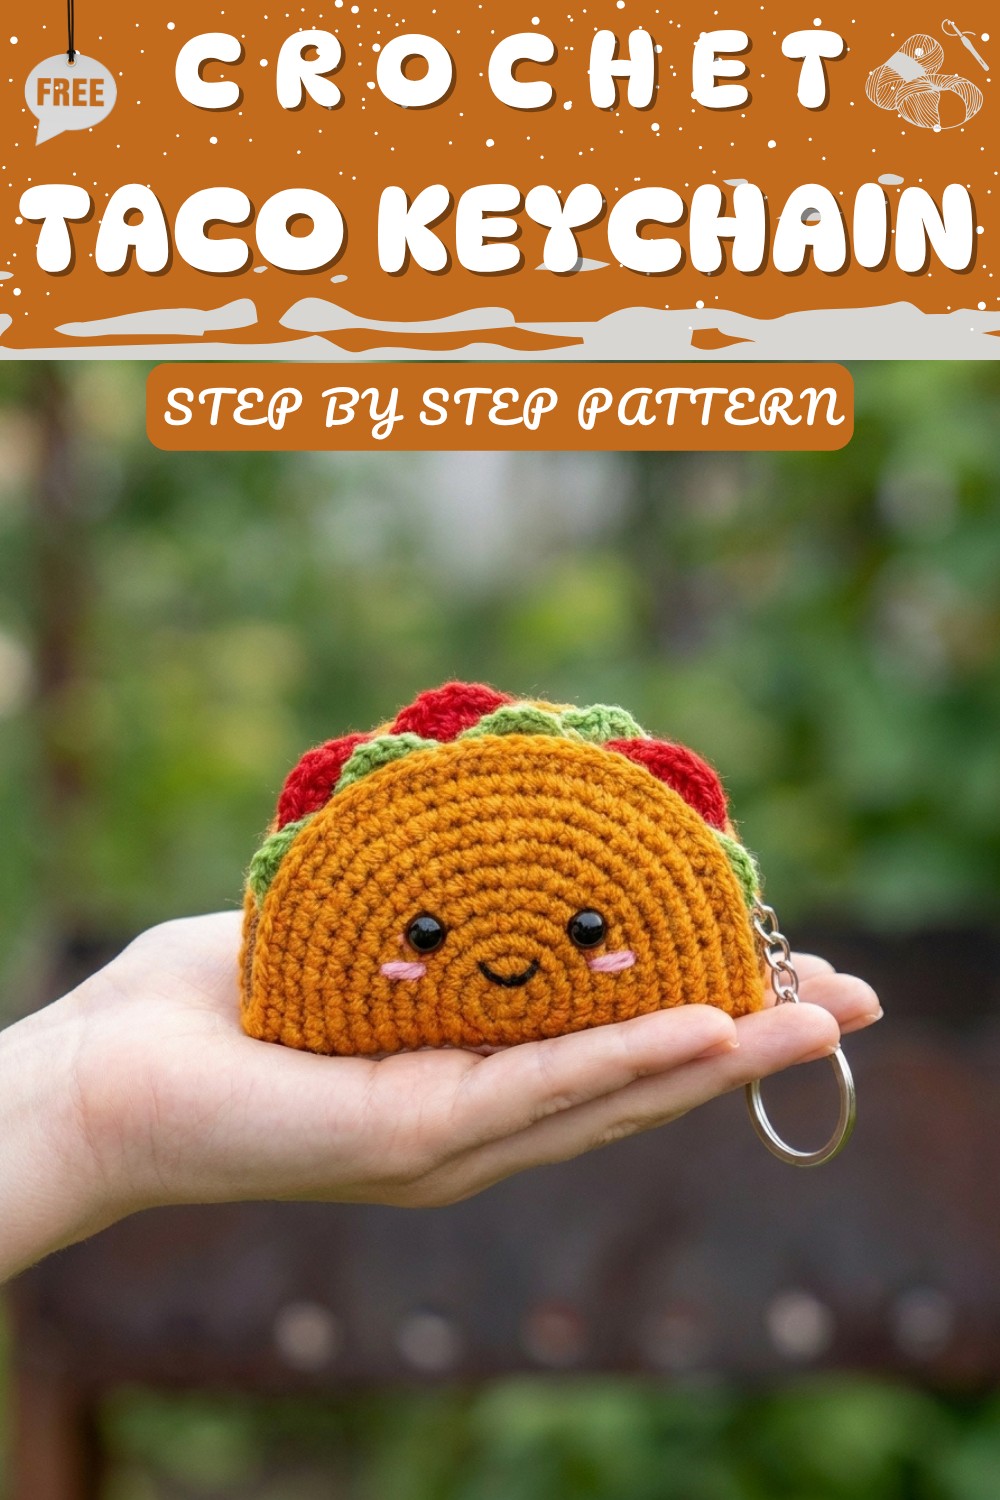
Taquito Keychain—Easy Crochet Pattern
This adorable taco features almost no sewing, a cute face, and a colorful filling. Using textured crochet stitches and creative color changes, you’ll end up with an eye-catching, compact accessory ideal for gifting or celebrating festive occasions. The charm comes from alternating green and red yarn for the “lettuce and tomato,” and by adding a happy expression onto the taco’s face.
You’ll begin by crafting a tortilla in an oval shape and then work your way through joining, face details, filling, and final assembly. Step in for a fun amigurumi project with creative stitch work and almost no sewing.
Skill Level & Terminology
- Skill Level: Intermediate / Expert
- This pattern uses US crochet terminology throughout.
- You’ll benefit from prior experience with amigurumi, color changes, increases, and crocheting through two layers.
Materials & Tools
- Yarn: 100% mercerized cotton, sport or fingering weight, in:
- Beige/Cream for tortilla
- Green for lettuce
- Red for tomato
- Crochet hook: 2.0 mm (use a hook smaller than the yarn label recommends)
- Fiberfill stuffing—just a small amount
- 3 mm safety eyes (pair)
- Black thread or fine yarn (for mouth embroidery)
- Yarn needle & scissors
- Keyring (split ring with chain)
- Optional: Pink blush or textile marker for cheeks
Gauge
Gauge is not critical.
If desired: 20 sc x 24 rows = 10 cm (4 in) on 2.0 mm hook in single crochet.
This ensures your taquito stays small and firm.
Abbreviations List
- ch – chain
- sc – single crochet
- hdc – half double crochet
- dc – double crochet
- inc – increase (2 sc into one stitch)
- sl st – slip stitch
- FLO – front loop only
- st(s) – stitch(es)
Special Stitch Instructions
- Increase (inc): Work 2 single crochets into the same stitch.
- Oval Foundation: Crochet both sides of a foundation chain, increasing stitches at the ends to form the oval tortilla.
- FLO Round: For added texture, work the stitch only through the front loop, creating a subtle ridge.
- Randomized Filling: When joining, alternate sc, hdc, and dc—sometimes combining two or three in one spot for a textured, “organic” look.
- Color Change: To switch color, finish the last yarn-over of your current stitch with the new color, secure tails by knotting and hiding them inside as you go.
Finished Size
Approximately 7 cm wide x 3–4 cm tall when assembled and folded.
How to Start / Stitches Used in the Pattern
This pattern begins by making a compact oval with foundational chains and single crochet increases to shape the base. It progresses through rounds with strategic increases. The closing is executed with random stitches (sc, hdc, dc) worked through both sides of the fold. Color changes are made on the go, adding texture and visual interest.
Stitches involved: chain stitch, single crochet, half double crochet, double crochet, increases, slip stitch, and embroidery for facial details.
The Pattern Itself
1. Tortilla Oval Base
- Ch 5.
- Add 1 extra chain for turning (total 6).
- Skip the turning chain, and sc in next 4 chains.
- In last chain, 3 sc (to round the end).
- Working along the opposite side, sc in next 3 chains.
- Into last chain, 2 sc.
- Total at end of round: 12 sc.
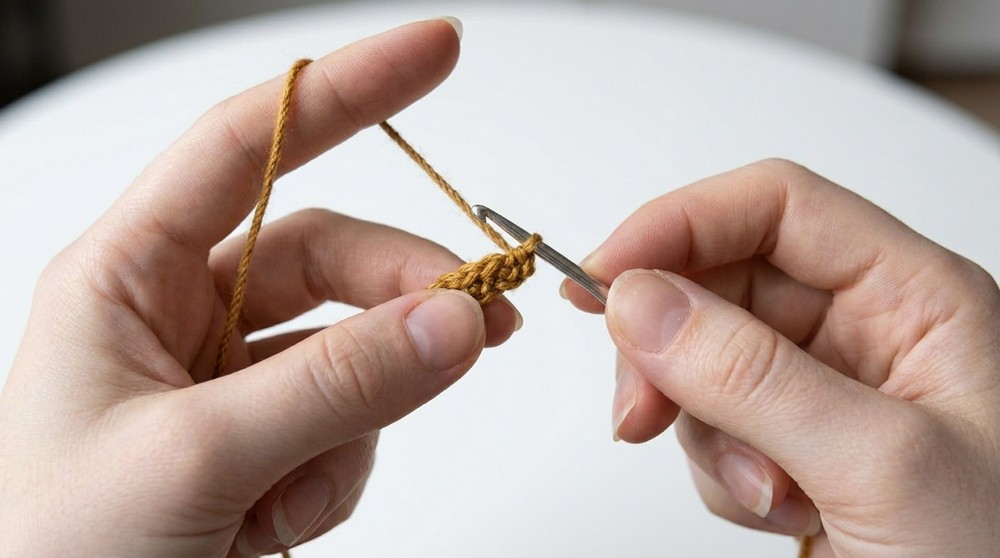
You’ve just created the base for the tortilla. The oval shape sets the taco’s size and structure.
2. Increasing the Oval
Round 2:
- Inc, sc 3.
- Inc 3 times.
- sc 3.
- Inc 2 times.
- Should finish with 18 sc.
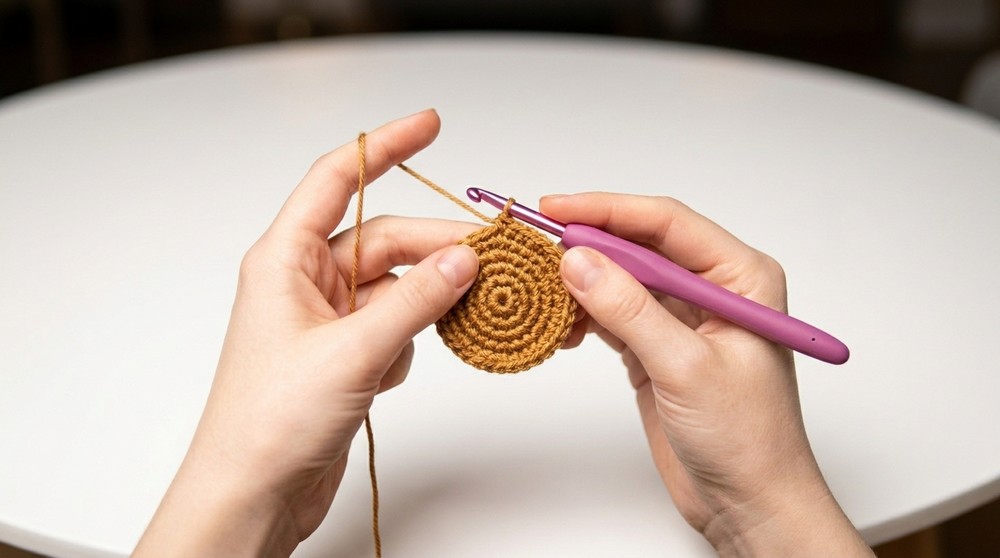
Round 3:
- sc 1, inc.
- sc 3.
- Repeat (sc 1, inc) 3 times.
- sc 3.
- Repeat (sc 1, inc) 2 times.
- Total: 24 sc.
Round 4:
- sc 2, inc.
- sc 3.
- Repeat (sc 2, inc) 3 times.
- sc 3.
- Repeat (sc 2, inc) 2 times.
- Total: 30 sc.
Round 5:
- sc 3, inc.
- sc 3.
- Repeat (sc 3, inc) 3 times.
- sc 3.
- Repeat (sc 3, inc) 2 times.
- Total: 36 sc.
Round 6 (FLO):
- Working in front loops only: sc 4, inc
- sc 3.
- Repeat (sc 4, inc) 3 times.
- sc 3.
- Repeat (sc 4, inc) 2 times.
- Finish with 42 sc.
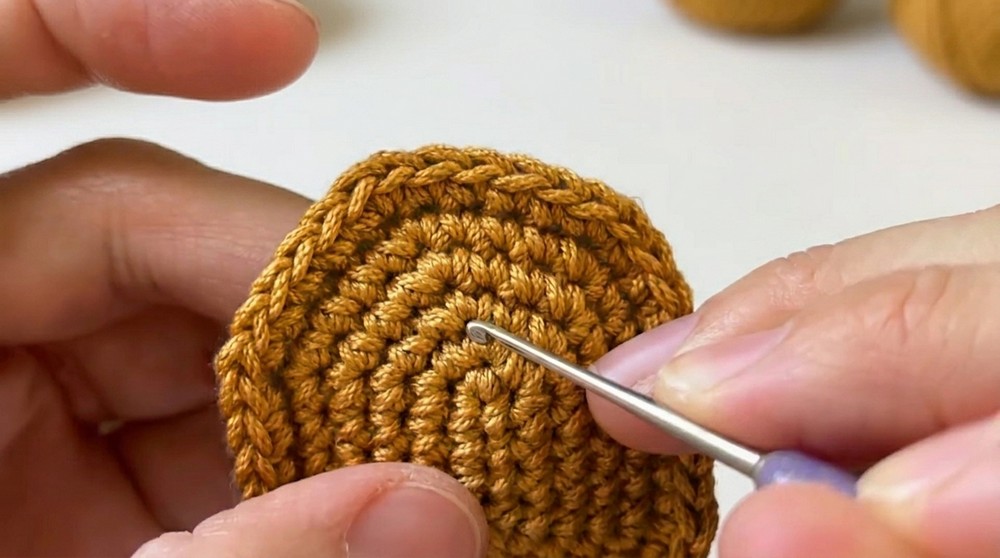
You are building up the tortilla’s size, round by round. The increases at oval ends make the tortilla wider and more realistic.
3. Finishing the Tortilla
- Sl st in next stitch, fasten off.
- Cut yarn, pull end through.
- Using your needle, weave the end neatly to mimic a seamless finish. Make a small knot inside.
- Trim excess.
This secures your tortilla and prepares it for face details and assembly.
4. Adding the Face
- Place safety eyes over the center of your tortilla, about 2 rounds up and spaced approx. 2 stitches apart.
- Use black thread or fine yarn to embroider a small smile between/below the eyes.
- Optional: Add pink blush to cheeks for extra cuteness.
Now your taquito is adorable and ready for the next step. The face brings your project to life!
5. Folding and Preparing for Joining
- Fold the tortilla oval in half, keeping the face centered and outward.
- Align the edges so the final round is symmetric.
The taco shape is achieved here. Double-check alignment for a neat fold!
6. Joining and Creating Filling
- Attach green yarn at one folded edge.
- Begin with a ch 1 to secure.
- In the same spot, hdc (half double crochet).
- As you join, alternate stitches randomly:
- Use sc, hdc, dc (single, half double, double crochet)
- Sometimes work 2–3 stitches in one spot for “spiky” effect.
- After several stitches, switch to red:
- Begin a stitch in green but finish with red on the last yarn-over.
- Knot and hide green inside, continue with red as desired.
- Repeat color changes as you see fit.
- Work through both layers, alternating stitches and colors.
- Before fully closing, stuff lightly with fiberfill.
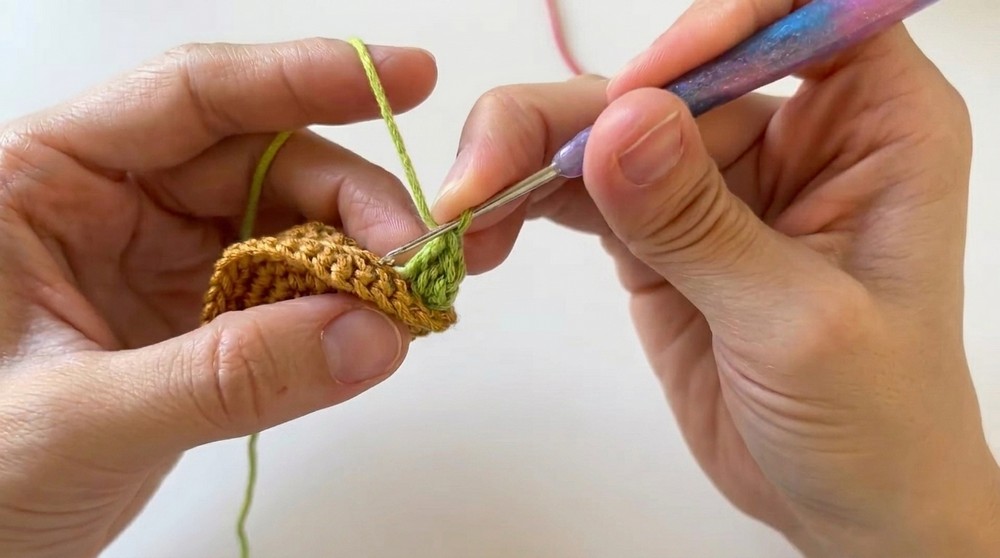
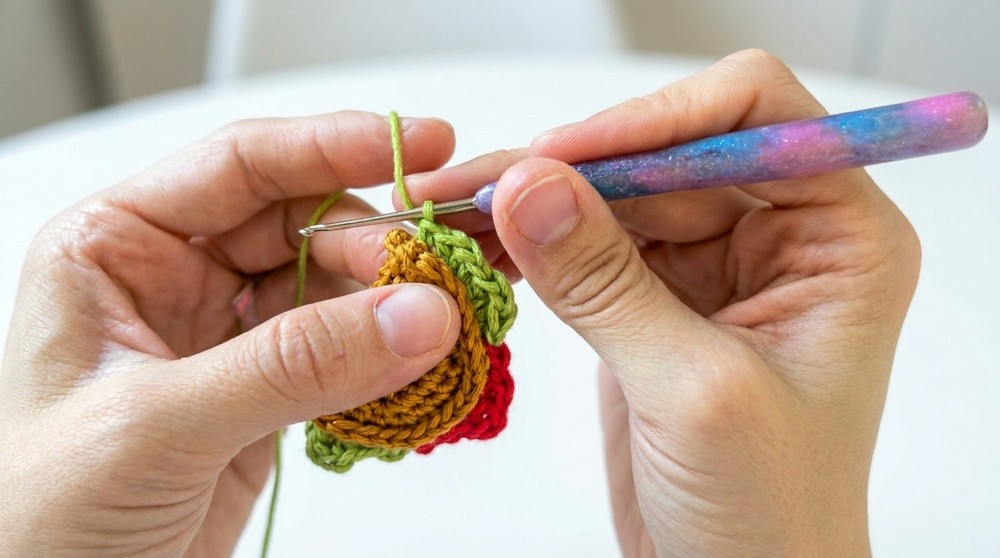
Randomized stitches and color changes produce a lively, textured filling! Add stuffing before you complete the seam.
7. Securing & Weaving in Ends
- Finish last stitch with sc, ch 1.
- Cut yarn, pull through, secure end.
- Use needle to weave in and hide all ends.
You have a neat closure with invisible finishing! Hide all yarn tails for a clean look.
Assembly & Finishing
- Attach the keyring to one corner or edge using a split ring or threaded through a stitch.
- Add final touches, like pink blush with a marker/pencil.
- Double-check all ends and faces for tidiness.
Your expert taquito keychain is finished! You can proudly carry it or gift it for festive occasions. Show it off on social media and inspire other makers!
For those who skip the pattern or need a summary:
- Start by crocheting an oval for the tortilla.
- Increase stitches round by round, then make a finishing round in front loops.
- Attach safety eyes and embroider a smile.
- Fold the tortilla, crochet randomly with green and red yarn to mimic filling, joining both sides; lightly stuff before finishing.
- Weave in all ends, add a keyring, and add blush to complete your taquito.