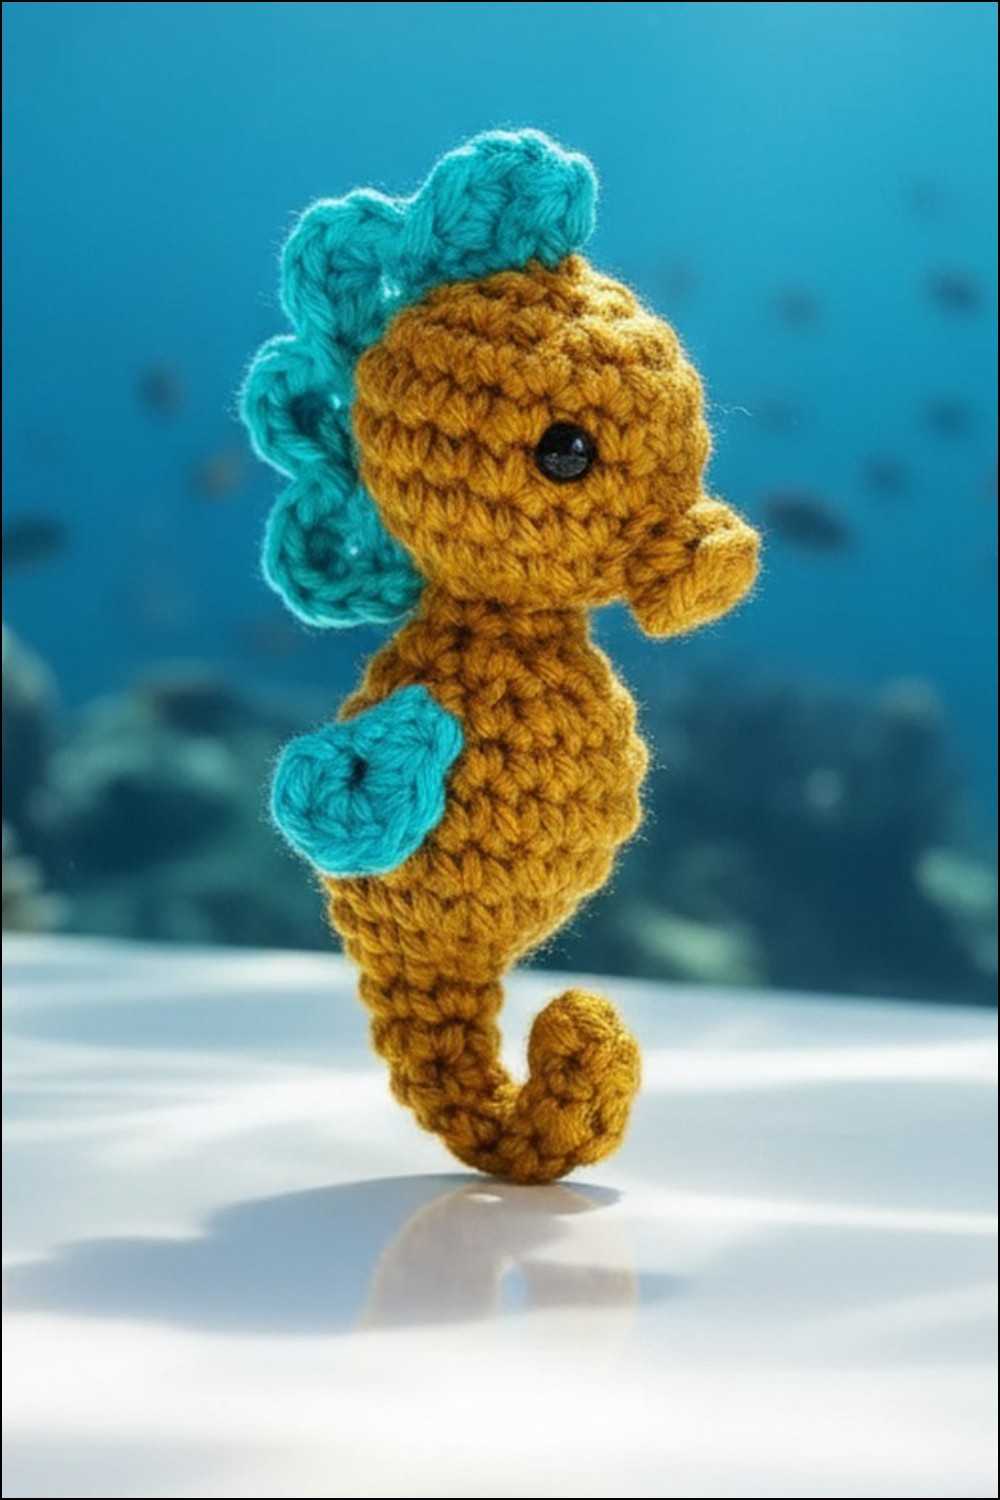
Adorable Crochet Seahorse Pattern For Cute Whimsical Decor
A crochet seahorse is a delightful and unique creation that brings the beauty of ocean life into your hands. Its curled tail and dainty fins make it instantly charming, while the intricate details highlight the creativity behind this lovely design. This Crochet Seahorse Pattern is incredibly versatile—it can be displayed as wall art, carried as a keychain, or gifted as a playful toy for kids. It’s also ideal for sharing with ocean lovers or anyone who adores handmade treasures.
With the Crochet Seahorse pattern, you have the freedom to bring this sea creature to life in any color scheme you love, whether it’s soft, pastel hues or vibrant ocean tones. Wherever you place it or however you use it, the crochet seahorse adds a cheerful and magical touch to your space, making it a standout piece that radiates joy and creativity.
Brighten any space with this Free Crochet Seahorse Pattern that forms a whimsical and charming piece full of charm and playful elegance.
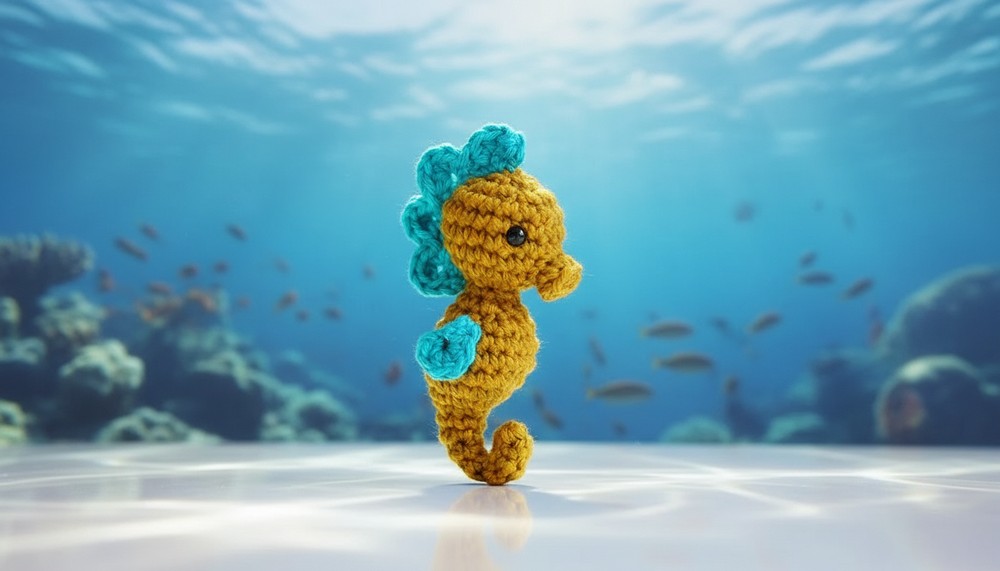
Bright crochet seahorse pattern that brings fun home
Materials:
Prepare the following items to craft your adorable seahorse:
- Paintbox Cotton Aran yarn:
- MC (Main Color): Brown or color of choice.
- C1 (Contrast Color): Marine Blue or color of choice.
- F/3.75mm crochet hook for most of the project.
- D/3.25mm crochet hook for delicate parts like mane, snout, and side fins.
- Cluster fiberfill stuffing for shaping.
- Two 6mm safety eyes.
- Scissors for trimming loose ends.
- Embroidery thread or lightweight black yarn (for optional detailing).
- 3″ length of pipe cleaner (ends folded in for safety).
- Stitch markers (optional but recommended for tracking rounds).
Key Abbreviations:
Below are the terms and abbreviations used throughout the pattern:
- st(s) = Stitch(es)
- sl st = Slip stitch
- sk = Skip stitch
- ch = Chain
- sc = Single crochet
- hdc = Half double crochet
- dc = Double crochet
- trc = Triple crochet/treble crochet
- inc = Increase (2 sc into same stitch)
- dec = Decrease (work 2 sc together)
- FLO = Front loop only
Pattern Notes:
- The Body is worked continuously in rounds without seams.
- The Mane is worked in rows separately and sewn onto the back after completing the body.
- Early rounds use FLO stitches to simplify the tricky sections near the pipe cleaner.
- Pipe cleaner must be trimmed to 2 inches and the edges folded inward to prevent sharp edges.
- Eyes placement: Ensure they are 1.0-1.25 inches apart for proportional alignment.
- Use the amigurumi closing technique to seamlessly finish.
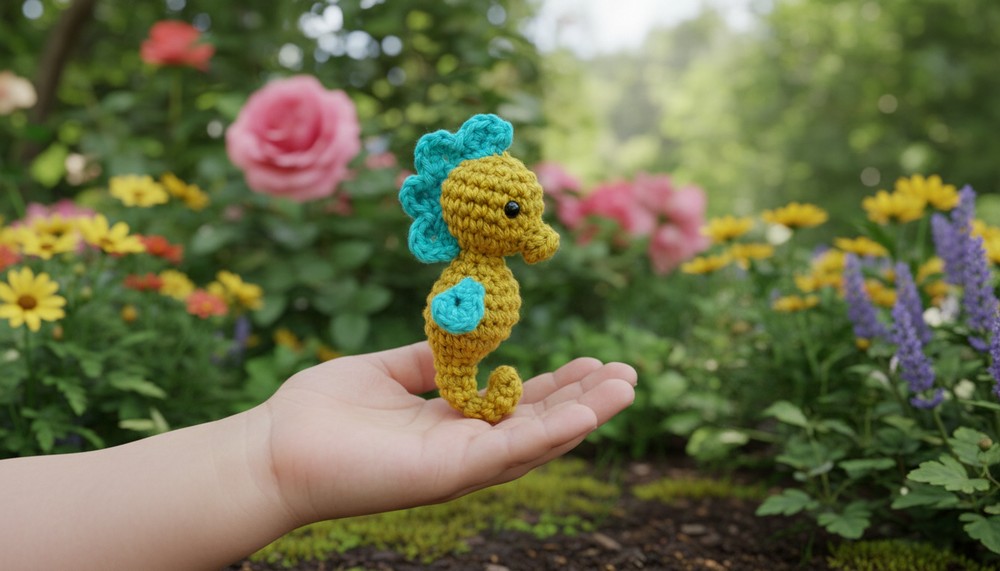
Pattern Instructions
Body:
- Begin working continuously with MC:
- Round 1: Work 6 sc into a magic circle. (6 sts) Secure the magic circle immediately.
- Rounds 2-6: Work 1 sc into FLO of each st across. (6 sts each round)
- After Round 3, insert the pipe cleaner into the tail.
- Begin enlarging the tail:
- Round 7: Work 1 inc, then 5 sc, all FLO. (7 sts)
- Round 8: Work 1 inc, then 6 sc, all FLO. (8 sts)
- Round 9: Work 1 inc, then 7 sc, all FLO. (9 sts)
- Transition back to both loops:
- Round 10: Work [1 inc, 1 sc] 2x, 1 inc, then 4 sc. (12 sts)
- Round 11: Work [1 inc, 1 sc] 2x, 1 inc, then 7 sc. (15 sts)
- Round 12: Work [1 inc, 1 sc] 2x, 1 inc, then 10 sc. (18 sts)
- Rounds 13-14: Work 1 sc in each st around. (18 sts each round)
- Begin decreasing for the neck:
- Round 15: Work [1 sc, 1 dec] 6x around. (12 sts)
- Stuff firmly up to the neckline.
- Round 16: Work [2 sc, 1 dec] 3x around. (9 sts)
- Round 17: Work [1 sc, 1 dec] 3x around. (6 sts)
- Enlarge the head:
- Round 18: Work 2 sc in each st around. (12 sts)
- Round 19: Work [1 sc, 1 inc] 6x around. (18 sts)
- Round 20: Work [5 sc, 1 inc] 3x around. (21 sts)
- Rounds 21-22: Work 1 sc in each st around. (21 sts each round)
- Eye placement: Add eyes between Rounds 21 and 22, spaced approximately 1.0-1.25 inches apart.
- Begin decreasing to close:
- Round 23: Work [5 sc, 1 dec] 3x around. (18 sts)
- Round 24: Work [1 sc, 1 dec] 6x around. (12 sts)
- Stuff firmly with fiberfill to finish shaping.
- Round 25: Work 6 dec. (6 sts)
- F/O (Fasten off): Close and weave in ends.
Snout:
- Using MC and D hook:
- Round 1: Work 6 sc into a magic circle. (6 sts) Secure immediately.
- Round 2: Ch 1, work 1 sc in BLO of each st around, join with sl st to first sc. (6 sts)
- F/O leaving a long tail: Sew the snout centered between the eyes (Round 19-21).
Mane:
- Using C1 and D hook:
- Row 1: Ch 17.
- Row 2: Work 5 hdc in third ch from hook, sk 1, sl st in next st.
- Sk 1, work 5 hdc in next st, sk 1, sl st in next st. Repeat the pattern 2 more times for a total of 4 shell shapes.
- F/O leaving a long tail:
- Sew the mane onto the back of the seahorse’s head (centered).
Side Fins (Make 2):
- Using C1 and D hook:
- Row 1: Ch 5.
- Row 2: Work 5 hdc in third ch from hook, sk 1, sl st in next st.
- F/O leaving a tail: Attach fins to either side of the seahorse, ensuring the round side faces forward.

Customization Ideas:
- Color Mix: Experiment with gradient shades like pastel tones for a unique, colorful seahorse.
- Glitter Yarn: Use a metallic or glitter yarn for added sparkle.
- Details: Add embroidered features such as a smile using black thread and lightly blush cheeks beneath the eyes.
- Accessories: Attach tiny beads, bows, or crochet elements for embellishments.
Special Notes:
- Pipe Cleaner Tips: Fold both ends of the pipe cleaner to avoid sharp edges.
- Stitch Count Attention: Regularly check your stitch count between rounds to ensure symmetry.
- Safety Precautions: If gifting to children, securely fasten safety eyes or replace them with stitched or felt alternatives.
Conclusion:
Your charming seahorse is complete! This delicate amigurumi is perfect as an elegant handmade gift, whimsical decoration, or imaginative toy. Enjoy the artistry and creativity of bringing this underwater friend to life!
Pattern Corrections & Tips:
- Correction: If you experience stiffness around the tail (Rounds 2-6), ensure your FLO stitches are worked loosely to accommodate the pipe cleaner.
- Tip: Use stitch markers to easily track the beginning of each row, especially for the mane and fins to keep consistency in shaping.