
Playful Crochet Seahorse Amigurumi Pattern With Underwater Vibes
Cute ocean charm flows with this Crochet Seahorse Amigurumi Pattern offering soft texture, adorable shape, and lovely decor or gift appeal.
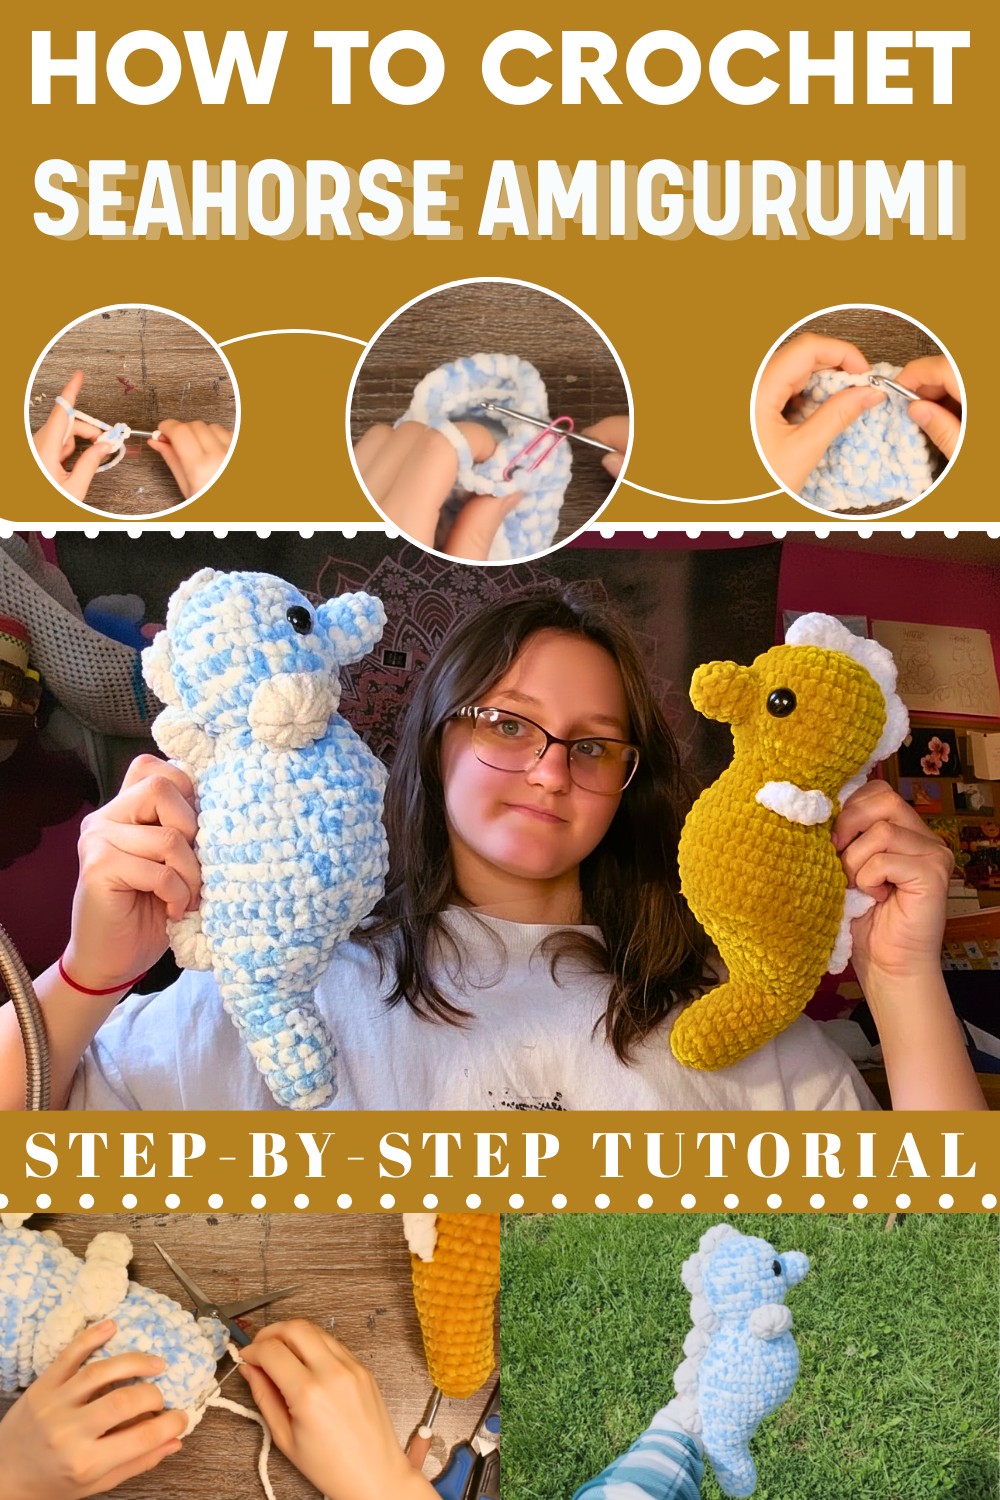
Colorful Crochet Seahorse Amigurumi Pattern Inspired by the Sea
Bringing the magic of the deep blue sea into a home adds a sweet and playful touch to any room. Using a clear Crochet Seahorse Amigurumi Pattern helps you make a cute sea friend with a curly tail and tiny fins. This little toy works great as a soft gift for a baby, a bright keychain, or a pretty decoration for a shelf. The shape looks very realistic but feels soft and squishy to the touch.
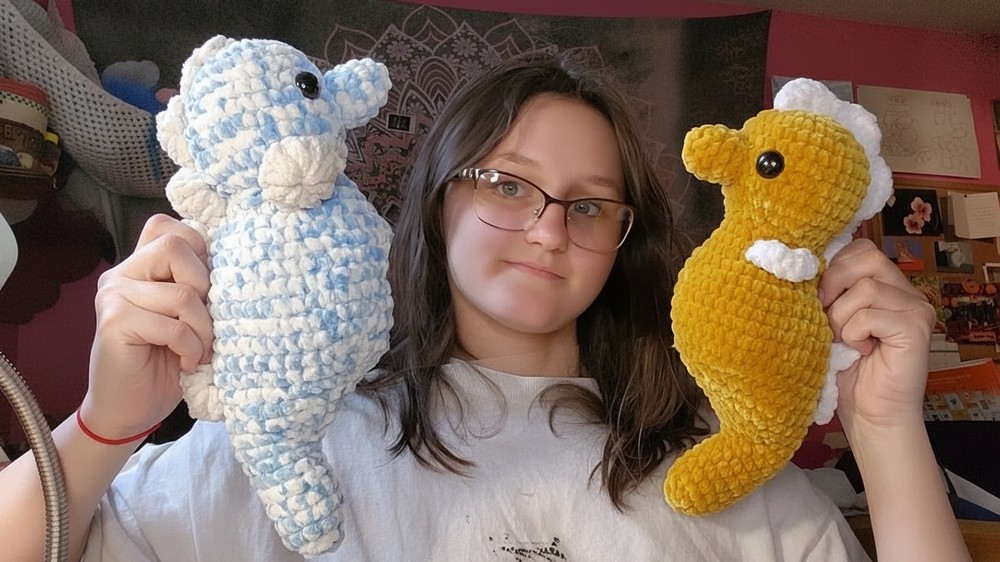
The best part is how the bright colors and bumpy stitches make the toy look alive and fun. It is a sturdy little buddy that stays in shape even after a lot of play. Making this item is a relaxing way to spend your time, and the result is a high-quality plushie that looks like it came from a fancy boutique. It brings a happy, beachy vibe to your life instantly.
Step-by-Step Details:
Step 1: Create the Head
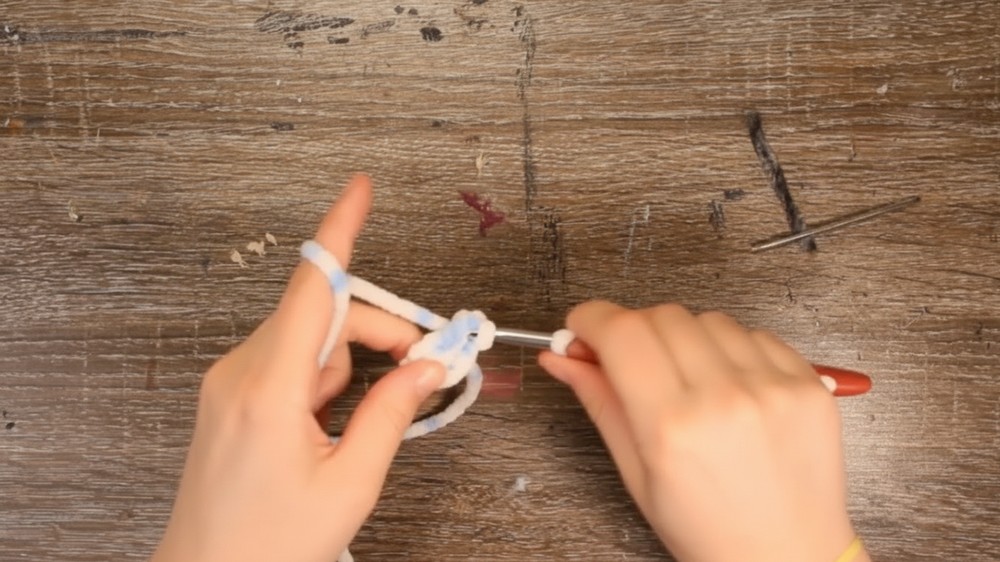
- Begin with a magic ring:
- Work 8 single crochet (SC) stitches into the loop.
- Increase:
- First round: Work 8 increases (16 stitches total).
- Second round: Alternate single crochet and increase.
- Third round: Alternate two single crochet and one increase.
- Form the head structure:
- Crochet 6 rounds of single crochet.
- Decrease:
- First round of decrease: Alternate two single crochet and one decrease.
- Next round: Alternate one single crochet and one decrease.
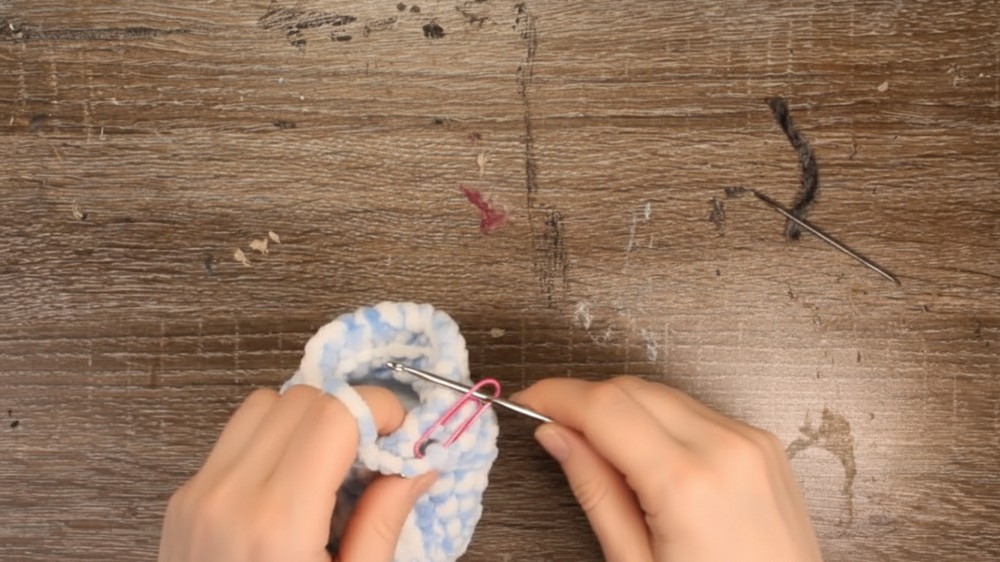
Step 2: Transition to the Stomach
- Skip forming a neck and proceed immediately to the stomach:
- Start the round with single crochet increase, creating an oval instead of a perfect circle.
- Alternate each row with a full round of single crochet.
- Gradually increase:
- First row: Alternate single crochet and increase.
- Next row: Alternate two single crochet and one increase.
- Following row: Alternate three single crochet and one increase.
- Work 6 rounds of single crochet to finalize the stomach width.
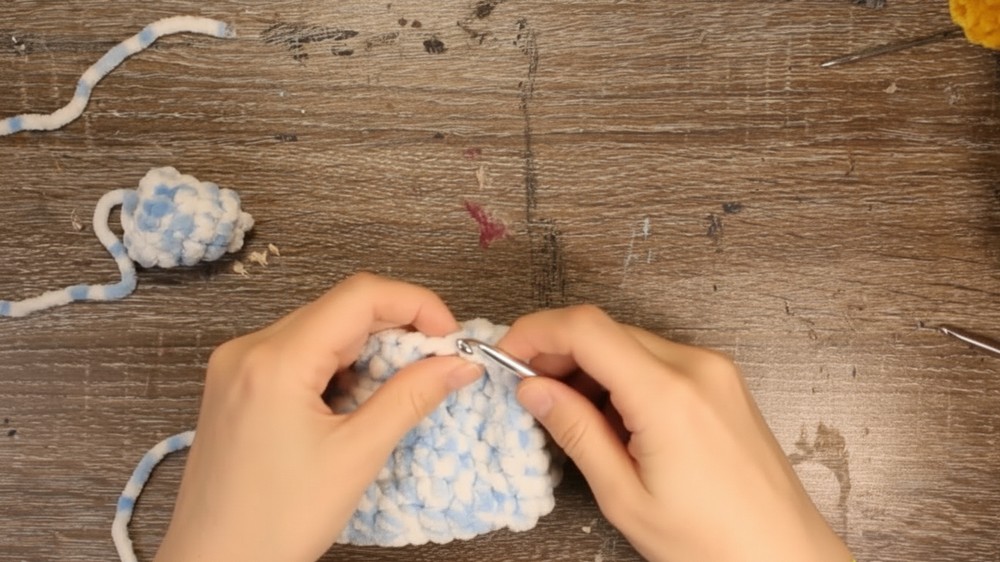
3: Form the Tail
- Begin decreasing to shape the tail:
- Perform about 10 decreases for three rows, focusing only on the front stitches to taper the body.
- Leave the back straight to maintain the rounded shape.
- Continue crocheting:
- Crochet 5 rounds of single crochet to form the length of the tail.
- Finish with 9 decreases for a tapered tail end.
4: Craft the Nose
- Crochet the nose separately:
- Start with 6 single crochet in a magic ring.
- Increase, then crochet 3 rounds of single crochet.
- Attach the nose:
- Position it directly between the eyes for a balanced look.
- Sew it in place on the row where the eyes are set.
5: Add the Spines
- Crochet the spines:
- Chain 35 stitches for the length of the spine.
- Starting from the third chain, work:
- 5 decreases, skip one chain, then make a slip stitch.
- Repeat this pattern until you reach the end of the chain.
- Attach the spines:
- Sew them starting from the top middle of the head, extending as far down the back or tail as you wish.
- Adjust the chain length depending on the preferred spine length.

6: Make and Attach the Arms (Fins)
- Crochet the arms:
- Chain 5 stitches.
- In the fourth chain, work 10 double crochet stitches.
- Sew the fins:
- Attach the fins carefully to both sides of the seahorse's body.
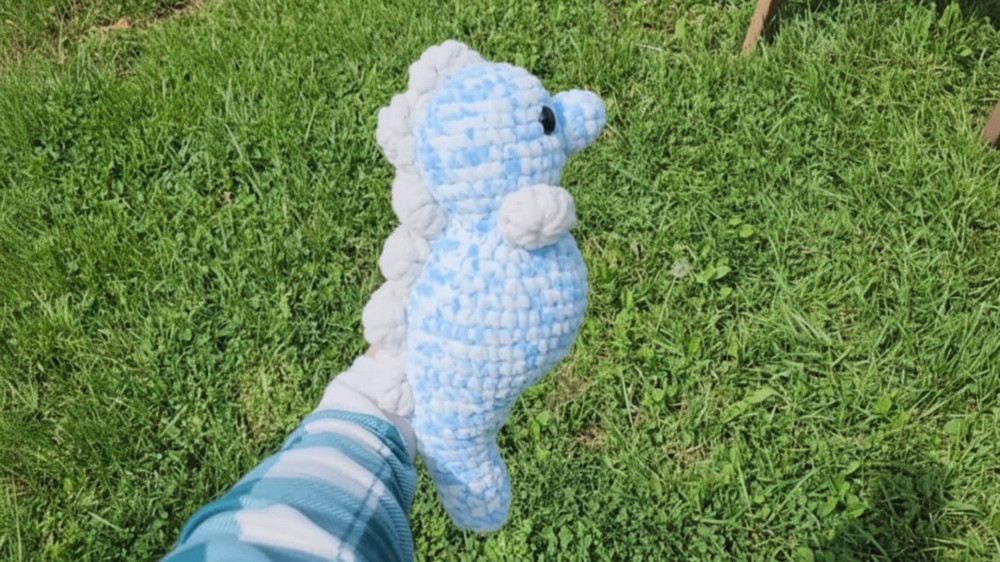
Special Features:
- Customizable Design: The length of the spines and the size of the head or tail are easily adjustable based on preference.
- Unique Texture: Using different yarns, such as blanket yarn for ridges, adds a distinctive aesthetic.
- Quick and Fun Project: This intermediate-level project can be completed in a few hours and makes a playful decorative item or gift.
Level of Difficulty:
The project is suitable for intermediate-level crocheters due to the shaping techniques involving increases, decreases, and the assembly of various parts (e.g., spines, fins, and nose). Beginners can attempt it by following the tutorial carefully, but some parts (like the spines) may require extra patience.
Tutor’s Suggestions:
- Use Contrasting Yarn: If you’re running out of yarn, don’t hesitate to use two types of yarn for different parts of the seahorse (as shown in the tutorial). It can add a quirky and unique flair.
- Plan Your Placement: Always attach key components (like the nose) before finalizing the eyes’ positions. This ensures accurate placement.
- Adjust Spine Length: Customize the spine by chaining more or fewer stitches to create a seahorse that matches your desired shape and aesthetic.
Uses and Materials:
Uses:
- A cute handmade gift for children or adults.
- A delightful decorative piece for desks, bookshelves, or nurseries.
- A unique item for selling during craft fairs or online stores.
Materials:
- Yarn (for the base, spines, and fins): Recommended to use standard or blanket yarn.
- Crochet hook (size suited to the yarn).
- Safety eyes for the seahorse.
- Fiberfill stuffing to give it shape.
- Yarn needle for sewing parts together.
- Scissors for cutting yarn.
Tip:
When creating the spines, remember to crochet tightly to ensure the structure holds its shape. A looser tension can make the spines floppy, while tighter stitches will make them stand upright for a more refined look.
Conclusion:
This delightful seahorse crochet tutorial provides a wonderful opportunity to practice shaping techniques like increases, decreases, and creating decorative elements like spines. The project is both fun and rewarding, resulting in a charming stuffed animal that’s perfect for gifting or showcasing your crochet skills.