
Adorable Crochet Diaper Keychain Perfect for New Parents
A cute and useful Crochet Diaper Keychain Pattern that’s perfect for new parents or anyone looking for a thoughtful, charming gift idea.
Often, small tokens of love resonate with deeper sentiments, especially when they are handmade with care. The crochet diaper keychain, a charming baby-themed keepsake, is a perfect example of how functionality meets sentimental appeal. Serving as an endearing accessory for baby showers, maternity favors, or gender reveal parties, this mini masterpiece can also double as a magnetic fridge décor.
Cute Crochet Diaper Keychain to Charm Your Everyday Essentials
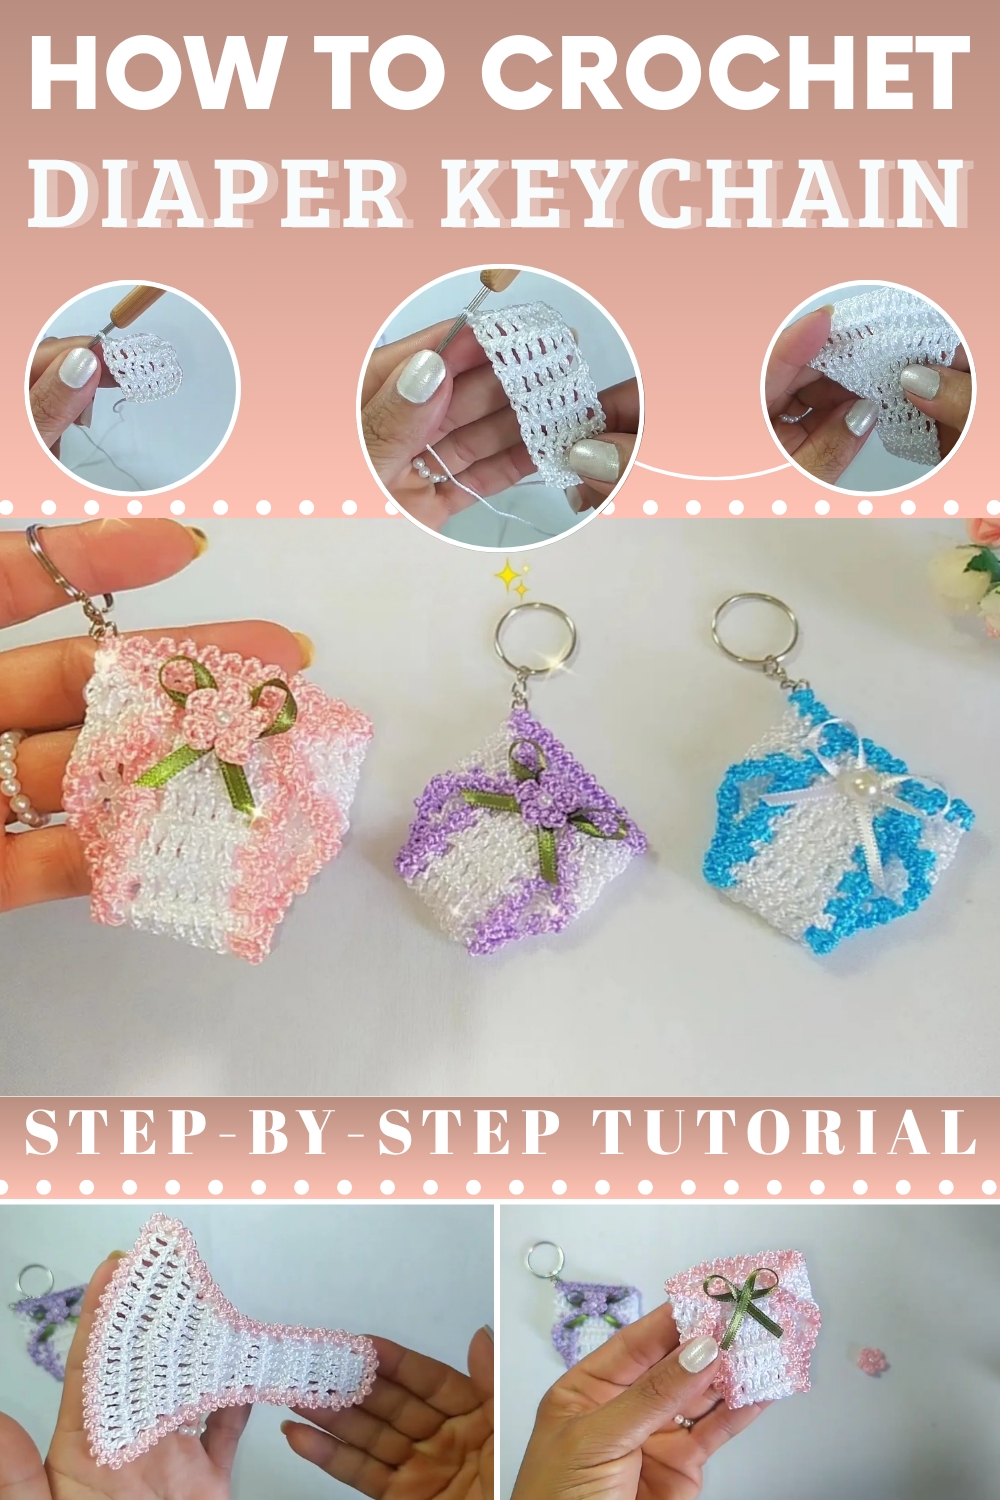
The charm of the keychain is further enhanced with a petite crocheted flower, which adds a lovely decorative element to its design. Whether as thoughtful party favors, practical keychains, or delightful fridge magnets, this crochet diaper serves as a meaningful and artistic token of love. Its simplicity and charm capture hearts instantly, making it a treasure that both givers and recipients will cherish for years.
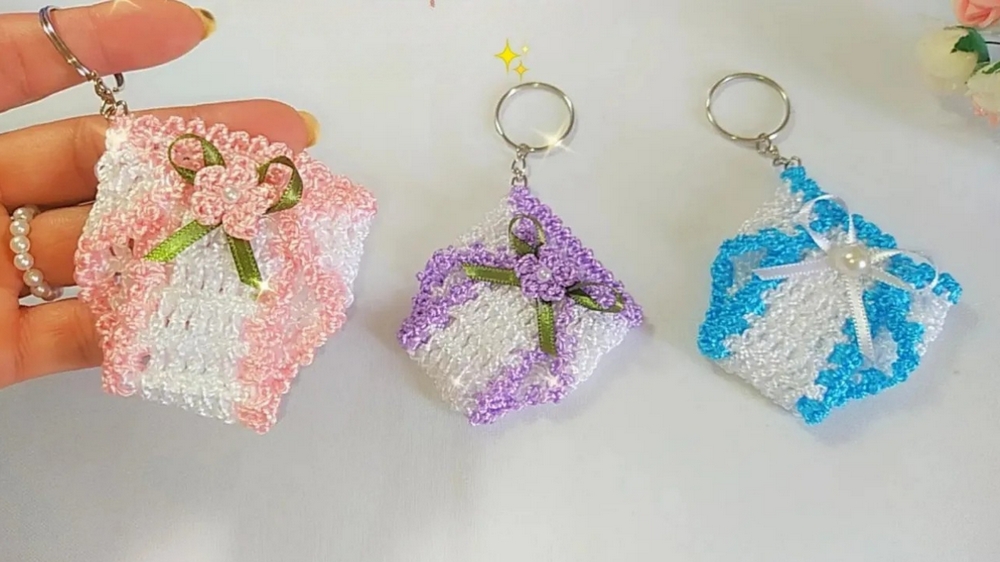
Crochet Pattern: Mini Diaper Party Favor
1. Materials
Yarn
- Main Color (Body of Diaper): Choose a light baby pink or any color of your preference.
(Used in the video: Baby Pink, Tex 288, 100% polypropylene silk thread.) - Accent Color (Edge): White thread or other contrasting pastel colors.
Hook
- 1.75 mm crochet hook.
Additional Supplies
- Keyring (for creating a keychain version).
- Magnet Stone (for refrigerator magnet version).
- Pearls: Size 3 for decoration.
- Ribbon: 12 cm of narrow ribbon (Number 0).
- Sewing Needle: A thin needle capable of passing through the pearl's hole.
- Scissors: For cutting yarn.
- Lighter: Optional, for sealing synthetic yarn ends.
2. Finished Size
- Approximate dimensions: 3 cm x 3.5 cm (depending on tension and yarn thickness).
3. Special Techniques to Learn
- Magic Ring: Create a secure adjustable loop for projects requiring a circular base (used for the flower).
- Single Crochet (sc): Insert hook into a stitch, yarn over, pull up a loop, yarn over, and pull through two loops.
- Double Crochet (dc): Yarn over, insert hook into stitch, yarn over, pull up a loop, yarn over, pull through two loops, yarn over, pull through final two loops.
- Slip Stitch (sl st): Insert hook into stitch, yarn over, and pull through both loops on hook.
- Increasing: Work two double crochet stitches in one base stitch.
4. Pattern Instructions
4.1. Base of the Diaper
1. Foundation Chains
- Make a slip knot and place it on your hook.
- Chain 8.
2. First Row
- Starting in the 4th chain from the hook, work 1 double crochet (dc) into the chain.
- The skipped 3 chains count as a dc.
- Continue working 1 dc in each remaining chain.
- You will have a total of 7 dc at the end of the row.
- Turn your work.
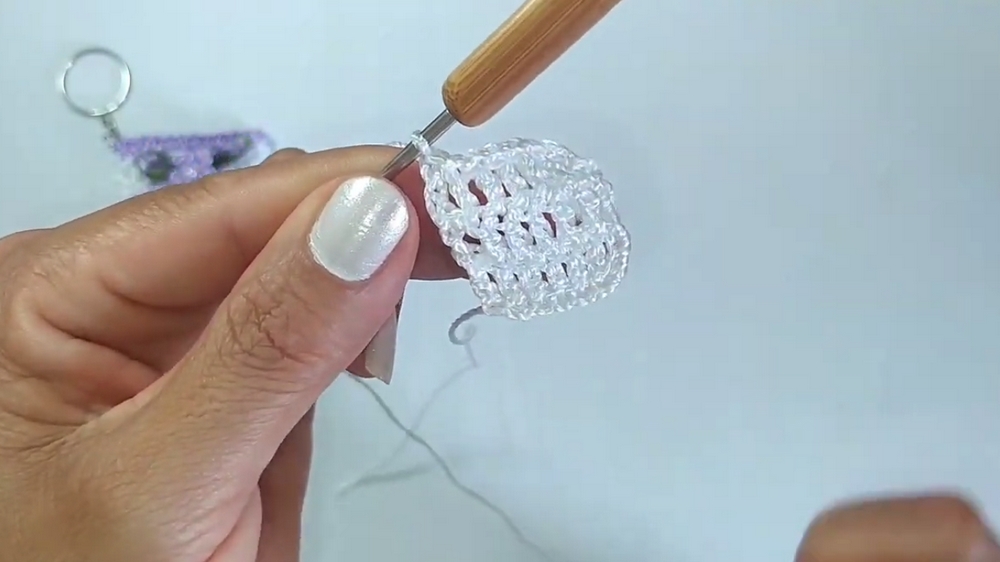
3. Rows 2–7
- Chain 3 (counts as the first dc).
- Work 1 dc in each stitch across the row.
- Do not increase or skip stitches.
- Turn and repeat this process until you complete 7 rows in total.
At the end of this section, your work should look like a small rectangle.
4.2. Shaping the Diaper with Increases
4. Row 8 (First Increase Row)
- Chain 3, turn your work.
- Increase at the Start: Work 1 dc into the base of the chain-3.
- Work 1 dc in each stitch until you reach the middle of the row.
- Increase in the Middle: Work 2 dc into the center stitch of the row.
- Work 1 dc in each remaining stitch across.
- Increase at the End: In the last stitch of the row, work 2 dc.
5. Rows 9–12 (More Increase Rows)
- Repeat the steps for Row 8 for 4 more rows.
- Increase at the beginning, middle, and end of each row.
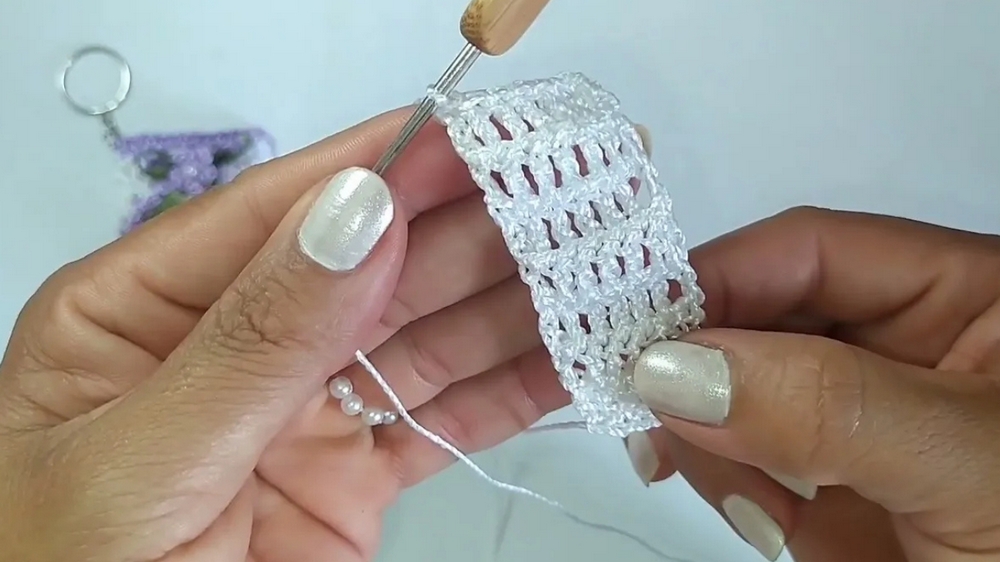
At the end of this section, your diaper piece will have expanded in width.
4.3. Decorative Edge
1. Slip Stitch Edge
- Join the white yarn (or your chosen decorative color) to any corner of the diaper piece.
- Begin with 2 chains for spacing.
- Work slip stitches along the edges:
- After every 2 chains, make a slip stitch into the next stitch or space.
- Continue this pattern evenly around the entire diaper.
2. Around the High Points
- For the rows with increases, work slip stitches between the points of the dc stitches.
- Make 2 chains, slip stitch into the next space, and repeat until the edge is complete.
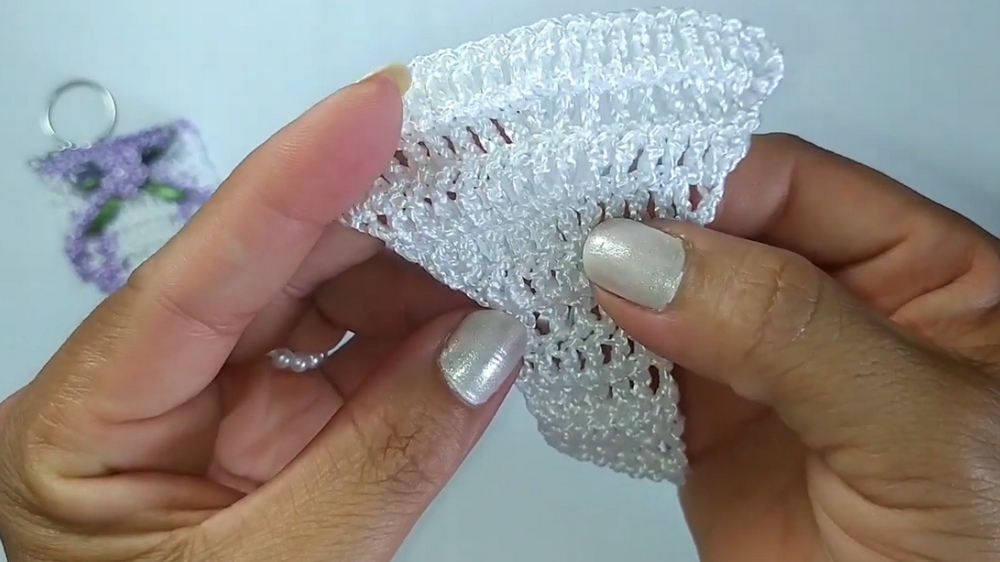
At the end of this step, your diaper will have a neat decorative edge.
4.4. Fold & Assembly
- Lay the crochet piece flat.
- Fold the sides inward to form the shape of a diaper.
- Join the folded sections securely by stitching or gluing as needed.
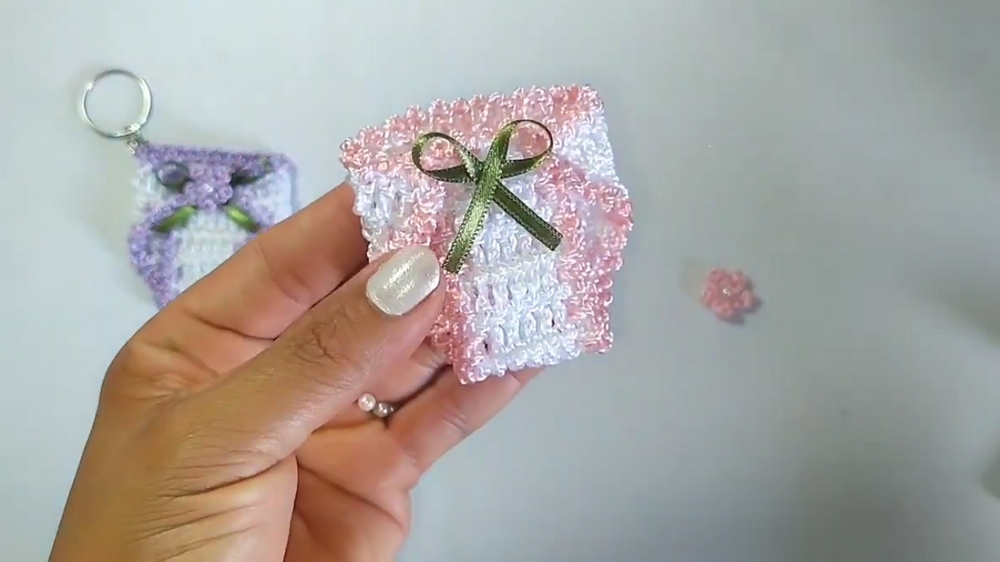
4.5. Optional Add-Ons
- Keychain: Sew or glue the keyring to one corner of the diaper.
- Magnet: Attach a small magnet stone to the back with a hot glue gun.
4.6. Crochet Flower
A small flower will be attached for decoration.
1. Start with a Magic Ring
- Create a magic ring and secure with a chain.
2. Petals
- Chain 1, then work 1 dc into the magic ring.
- Chain 1 again and slip stitch into the magic ring.
- Repeat this sequence 5 times, forming 5 petals in total.
3. Finish
- Pull the magic ring tail to close the circle tightly.
- Fasten off, leaving a small tail.
- Apply the flower to the diaper using glue or stitches.
4.7. Attach the Decorative Pearl
- Thread a needle with a fine thread matching your yarn color.
- Pass the thread through the pearl, securing it to the center of the flower.
- Go through the pearl 2–3 times to ensure it is secured.
- Knot the thread behind the flower and trim excess.
5. Finishing
- Ensure all yarn tails are woven in securely.
- Use a lighter to seal synthetic yarn ends where appropriate.
- If making party favors in bulk, prepare all pieces in assembly-line fashion for efficiency.
6. Customization and Tips
- Color Combinations: Use any color scheme to match the theme of your event.
- Additional Decorations: Add a small bow, mini buttons, or rhinestones for more detail.
- Larger Diapers: Increase the starting chain and work additional rows with increases to create a larger version.
- Alternative Uses: Use this mini diaper design on greeting cards or gift tags for baby showers.
7. Conclusion
This adorable mini diaper crochet project is simple yet charming, making it perfect for baby showers, maternity keepsakes, and gender reveal parties. With its small size and cute details (like the flower and pearl), it is ideal for creating in bulk. The ability to adapt the project into a keychain or magnet makes it versatile for both practical and decorative purposes.