
Adorable Free Crochet Dachshund Amigurumi Pattern For Dog Lovers
Step into cozy creativity with this Crochet Dachshund Amigurumi Pattern as a long bodied pup forms for gifts shelves and warm decor spaces.
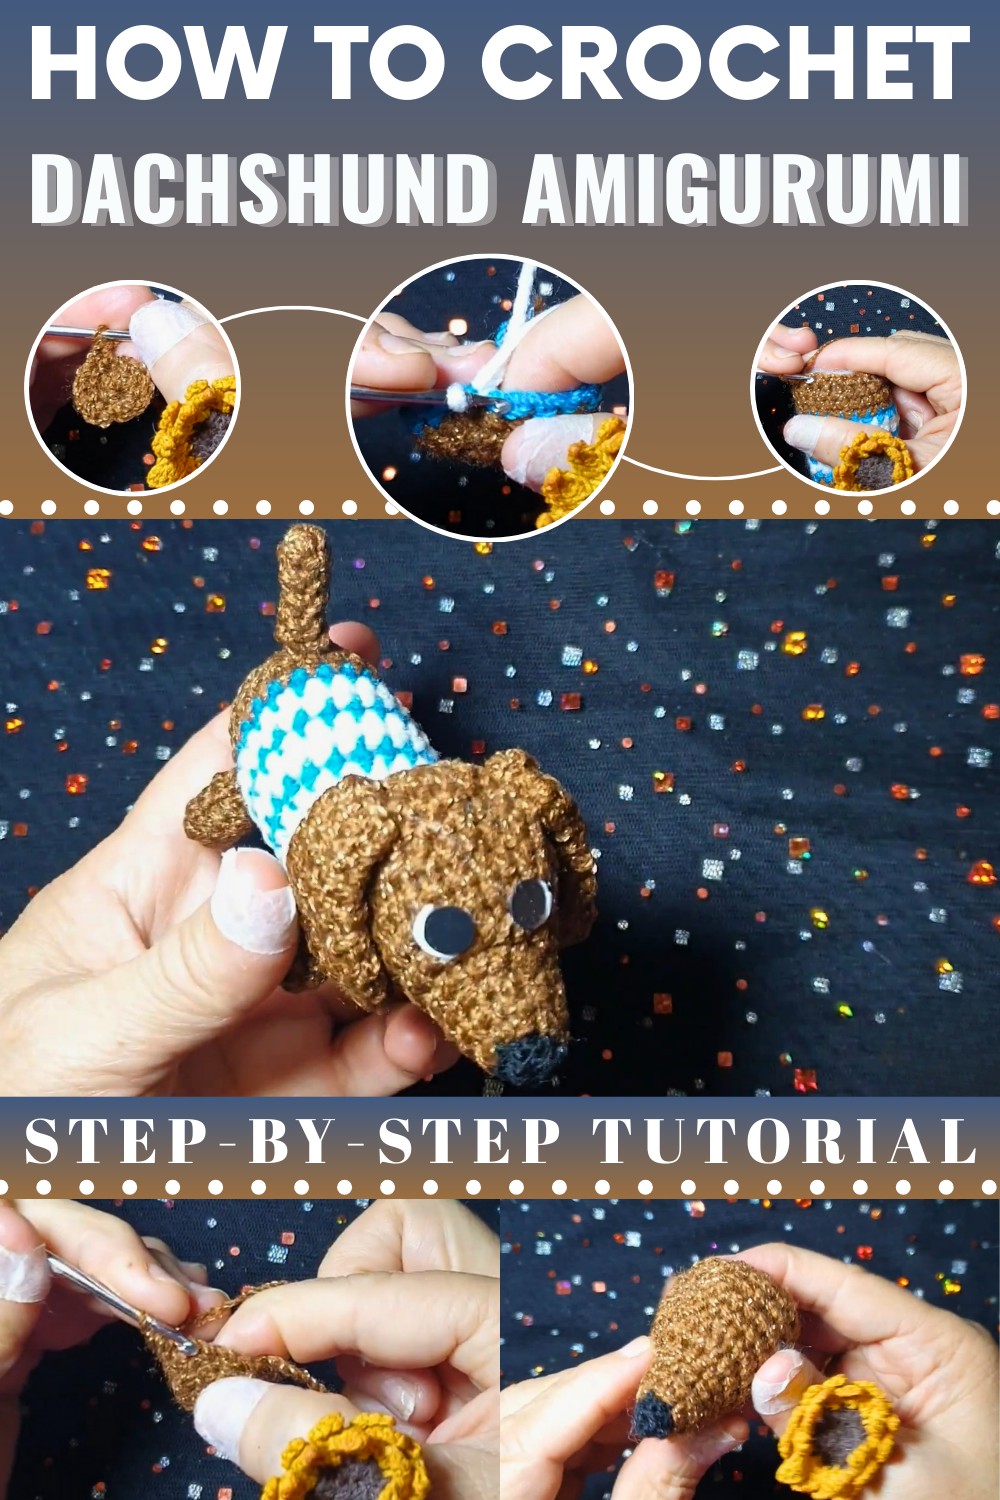
Softie Crochet Dachshund Amigurumi Pattern Meant for Display
Making a tiny long-bodied pup is a fantastic way to add a bit of canine charm to your home or office. Crochet Dachshund Amigurumi pattern This sweet project serves as a wonderful gift for dog lovers or a cute mascot for your workspace, providing a sense of comfort and joy through its soft, stitched texture. Because of its small and compact shape, it works perfectly as a desk buddy, a shelf decoration, or even a soft toy for older children to enjoy.
Dachshund Dog Crochet Pattern - FREE
Skill Level
Intermediate – Requires familiarity with basic crochet stitches, working in the round with a magic circle, color changes, and assembling parts.
Materials Required
- Yarn:
- Brown yarn (main color)
- Blue yarn (body accents)
- White yarn (body accents)
- Red yarn (optional, as collar accessory if desired)
- Black yarn (details for face, e.g., nose or embroidery)
- Hook Size: 2.70 mm crochet hook.
- Additional Tools:
- Stuffing (polyfill or cotton) for the body, head, and legs.
- Safety eyes (recommend size 7mm) or black yarn for embroidered eyes.
- Tapestry needle for sewing and embroidery.
- Scissors.
- Stitch marker for tracking rounds.
- Small bead or charm for decor (optional, for the necklace).
- Fabric glue (optional, to secure the collar).
Abbreviations (US Terminology)
- Ch: Chain
- Sc: Single Crochet
- Inc: Increase (2 single crochet stitches worked into the same stitch)
- Dec (Sc2tog): Decrease (single crochet two stitches together - insert hook into first stitch, pull up loop, insert hook into second stitch, pull up loop, yarn over, pull through all three loops)
- Sl St: Slip Stitch
- MC: Magic Circle
Special Techniques
- Magic Circle (MC): Start your crochet project in the round without a gap in the center. It creates a tight base for projects like amigurumi.
- Working in continuous rounds: Use a stitch marker to remember the first stitch of a round instead of finishing each round with a slip stitch, except where specified.
- Color Changes: Insert the new yarn color when the final yarn-over of the last stitch is pulled through. This ensures a clean color transition.
Crochet Pattern Instructions
Body
Rounds for the Body Base
- Start with brown yarn: Create a magic circle (MC).
- Round 1: Ch 1, 7 Sc into the circle. Tighten and Sl St into the first Sc to close the round. (7 stitches)
- Round 2: Ch 1, Inc in each stitch around. (14 stitches)
- Round 3: Ch 1, (Sc, Inc) around. (21 stitches)
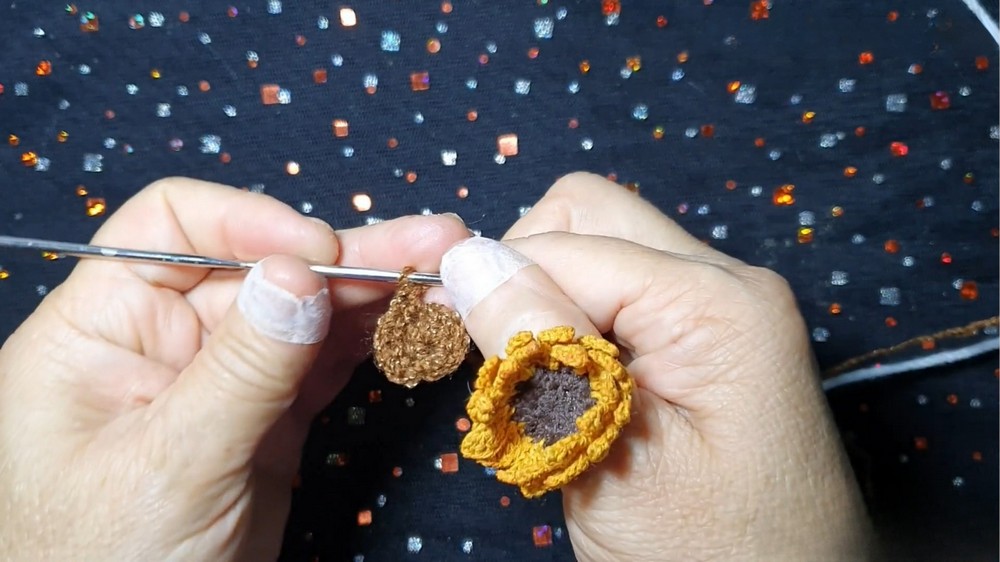
Working the Body
- Work evenly:
- Rounds 4–5: Sc in each stitch (21 stitches per round).
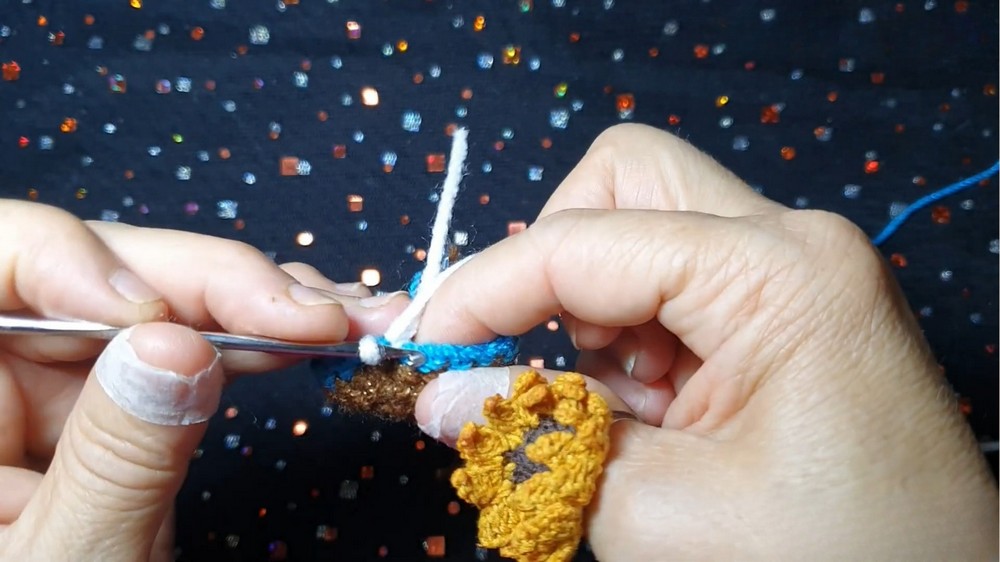
Adding Stripes
- Switch to blue yarn in the last stitch of Round 5:
- Rounds 6–7: Blue yarn, Sc in each stitch (21 stitches per round).
- Switch to white yarn in the last stitch of Round 7.
- Alternate color pattern:
- Work blue and white stripes in the following order:
- 4 rounds of blue.
- 3 rounds of white.
- Continue alternating colors until you have seven color stripes in total. Ensure each round is 21 Sc.
- Work blue and white stripes in the following order:
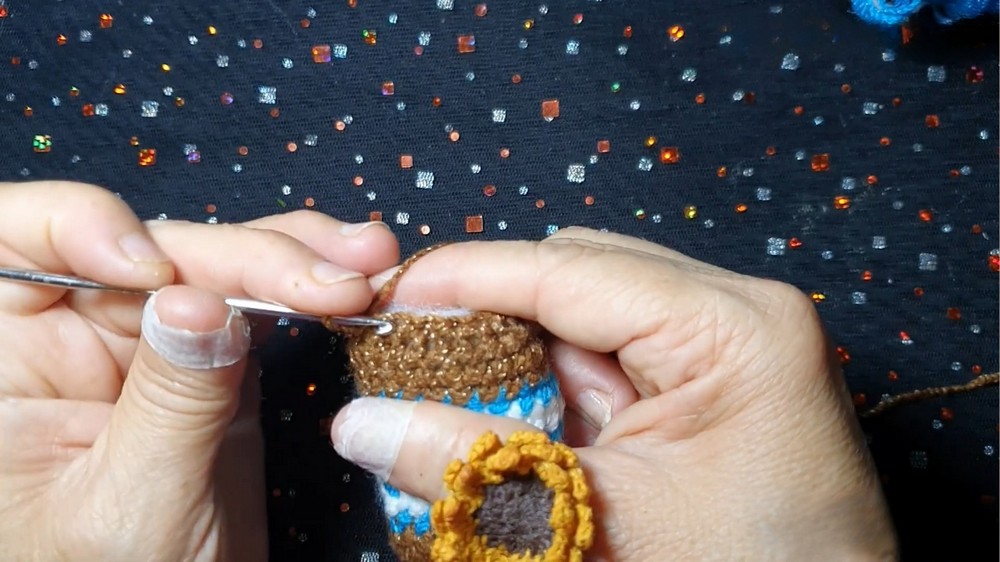
- Switch back to brown in the last round of stripes:
- Rounds 15–17: Brown yarn, Sc in each stitch (21 stitches per round).
Shaping the Body
- Begin decreasing:
- Round 18: (Sc, Dec) around. (14 stitches)
- Round 19: Dec in every stitch. (7 stitches)
- Stuff the body firmly but do not overstuff.
- Close the opening:
- Using a tapestry needle, insert into the front loops of the remaining stitches, pull tightly to close, and weave in the ends.
Head
- Start with black yarn for the nose:
- Round 1: MC, Ch 1, 5 Sc. Close with Sl St into the first stitch. (5 stitches)
- Round 2: Sc in each stitch. (5 stitches)
- Switch to brown yarn:
- Round 3: Inc in each stitch. (10 stitches)
- Round 4: Sc in each stitch. (10 stitches)
- Shape the head:
- Round 5: (3 Sc, Inc) around. (12 stitches)
- Round 6: (4 Sc, Inc) around. (18 stitches)
- Round 7: (Sc, Inc) around. (24 stitches)
- Rounds 8–11: Sc in each stitch (24 stitches per round).
- Shape and taper the head:
- Round 12: (Sc, Dec) around. (18 stitches)
- Round 13: (2 Sc, Dec) around. (12 stitches)
- Stuff the head with polyfill.
- Round 14: Dec every stitch. (6 stitches)
- Using a tapestry needle, close the opening by weaving through the remaining stitches and pulling tight.
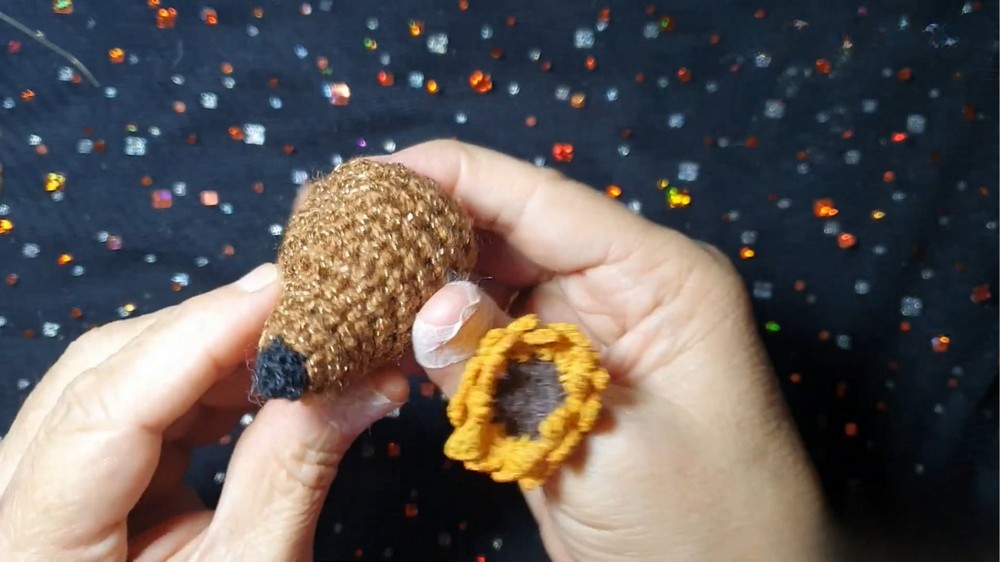
Legs (Make 4)
- Start with brown yarn:
- Round 1: MC, Ch 1, 7 Sc into the circle. Close with Sl St (7 stitches).
- Rounds 2–4: Sc in each stitch (7 stitches per round).
- Stuff lightly to allow flexibility.
- Leave a long tail for sewing and attach to the base of the body symmetrically.
Tail
- Start with brown yarn:
- Round 1: MC, Ch 1, 5 Sc.
- Rounds 2–6: Sc in each stitch (5 stitches per round).
- Stuff lightly, leaving the tail flexible. Leave a long tail for sewing.
Ears (Make 2)
- Start with brown yarn:
- Round 1: MC, Ch 1, 5 Sc. (5 stitches)
- Round 2: Inc in each stitch. (10 stitches)
- Round 3: (Sc, Inc) around. (15 stitches)
- Rounds 4–6: Sc in each stitch (15 per round).
- Taper:
- Round 7: (2 Sc, Dec) around. (10 stitches)
- Rounds 8–9: Sc in each stitch.
- Leave a long tail for sewing and attach symmetrically to the head.
Collar
- With red yarn, chain 15 stitches.
- Work 1 Sl St in each chain to add thickness.
- Add a small bead or charm at the center by threading the bead onto the yarn.
- Attach the collar around the neck and secure it with fabric glue if necessary.

Finishing and Assembly
- Attach the Head: Sew the head to the body securely using the invisible stitch. Ensure it is centered and firmly attached.
- Legs and Tail: Sew all four legs symmetrically to the body. The front legs should slightly angle forward, and the tail should be sewn as an extension at the back.
- Ears: Attach ears symmetrically to the head, ensuring they hang slightly downward.
- Details: Use safety eyes or embroider the eyes with black yarn. Optionally, embroider or glue a small nose on the black nose area.
Final Words and Tips
Congratulations on completing your dachshund design! This sweet stuffed animal is customizable, as you can change the colors or add playful details like a bow or stripes.
Tips for Maintenance:
- Spot clean only: Use a damp cloth for cleaning to avoid damaging the stitches.
- Use safety eyes: If gifting to young children, ensure safety eyes are securely attached or replace them with embroidered ones for safety.
- Attach securely: All parts should be sewn tightly to avoid detachment during handling.