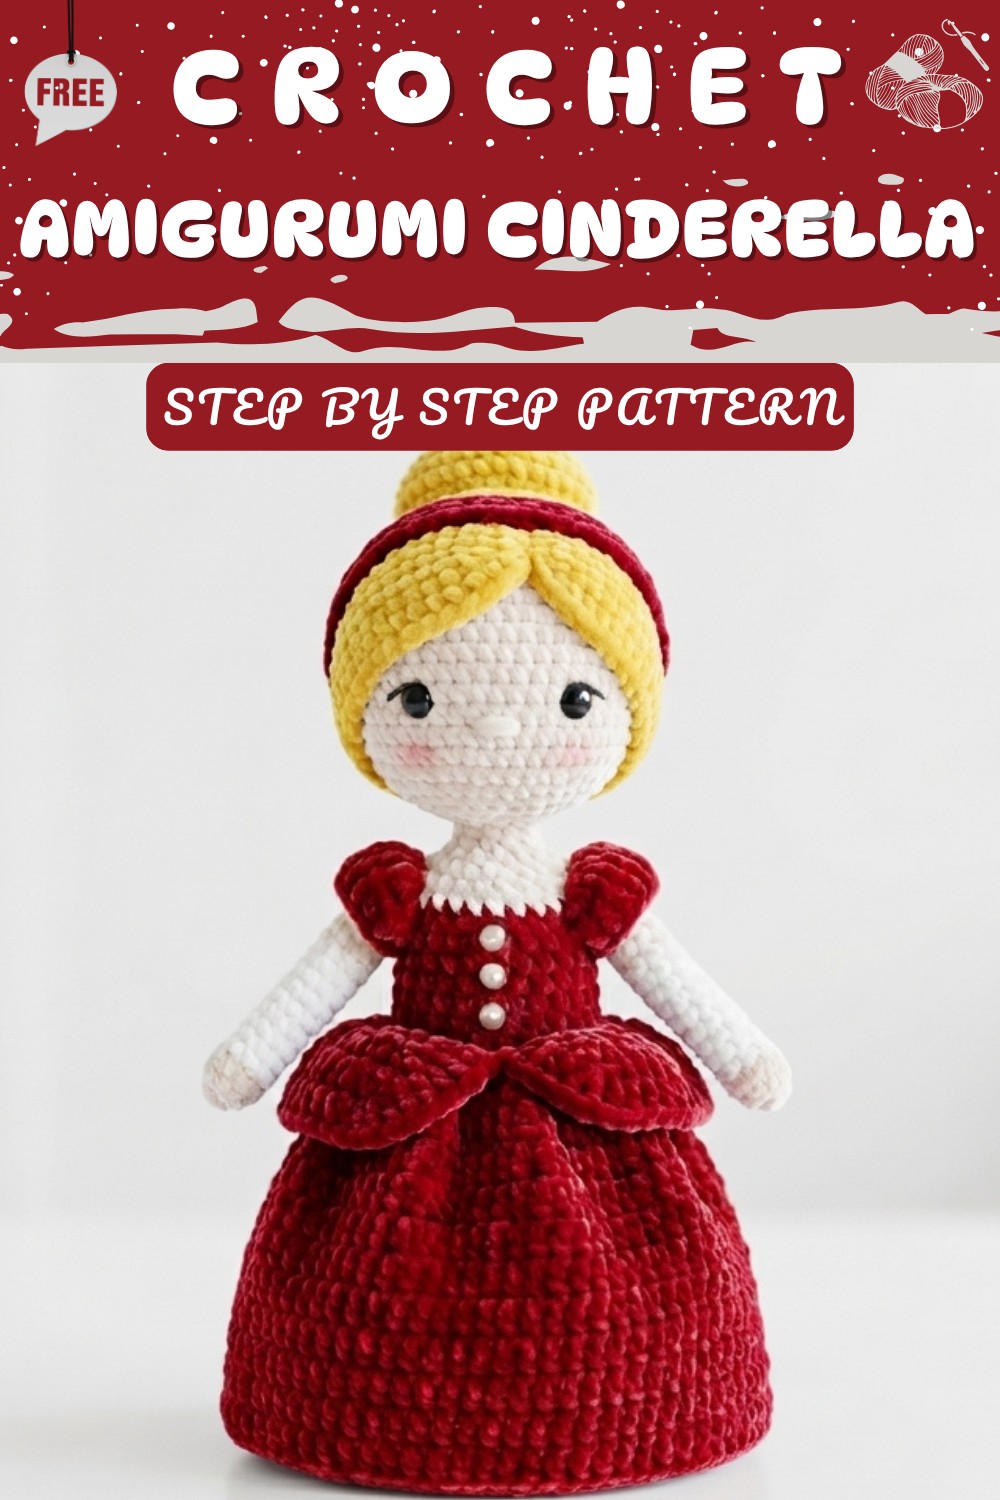
Adorable Crochet Cinderella Free Pattern That Stands Out
Create a fairy tale favorite piece with this Free Crochet Cinderella Amigurumi to enjoy making a graceful princess everyone will adore.
There’s something truly magical about recreating beloved fairy tale characters through crochet, and this free crochet Cinderella pattern brings that enchantment right to your hook. Whether you’re a seasoned amigurumi fan or just starting out, this project lets you crochet a charming doll inspired by the timeless princess.
Free Crochet Cinderella Amigurumi Pattern with Fairy Tale Charm
This crochet Cinderella is a delightful blend of soft textures and elegant shapes. Her flowing gown features gentle stitch details that mimic the delicate folds of fabric, while her sweet facial features and signature hairstyle add personality and charm. The doll’s compact size makes her perfect for display, play, or as a treasured collectible.
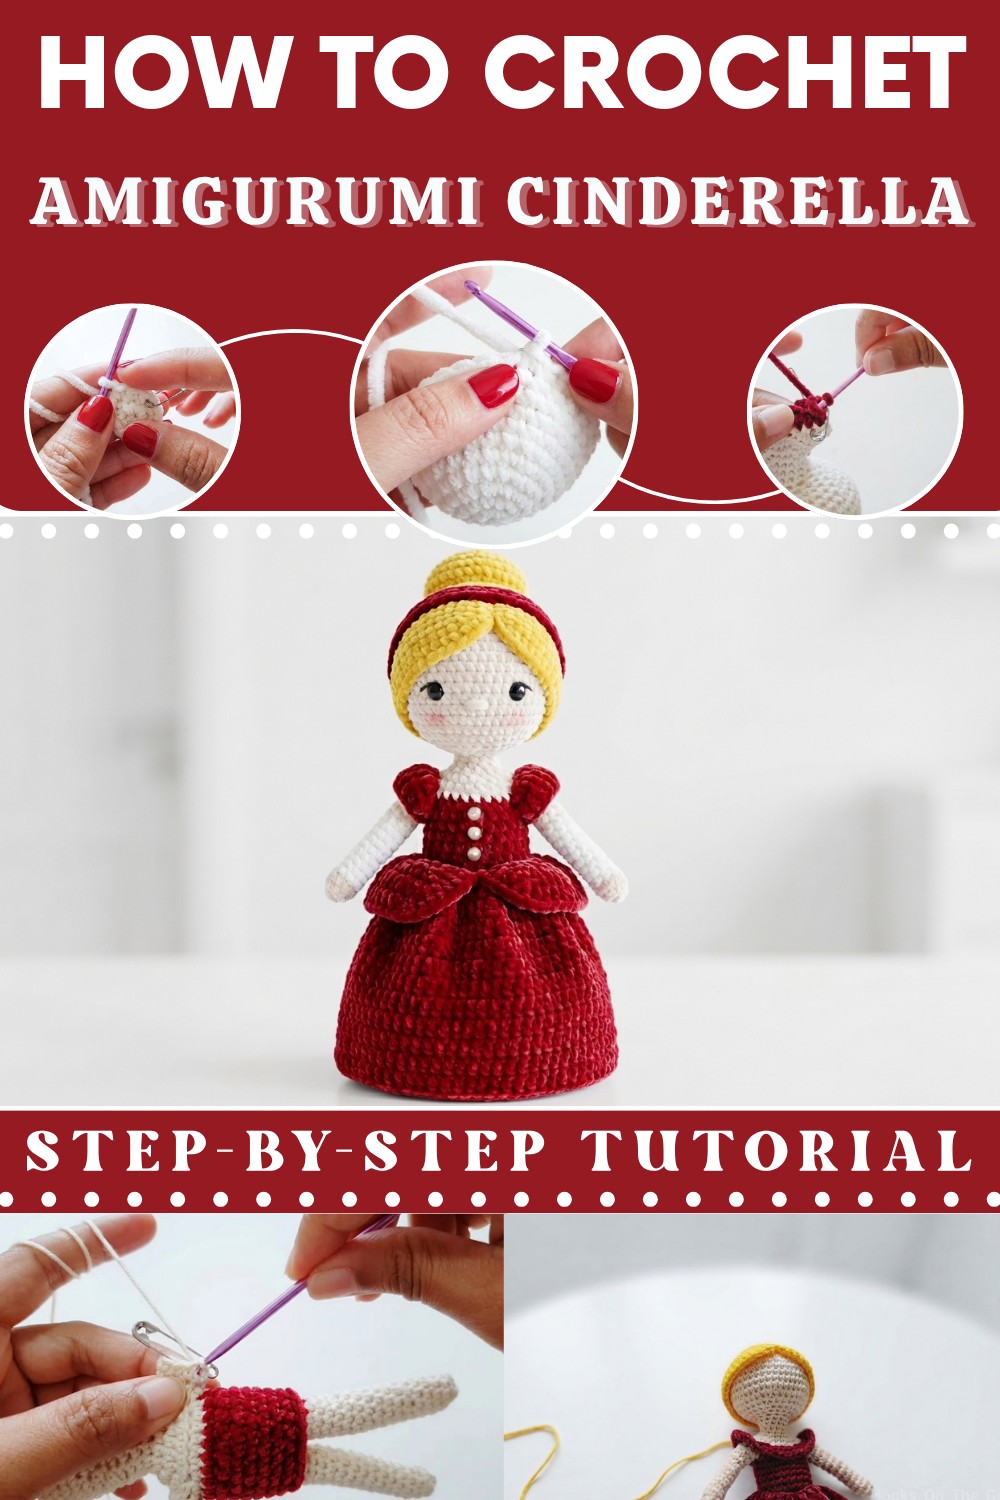
Ideal for crocheters comfortable with basic amigurumi techniques, this pattern involves working in rounds with single crochet, along with simple increases and decreases to shape the figure. Using smooth, light-colored worsted-weight yarn helps highlight the stitch work, giving the gown a subtle sheen that resembles Cinderella’s iconic dress. Plus, a touch of sparkle with metallic or glitter yarn accents can really make her ball gown come alive.
The inspiration behind this design comes from a love of classic stories and a desire to make beloved characters accessible to crafters everywhere. This little princess makes a wonderful handmade gift for birthdays, home decor, holidays, or as a special keepsake for fairy tale lovers of all ages.
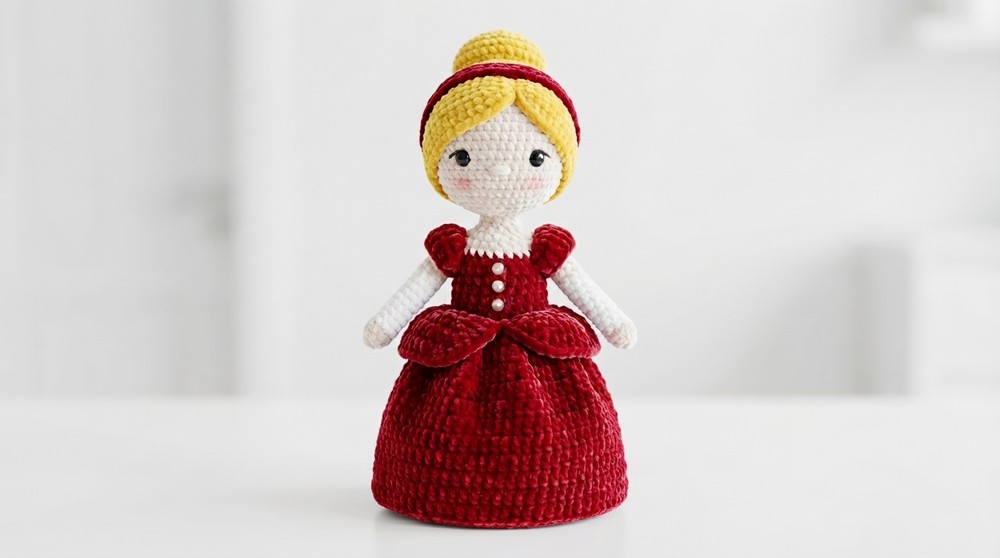
Crochet Cinderella Pattern
This pattern provides a comprehensive guide to crafting a charming Amigurumi Cinderella. This project allows you to create a detailed, fairytale-inspired doll, perfect for collectors or as a thoughtful gift. By following these steps, you will construct a doll from the head down to the skirt, including arms, legs, and detailed hair styling.
Notes
-
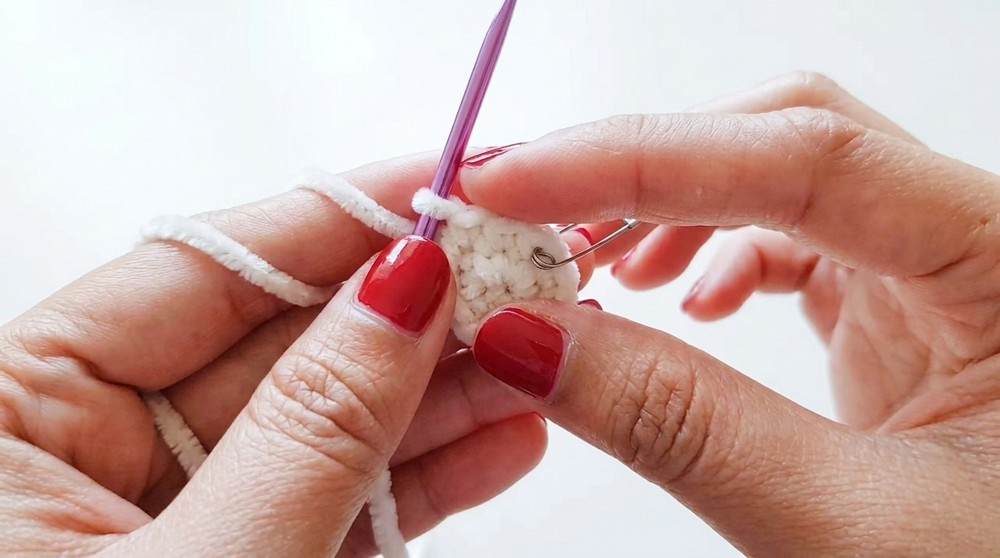
Continuous Rounds: All sections are worked in continuous rounds unless otherwise stated. Use a stitch marker to keep track of the first stitch of each round.
-
Tension: Maintain consistent tension to ensure the doll’s shape is uniform and to prevent gaps where stuffing might show.
-
Stuffing: Add toy stuffing as you progress to ensure the doll maintains its form.
-
Color Changes: When switching yarn colors, ensure the transition is smooth and secure.
Skill Level
-
Intermediate: Requires familiarity with magic rings, increasing, decreasing, color changes, and sewing small pieces.
Materials
-
Yarn: Cotton yarn in Skin Tone, Yellow, White, Blue, Light Blue, and Black (for eyes/stitching).
-
Hook: 3.0 mm crochet hook.
-
Tools: Sewing needle, stitch marker, scissors, two black beads (for eyes).
-
Stuffing & Support: Toy stuffing and optional pipe cleaners or wire for limbs.
Measurements / Sizing
-
Finished Size: The finished doll stands approximately 6 to 8 inches tall, depending on individual tension.
Gauge
-
While a specific gauge is not strictly required, ensure your stitches are tight enough so that the stuffing does not show through the fabric.
Stitch Abbreviations
-
Ch: Chain
-
Sc: Single Crochet
-
Inc: Increase (2 sc in one stitch)
-
Dec: Decrease (Invisible decrease)
-
Dc: Double Crochet
-
Sl St: Slip Stitch
-
BLO: Back Loop Only
Special Stitches
-
Invisible Decrease: Insert hook into the front loop of the next two stitches, yarn over, and pull through the first two loops, then yarn over and pull through remaining two loops.
-
Magic Ring: The standard foundation for starting amigurumi in the round.
The Crochet Pattern
Head and Neck
Using Skin Tone yarn.
-
Round 1: Magic ring, 6 sc. (6 sts)
-
Round 2: Inc in every st. (12 sts)
-
Round 3: 1 sc, inc repeat around. (18 sts)
-
Round 4: 2 sc, inc repeat around. (24 sts)
-
Round 5: 3 sc, inc repeat around. (30 sts)
-
Round 6: 4 sc, inc repeat around. (36 sts)
-
Round 7: 5 sc, inc repeat around. (42 sts)
-
Rounds 8–12: Sc in every st for 5 rounds. (42 sts)
-
Round 13: 5 sc, dec repeat around. (36 sts)
-
Round 14: 4 sc, dec repeat around. (30 sts)
-
Round 15: 3 sc, dec repeat around. (24 sts)
-
Round 16: 2 sc, dec repeat around. (18 sts)
-
Round 17: 1 sc, dec repeat around. (12 sts)
-
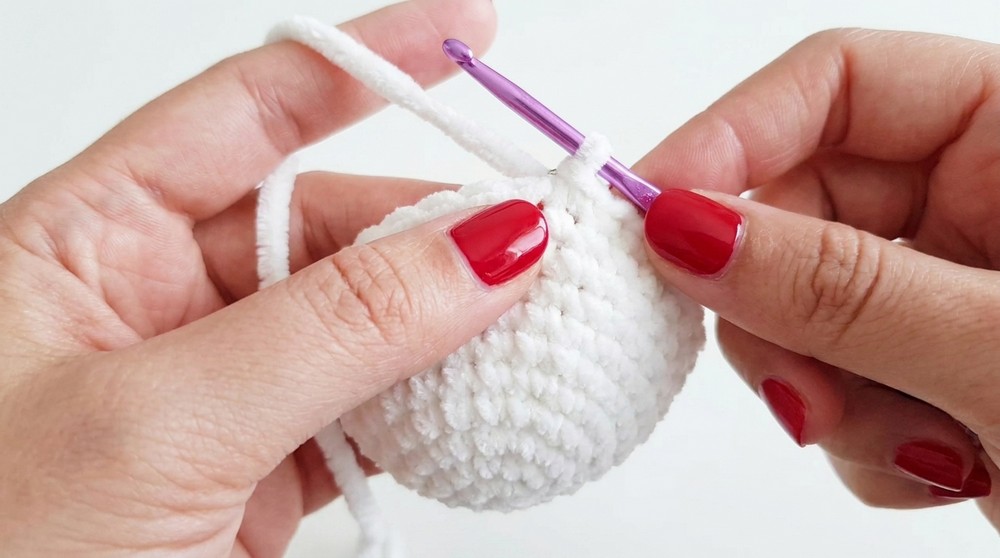
Rounds 18–21: Sc in every st for 4 rounds (Neck section). (12 sts)
Torso and Body
-
Round 22: 1 sc, inc repeat around. (18 sts)
-
Round 23: 2 sc, inc repeat around. (24 sts)
-
Round 24: 3 sc, inc repeat around. (30 sts)
-
Round 25: 4 sc, inc repeat around (Work in BLO). (36 sts)
-
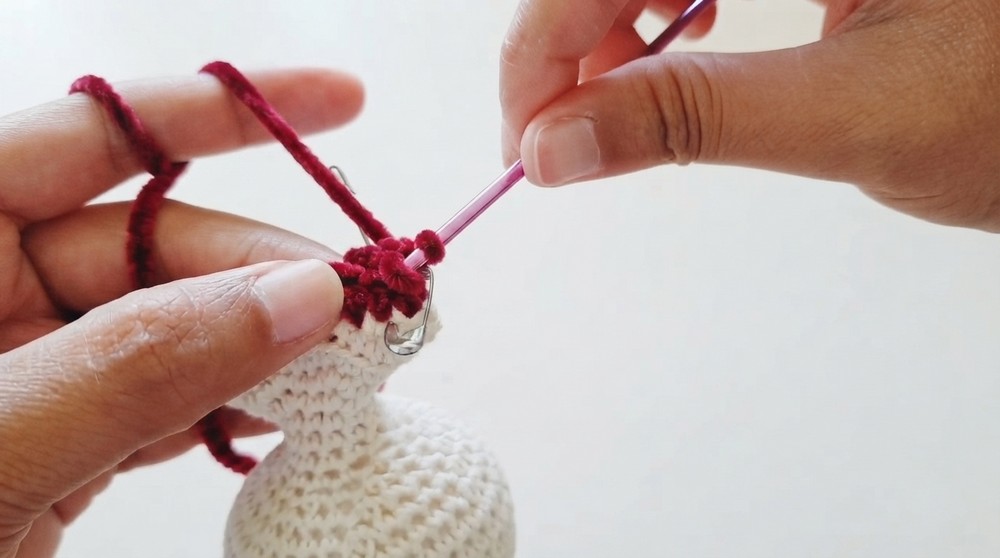
Arm Partition: Fold work to flatten. Mark 8 stitches on each side for arms.
-
Body Rounds: Attach red yarn. Sc 20 stitches for the body base. Work 6 additional rounds of sc (7 rounds total for the body).
Legs
-
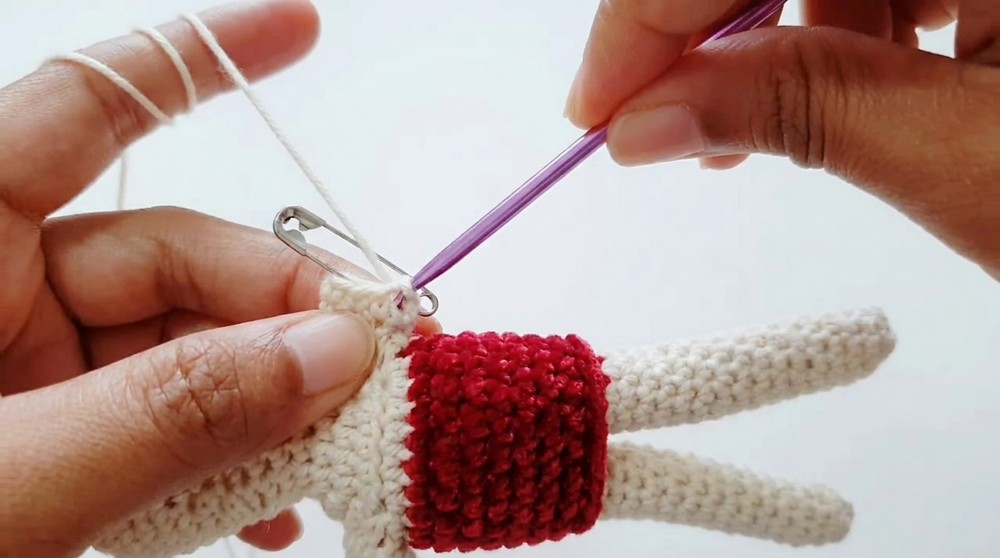
Divide the body stitches into two sections (10 stitches per leg).
-
Work in BLO for the first round of the legs.
-
Work 14 additional rounds of sc (15 rounds total per leg).
-
Insert pipe cleaners for stability and sew the leg openings closed.
Arms
-
Attach Skin Tone yarn to the marked arm section.
-
Rounds 1–3: Work 8 sc around.
-
Color Change: Change to White yarn.
-
Rounds 4–12: Work 8 sc around for 9 rounds.
-
Fasten off, insert pipe cleaners, and sew the arm closed.
The Skirt (Dress)
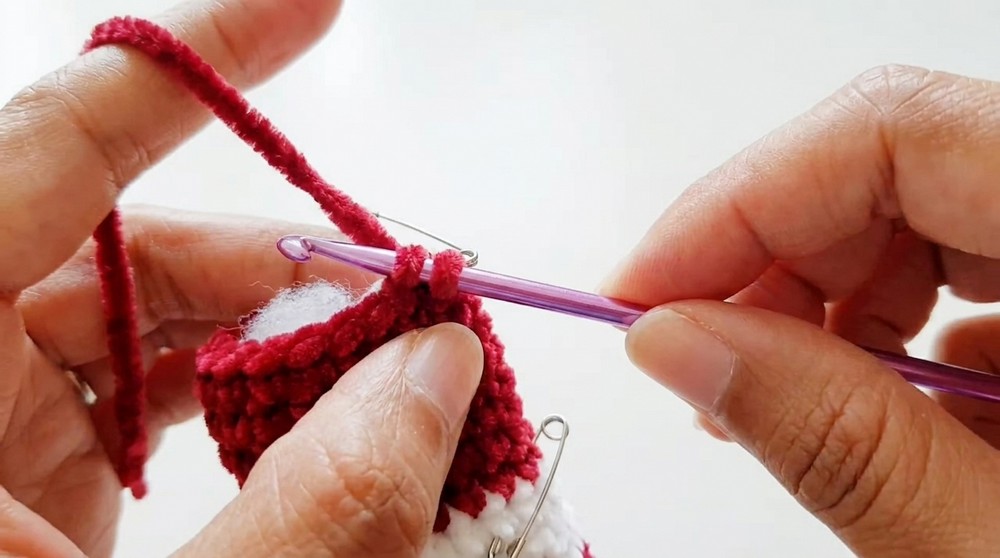
Using red yarn, work into the front loops left from Round 25.
-
Round 1: Ch 2, dc in the same stitch. Dc around. Sl st to join. (20 dc)
-
Round 2: Ch 2, 1 dc, inc around. (28 dc)
-
Round 3: Ch 2, 2 dc, inc around. (35 dc)
-
Round 4: Ch 2, 3 dc, inc around. (42 dc)
-
Round 5: Ch 2, 4 dc, inc around. (49 dc)
-
Round 6: Ch 2, 5 dc, inc around. (56 dc)
-
Fasten off.
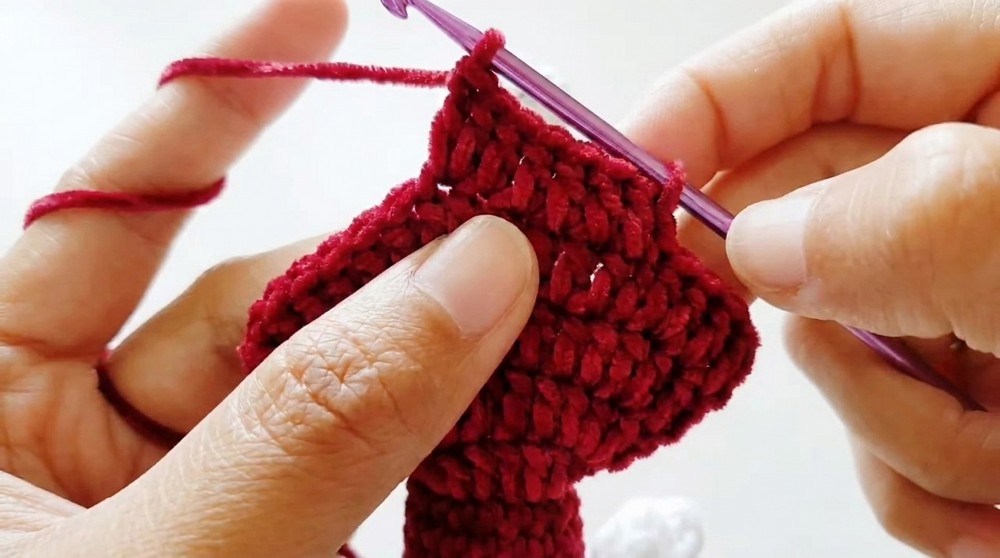
Over-skirt (Light Blue):
-
Work into remaining front loops.
-
Round 1: Inc in every stitch around.
-
Round 2: Sc in every stitch around. Fasten off.
Hair, Bun, and Headband
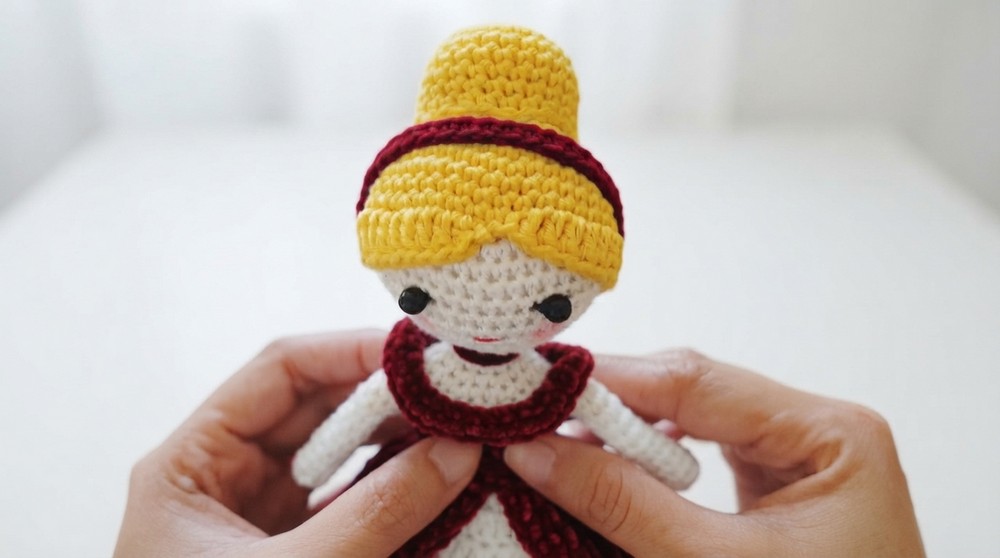
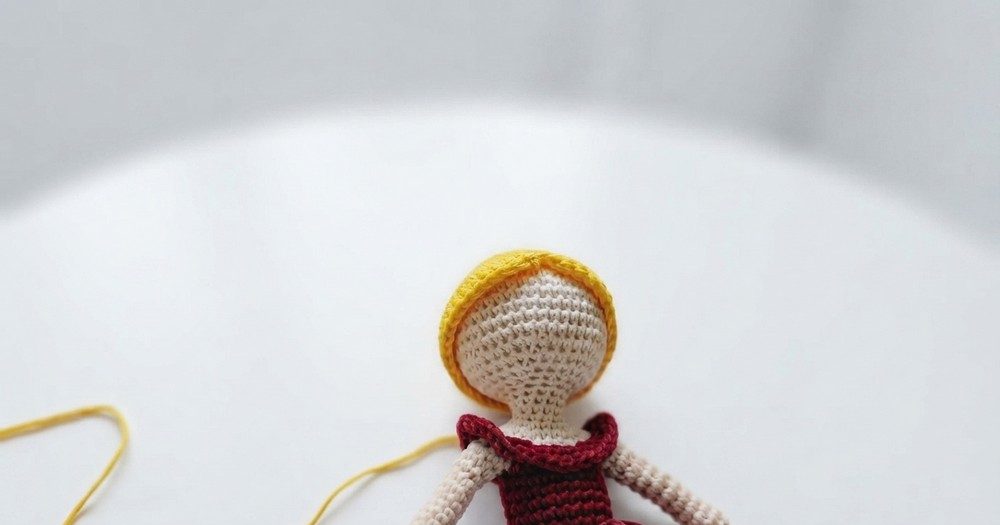
Hair Cap: Follow the head shaping steps (Rounds 1–7) then work 4 rounds of sc. Finish with a round of dc around the edge to create the hairline.
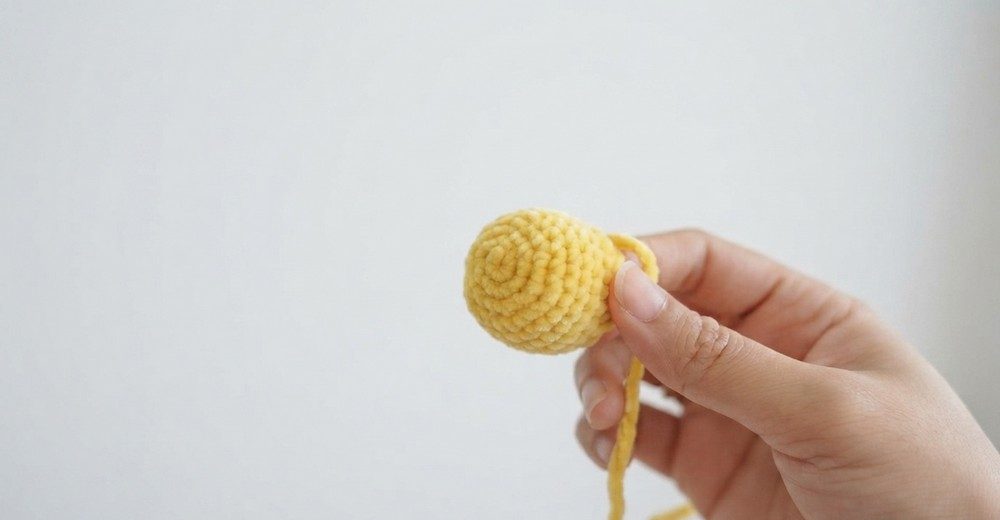
Bun:
-
Round 1: Magic ring, 6 sc.
-
Round 2: Inc around. (12 sts)
-
Round 3: 1 sc, inc around. (18 sts)
-
Round 4: 2 sc, inc around. (24 sts)
-
Rounds 5–9: Sc around for 5 rounds. Stuff and sew to the hair cap.

Headband:
-
Ch 20, sc back across. Sew onto the head.
Assembly & Finished Size
-
Face: Sew the two black beads for eyes between rounds. Use red yarn to stitch the lips.
-
Limbs: Ensure arms and legs are securely sewn to the torso.
-
Dress: Attach the over-skirt layers and ensure all yarn ends are woven in.
-
Hair: Pin the hair cap to the head and sew securely before adding the bun and headband.
-
Final Size: The doll is a compact, balanced figure, approximately 6–8 inches tall, suitable for display or gentle play.
Conclusion and Ending Words
By following these steps, you have successfully created your own Amigurumi Cinderella. This pattern utilizes fundamental amigurumi techniques like the magic ring, invisible decreases, and working in back loops to create a professional-looking finish. Whether you choose to customize the colors or keep to the classic Cinderella aesthetic, this doll is a rewarding project that showcases your crochet skill and attention to detail.
Quick Overview Of Pattern
-
Structure: The doll is constructed using the amigurumi method, working in continuous rounds for the head and body.
-
Techniques: The pattern involves increasing and decreasing stitches to shape the doll, changing colors for clothing, and utilizing back-loop-only (BLO) stitches to create garment transitions.
-
Assembly: Arms and legs are worked directly or attached to the main body. Hair and accessories, such as the bun and headband, are created separately and sewn on.
-
Customization: Features include a layered dress, signature bun, and optional pipe cleaner support for limbs.