
Free Crochet Pattern for Cute Snowman Doll
Bring a snowy whimsy to your decor with this Free Crochet Amigurumi Snowman Pattern that combines cozy design and festive fun for all ages.
About The Channel:
On her channel, Crochê da Soufe, Sofie offers tutorials for a variety of cozy crochet projects. With guided steps and helpful tips, her videos inspire crocheters of all skill levels to turn simple stitches into beautiful creations.
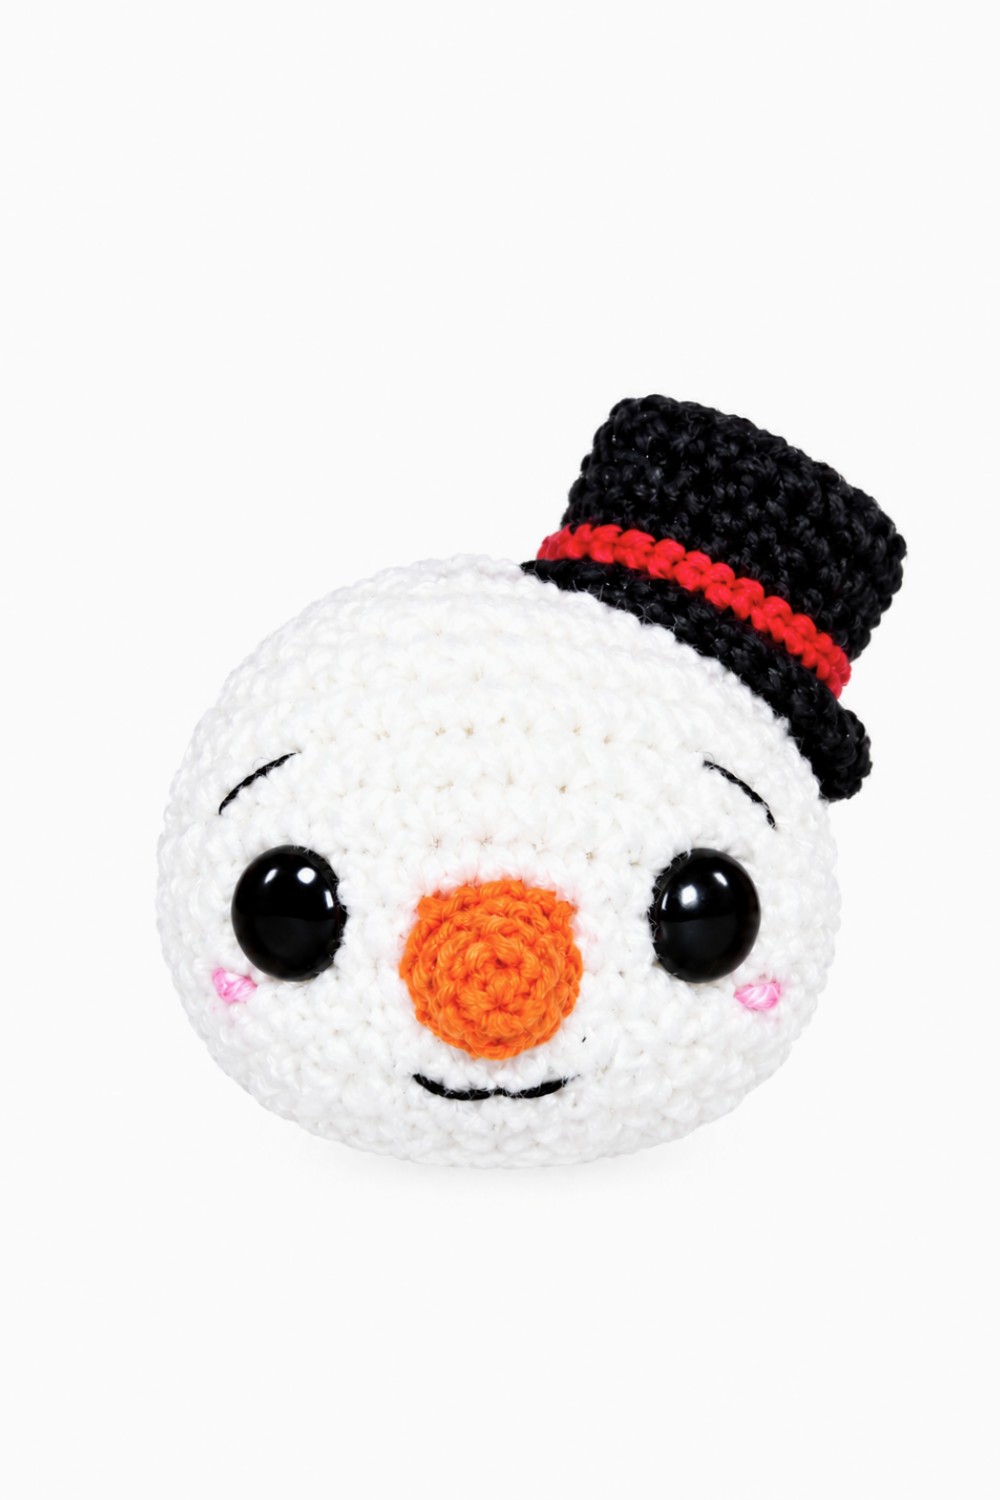
A soft, fuzzy amigurumi snowman is the perfect addition to your holiday décor. With its plush body, cheerful top hat, and adorable carrot-like nose, this handmade piece brings charm to any space. Using the Free Crochet Amigurumi Snowman Pattern, the snowman measures around 8 cm tall, making it ideal for ornaments, keychains, or festive accessories. You’ll love its cozy texture from plush yarn, adding a warm and comforting vibe to winter decorations.
Amigurumi Snowman for Christmas Decorating – Free Crochet Pattern
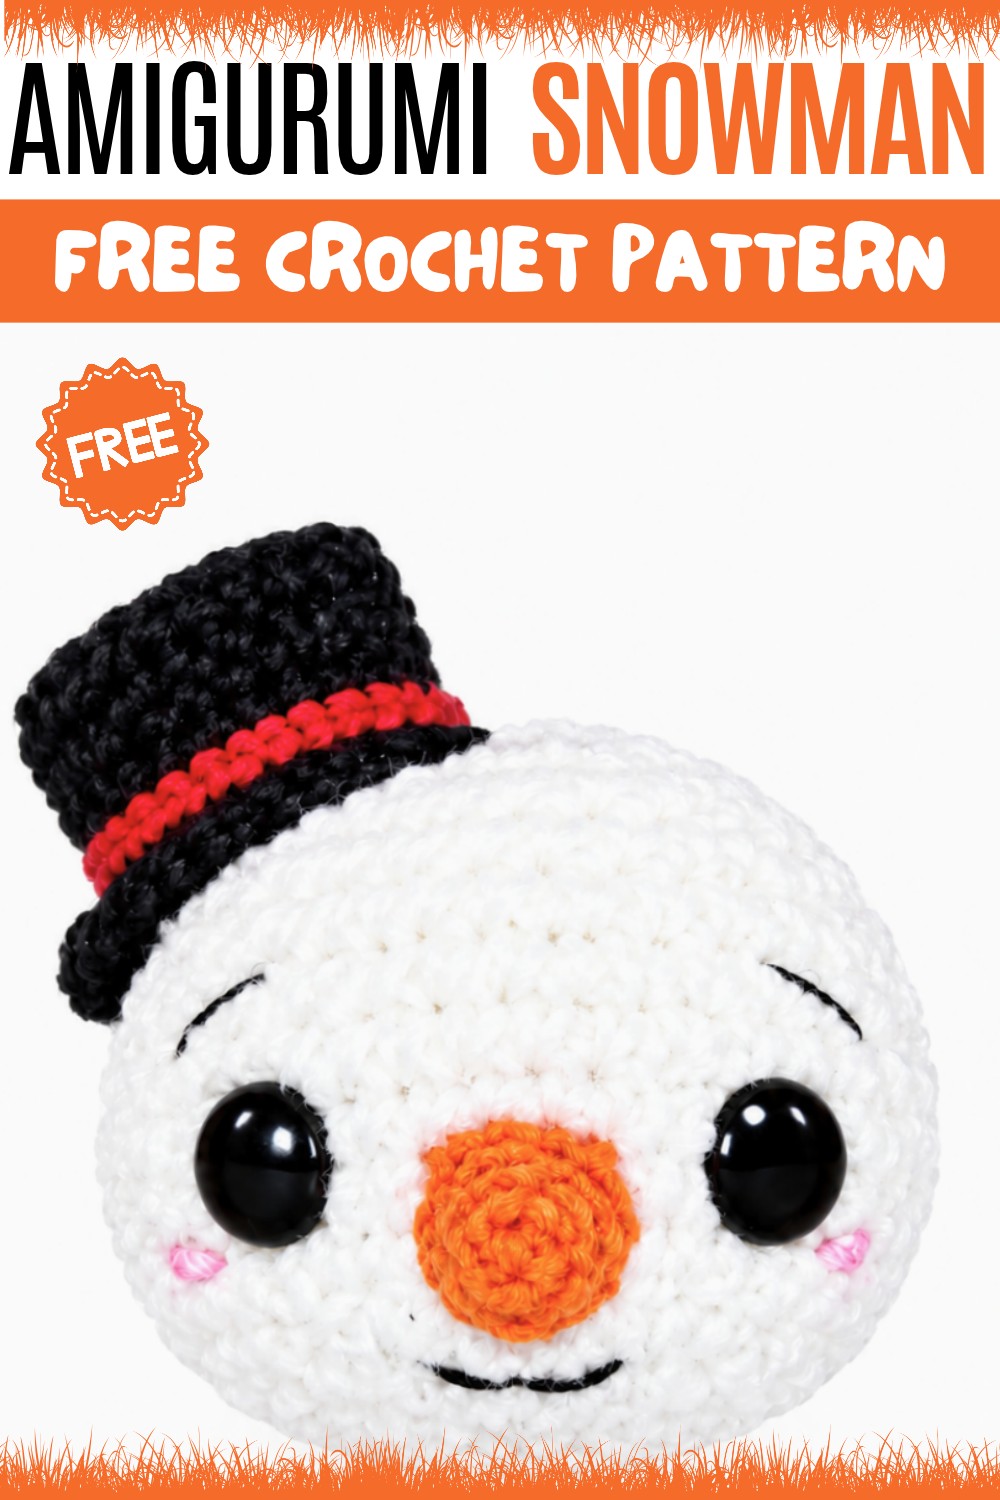
The snowman’s features, such as lockable eyes and embroidered details, create a personality-packed look that’s perfect for gifting or displaying. It comes together in manageable rounds, where single crochets, increases, and decreases shape the body. You’ll explore magic rings and simple color changes to crochet accessories like the black top hat with a playful red band. Customizing colors for the hat or using alternative yarn types offers creative flexibility.
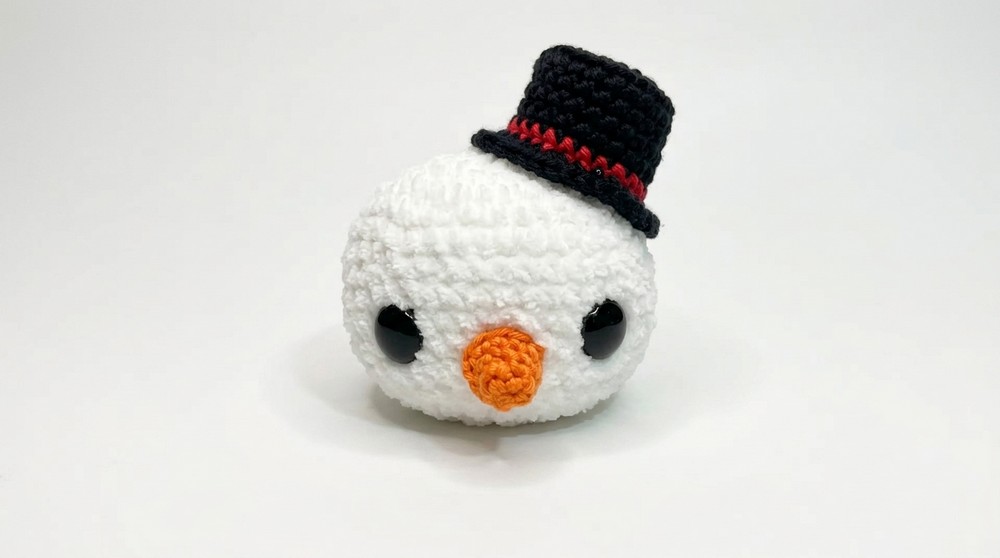
This pattern suits crocheters familiar with basic techniques but is approachable enough for beginners looking to try amigurumi. By the end, you’ll have a cute creation ready to brighten your holiday tree, tabletop, or gift packages.
Amigurumi Snowman Crochet Pattern
This pattern instructs you on how to crochet a delightful snowman amigurumi using plush yarn and simple crochet techniques. The project includes crafting a rounded body and head, a carrot nose, a festive hat, followed by assembly details. With clear rounds and stitch counts, this tutorial will guide you through creating a soft, squishy snowman plushie ready to brighten your space or gift to loved ones.
Pattern Highlights
- Body and head crocheted in continuous rounds using plush yarn and a 3 mm hook
- Carrot nose made separately with orange yarn using a 2.5 mm crochet hook
- Use of safety eyes secured between rounds for the snowman’s face
- Festive hat featuring color changes and front/back loop stitch techniques
- Final assembly includes attaching nose and hat, plus adding a hanging loop for display
Notes
- To achieve a neat finish, maintain consistent tension throughout rounds.
- Insert and secure safety eyes before major decreases, assisting with a pen cap if needed for safety lock.
- Stuff the snowman progressively to retain shape without overfilling.
- You can use glue or sewing for attaching smaller parts like nose and hat, depending on preference.
- The hanging loop allows for easy decoration with a hook or on a tree.
- The plush yarn gives the snowman a soft, cuddly texture.
Skill Level
Intermediate beginner: This pattern requires familiarity with:
- Magic ring technique
- Single crochet (SC) in rounds
- Increasing (inc) and decreasing (dec) stitches
- Working with front and back loops only
- Attaching safety eyes
- Sewing and assembly techniques
Materials
- Plush yarn (white, main body)
- Orange yarn (for nose)
- Red yarn (for hat)
- Crochet hooks: 3 mm (body and head), 2.5 mm (nose)
- Safety eyes (size as preferred)
- Fiberfill stuffing
- Stitch marker
- Scissors
- Needle for sewing
- Optional: lighter for securing eye backs safely
- White yarn approx. 28 cm for hanging loop
Measurements / Sizing
- The finished snowman’s size depends on your yarn and hook, typically 12–15 cm tall.
- Hanging loop approximately 28 cm for comfortable placing on hooks, doorknobs, or Christmas trees.
Gauge & Stitch Pattern
- Crochet worked predominantly in single crochet (SC), maintaining consistency in stitches around each round.
- Increases (inc): 2 SC in one stitch to increment the round’s stitch count.
- Decreases (dec): crocheting two stitches together to reduce stitch count and shape the form.
- Back loops only (BLO) and front loops only (FLO) stitches used for textural variation in the hat.
Stitch Abbreviations
| Abbreviation | Meaning | Description |
|---|---|---|
| mr | Magic ring | Adjustable starting loop for crocheting in rounds |
| sc | Single crochet | Insert hook, yarn over, pull through both loops |
| inc | Increase | 2 sc stitches in one stitch |
| dec | Decrease | Crochet two stitches together (single crochet decrease) |
| sl st | Slip stitch | Yarn over, pull through stitch and loop |
| BLO | Back loops only | Work through back loop of stitch only |
| FLO | Front loops only | Work through front loop of stitch only |
Special Stitches
- Magic ring (mr): Enables a tightly closed starting round to avoid gaps.
- Front loops only (FLO) & Back loops only (BLO): Used in the hat to create slight texture and shaping.
- Decrease (dec): Important for forming rounded shapes especially during head/body tapering.
- Careful placement of safety eyes to align with intended facial expression.
The Crochet Pattern
Head & Body (Plush Yarn, 3 mm Hook)
- Round 1: Make a magic ring, crochet 6 sc into ring. (6 sts)
- Round 2: inc in each stitch (2 sc in each) (12 sts)
- Round 3: 1 sc, inc repeat 6 times (18 sts)
- Round 4: 2 sc, inc repeat 6 times (24 sts)
- Round 5: 3 sc, inc repeat 6 times (30 sts)
- Round 6: 4 sc, inc repeat 6 times (36 sts)
- Rounds 7–12: Crochet 36 sc evenly (36 sts)
- Insert safety eyes between rounds 11 and 12 approximately 9 stitches apart.
- Start stuffing the body firmly but not overly tight.
- Round 13: 4 sc, dec repeat 6 times (30 sts)
- Round 14: 3 sc, dec repeat 6 times (24 sts)
- Round 15: 2 sc, dec repeat 6 times (18 sts)
- Round 16: 1 sc, dec repeat 6 times (12 sts)
- Round 17: 6 decreases (single crochet decrease) (6 sts)
- Fasten off and leave a long tail for sewing.
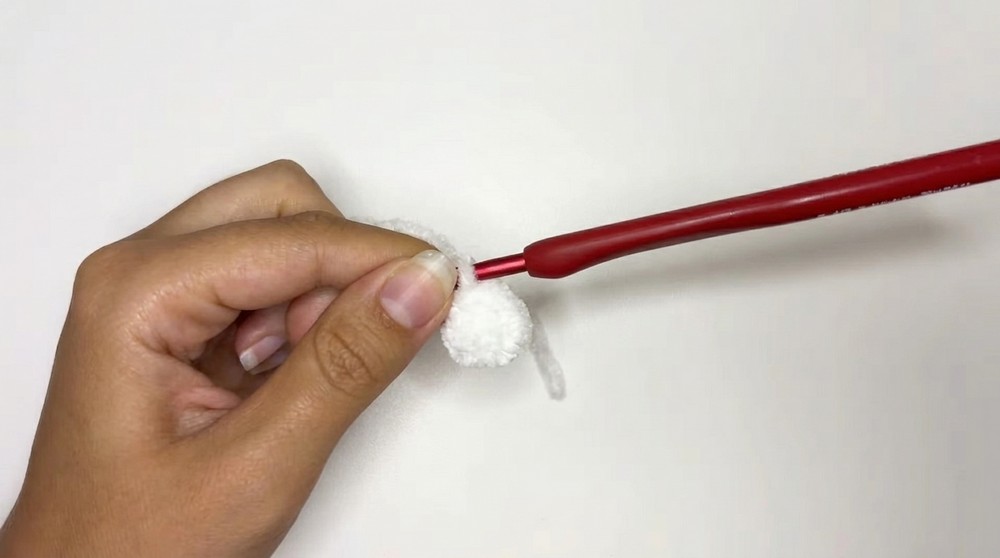
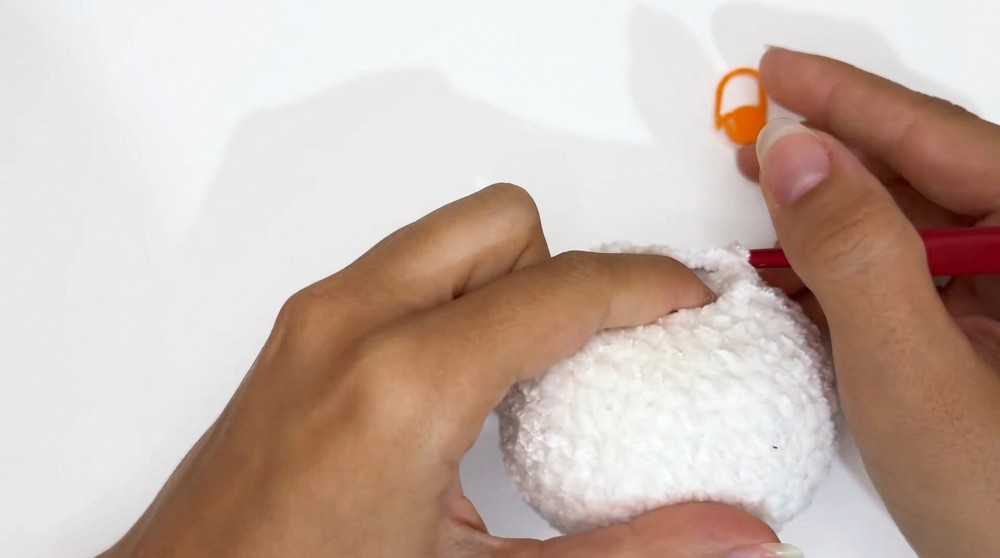
Nose (Orange Yarn, 2.5 mm Hook)
- Round 1: Magic ring, 4 sc (4 sts)
- Round 2: 1 inc, 1 sc repeat twice (6 sts)
- Round 3: 1 sc, 1 inc repeat 3 times (9 sts)
- Round 4: 9 sc evenly
- Fasten off leaving tail for attachment.
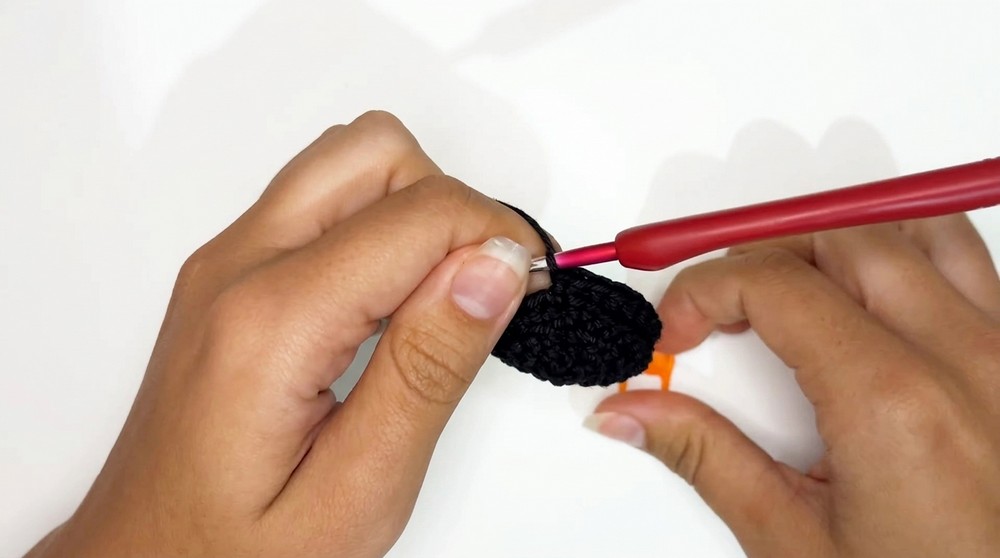
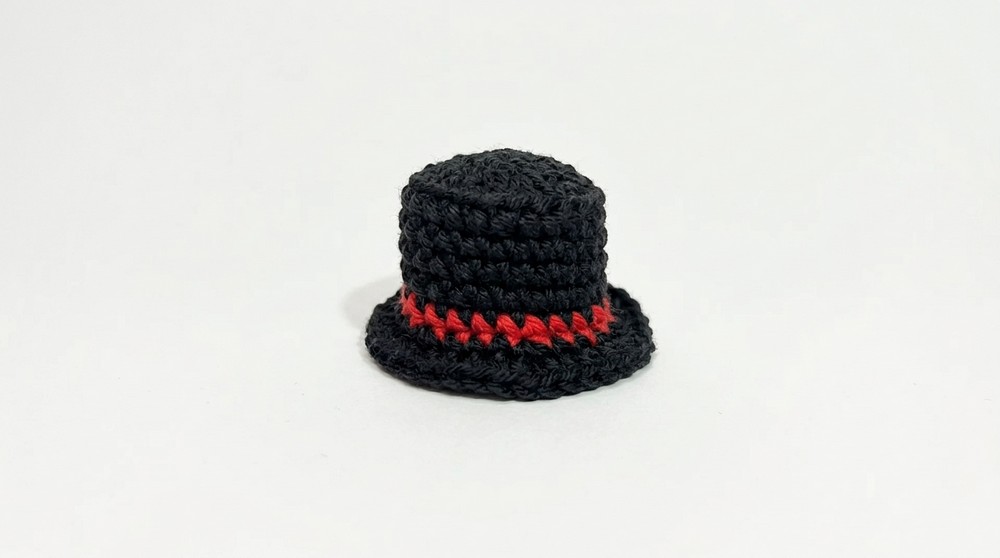
Hat (Red Yarn, 3 mm Hook)
- Round 1: Magic ring, 6 sc (6 sts)
- Round 2: 6 inc (12 sts)
- Round 3: 1 sc, 1 inc repeat 6 times (18 sts)
- Round 4: 2 sc, 1 inc repeat 6 times (24 sts)
- Round 5: Work 24 sc in back loops only (BLO)
- Rounds 6–8: Crochet 24 sc evenly
- Round 9: Change to red yarn, crochet 24 sc evenly
- Round 10: Work 3 sc, 1 inc repeat 6 times in front loops only (FLO) (30 sts)
- Round 11: 4 sc, 1 inc repeat 6 times (36 sts)
- Fasten off leaving yarn tail for sewing.
Assembly & Finished Size
- Attach the orange nose to the front center of the face securely using yarn tail or glue.
- Sew or glue safety eyes in positioned places between rounds 11 and 12. Use a pen cap or similar tool to secure eye backs if needed.
- Sew the red hat onto the top of the snowman’s head making sure it fits snugly and evenly.
- Create a hanging loop by folding approximately 28 cm of white yarn into a loop and sewing securely to the very top of the hat or head. This allows hanging as an ornament.
- Fill the body firmly with fiberfill through rounds shrinking, shaping as needed so the snowman stands or sits well.
- Weave in all loose yarn ends neatly inside the plushie.
The final snowman measures approximately 12–15 cm tall, perfect as a festive decoration or gift.
Conclusion
This three-dimensional amigurumi snowman is a satisfying project to create with plush yarn and simple crochet techniques. Following the steps for shaping the head and body, crafting charming facial features, and adorning with a colorful hat and hanging loop, you will have a delightful handmade plush ready to celebrate the winter season. The detailed stitch counts and assembly instructions support consistent results for intermediate beginner crocheters.