
Simple Crochet Amigurumi Santa Claus Free Pattern With A Red Hat
Set a merry scene with the Crochet Amigurumi Santa Claus Free Pattern, a little festive doll for Christmas shelves, winter tables, and gifts.
Christmas feels more exciting when Santa becomes part of the decorations around the house. The Crochet Amigurumi Santa Claus is a cute yarn figure that captures the happy spirit of the holiday season. His traditional red outfit and friendly appearance give him a familiar look that children and adults can easily recognize..
Classic Crochet Amigurumi Santa Claus Free Pattern For Christmas
This little Santa has a round face, a white beard, and a red hat with a fluffy white tip. His small nose peeks out above the beard, giving him a funny expression. The red suit has white edges, while a black belt around the waist adds another familiar detail. His black boots and little hands complete the outfit.
You can crochet this Santa using red, white, black, and skin-colored yarn. The head and body can be worked with basic crochet stitches, while the beard, hat, and clothing details are added to complete his appearance. Soft filling helps the figure stay in shape, and careful joining keeps the different parts secure.
This Santa can sit beside a Christmas stocking, decorate a holiday gift box, or stand near a small indoor lantern. You can also use it as a present for your parents, a surprise for children on Christmas morning, or a festive family dinner.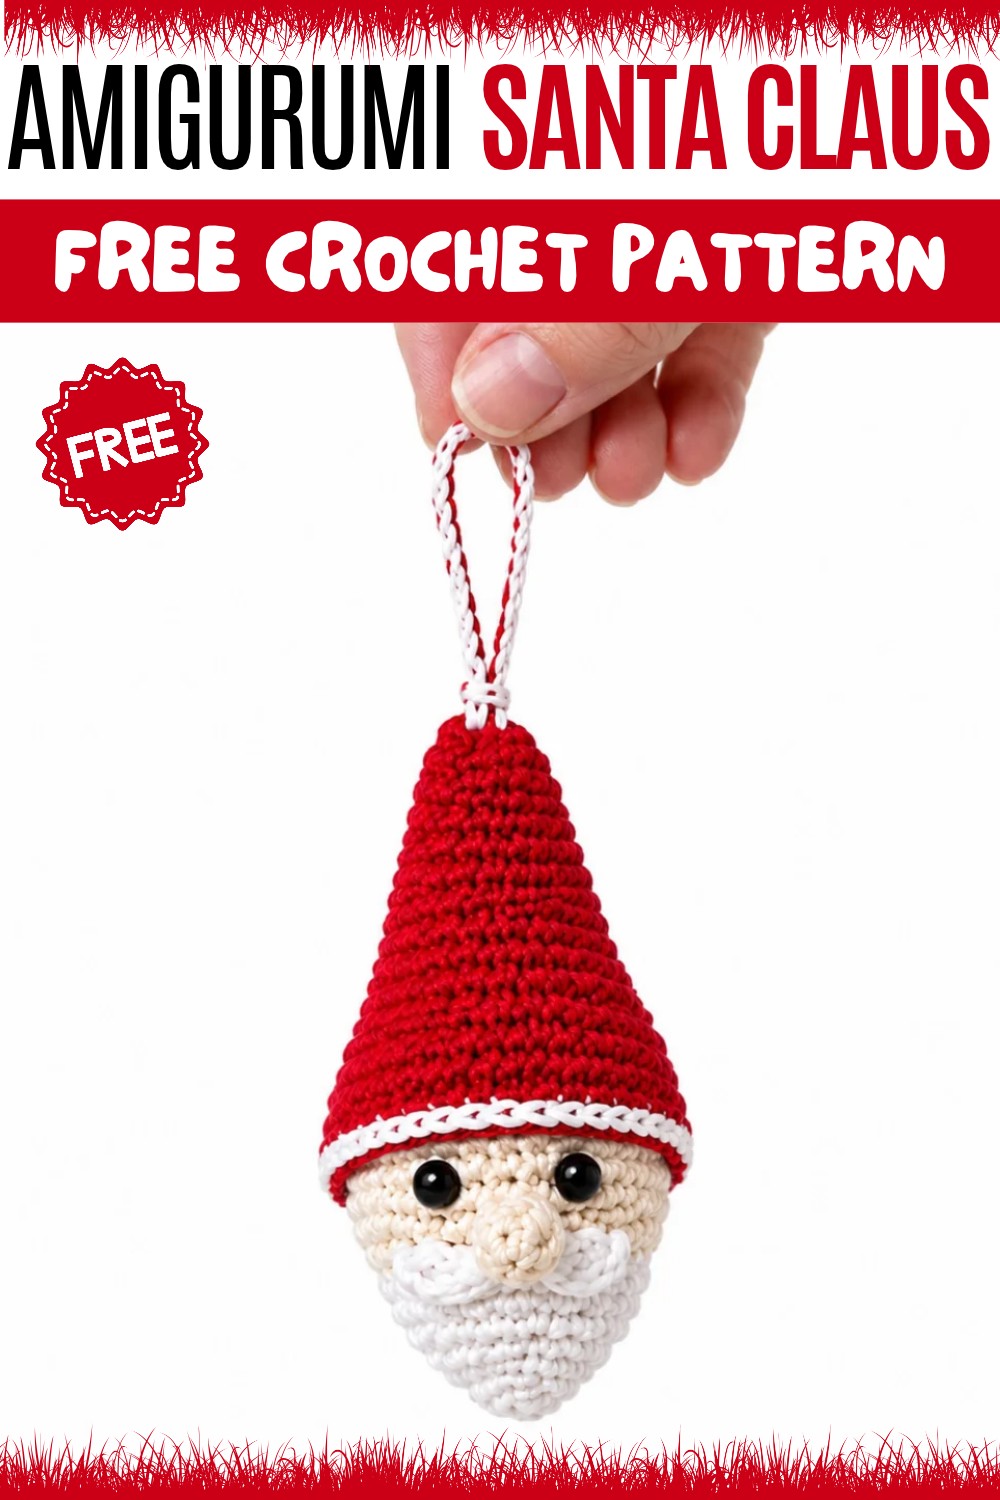
This project is a nice way to spend time with yarn during the Christmas holidays. The finished Santa can become part of your family's yearly decorations, adding a happy reminder of Christmas celebrations and the memories shared at home
About the Pattern
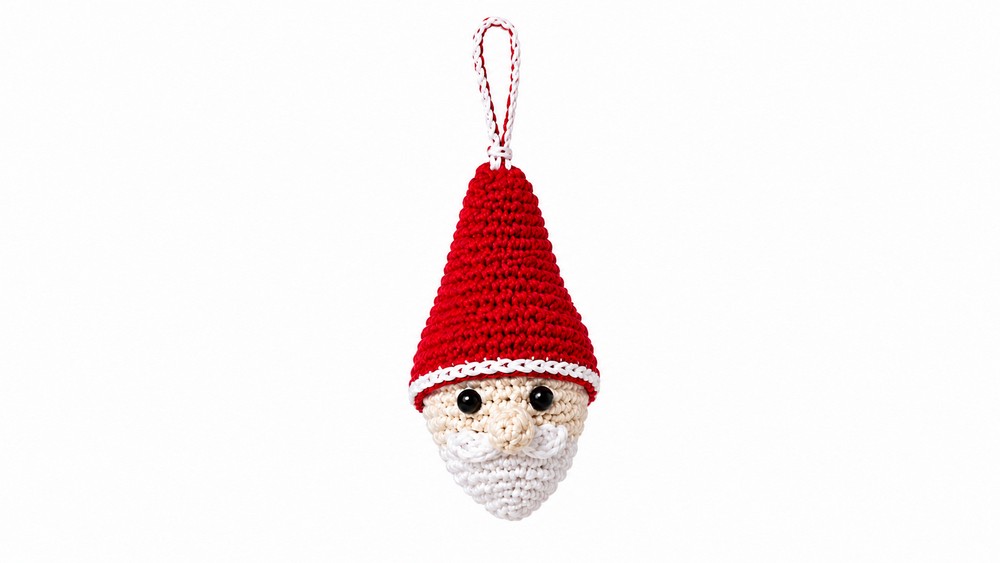
This Santa tree decoration is designed as an assembled amigurumi-style motif, blending seamlessly stitched shapes and thoughtful colorwork for a festive and recognizable ornament. The project features a rounded Santa head with a plump hat, bold nose, and dimensional embellishments including a sculpted beard and layered mustache. The construction ensures durability for seasonal display, and the charming silhouette makes it an appealing focal piece for holiday decorating, gifting, or keepsakes. Strategic shaping throughout the design guarantees a neat fit of all elements and a thoroughly jolly appearance.
Pattern at a Glance
- Components: Hat with trim and hanging cord, head, nose, applied beard, double-part mustache
- Techniques: Amigurumi rounds, color changes, invisible finish, i-cord making, basic embroidery and assembly
- Embellishments: Textured beard, secure safety eyes, classic colorway, soft stuffing
Important Notes
- The standard magic ring is used for all primary motifs ensuring a closed, seamless starting point for each section.
- Fitting the hat and facial features onto the head neatly requires attention to the round count and consistent gauge.
- The i-cord hanging loop adds function and whimsy for tree display and can be customized in length.
- Invisible finishes and careful weaving of all ends will yield the cleanest look, especially around visible hat trim.
- Stuffing should be firm but not overfull to preserve the ornament’s crisp lines.
Difficulty Level
Beginner to Intermediate
Basic amigurumi skills recommended, including continuous rounds, increasing and decreasing, colorwork, and simple embroidery.
Supplies Needed
- Worsted or DK yarn in red (hat), white (hat trim/beard/mustache), skin-tone (head/nose), and optional black or brown (eyes if embroidered)
- Small amounts of black yarn for embroidered eyes (if not using safety eyes)
- Crochet hook sized to match yarn (usually 2.5–3.5 mm for amigurumi)
- Safety eyes (6 mm or similar), or black beads or yarn
- Yarn needle
- Polyester fiberfill for stuffing
- Scissors
- Stitch marker (optional)
Size & Measurements
- Finished Santa head: About 3–4 inches tall (to top of hat), width 2–2.5 inches
- Cord length: 2–4 inches, adjustable for hanging
- Hat length: Proportional for covering the head; brim fits snugly at forehead line
Gauge & Stitch Details
- Gauge: Not crucial, but stitches should be tight to prevent stuffing showing through
- Consistent single crochet tension is important, especially for the hat and head
Crochet Abbreviations
- MR – magic ring
- ch – chain
- sc – single crochet
- inc – increase (2 sc in same stitch)
- dec – decrease (sc two together)
- sl st – slip stitch
- st(s) – stitch(es)
Special Stitch Guide
- Magic Ring (MR): Form a loop, insert hook, pull up loop, then crochet stitches into circle and draw closed.
- Invisible Finish: After the last stitch, cut yarn, pull through last loop, thread through needle, and weave into the next stitch for an even edge.
- i-cord: With two strands, ch 3, insert hook back into first chain, yarn over and pull loop through, repeat to desired length.
Complete Crochet Pattern
Hat
- Round 1:
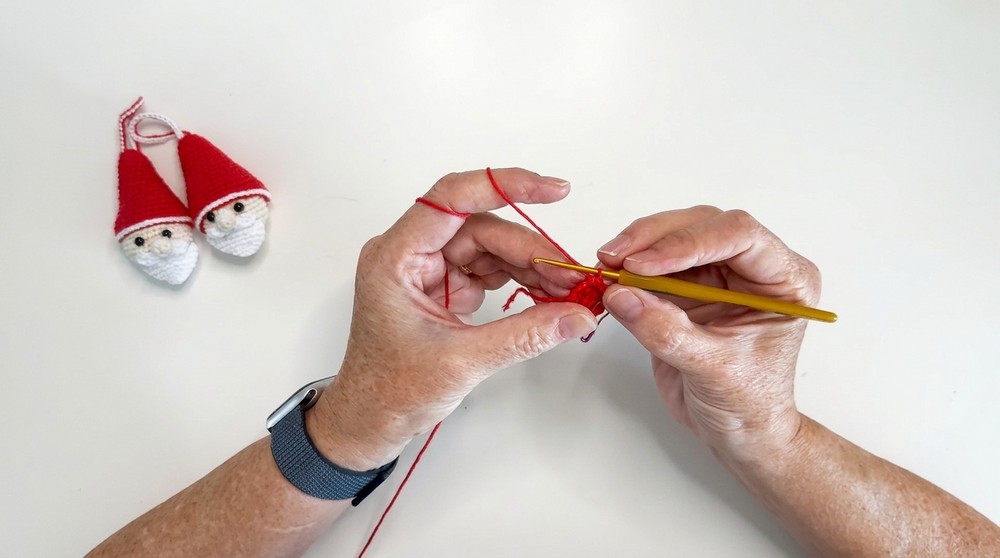
- With red yarn, create a magic ring (MR), work 6 sc in ring.
- Round 2:
- inc in each stitch around (2 sc in each st) – 12 sc.
- Round 3:
- (1 sc, 1 inc) repeat around – 18 sc.
- Round 4:
- (2 sc, 1 inc) repeat around – 24 sc.
- Round 5:
- 1 sc in each st – 24 sc.
- Round 6:
- (3 sc, 1 inc) repeat around – 30 sc.
- Round 7:
- 1 sc in each st – 30 sc.
- Round 8:
- (4 sc, 1 inc) repeat around – 36 sc.
- Rounds 9–17:
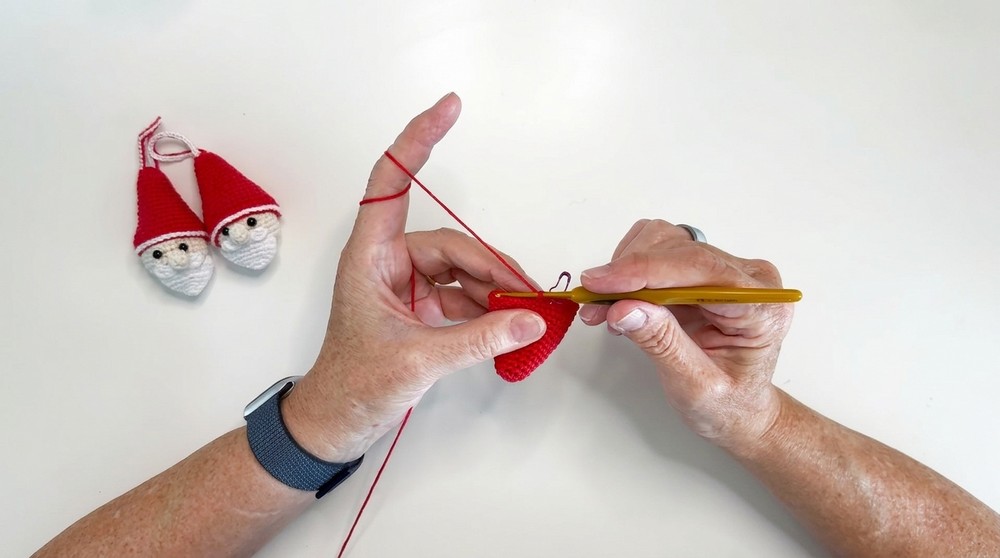
- 1 sc in each st for 9 rounds, maintain at 36 sc.
- Finishing:
- Use the invisible finish for a smooth brim.
- With white yarn, sl st evenly around the front edge of the hat for trim.
Cord
- Using both red and white yarn, make an i-cord long enough for hanging (2–4 inches).
- Fasten off and securely sew both ends to inside of the hat’s top tip.
Head
- Round 1:
- With skin-tone yarn, MR, 6 sc in ring.
- Round 2:
- inc in each stitch – 12 sc.
- Round 3:
- (1 sc, 1 inc) around – 18 sc.
- Round 4:
- (2 sc, 1 inc) around – 24 sc.
- Round 5:
- (3 sc, 1 inc) around – 30 sc.
- Rounds 6–12:
- 1 sc in each st for 7 rounds, holding at 30 sc for rounded head shape.
- Eye Placement:
- Insert safety eyes between rows 8 and 9, spaced about 3 stitches apart.
- Rounds 13–17:
- Reverse the increase sequence to close:
- (3 sc, 1 dec),
- (2 sc, 1 dec),
- (1 sc, 1 dec), then
- dec around to close completely.
- Stuff firmly before last decreases.
- Weave in all ends, leaving no fiberfill exposed.
- Reverse the increase sequence to close:
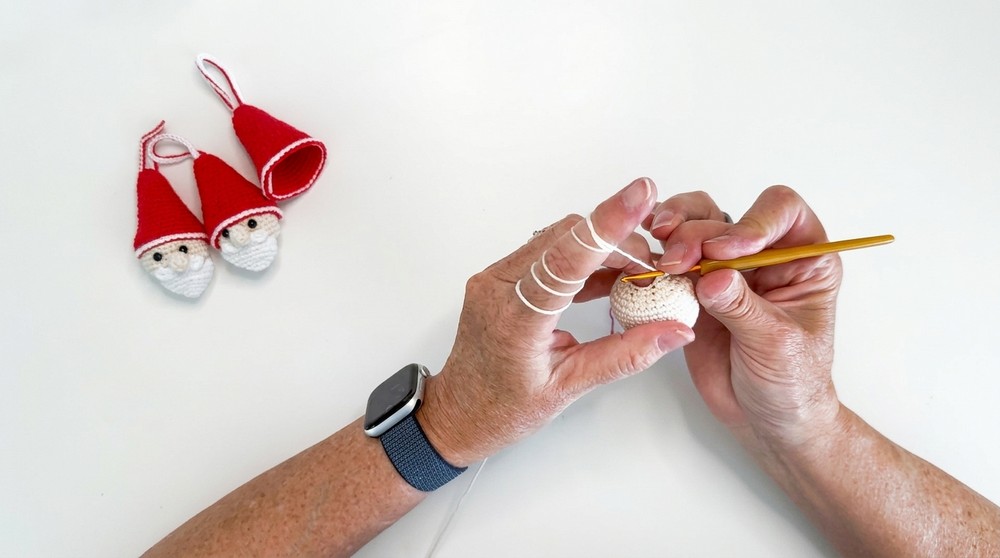
Nose
- Round 1:
- With skin-tone yarn, MR, 6 sc in ring.
- Rounds 2–3:
- 1 sc in each st for 2 rounds (6 sc each round).
- Finishing:
- Cut yarn, leave tail for sewing.
- Lightly stuff if desired.
- Sew nose centered below eyes on head.
Beard
- Round 1:
- With white yarn, MR, 3 sc in ring.
- Round 2:
- inc in each st (6 sc).
- Round 3:
- (1 sc, 1 inc) around (9 sc).
- Rounds 4–7:
- Continue to increase:
- Round 4: (2 sc, 1 inc) (12 sc)
- Round 5: (3 sc, 1 inc) (15 sc)
- Round 6: (4 sc, 1 inc) (18 sc)
- Round 7: (5 sc, 1 inc) (21 sc)
- Fasten off, leave long tail for sewing.
- Continue to increase:
Mustache (Make 2 parts)
- With white yarn, ch 4.
- In 2nd chain from hook: sl st.
- Next chain: sc.
- Last chain: sl st.
- Fasten off, leave tails for assembly.
Assembly & Finished Size
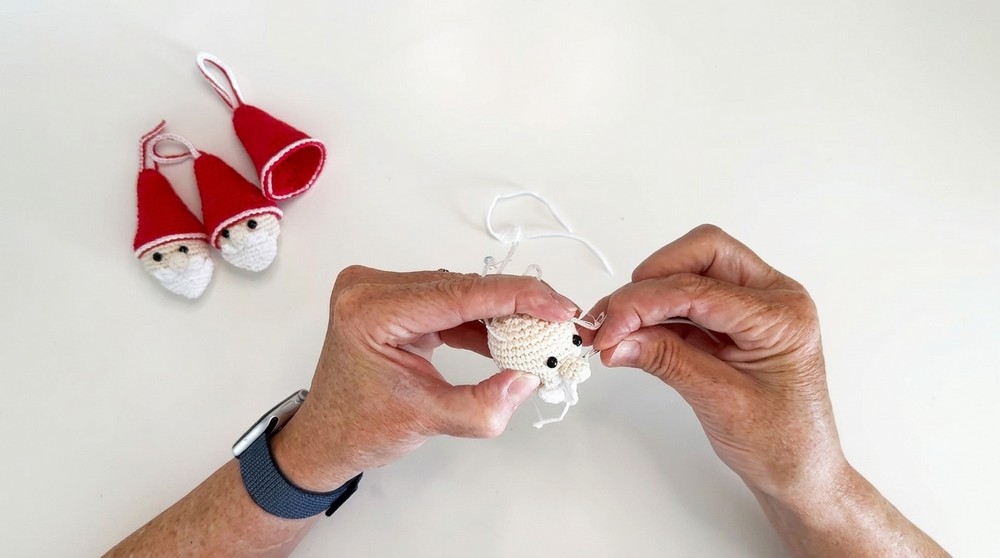
- Sew beard to lower half of face, slightly overlapping bottom of head.
- Attach both mustache pieces just above the beard and under the nose.
- Position and sew nose centered under eyes and slightly overlapping the upper beard edge.
- Lightly stuff hat for gentle shaping; secure hat to head, ensuring the i-cord loop emerges from the top.
- Weave in all ends, adjust stuffing as needed, and neaten trim.
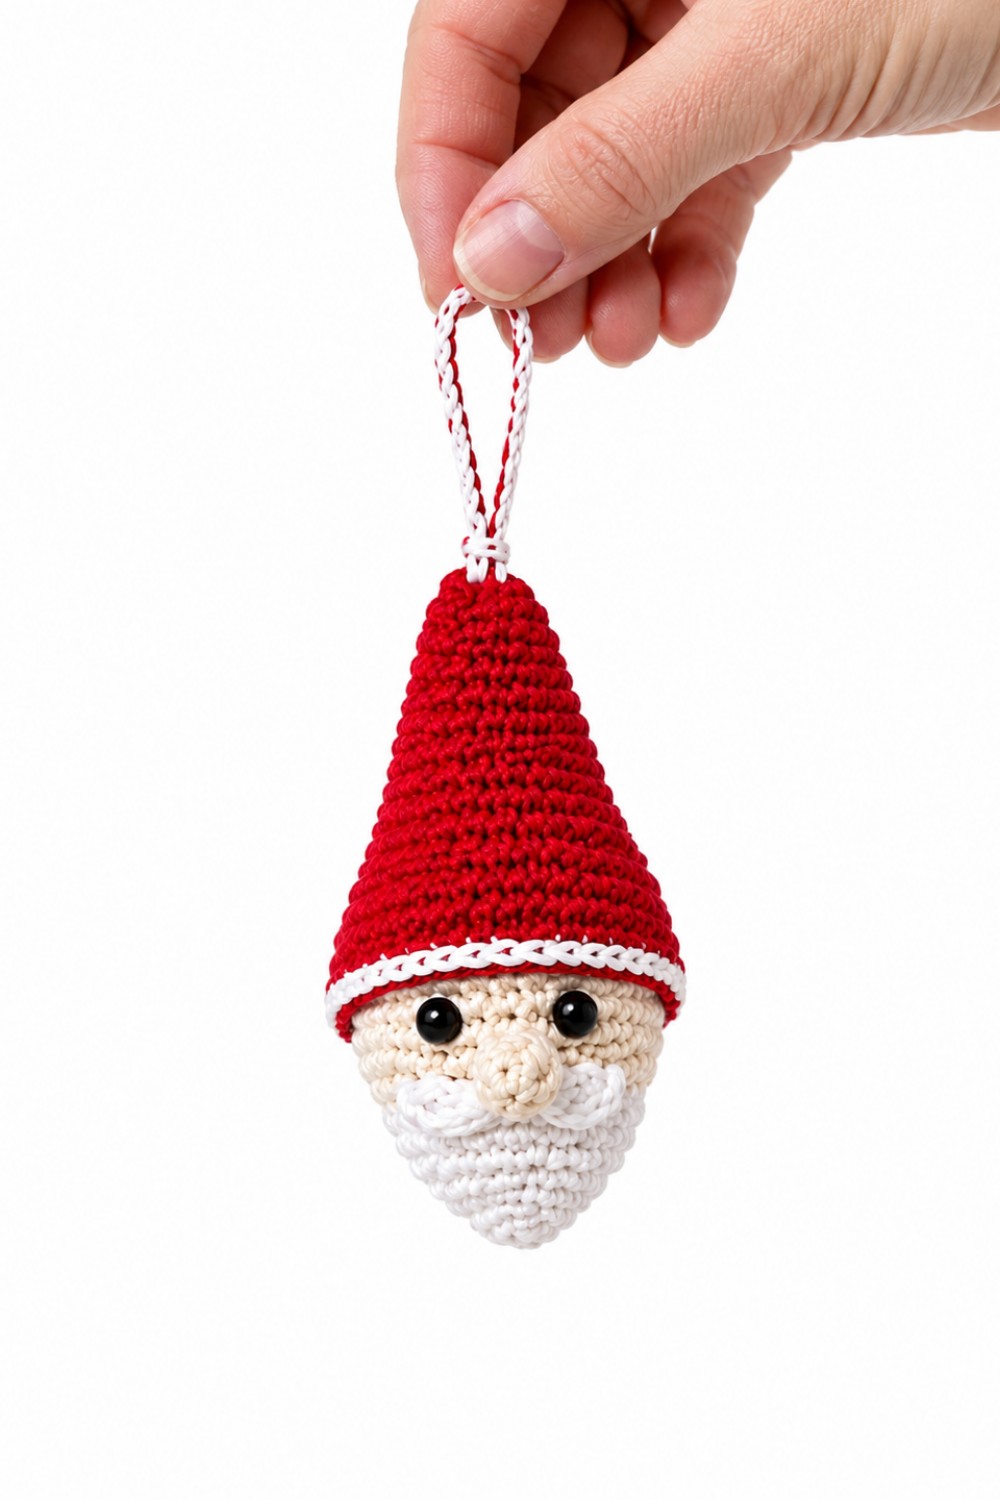
This Santa tree decoration, complete with fluffy beard, festive hat, and playful dimension, creates a whimsical addition to holiday décor. Every detail—from the carefully layered mustache to the striped hanging cord—contributes to its delightful charm and seasonal spirit.