
Free Crochet Elf Ornaments Pattern with Easy-to-Follow Instructions
Start with unique Crochet Elf Ornaments that add charm to your holiday decorations while sharing warm moments with family this season.
Shelen Crochet shares a fun idea to add a special touch to your holiday decorations. Crochet Elf Ornaments are colorful little friends with bright red hat, pointy ears, and smiling faces that look friendly and full of cheer. Their soft yarn bodies and tiny hands and feet make them look just like little holiday helpers. These sweet elves are soft and small, making them perfect to hang on your Christmas tree or place around your home. They bring a warm and cozy feeling to the holiday season.
Handmade Crochet Elf Ornaments Free Pattern for Christmas Decor
The Crochet Elf Ornaments look playful and sweet. With their bright colors and cute details, they catch the eye right away. You can hang them on the branches, use them in wreaths, or tie them to gifts. They make decorating easy and fun, and they also make thoughtful gifts for family and friends. Because they are small, you can use them in many creative ways.
Shelen Crochet made the pattern simple so everyone can try it. Even beginners will find it easy to follow. The pattern lets you make bright, cheerful elves that add joy to your celebrations.If you want a cute and happy way to decorate this year, check out the free Crochet Elf Ornaments pattern by Shelen Crochet. These tiny elves will bring a special sparkle to your holidays.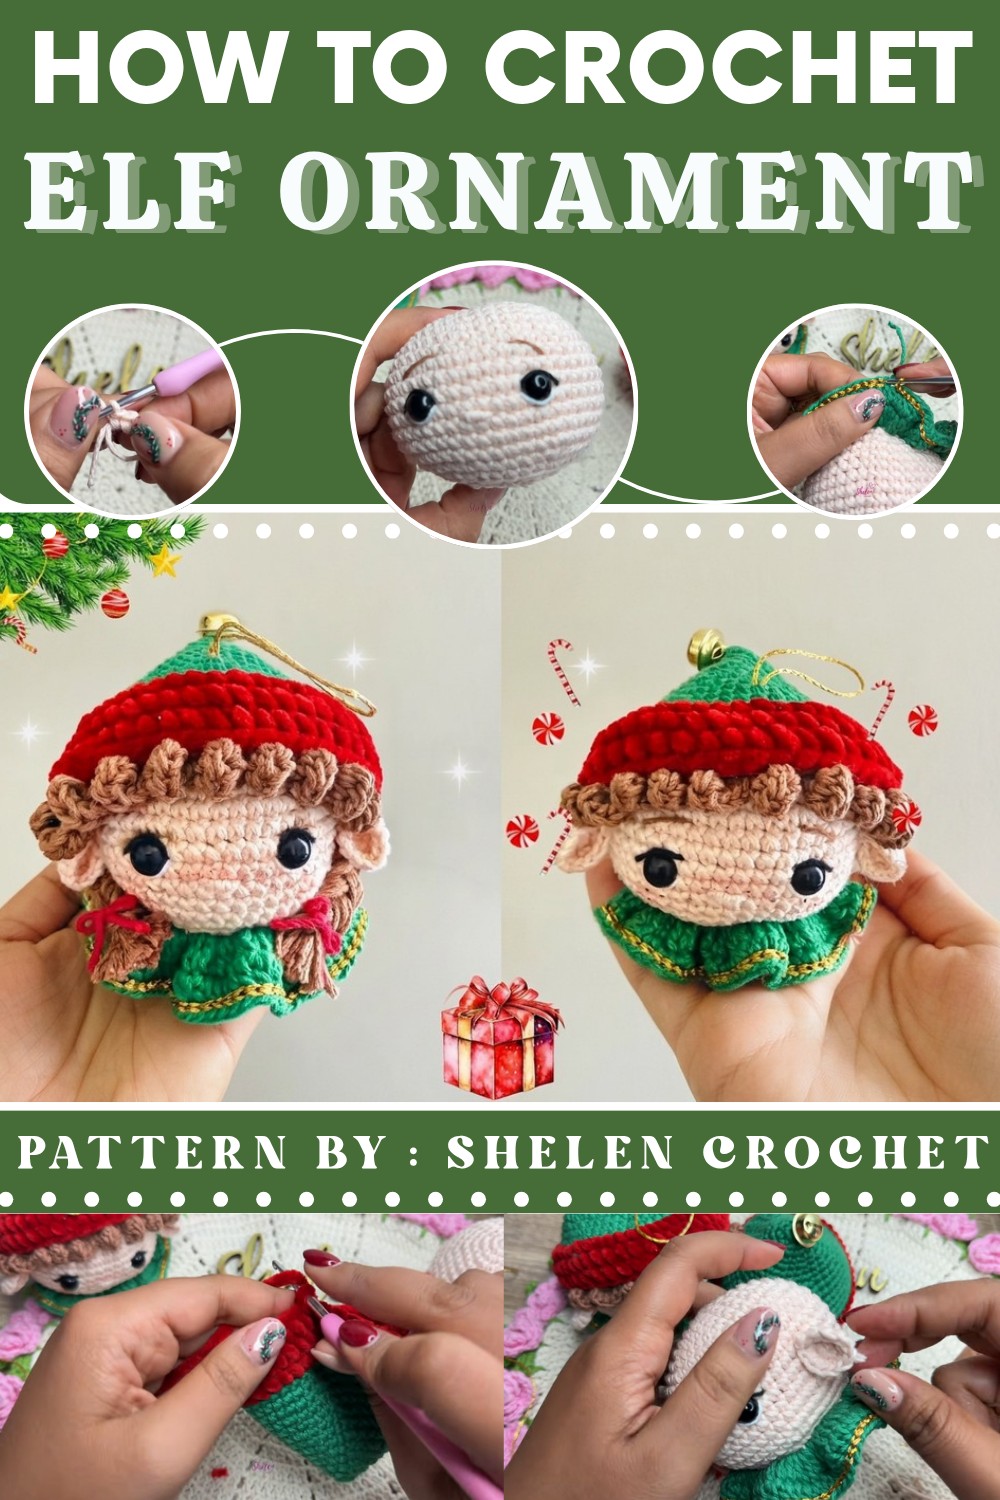

Crochet Elf Sphere Dolls – Chelen Crochet Pattern
In this tutorial, you will learn how to create adorable Elf Sphere dolls—one boy and one girl—perfect as playful decorations or festive ornaments. These Elf Spheres charm with their festive hats, expressive faces, and whimsical details. Designed with beginner-friendly increments, surface decoration, and customizable features, this pattern is a delightful addition to your handmade holiday collection.
Pattern Highlights
Festive Sphere Construction
- Firmly worked amigurumi spheres form the body and head, ensuring a polished ball shape.
- Sturdy base for both male and female elves.
Detailed Facial Features
- Includes step-by-step instruction for safety eyes, embroidered nose, mouth, and eyebrows.
- Individual finishing tips for applying blush and freckles with brushes and markers.
Hat and Hair Versatility
- Hat worked separately with seamless color changes, decorative bands, and optional bell.
- Distinct options for boy (simple strands) and girl (stylish braids and bun with bow).
Surface & Decorative Embellishments
- Gold slip-stitch trims and shell/chenille borders for unique, holiday-appropriate finishing.
- Ears and hair attached with precise placement to match the playful theme.
Final Assembly Guidance
- Extensive guidance for seamless gluing, precise positioning, and professional finishing touches.

Notes
- All rounds begin with a chain for height; this chain does not count as a stitch.
- For single crochet rounds, use tight, consistent tension to maintain a firm, ball-like shape, important for amigurumi.
- Safety eyes placement and embroidery details should be completed while body is open for best results.
- Assembly uses both sewing and silicone glue as demonstrated.
- Embellish with jingle bells, bows, blush, and freckles for a unique touch.
- The chenille yarn for the hat band can be substituted; use similar weight red yarn if needed.
- Use separate smaller brushes for subtle blush and fine details.
- Work boy and girl hair alike up to the braids/bun; customize for each.
Skill Level
Advanced Beginner to Intermediate
- Must be comfortable with working in rounds, increasing/decreasing, slip stitch/joining, color changes, basic embroidery, and simple hand sewing.
- Step-by-step video references are advised for best visual guidance.
Materials
- Yarn: Cotton (or similar) in flesh, flag green, red/carmine, black, white, brown (bean), and gold (“Fiorentino Mazii” or similar).
- Chenille yarn: Red or substitute if unavailable.
- Jingle bell(s): For hat tip embellishment.
- Polyester stuffing: For firm sphere structure.
- Safety Eyes: Size 8 or 9 mm.
- Hooks: Sizes 2.0 mm, 2.2 mm, 2.5 mm, and 3.0 mm (for chenille).
- Embroidery Needle: For joining and surface features.
- Scissors
- Cold silicone or strong craft glue: For assembly.
- Fine tip brush: For facial details and blush.
- Fabric marker (fine point): For freckles.
- Lighter: To seal safety eye backings.
- Small bow: Optional, for finishing the girl elf.
Measurements / Sizing
- Head/Body Sphere: Approx. 10 cm diameter.
- Elf Height (hat included): Approx. 15 cm from base to top of hat.
- Hat base circumference: ~28.5 cm.
Gauge
- Not critical for this amigurumi pattern.
- Work firmly so that the stuffing does not show through.
- For reference: 6 sc in MR ≈ 1.5 cm diameter (after Rnd 1).
Stitch Abbreviations
- ch: Chain
- sc: Single Crochet
- hdc: Half Double Crochet
- dc: Double Crochet
- sl st: Slip Stitch
- inc: Increase (2 sc in same st)
- dec: Decrease (decrease over next 2 sts)
- MR: Magic Ring
- blo: Back Loop Only
Special Stitches
- False X Stitch: Work sc inserting hook under both the front and back loops (below and above), then YO and complete as regular sc for a textured surface.
- Invisible Decrease: Insert hook into front loop of next two sts, YO, draw through both, YO, draw through remaining loops.
- Slip Stitch Edging: Insert hook, YO, draw through stitch and loop on hook for a neat border.
- Shell: 3 dc in one stitch for decorative edits.
Pattern Tutorial
Head / Body (Main Sphere)
- MR, ch 1. 6 sc into ring, sl st to join.
- Rnd 2: ch 1, inc in each st around (12 sc). Sl st join.
- Rnd 3: ch 1, sc, inc around (18 sc).
- Rnd 4: ch 1, 2 sc, inc around (24 sc).
- Rnd 5: ch 1, 3 sc, inc around (30 sc).
- Rnd 6: ch 1, 4 sc, inc around (36 sc).
- Rnd 7: ch 1, 5 sc, inc around (42 sc).
- Rnd 8: ch 1, 6 sc, inc around (48 sc).
- Rnd 9-16: ch 1, sc in each st around (48 sc/round for 8 rounds).


Embroider face before decreasing:
- Attach safety eyes between Rounds 12 & 13, 7 sts apart, secure with washers and seal with a lighter.
- Embroider eyebrows (bean/brown), nose (flesh), and mouth as per video.


- Rnd 17: ch 1, 6 sc, dec around (42 sc).
- Rnd 18: ch 1, 5 sc, dec around (36 sc).
- Rnd 19: ch 1, 4 sc, dec around, blo throughout (30 sc).
- Rnd 20: ch 1, 3 sc, dec around (24 sc).
- Rnd 21: ch 1, 2 sc, dec around (18 sc).
Stuff firmly.
- Rnd 22: ch 1, sc, dec around (12 sc).
- Rnd 23: ch 1, dec around (6 sc).
- Fasten off, leaving long tail. Use tapestry needle to weave through front loops and pull tight to close. Secure and weave in end.
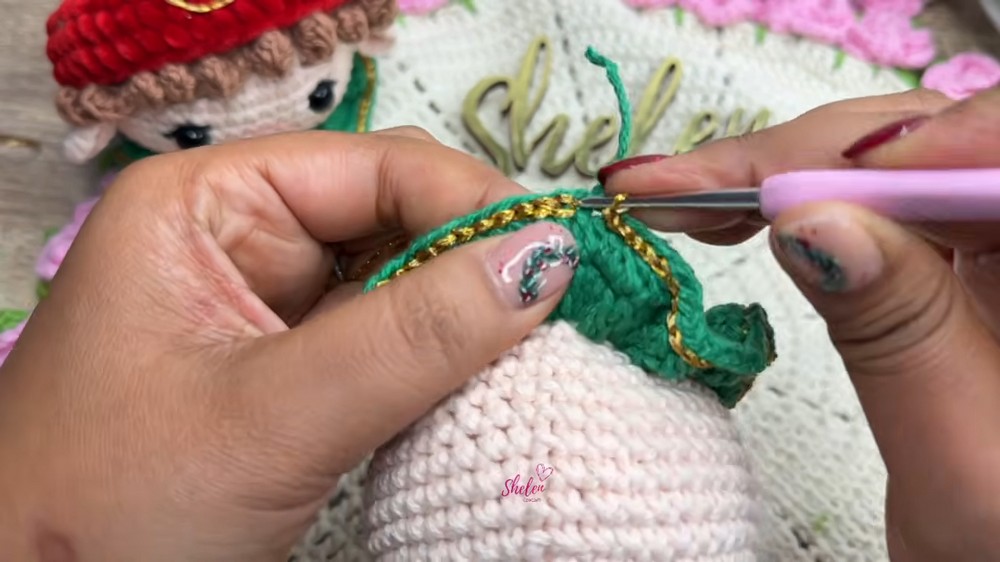
Neck / Collar
- Join green to exposed blo on Rnd 19.
- (ch 3, 2 dc) in each st around (creates shell edge).
- Sl st to join. Ch 2.
- hdc in each st around; join and fasten off.
- Join gold: sl st in each st around for a shiny edge.
Hat
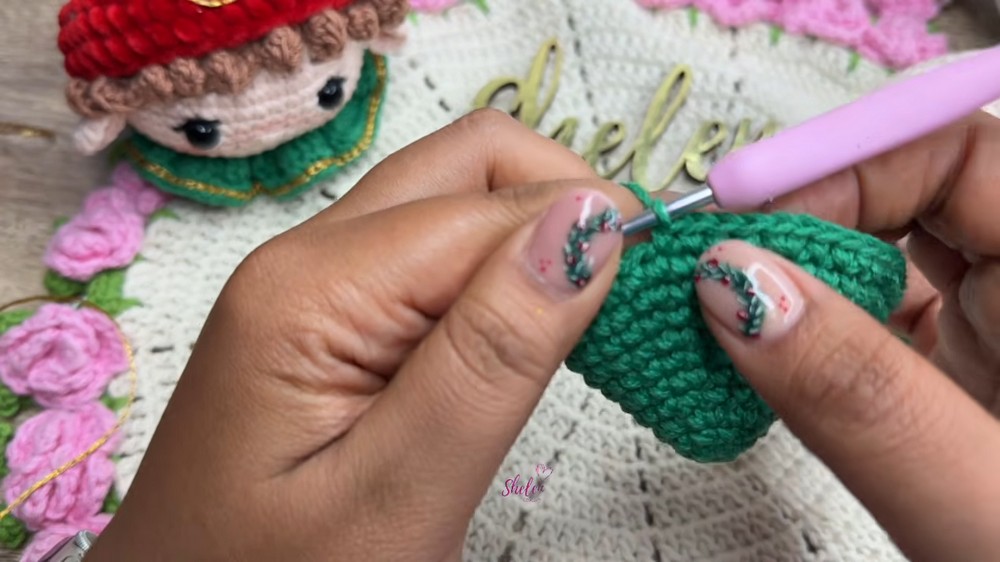
- Green, MR. Ch 1, 8 sc in ring.
- Rnd 2: ch 1, 8 sc around (repeat one more round for height).
- Rnd 3: ch 1, inc in each (16 sc).
- Rnd 4: ch 1, sc around (16 sc).
- Rnd 5: ch 1, sc, inc around (24 sc).
- Rnd 6: ch 1, sc around (24 sc).
- Rnd 7: ch 1, 2 sc, inc (32 sc).
- Rnd 8: ch 1, sc around.
- Rnd 9: ch 1, 3 sc, inc (40 sc).
- Rnd 10: ch 1, sc around.
- Rnd 11: ch 1, 4 sc, inc (48 sc).
- Rnd 12: ch 1, sc around.
- Rnd 13: 11 sc, inc around (52 sc).
- Rnd 14: ch 1, sc around.
- Chenille Red, switch to 3 mm hook:
- Join in blo, sc around for 3 rounds (52 sc each round).
- Fasten off, hide tails.
- Attach bell to tip of hat with yarn and knot securely.
Hair
For both boy and girl:
- With brown (bean), ch 6, hdc inc in next 3 ch, hdc in next 2 ch. (One curl)
- Repeat for total of 10 hair curls. Fasten off and hide tails.
For girl:
- Make 12 finger wraps; tie top and bottom to make 2 braids. Braid, secure, and shape bun with red bow, glue to hat as per video.
Ears (Make 2)
- Flesh color, MR, ch 1, 6 sc into ring, sl st to join.
- Rnd 2: ch 1, inc in each (12 sc). Sl st to join.
- Fasten off, leaving long tail for sewing. Fold and sew to head positioned with base slightly below eyes on each side.

Assembly & Finished Size
- Use strong glue to attach hair (ear-to-ear), then hat, and braids/bun if making girl elf.
- Ears are sewn on with yarn tail using tapestry needle; shape as preferred.
- Attach hat firmly—hide seams and hot glue the bell and bow.
- Apply blush with brush to cheeks and ears, and draw freckles with marker.
- Finished size: about 10 cm sphere, 15 cm tall with hat.

Conclusion
Your cheerful Crochet Elf Sphere dolls are ready for gift giving or to add festive magic to your home. With options for both boys and girls, these elves showcase personalized features and joyful holiday details. The project builds solid amigurumi skills through detailed shaping, color changes, and professional finishing touches. Thank you for following Chelen Crochet—may your elves bring warmth and smiles this season! Stay tuned for more creative tutorials.