
Mini Crochet Amigurumi Jellycat Peanut Free Pattern For Birthday Gifts
Follow the free Crochet Amigurumi Jellycat Peanut pattern to build a cute and soft toy that adds charm and personality to your collection easily.
When you think of a soft, lovable toy that's both cute and cuddly, amigurumi dolls often come to mind. The Crochet Amigurumi Jellycat Peanut design by Ash & Ivy is a charming example that captures hearts with its simple design and adorable features. This little creation is perfect for anyone who enjoys making toys that are both fun to look at and fun to hug.
Free Crochet Amigurumi Jellycat Peanut Pattern For Toy Collections
This crochet peanut is beautiful because of its smooth curves and friendly shape. It looks just like a tiny, soft peanut with a cheerful face, which makes it a great gift for children or a sweet addition to a toy collection. What’s great about this project is how easy it is to customize. You can choose any color yarn you like—from soft pastels to bright, bold shades. You can also adjust the size by using thicker or thinner yarn, making the peanut as small as a keychain charm or as large as a cuddly pillow.
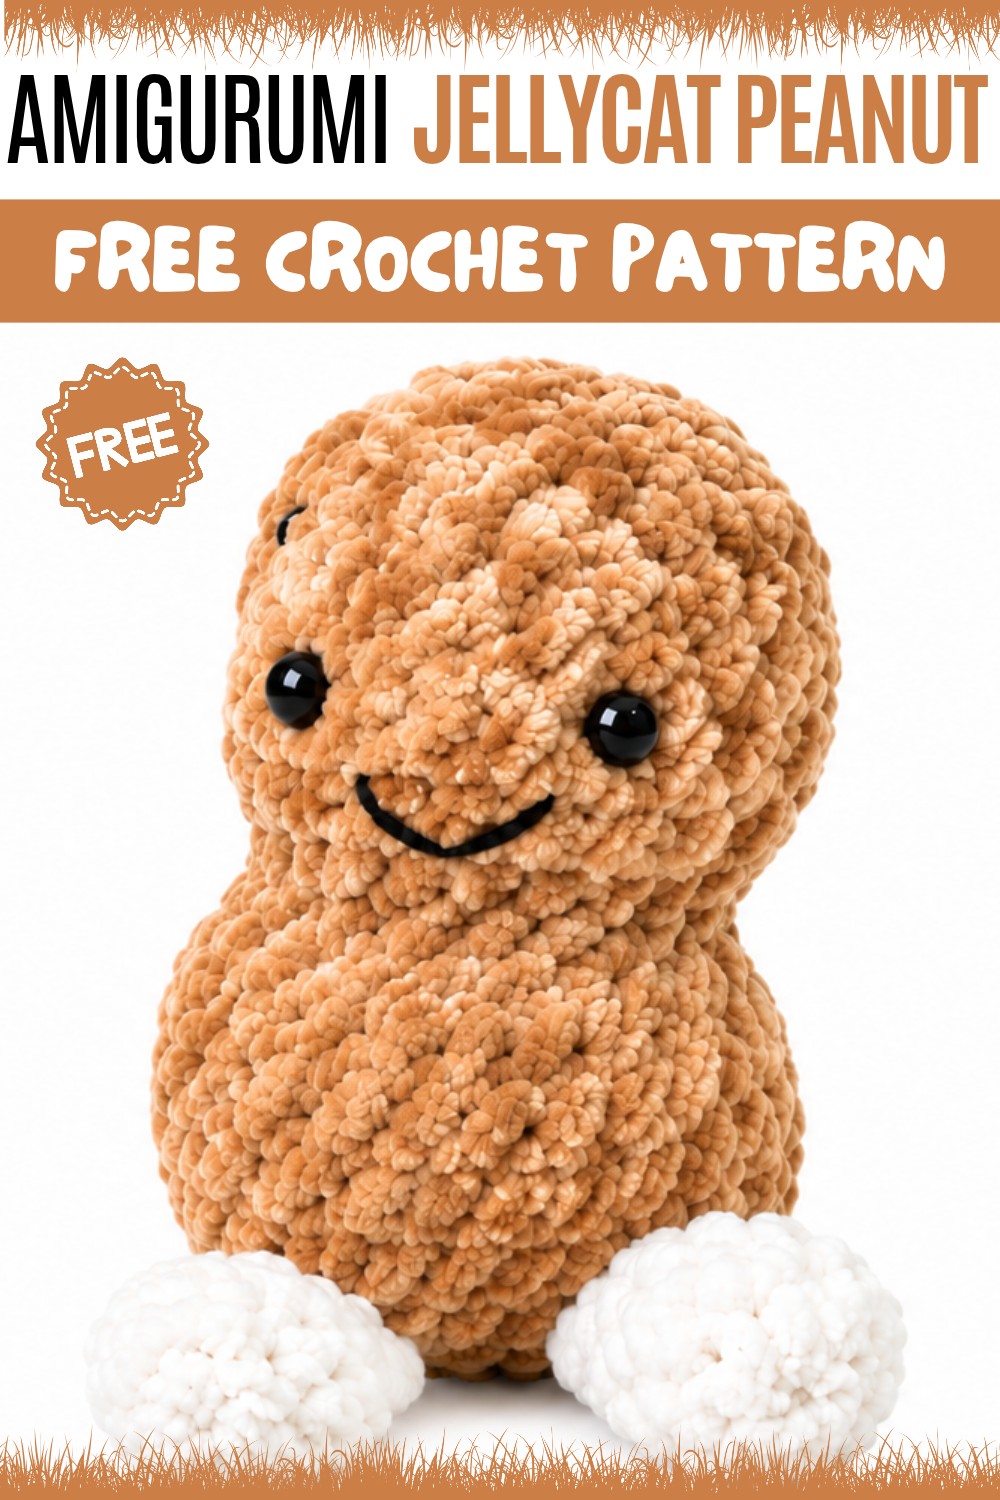
Whether for play, decoration, or gifts, this crochet peanut brings joy with its friendly appearance and soft texture. Its customization options and straightforward stitches make it a fun and rewarding project for all ages. Whether you want a cute desk buddy or a toy for a little one, this amigurumi peanut fits the bill perfectly.
Jellycat-Inspired Peanut Crochet Pattern
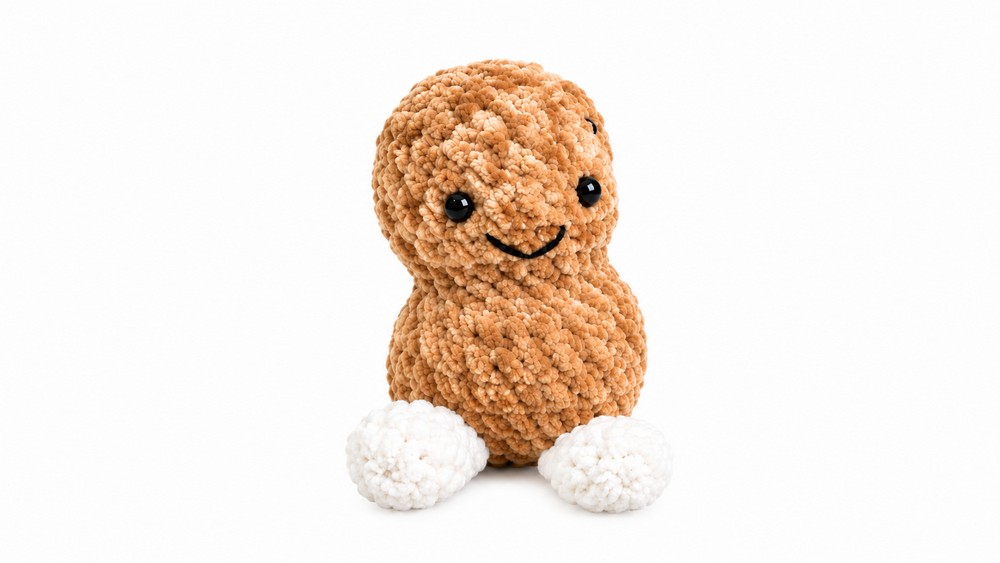
This crochet peanut plush draws inspiration from the beloved Jellycat style, offering an endearing, huggable friend with a distinctive peanut shape and playful legs. Constructed in a continuous spiral, the pattern uses straightforward amigurumi techniques, making it approachable yet satisfying. The project focuses on seamless construction, limb attachment as you go, careful shaping, and whimsical finishing details such as a sewn-on smile and safety eyes.
About the Pattern
The peanut is made in one piece, starting from the legs which are later crocheted directly into the body, combining minimal seaming with firm structural support. Detailed instructions guide through calculated increases and decreases, creating the characteristic peanut curve. Subtle touches such as precise leg closure and expressive embroidery bring the personality of this plush to life.
Pattern at a Glance
- One-piece construction: Legs are started separately, attached during the body’s early rounds.
- Shaping: Increases and decreases form the peanut’s bulges and waist.
- Amigurumi round technique: Worked in spirals, not joining at the rounds.
- Expressive features: Safety eyes and a hand-stitched smile finish the face.
- Premium tactile detail: Mix of poly pellets and traditional stuffing for a soft, squishy feel.
Important Notes
- Use a stitch marker to indicate the first stitch of each round and move it up as you work, assisting with leg placement and symmetry.
- Stuff the body as you crochet, particularly after passing the midpoint, to prevent firmness issues.
- The legs are pressed flat and stitched closed after their rounds.
- Safety eyes must be inserted before the final rounds close the body.
- Embroider features securely, especially if giving to children.
Difficulty Level
The project suits advanced beginners and intermediate crocheters with experience in amigurumi. It requires basic shaping, working in the round, and confidence in simple assembly techniques.
Supplies Needed
- Worsted-weight yarn in peanut color; small scrap of black yarn for embroidered smile
- 3.0–3.5mm crochet hook (or best size for tight, amigurumi-style tension)
- Pair of 6mm or 7mm safety eyes
- Poly pellets for beanbag-like texture (optional), and fiberfill stuffing
- Yarn needle and sharp scissors
- Stitch marker
Size & Measurements
- Completed plush measures approximately 6 inches (15 cm) tall.
- Leg length is proportionate for a playful, “dangly” effect.
- Circumference at widest “bulge” ~7 inches (18 cm), depending on stuffing firmness and yarn weight.
Gauge & Stitch Details
- Gauge not critical for amigurumi, but fabric should be tight enough to prevent stuffing from showing through.
- Typical gauge: 7 single crochet stitches and 7 rounds for a 2” (5 cm) square, using a 3.5mm hook in worsted yarn.
Crochet Abbreviations
- MR – Magic ring
- sc – single crochet
- inc – increase (2 sc in one stitch)
- dec – decrease (sc 2 together, invisible decrease preferred)
- st(s) – stitch(es)
- rnd – round
Special Stitch Guide
- Magic Ring (MR): Make a loop, crochet stated stitches into the ring, pull tight.
- Invisible decrease: Insert hook into front loop of next 2 sts, yarn over, pull through both, yarn over, pull through 2 on hook.
Complete Crochet Pattern
Legs (Make Two)
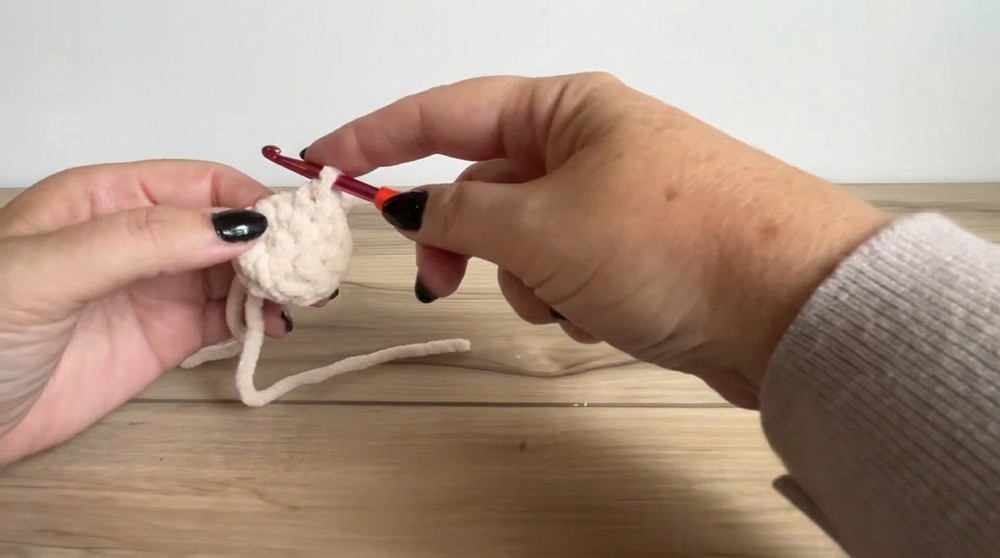
- Round 1: Make a MR, work 6 sc into the ring. (6)
- Round 2: Inc in each st around. (12)
- Round 3: Sc in each st around. (12)
- Round 4: 1 sc, 1 dec, repeat around. (8)
- Round 5: Sc all around. (8)
- Round 6: 2 sc, 1 dec, 2 sc, 1 dec. (6)
- Round 7: Sc all around. (6)
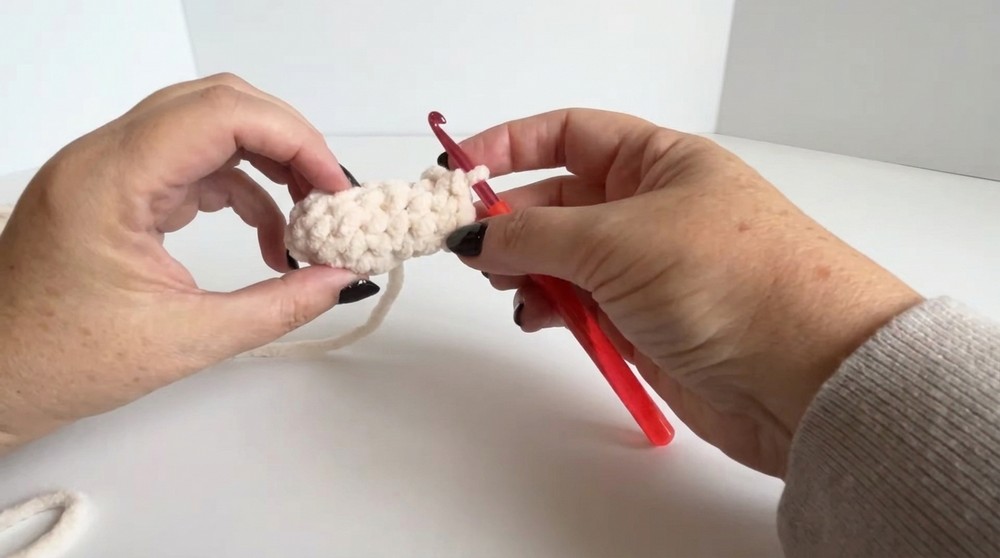
- Press the opening flat and sew it closed with your yarn needle. Fasten off, leaving a tail for sewing/attachment.
Peanut Body
- Round 1: MR, 6 sc into ring. (6)
- Round 2: Inc in each st around. (12)
- Round 3: 1 sc, 1 inc around. (18)
- Round 4: 2 sc, 1 inc around. (24)
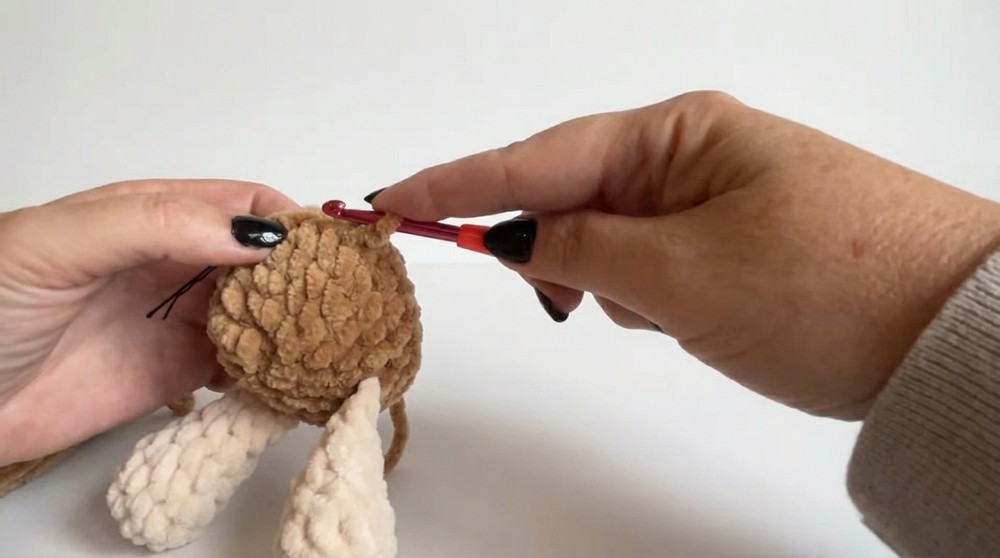
- Round 5 (Leg Attachment): 8 sc, join first leg by working 3 sc through both thicknesses (leg and body), 2 sc, join second leg as before (3 sc through both), 8 sc. (24)
- Round 6: 3 sc, 1 inc around. (30)
- Rounds 7–8: Sc in each st around. (30)
- Round 9: 3 sc, 1 dec around. (24)
- Round 10: 2 sc, 1 dec around. (18)
- Round 11: Sc in each st around. (18)
- Round 12: 2 sc, 1 inc around. (24)
- Rounds 13–14: Sc in each st around. (24)
- Round 15: 2 sc, 1 dec around. (18)
- Round 16: Sc in each st around. (18)
- Round 17: 1 sc, 1 dec around. (12)
- Eyes: Insert safety eyes securely between rounds 14 and 15. Space evenly for a cute, friendly look.
- Round 18: Sc in each st around. (12)
- Round 19: Dec all around. (6)
- Fasten off, leaving a tail. Weave through front loops of last round, pull tight to close. Secure the yarn inside.
Finishing
- Fill the body firmly with stuffing, alternating with poly pellets if desired, for a soft but weighty feel.
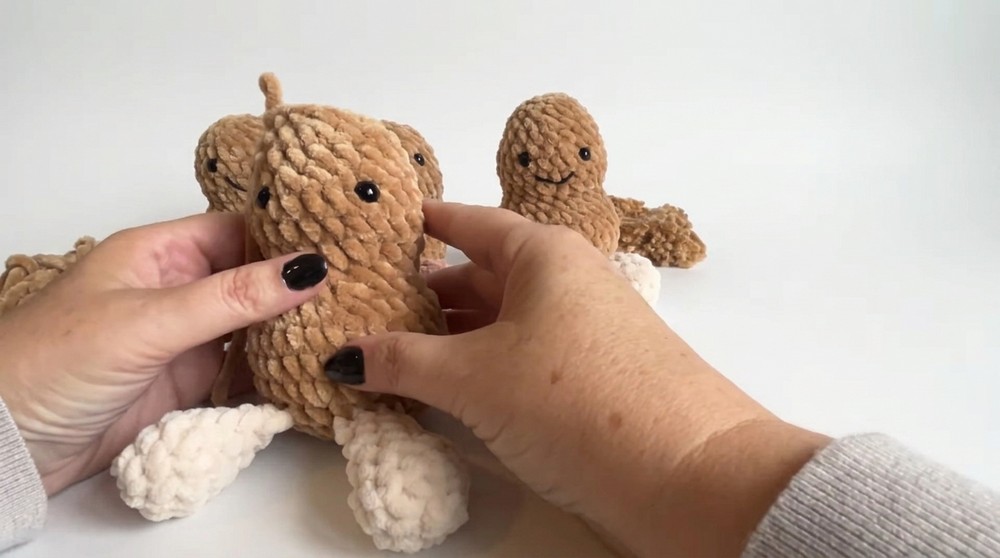
- Embroider a smile using black yarn beneath the eyes (simple backstitch or small curve).
- Tidy any loose ends, ensuring all attachments are secure and features are well affixed.
Assembly & Finished Size
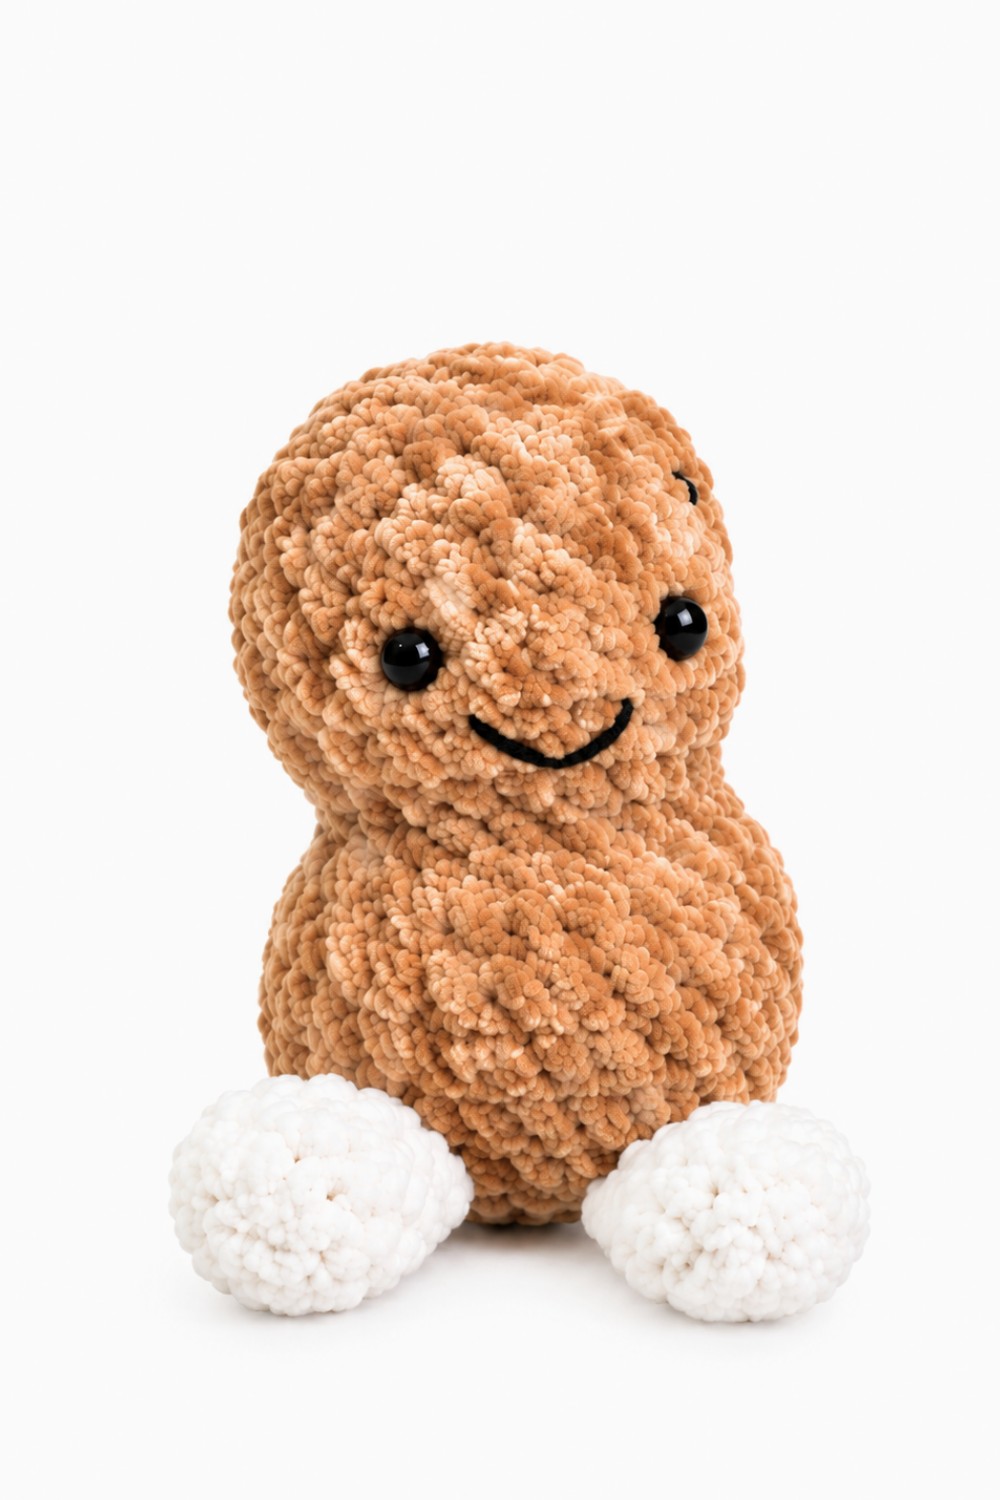
- Confirm both legs are evenly attached and body is firmly stuffed with a smooth peanut curve.
- Adjust face embroidery as desired for expression.
- Finished Peanut stands independently or dangles playfully, perfect for hugging or display.
Conclusion
The Jellycat-inspired peanut pattern utilizes foundational amigurumi methods for seamless construction and irresistible charm. Strategic increases and decreases shape a whimsical body while integrated leg attachment and careful finishing create a joyful, professional result. This peanut plush is a delightful, quick project—ideal for gifting, décor, or adding to a collection of cuddly companions. The straightforward, organized instructions promote clarity and confidence in every round.