
Mini Crochet Amigurumi Minion Free Pattern For Birthday Gifts
Stitch a funny yellow friend with the Crochet Amigurumi Minion Free Pattern, a playful cartoon doll for handmade gifts and bedroom shelves.
Looking for a fun and cute project to try? The Crochet Amigurumi Minion is a great choice for anyone who loves adorable handmade toys. This little Minion stands about 6 to 8 inches tall, making it the perfect size to hold or display on a shelf.
Easy Crochet Amigurumi Minion Free Pattern For Beginners
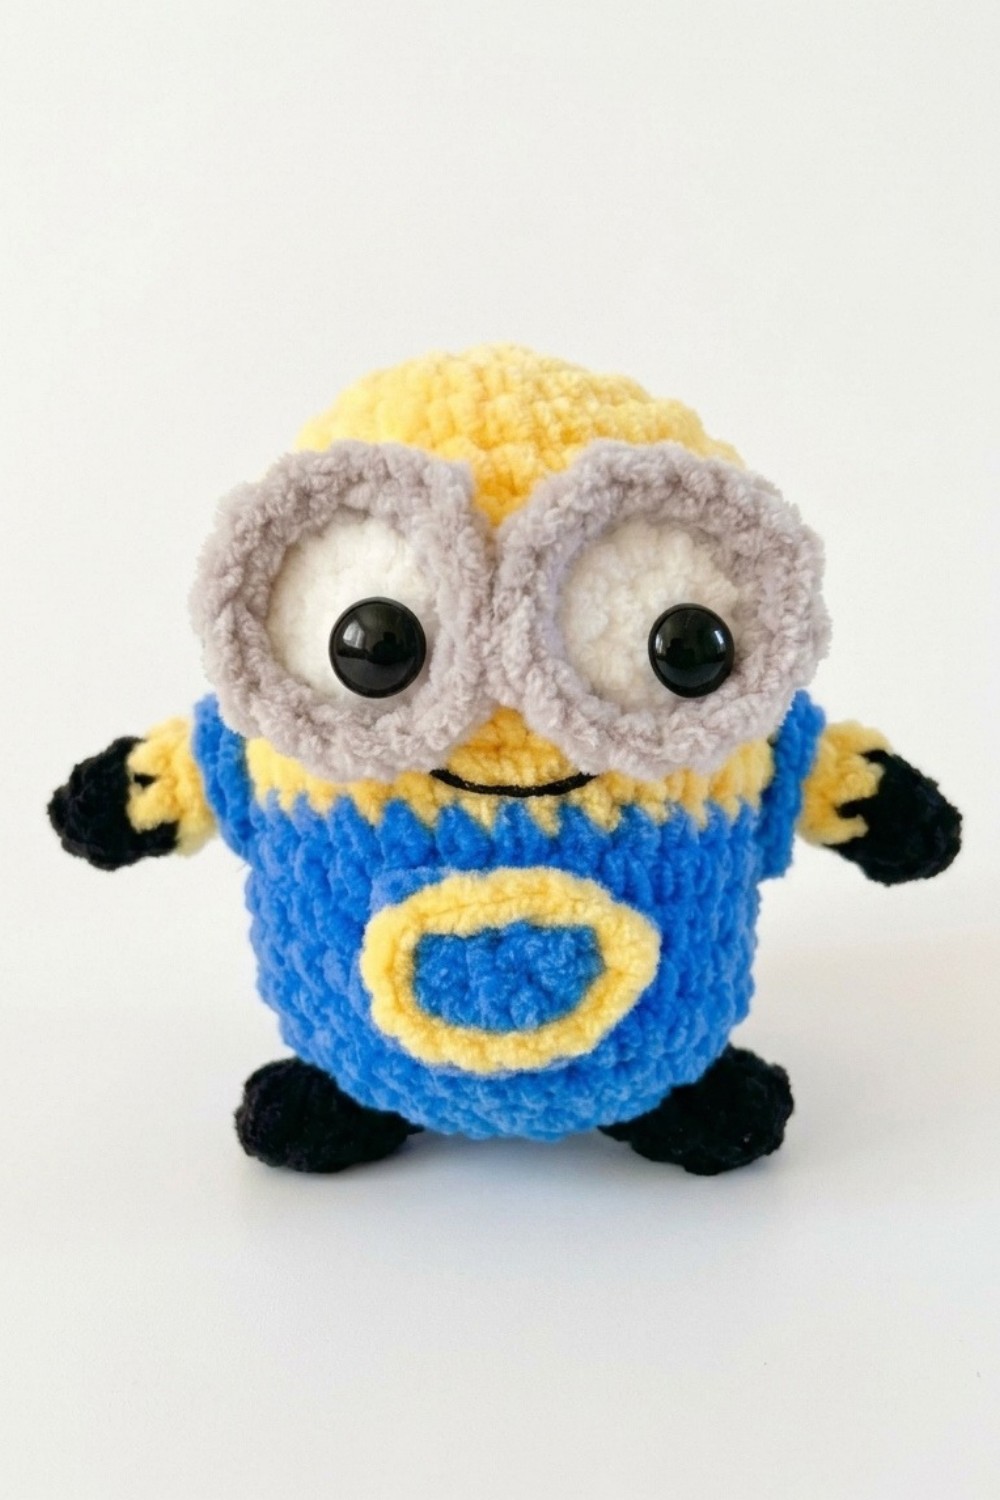
The design is simple but charming, showing the Minion’s round body, big round eyes behind goggles, and friendly smile. It captures the character’s playful personality with bright yellow yarn for the body and blue for the overalls. Plus, the small details, like the tiny arms and little feet, add to its cuteness and make it feel more lifelike.
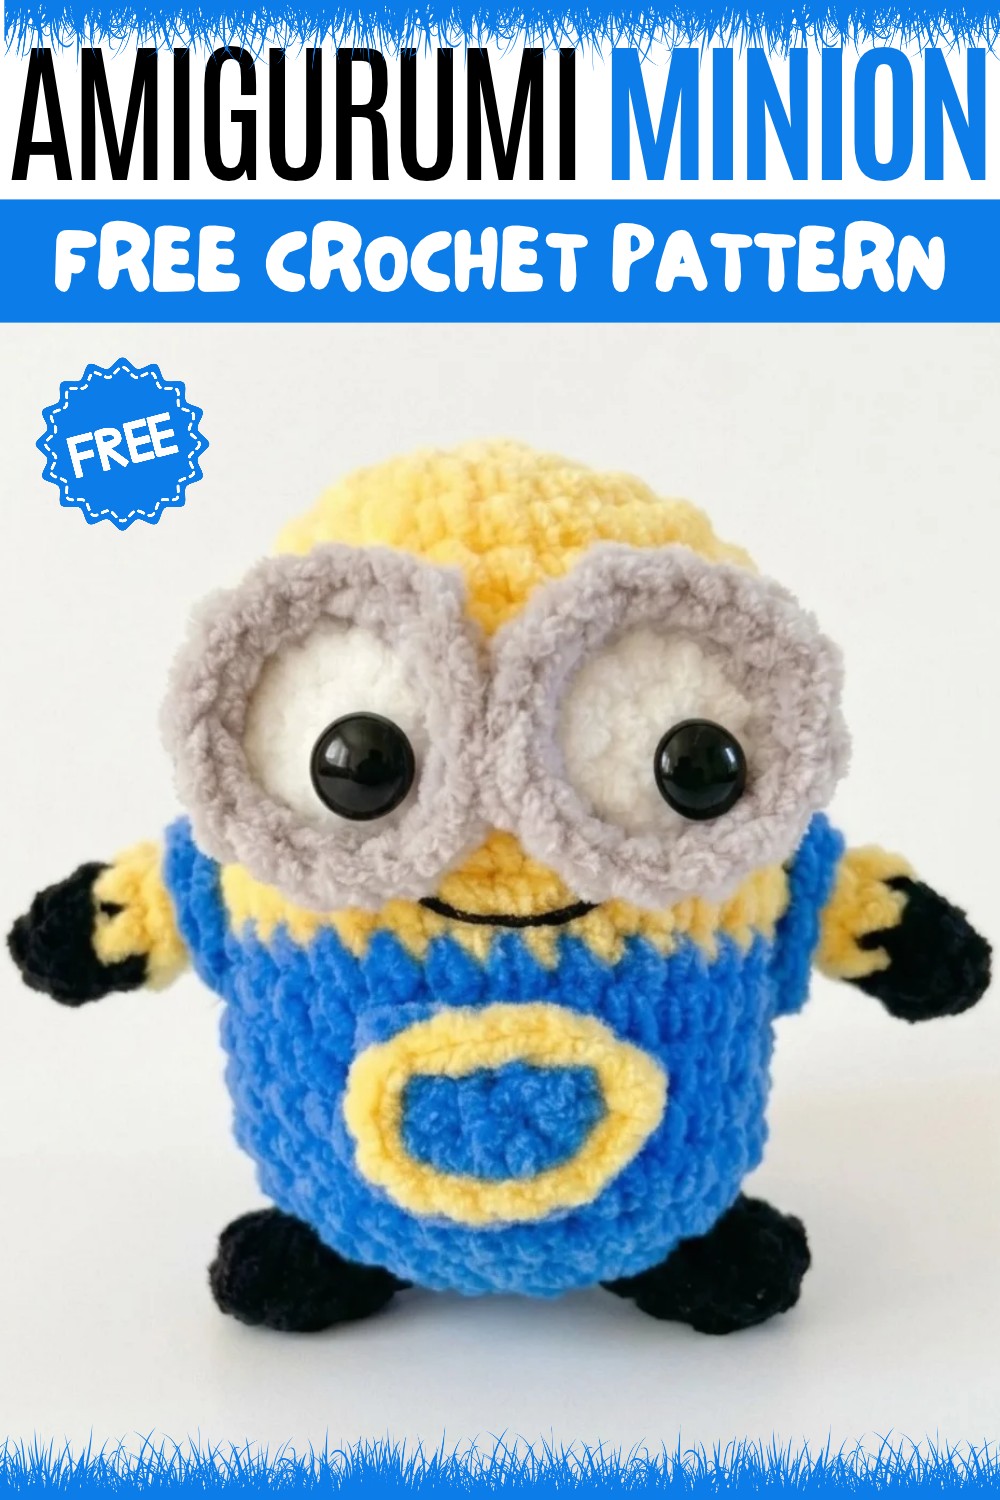
Moreover, crocheting this Minion is enjoyable and not too time-consuming, so you can see your progress quickly. Whether you want a cute gift or a personal keepsake, this amigurumi adds a friendly touch to any space. Overall, making the Crochet Amigurumi Minion is a fun way to bring a tiny character to life using simple crochet techniques.
About the Pattern
Creating Bob the Minion offers a delightful way to practice small amigurumi techniques, combining simple increases, decreases, and basic construction methods. This pattern closely follows a step-by-step instructional style with detailed rounds for an accurate, adorable replica. The focus is on clarity, using consistent stitch work and clear shaping to achieve the minion’s signature look.
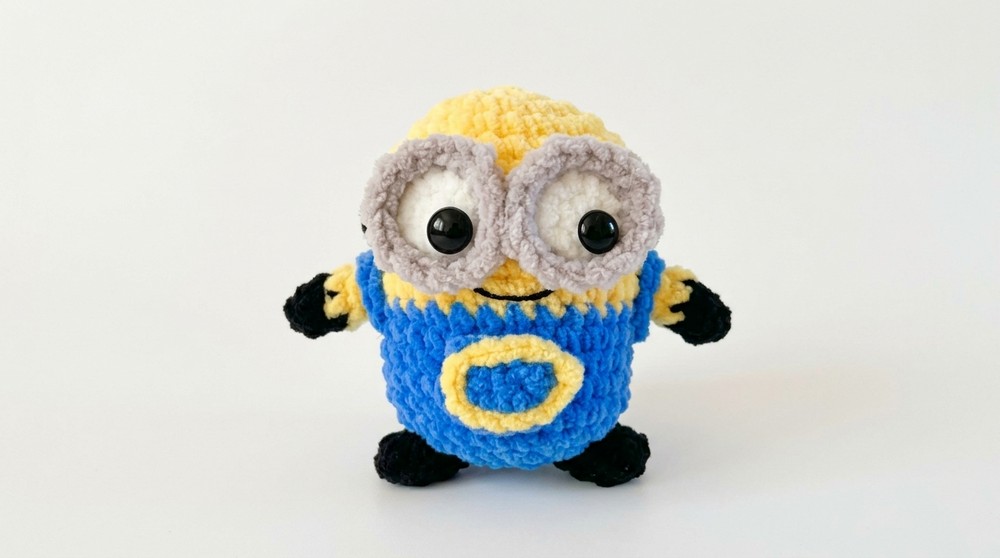
Pattern at a Glance
This pattern is a seamless crochet figure worked primarily in the round (amigurumi method). Key highlights include color changes for the body and fine details like the minion’s single eye, glasses, and overalls. Each component—from body to accessories—is crafted individually and assembled at the end.
Important Notes
- Work all rounds in a continuous spiral unless stated otherwise.
- Use stitch markers to mark the beginning of each round.
- Maintain even tension to prevent stuffing from showing.
- Change colors as instructed for seamless transitions.
- For best results, assemble all pieces after crocheting and stuffing each separate part.
- Standard amigurumi practices such as invisible decrease and slip stitching are employed for a neater finish.
Difficulty Level
Beginner to Intermediate:
Basic knowledge of crocheting in the round, color changes, increases, and invisible decreases will be useful. The assembly process involves simple embroidery and basic attachment skills.
Supplies Needed
- Worsted weight yarn in yellow, blue, black, white, gray
- 3.0 mm crochet hook
- Polyester fiberfill for stuffing
- Tapestry needle for sewing
- Scissors
- Stitch markers
- Optional: Small amount of blush or pink pastel for cheeks, black embroidery thread for mouth
Size & Measurements
The completed minion measures approximately 4–5 inches (10–13 cm) tall when using the recommended yarn and hook size.
Gauge & Stitch Details
Gauge is not critical for this pattern, but for reference:
6 sc x 6 rows = 1 inch using the recommended yarn and hook.
Crochet Abbreviations
- ch: chain
- sc: single crochet
- inc: increase (2 sc in one stitch)
- dec: decrease (work 2 stitches together)
- sl st: slip stitch
- MR: magic ring
- st(s): stitch(es)
Special Stitch Guide
- Invisible Decrease: Insert hook into the front loop of each of the next 2 stitches (2 loops on hook), yarn over and draw through both front loops, yarn over and draw through remaining loops.
- Standing Stitch: For a seamless color change at the beginning of a round, start with a standing sc with the new color.
Complete Crochet Pattern
Body (Yellow to Blue)
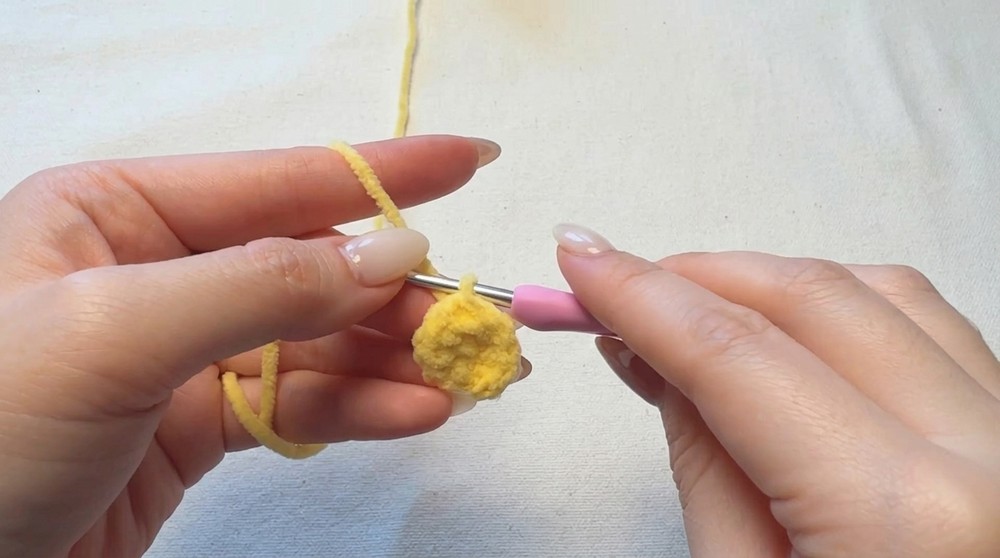
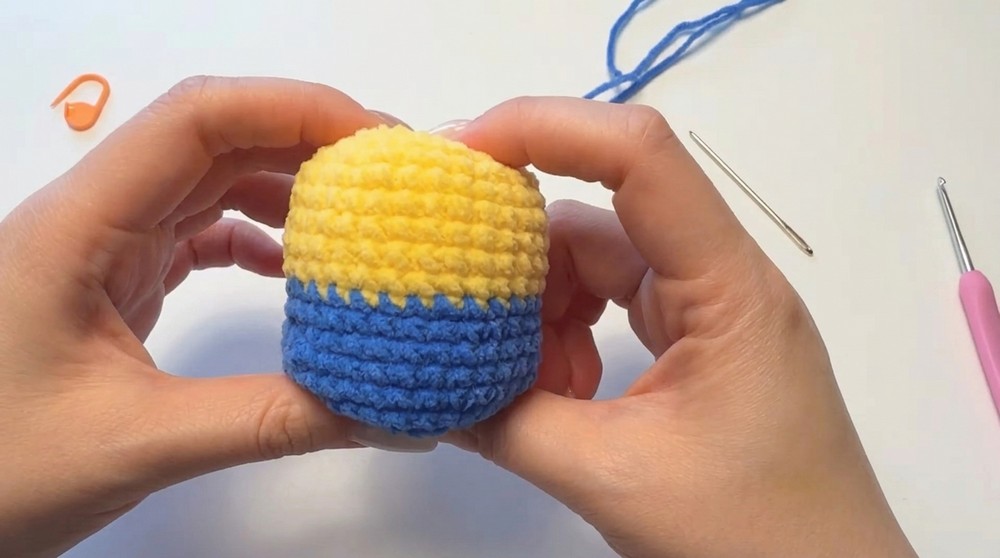
- R1: Using yellow, MR, 6 sc into the ring. (6 sts)
- R2: 6 inc (2 sc in each st around). (12 sts)
- R3: (1 sc, 1 inc) repeat 6 times. (18 sts)
- R4: (2 sc, 1 inc) repeat 6 times. (24 sts)
- R5: 24 sc (one sc in each st around). (24 sts)
- R6: (3 sc, 1 inc) repeat 6 times. (30 sts)
- R7–11: 30 sc in each round (continue with yellow). (30 sts per round)
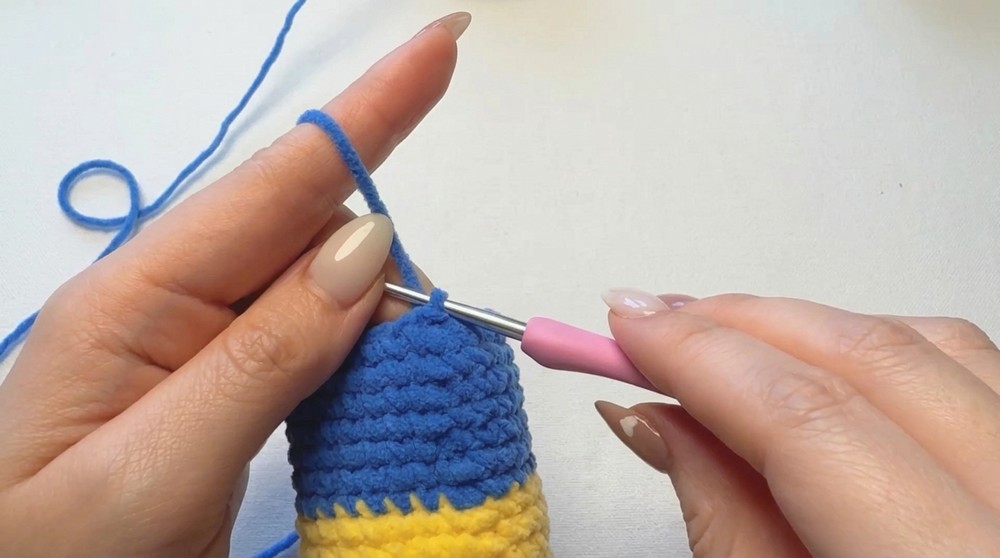
- R12–17: Switch to blue. 30 sc in each round. (30 sts per round)
- R18: (3 sc, 1 invisible dec) repeat 6 times. (24 sts)
- R19: 12 invisible dec (decrease around to close). Stuff firmly with polyfill during this step. Fasten off and weave in tail.
Eye & Glasses
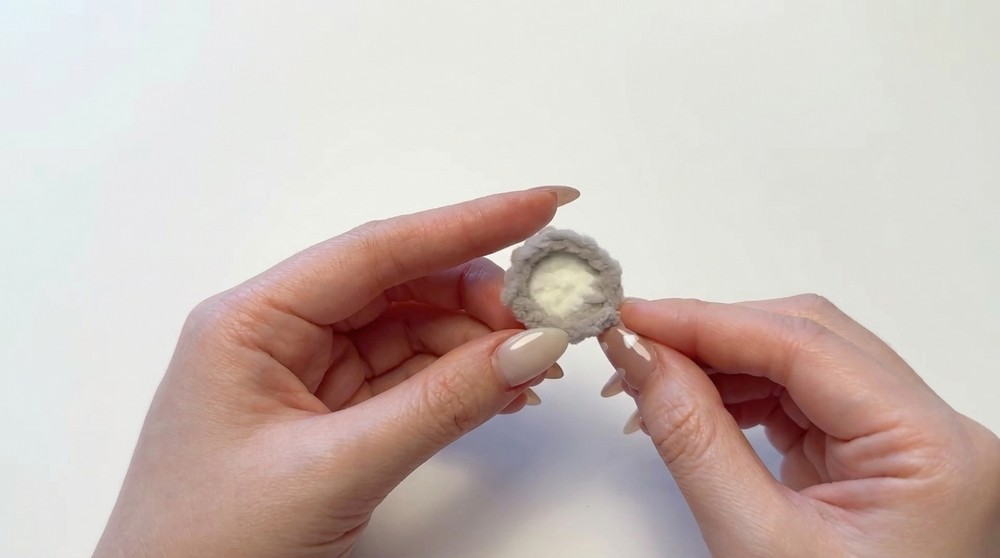
- Eye (White & Gray):
- R1: With white, MR, 6 sc into ring.
- R2: 6 inc (12 sts), switch to gray on the last stitch.
- R3: (2 sc, 1 inc) repeat 4 times. (16 sts) Fasten off, leaving tail for sewing.
- Black Glasses Band:
- 25 ch, then 24 sc back along the chain. Fasten off and leave long tail for sewing.
Arms & Feet
- Arms (make 2):
- With black, MR, 5 sc into ring for R1.
- R2: 5 sc (continue with black).
- Switch to yellow.
- R3: 5 sc
- R4: 5 sc. Fasten off, leave tail for sewing.
- Feet (make 2):
- With black, MR, 6 sc for R1.
- R2–3: 6 sc each round. Fasten off, leave tail.
Pocket & Straps
- Pocket:
- Using blue, 5 ch. Starting in 2nd ch from hook:
- R1: 4 sc
- R2: 1 sc, 2 inc, 1 sc (switch to yellow at end or slip stitch around for edging).
- Work a slip stitch around the outer edge for a neat border.
- Using blue, 5 ch. Starting in 2nd ch from hook:
- Straps (make 2):
- With blue, 10 ch for each strap. Fasten off and leave tails for attaching.
Assembly
- Attach the eye to the center of the yellow section.
- Sew the black band around the head, positioning to frame the eye.
- Attach arms to each side of the body, just under the yellow to blue seam.
- Sew the feet at the base under the blue section.
- Stitch pocket onto front of the blue area.
- Attach straps from the pocket, over the shoulders, and secure at the back.
- With black thread, embroider mouth.
- Lightly add blush to the cheeks for detail.
Finished Size & Conclusion
By following each step as specified, the completed Bob the Minion will closely match the original design, standing about 4–5 inches tall. The finished figure is sturdy, with securely attached limbs and facial features, making it suitable as a toy, decorative item, or gift. Every stage, from crocheting to assembly and detailing, is designed for accuracy and enjoyment, ensuring a rewarding experience with a charming result. This project also provides an opportunity to hone color-change and finishing techniques in amigurumi.