
Cute Crochet Amigurumi Dinosaur Free Pattern With A Long Tail
Create a charming Crochet Amigurumi Dinosaur with this free pattern that guides you step by step to make a fun and lovable handmade toy easily at home.
The project comes from Guada crochet. is a lovely handmade project .The Crochet Amigurumi Dinosaur is a fun little yarn toy that turns one of these ancient creatures into a friendly character. Its playful appearance makes it a nice choice for children who like animal toys and stories about the past.
Simple Crochet Amigurumi Dinosaur Free Pattern For Kids
This dinosaur has a large head, a thick body, and a long tail that stretches behind it. Small spikes along its back give it a recognizable appearance, while its little feet add a funny touch. You can use mint green, light purple, or mustard yellow yarn for a different color. Its small eyes give it a gentle expression instead of a scary one.
The main body can be worked using simple crochet stitches. The tail and legs are shaped to match the figure, while the spikes can be attached along the back. Soft stuffing helps the toy hold its form, and careful stitching keeps everything together.
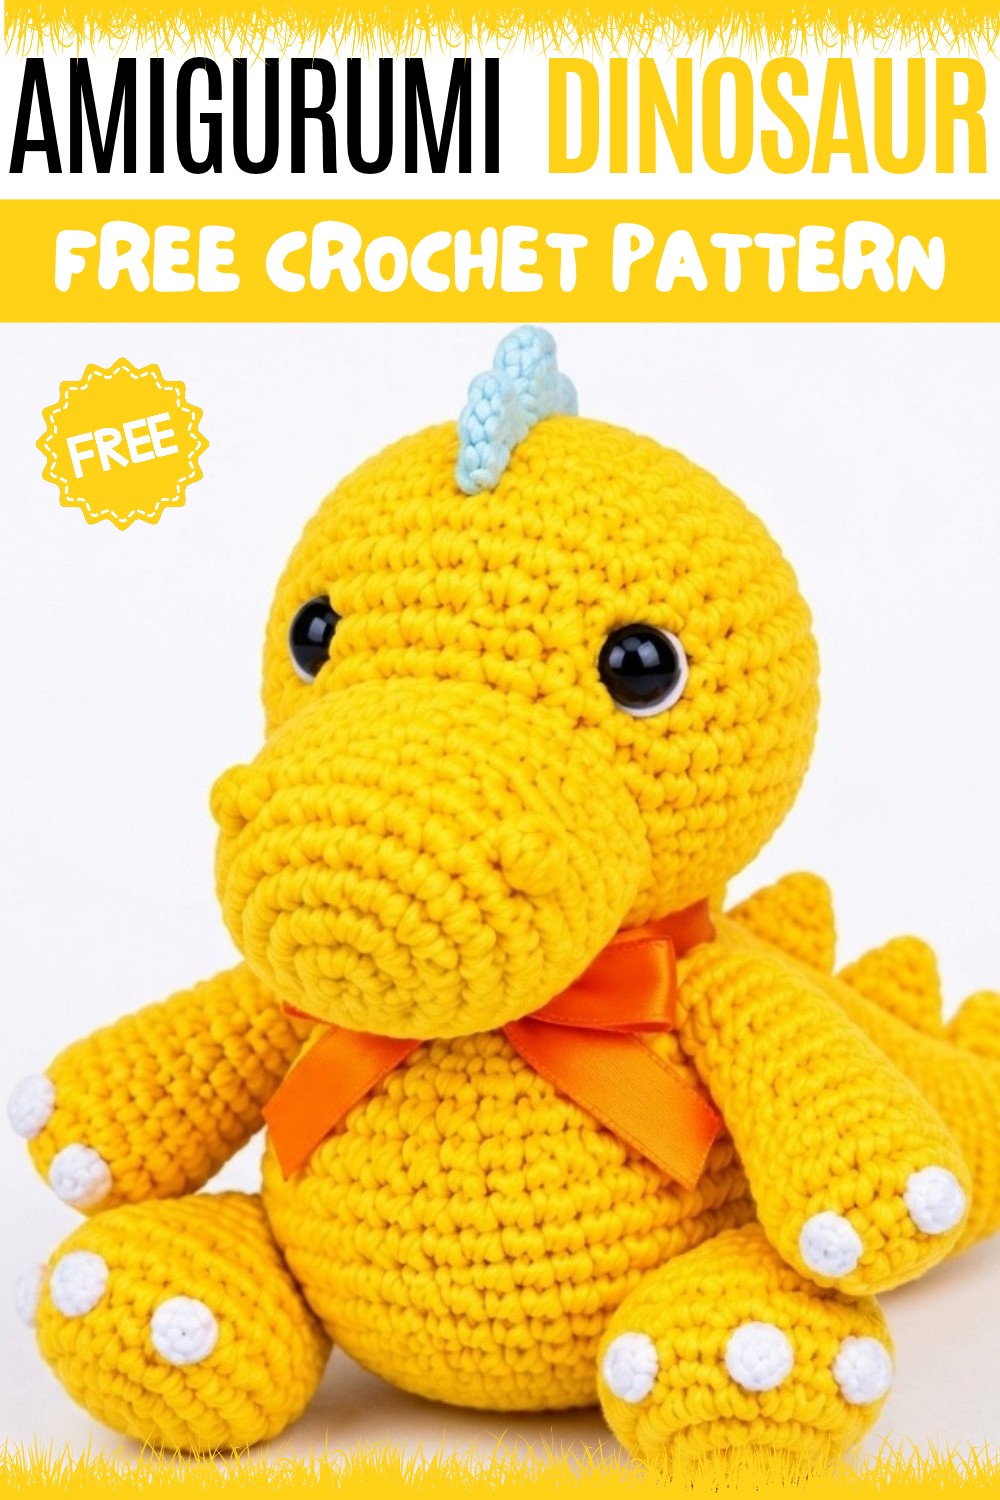
This little figure is a fun way to turn an ancient animal into a friendly toy. Its interesting shape and soft texture give it a different feel from ordinary plastic figures.
About the Pattern
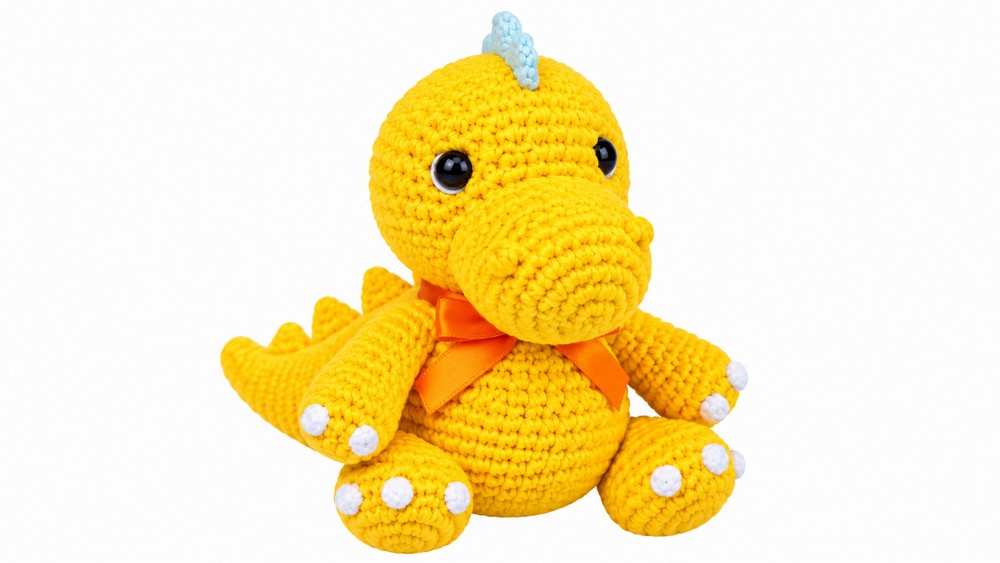
This crochet dinosaur pattern is crafted in the amigurumi style, breaking down each section to achieve smooth shaping, sturdy form, and delightful detail. Features like the puff stitch nose, multiple 3D horns, and embroidered claws add a playful, lifelike touch. All pieces are constructed separately in spirals, utilizing consistent increases and decreases, and assembled for a neatly finished, positionable soft toy. This method ensures clear construction, versatile modifications, and results in a cheerful, huggable dinosaur with lots of character.
Pattern at a Glance
- Head and Body: Rounded, seamless spheres joined together, with gradual increases then structured decreases for the iconic dinosaur shape.
- Limbs: Short, shaped amigurumi arms and legs, embroidered with claws for realism.
- Tail and Horns: A robust, slightly curved tail and multiple horns add detail and personality.
- Assembly: Parts are securely attached with careful shaping and proportioning, bringing out the dinosaur’s playful character.
- Final Touches: Embroidered eyes and claws provide expression and definition.
Important Notes
- Use a stitch marker to identify the start of each round for accuracy.
- Work in a spiral—do not join rounds or chain up unless specified.
- Maintain a tight tension to avoid stuffing showing through the stitches.
- Stuff each piece firmly as you go, adding more before closing off each segment.
- Embroidering details (claws, eyes) after assembly helps with placement and symmetry.
Difficulty Level
Intermediate. This project uses basic amigurumi techniques: working in the round, increasing, decreasing, color changes for details, embroidery for features, as well as assembling multiple segments. Basic familiarity with puff stitches is helpful but not essential, as they are explained in the Special Stitch Guide.
Supplies Needed
- Worsted or DK weight yarn (main color, accent color for claws and horns, optional for contrast details)
- Crochet hook size compatible with your yarn (typically 2.5 mm to 3.5 mm)
- Polyester fiberfill
- Yarn needle
- Scissors
- Stitch marker
- Embroidery floss or thin yarn for claws and eyes
- Optional: safety eyes
Size & Measurements
- Finished length: 20–27 cm (8–10.5 in) head to tail, depending on yarn and hook size
- Width: 8–12 cm (3–4.5 in)
- Limb length: 5–8 cm (2–3 in)
- Tail: approx. 10–15 cm (4–6 in)
Gauge & Stitch Details
- Gauge: 7 rounds in single crochet = 4 cm in diameter (worked in spiral rounds)
- Fabric should be dense with no gaps showing after stuffing
Crochet Abbreviations
- sc – single crochet
- inc – increase (2 single crochets into the same stitch)
- dec – decrease (single crochet two together)
- ch – chain
- st(s) – stitch(es)
- mr – magic ring
- rep – repeat
Special Stitch Guide
- Puff Stitch: Yarn over, insert hook into stitch, yarn over and pull up a loop; repeat two more times (for 7 loops on hook), yarn over and pull through all loops. Secure with a chain if required.
- Increase (inc): Work 2 single crochet into one stitch.
- Decrease (dec): Single crochet two stitches together.
Complete Crochet Pattern
Head
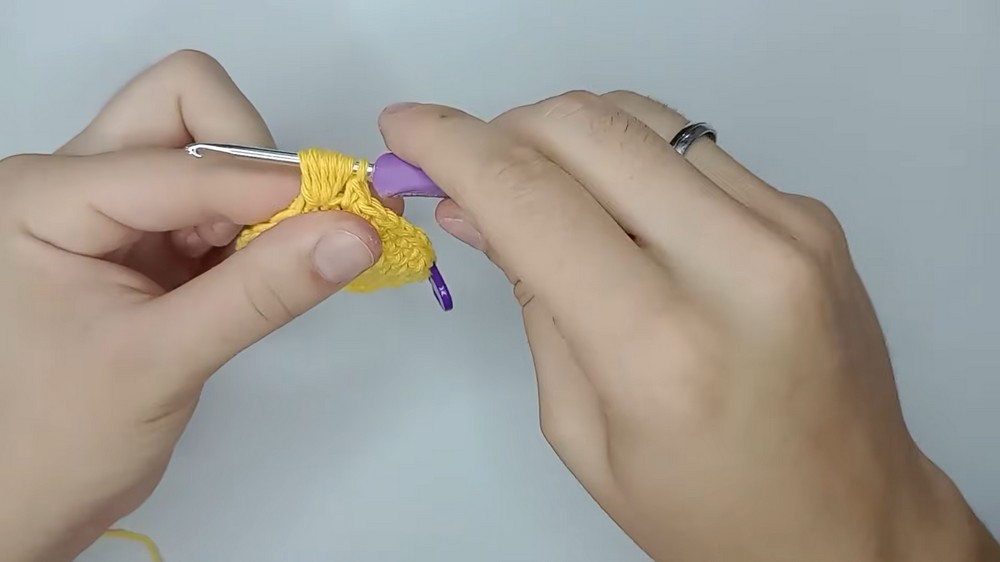
- Round 1: In a magic ring (mr), make 6 sc.
- Round 2: inc in each st around (12 sc).
- Round 3: (1 sc, inc) rep around (18 sc).
- Round 4: (2 sc, inc) rep around (24 sc).
- Round 5: (3 sc, inc) rep around (30 sc).
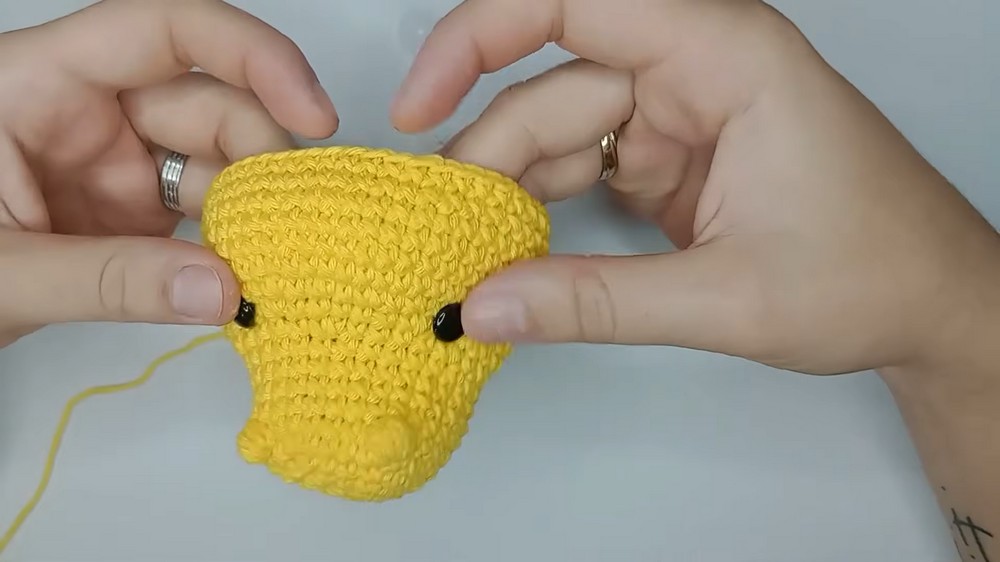
- Add Nose: Work 1 puff stitch centered at the front, then sc in the remaining stitches.
- Round 6: (4 sc, inc) rep around (36 sc).
- Round 7: (5 sc, inc) rep around (42 sc).
- Round 8: (6 sc, inc) rep around (48 sc).
- Rounds 9–13: sc evenly in each st (48 sc per round).
- Round 14: (6 sc, dec) rep around (42 sc).
- Round 15: (5 sc, dec) rep around (36 sc).
- Round 16: (4 sc, dec) rep around (30 sc).
- Round 17: (3 sc, dec) rep around (24 sc).
- Round 18: (2 sc, dec) rep around (18 sc).
- Round 19: (1 sc, dec) rep around (12 sc).
- Round 20: dec around until 6 sc remain, fasten off and close leaving a yarn tail for sewing.
- Stuff firmly before closing.
Body
- Round 1: 6 sc in a magic ring (mr).
- Round 2: inc in each st (12 sc).
- Round 3: (1 sc, inc) rep around (18 sc).
- Round 4: (2 sc, inc) rep around (24 sc).
- Round 5: (3 sc, inc) rep around (30 sc).
- Round 6: (4 sc, inc) rep around (36 sc).
- Round 7: (5 sc, inc) rep around (42 sc).
- Rounds 8–12: sc in each st (42 sc per round).
- Round 13: (5 sc, dec) rep around (36 sc).
- Round 14: (4 sc, dec) rep around (30 sc).
- Round 15: (3 sc, dec) rep around (24 sc).
- Round 16: (2 sc, dec) rep around (18 sc).
- Stuff before the opening gets too small, continue to close in sc or dec as needed until closed, leaving a tail for sewing.
Legs (Make 2)
- Round 1: 6 sc in mr.
- Round 2: inc in each st (12 sc).
- Round 3: (1 sc, inc) rep around (18 sc).
- Round 4: (2 sc, inc) rep around (24 sc).
- Rounds 5–7: sc in each st (24 sc per round).
- Round 8: (2 sc, dec) rep around (18 sc).
- Round 9: sc in each st (18 sc).
- Round 10: (1 sc, dec) rep around (12 sc).
- Round 11: sc in each st (12 sc).
- Fasten off, stuff, embroider three claws with contrasting yarn.
Arms (Make 2)
- Round 1: 6 sc in mr.
- Round 2: inc in each st (12 sc).
- Round 3: (1 sc, inc) rep around (18 sc).
- Rounds 4–5: sc in each st (18 sc per round).
- Round 6: (1 sc, dec) rep around (12 sc).
- Rounds 7–9: sc in each st (12 sc per round).
- Fasten off, stuff, embroider claws using contrasting yarn.
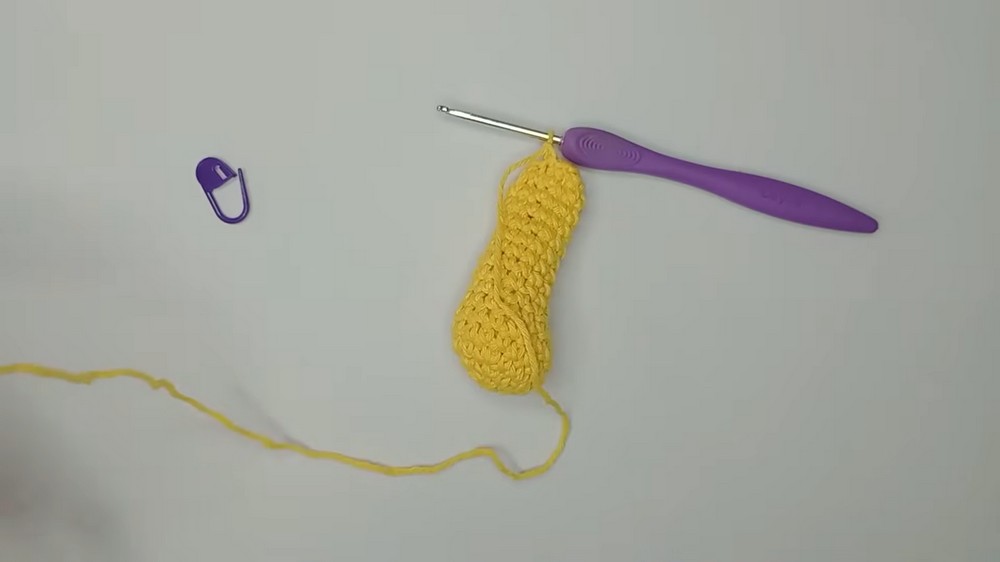
Tail
- Round 1: 6 sc in mr.
- Round 2: (1 sc, inc) rep around (9 sc).
- Round 3: (2 sc, inc) rep around (12 sc).
- Round 4: (3 sc, inc) rep around (15 sc).
- Round 5: (4 sc, inc) rep around (18 sc).
- Round 6: (5 sc, inc) rep around (21 sc).
- Round 7: (6 sc, inc) rep around (24 sc).
- Rounds 8–13: sc in each st (24 sc per round).
- Fasten off, stuff, leave yarn for sewing.
Horns
(Make 2 small, 6 large)
- Small Horns:
- Round 1: 6 sc in mr.
- Rounds 2–3: sc in each st (6 sc).
- Fasten off, leave tail.
- Large Horns:
- Round 1: 6 sc in mr.
- Round 2: (1 sc, inc) rep around (9 sc).
- Rounds 3–4: sc in each st (9 sc).
- Fasten off, leave tail.
Assembly & Finished Size Conclusion
- Sew the Head to the Body:
- Position the head so that its base aligns evenly with the neck opening of the body.
- Use the yarn tail from the head, sewing securely with a yarn needle to prevent gaps.
- Stuff any remaining space before fully closing.
- Attach the Arms:
- Place arms on the sides of the body, slightly below the head.
- Secure with a strong knot and stitch, ensuring symmetry for both sides.
- Attach the Legs:
- Position legs at the bottom sides of the body for a balanced, sitting posture.
- Knot and sew tightly for durability.
- Sew on the Tail:
- Place the tail centered at the lower back of the body.
- Sew firmly to help the dinosaur sit upright.
- Attach the Horns:
- Sew two small horns and six large horns on top and sides of the dinosaur’s head.
- Space horns evenly for a lively crest and visual balance.
- Embroider Eyes and Mouth:
- Using embroidery floss or thin yarn, stitch the eyes and a cheerful mouth.
- Use small stitches for expressiveness and symmetry.
- Embroider Claws:
- Finish legs and arms with contrasting embroidery floss or yarn for claws.
- Use 3–4 stitches per limb for realism.
- Final Adjustments:
- Weave in all ends and adjust stuffing as needed for stability.
- Ensure all pieces are firmly attached for safe handling and play.
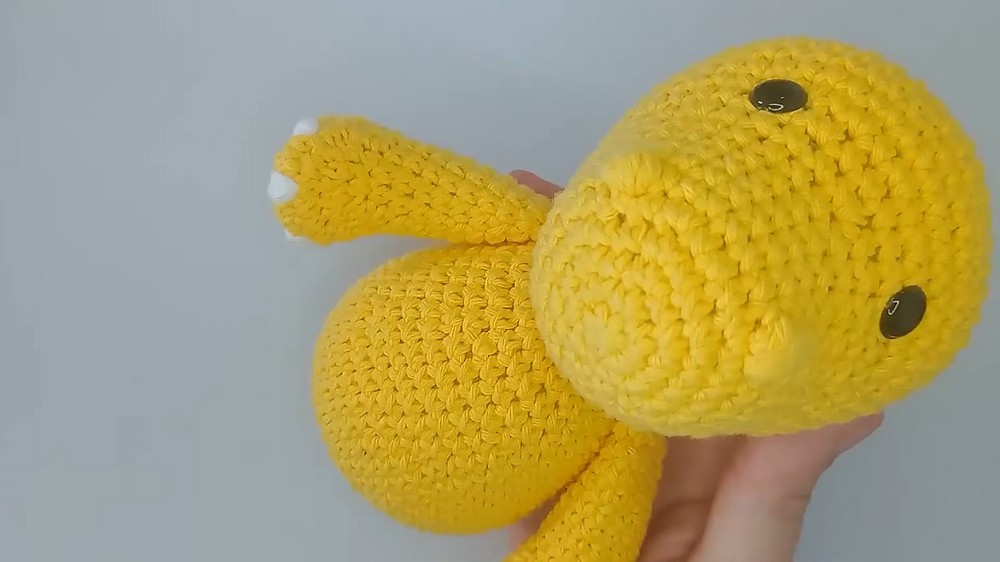
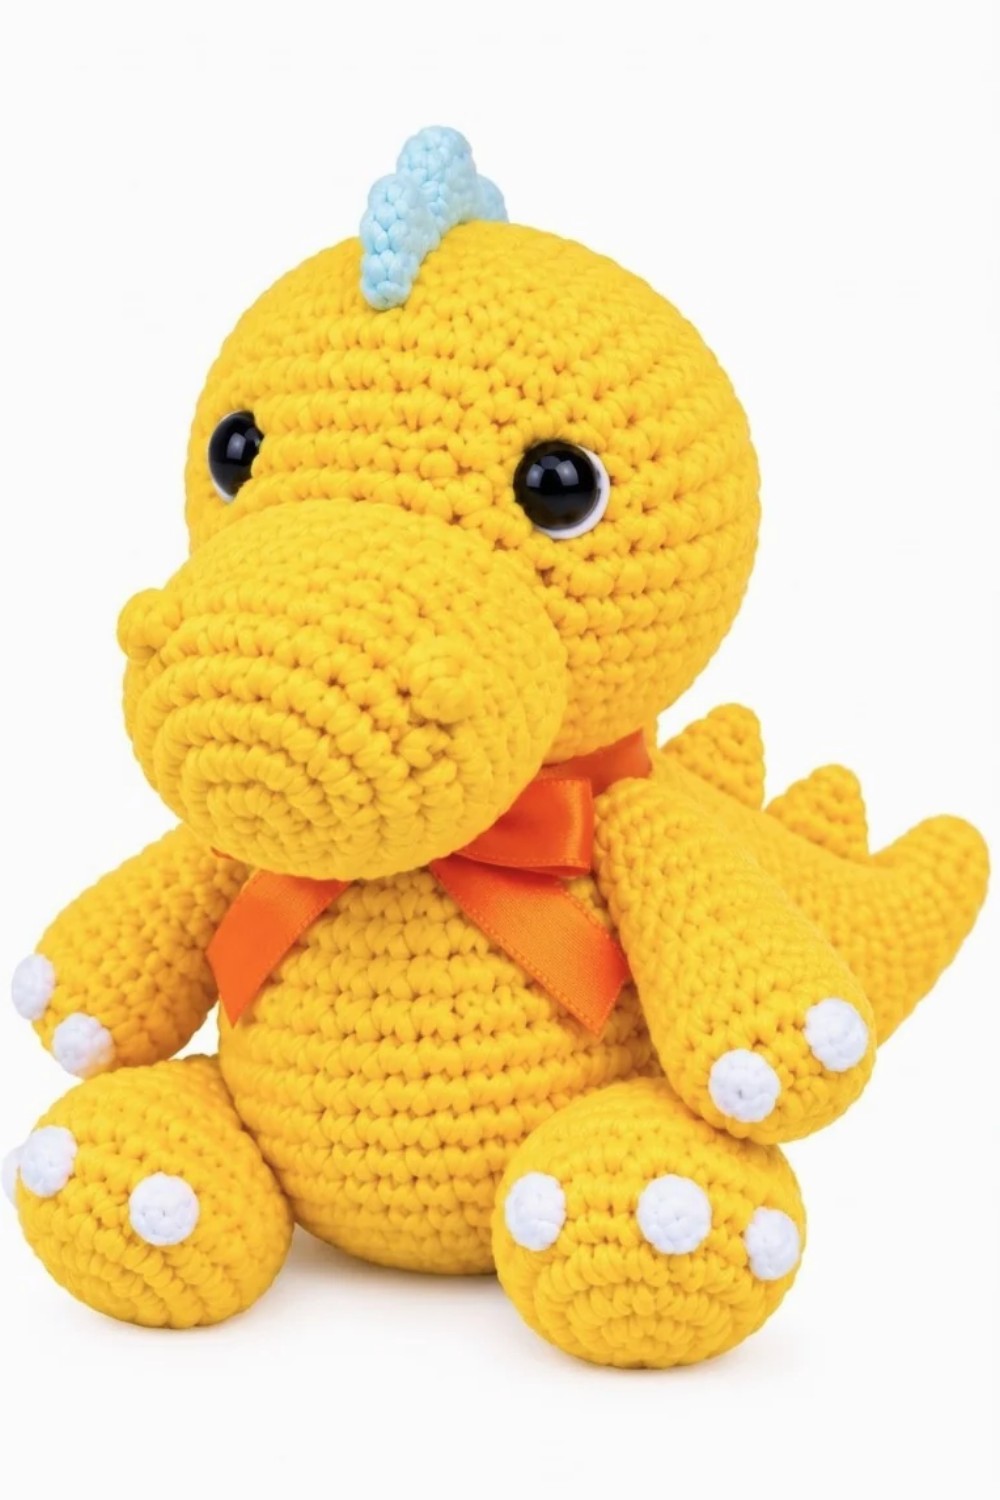
The finished dinosaur is shaped by sculpted increases and decreases, richly detailed with horns, puff stitch nose, claws, and expressive face. Its robust and balanced structure, combined with carefully attached limbs and tail, allows for upright display or gentle play. With these assembly steps, the project reflects craftsmanship, creativity, and a joyful character that stands out in any handmade collection.