
Free Crochet Mini Flower Pot Pattern with Simple Steps
Brighten your space with a Crochet Mini Flower Pot using simple steps that add a lovely handmade touch to your home decor with ease and style.
Want to add a little color and cheer to your room? The Crochet Mini Flower Pot created by DIY Yarn Crafts is a cute, handmade decoration that fits well on tables, shelves, or windowsills.
Easy Crochet Mini Flower Pot Free Pattern Featuring a Floral Display
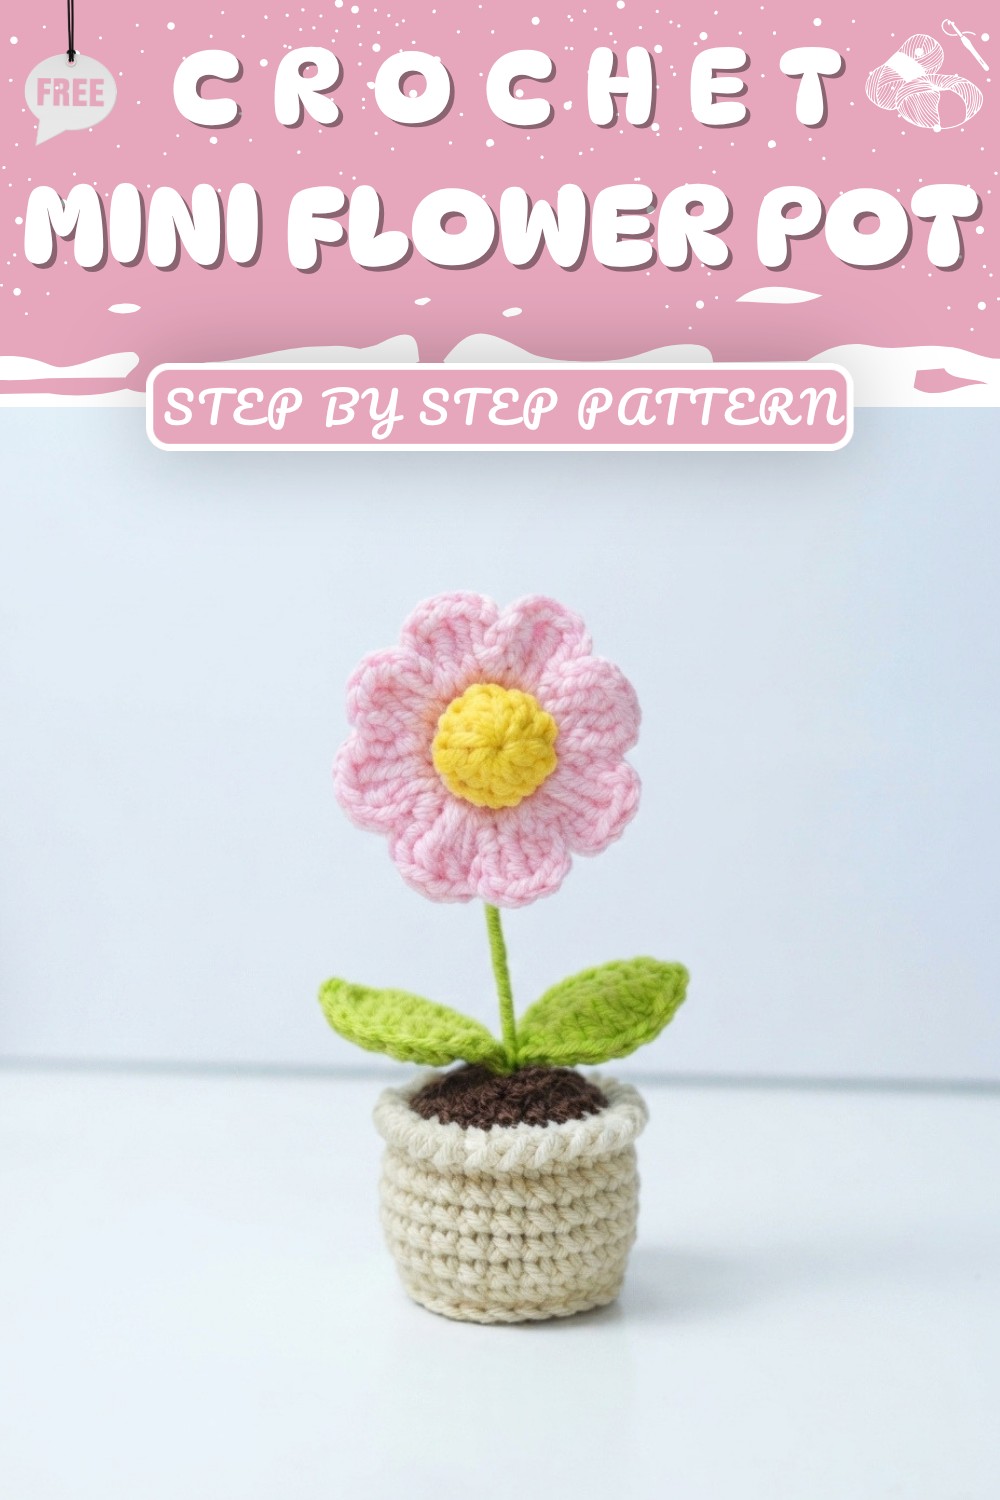
This small flower pot is made with soft yarn and has bright little flowers that look nice and happy. It does not need sunlight or water, so it is easy to care for.
Because it is small, it can brighten up any small space. The neat stitches make the pot and flowers look tidy and friendly. This project is a nice way to add some life to your room or to give as a gift to someone who likes pretty things.
This video (Link is below) from DIY Yarn Crafts is easy to follow. It shows how to make the pot and the flowers step by step. People who are new to crochet or have done it before will find it simple to make. The soft yarn and pretty colors come together to make a small garden you can keep inside.If you want a cheerful decoration that is small and easy to make, try the free Crochet Mini Flower Pot pattern. It is a fun project and a lovely piece to have around.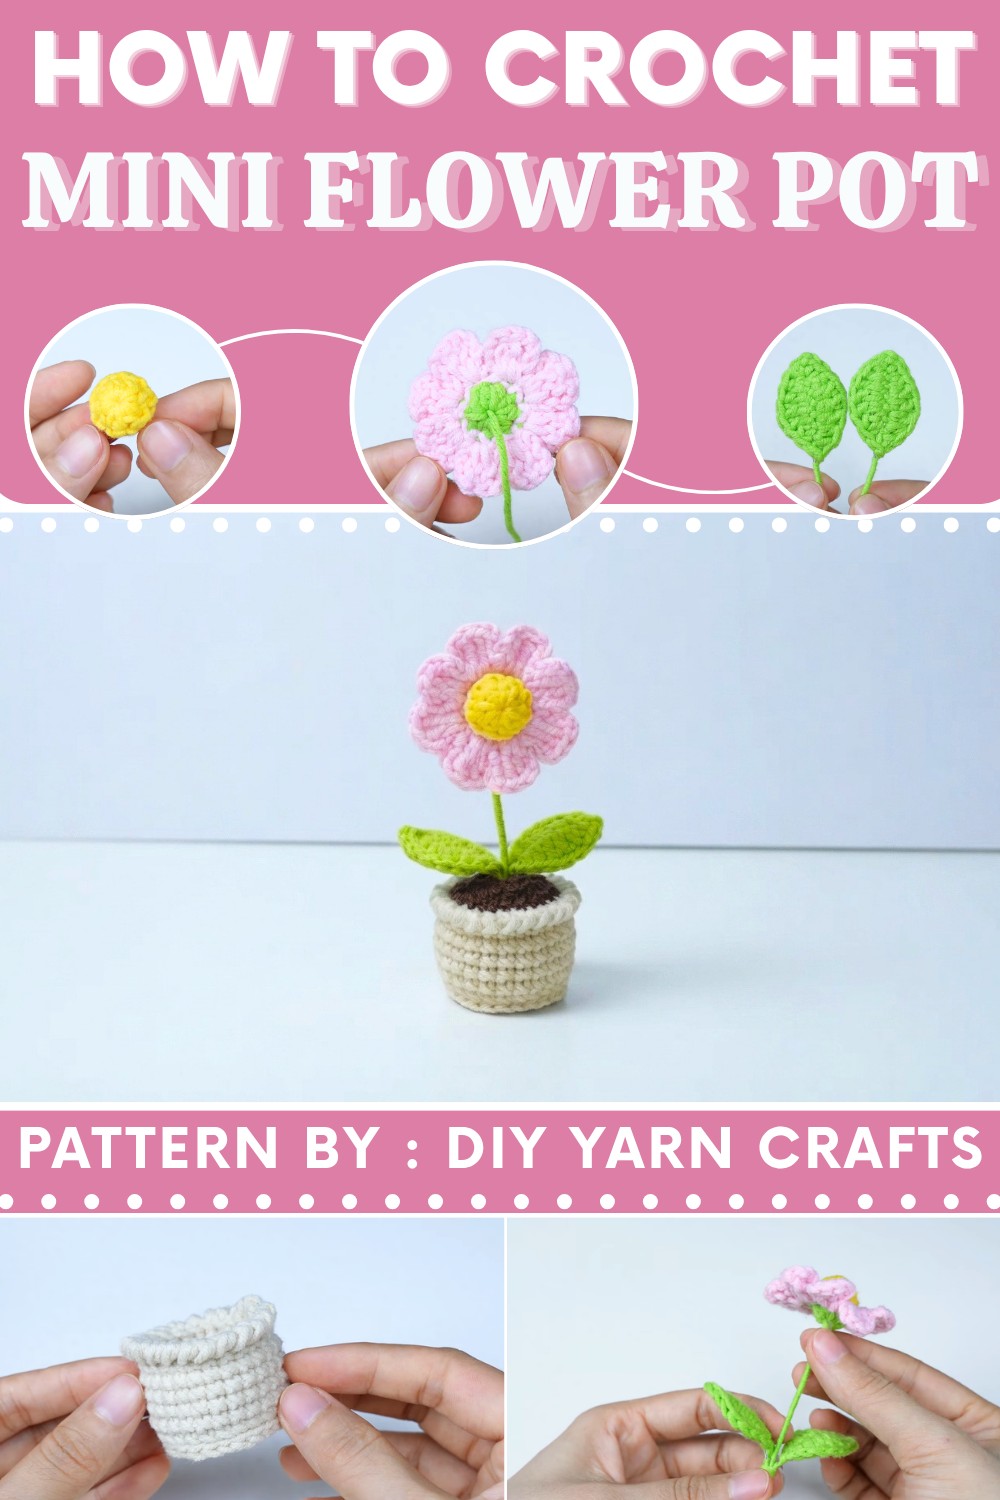
Mini Flower Pot Crochet Pattern
This comprehensive crochet pattern for a mini flower pot—an adorable decorative accessory for your desk, windowsill, or a handmade gift! This easy-to-follow project uses basic crochet techniques and wirework for realistic flower assembly, suitable for beginners and those with some experience. Follow along step by step and make your own charming mini flower display.
Quick Overview Of Pattern
This pattern features a layered approach: crochet the stamen, sepal, petals, and leaves, then construct the pot, fill with "soil", and assemble everything using wire for stability. Each step is clearly laid out for effortless crafting and assembly, ensuring a fun and satisfying experience.
Notes
- Each component is crocheted individually then assembled.
- Flower petals are crocheted in rounds, directly joining the stamen and sepal for neat results.
- Wires are used for stems and leaves—crochet with or around the wire as directed.
- Stuffing is used to fill the pot for a plump, realistic look.
- Always mark the first stitch of each round, especially in circular crochet.
Skill Level
Beginner to Intermediate
Materials
- Yarn: Susan Family 5 (or similar, 5-ply cotton)
- Crochet hook: 2.5 mm
- Wire: 1 mm thick for stem, 0.5 mm for leaves (cut to required lengths)
- Hot glue gun and sticks
- Scissors
- Darning needle
- Stitch marker
- Fiber fill/stuffing
Measurements / Sizing
- Finished pot diameter: approx. 5 cm
- Flower height (including stem): approx. 10 cm
- Leaf length: approx. 7 cm
Gauge
Not crucial; approximate reference:
- 8 sc in magic ring = 3 cm
- Leaf: about 8-9 cm long
Stitch Abbreviations
- ch = chain
- sc = single crochet
- hdc = half double crochet
- dc = double crochet
- sl st = slip stitch
- yo = yarn over
- inc = increase (2 sc in same stitch)
- magic ring = adjustable ring
Special Stitches
Crab Stitch (Reverse sc)
Insert hook into previous st to the right, yo and pull up loop, yo and pull through both loops on hook.
Working into the Back/Front Loop Only
Crochet into only the back or front strand of the stitch as instructed, creating texture.
Crochet Instructions
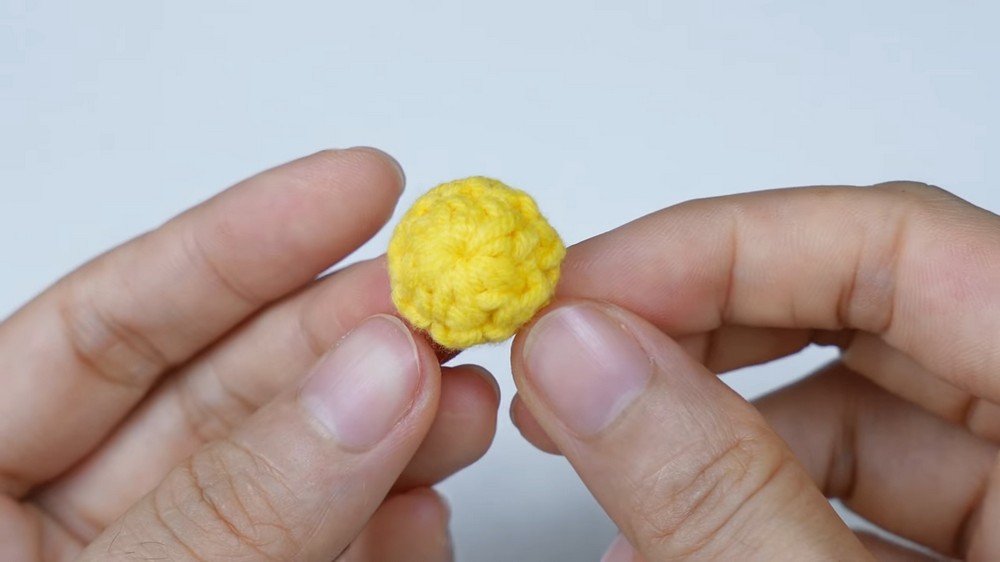
Stamen
Round 1:
- Create a magic ring.
- Ch 1, then make 8 hdc into the ring.
- To make a hdc: yo, insert hook, yo, pull up loop (3 loops), yo, pull through all loops.
- Mark the first hdc with a stitch marker.
- Complete 8 hdc total.
- Pull the yarn tail to close the ring tightly.
- Sl st into the first hdc (marked stitch).
Round 1 completed.
Round 2:
- Ch 1.
- Make 1 sc in each stitch around (8 sc total).
- Mark first stitch.
- Skip any leftover stitch from previous round.
- Sl st into the first sc (marked).
- Ch 1, fasten off and cut yarn.
- Cut the yarn tail from the magic ring.
Sepal
Round 1:
- Start with a magic ring.
- Ch 1.
- Make 8 hdc into the ring.
- Mark first hdc.
- Complete total 8 hdc.
- Pull yarn tightly to close.
- Sl st into first hdc.
- Ch 1 to fasten off and cut yarn, leaving a long tail for assembly.
- Pull tail through the center hole.
Petals
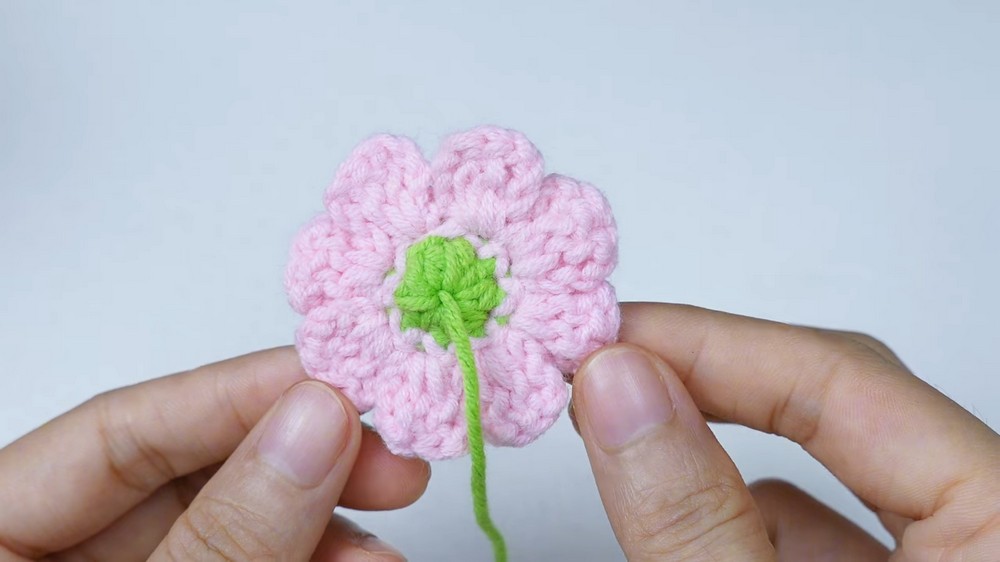
- With desired petal yarn, place stamen and sepal together, wrong sides facing.
- Insert hook into the first stitch of both pieces.
- Pull yarn through. Hide tail inside the work.
- Ch 1.
Round 1:
Make sc through both layers:
- Sc in next st of both layers, repeat for a total 7 sc.
- Mark the first sc.
- Skip any leftover stitches.
- Sl st into first marked sc (make this sl st slightly loose).
Petal Pattern:
Repeat for all petals:
- Ch 3.
- Make 2 dc into the same st:
- Yo, insert into st, yo, pull up loop (3 loops), yo, pull through 2 loops, yo, pull through last two.
- Repeat for second dc.
- Ch 3.
- Sl st back into same st.
Repeat this petal pattern for each of the 8 sc (1 petal per stitch).
- After finishing the last petal, ch 1 to fasten off and cut the yarn.
- Hide yarn tail inside flower.
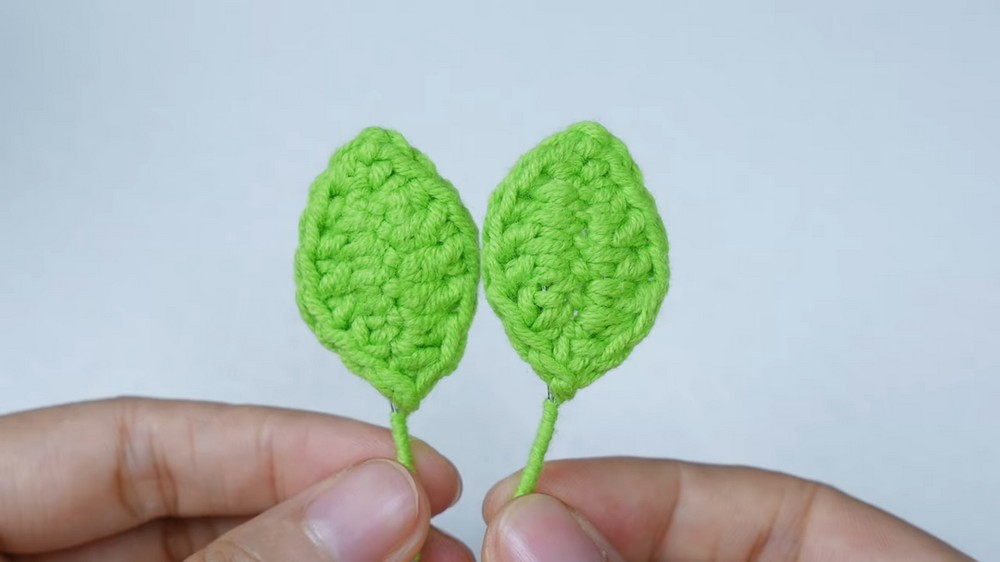
Leaves (Make 2)
- Start with a slip knot.
- Ch 8.
- Prepare 0.5 mm wire, 14 cm long.
- Skip first ch, sc in 2nd ch with wire placed across working yarn (wrap wire as you crochet).
- Hdc in next ch.
- Dc in next ch.
- Dc in next 2 chains.
- Hdc in next ch.
- Sc in last ch.
- Ch 2, sc back into same ch (corner).
- Working along underside of the chain:
- Hdc in next st.
- Dc in next 3 sts.
- Hdc in next st.
- Sc in last st.
- Sl st into first st.
- Ch 1, fasten off and cut yarn.
- Wrap yarn tail around wire and make a knot.
- Cut excess yarn.
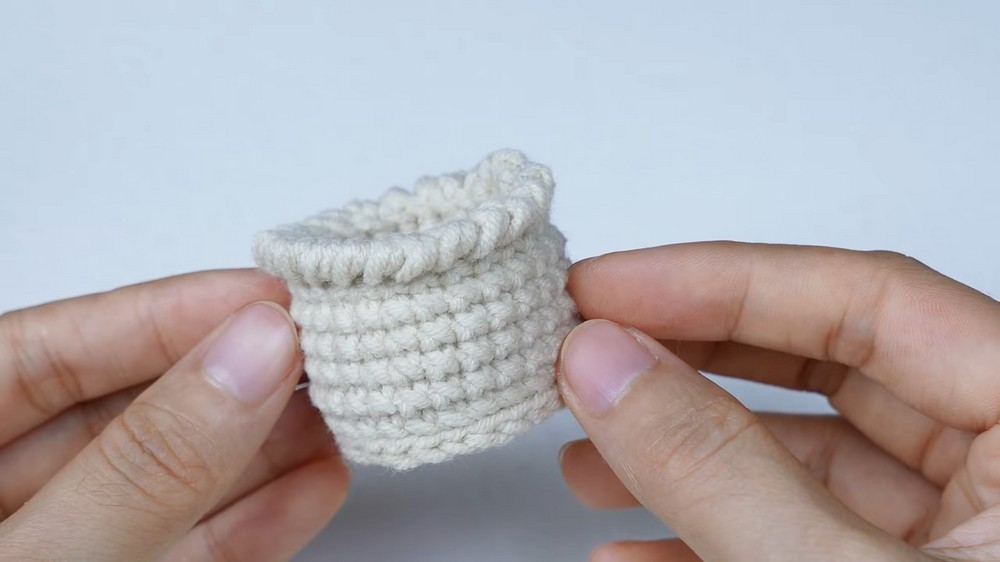
Pot
Round 1:
- Start with a magic ring.
- Make 8 sc into ring.
- Mark first sc.
- Pull yarn tightly to close.
- Sl st into first sc. Round 1 finished.
Round 2:
- Ch 1.
- 2 sc in each st (increase) around—16 sc.
- Mark first st.
- Skip any leftover st.
- Sl st into first marked sc.
Round 3:
- Ch 1.
- Pattern: 1 sc in next st, 2 sc (inc) in next st. Repeat for 7 more times (alternating sc, inc).
- 24 sts by end of round.
- Mark first st.
- Sl st into first sc.
Round 4:
- Ch 1.
- Work 24 sc into back loop only.
- Sl st into first sc.
Rounds 5–9:
- For each round, ch 1, 24 sc in both loops.
- Mark start of round; sl st at the end into beginning st to close.
- Repeat for a total of 5 rounds.
Round 10:
- Ch 1.
- Work into front loop only.
- Make crab stitch (reverse sc) in each st around.
- Fasten off and cut yarn, weave in ends.
Bottom Sl St Edge:
- Insert hook into any loop from round 4 (unused loops).
- Pull new yarn through, ch 1.
- Sl st in same loop, then sl st in each remaining loop around.
- At end, sl st into first sl st, ch 1, fasten off and trim.
- Pull yarn tails inside pot, tie together.
Soil
Round 1:
- Start with magic ring.
- Make 16 sc into ring.
- Pull tight (leave a small hole in center).
- Sl st into first sc.
Round 2:
- Ch 1.
- Pattern: 1 sc in next st, 2 sc (increase) in next st. Repeat for 7 more times (24 sts).
- Sl st into first sc.
- Fasten off and cut, leaving long tail for sewing.
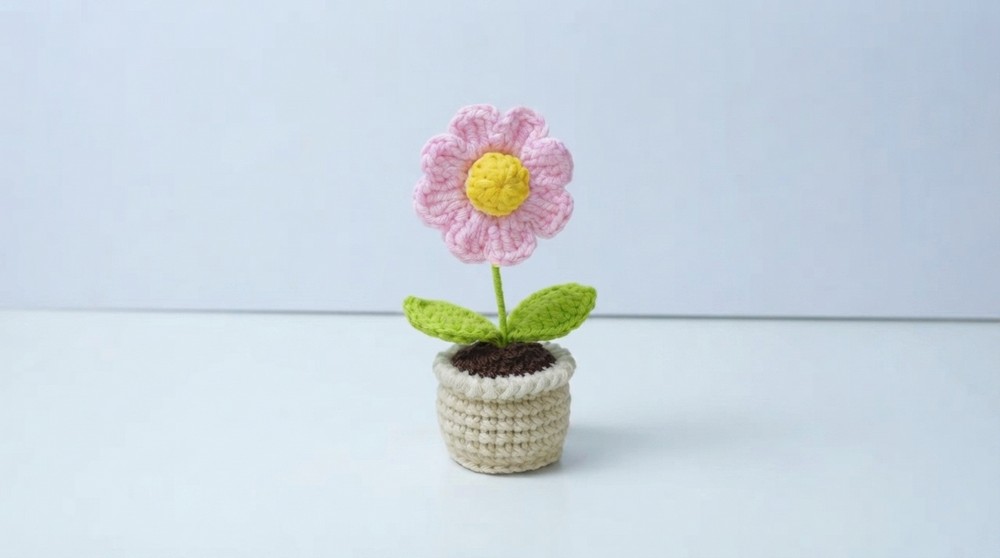
Assembly & Finished Size
- Fill pot with fiber stuffing, shape firmly.
- Place soil piece on top, with small hole in center.
- Use darning needle to sew soil to pot with long tail.
- Sew stitch by stitch, alternating between pot and soil edges.
- Secure, weave in ends.
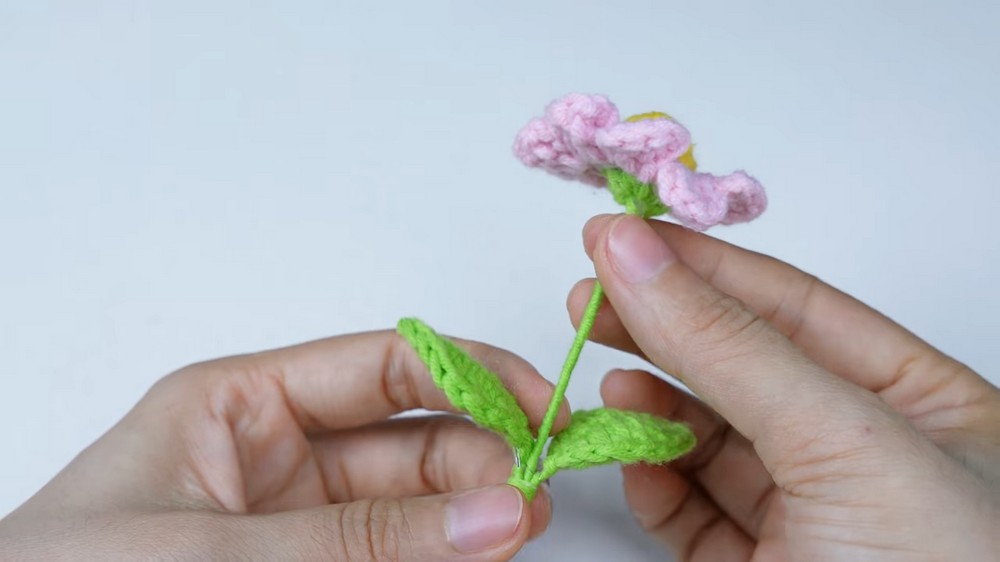
- Prepare 1 mm wire (10 cm) for flower stem. Glue top end, insert through flower center (petal/stamen/sepal).
- Use yarn tail from sepal to wrap around wire; after 5 cm, glue and attach leaves as you wrap.
- Wrap remainder of wire with yarn; glue at end, trim excess wire/yarn.
- Insert stem through hole in soil, adjust for finished display.
Conclusion
This project is perfect for home decoration or as a unique handmade gift. The combination of yarn and wire provides structure and a realistic touch. Feel free to customize colors and flower types.