
Free Crochet Coat For Doctor Pattern With Step By Step Instructions
Refresh your doll's wardrobe by fashioning this chic coat using our detailed pattern to utilize these professional steps to produce a perfectly fitted garment.
I’ve always loved making little outfits for amigurumi characters—it adds such a fun layer of personality to them! Recently, I tried out a free crochet coat for doctor pattern, and it quickly became one of my favorite small projects. This cozy little coat is designed to fit a miniature doll or toy, making it a perfect accessory to showcase your crochet skills while adding charm to your handmade figures.
Crochet Coat Free Pattern For Doctor
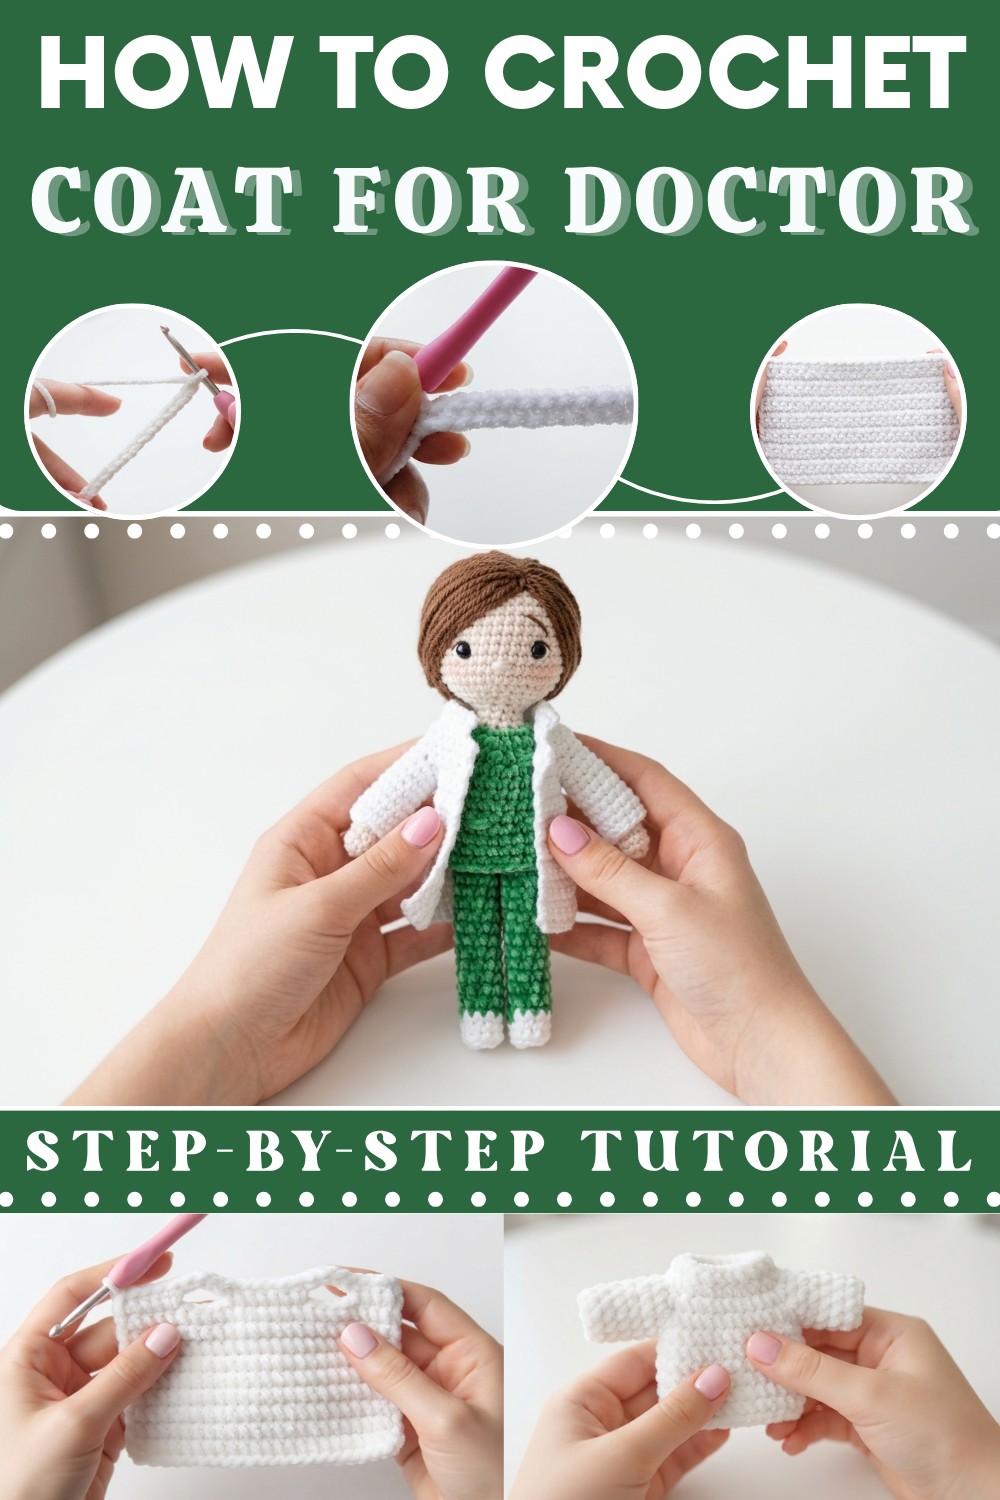
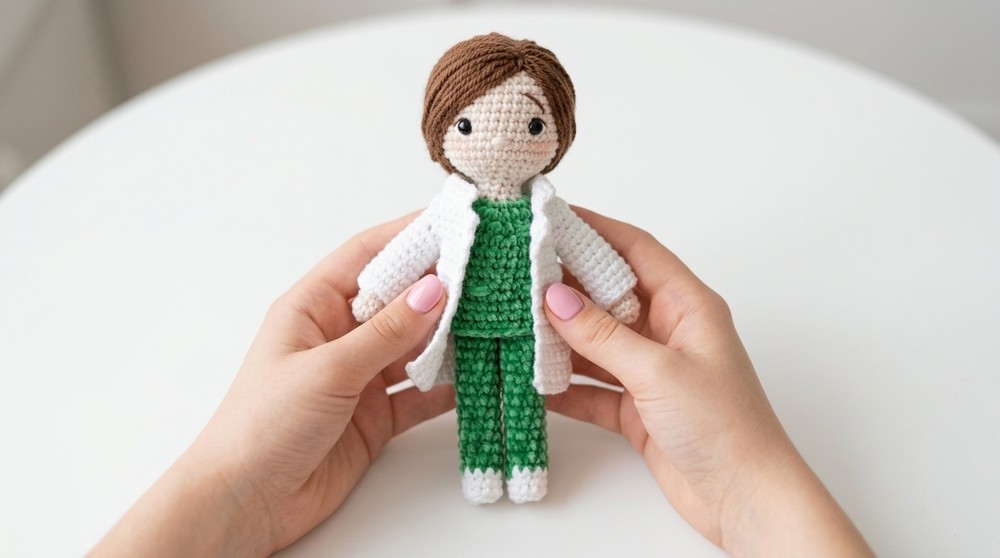
The beauty of this tiny crochet coat lies in its simple yet distinct look. It has a smooth, soft texture thanks to the tight, neat stitches, and the shape is tailored to resemble a classic doctor’s coat with a clean, slightly structured style. What really makes this project stand out are the little details, like the lapels and collar, which give it a realistic and polished finish despite its miniature size. The coat fits snugly over a doll’s body, making the tiny doctor look professional and adorable at the same time.
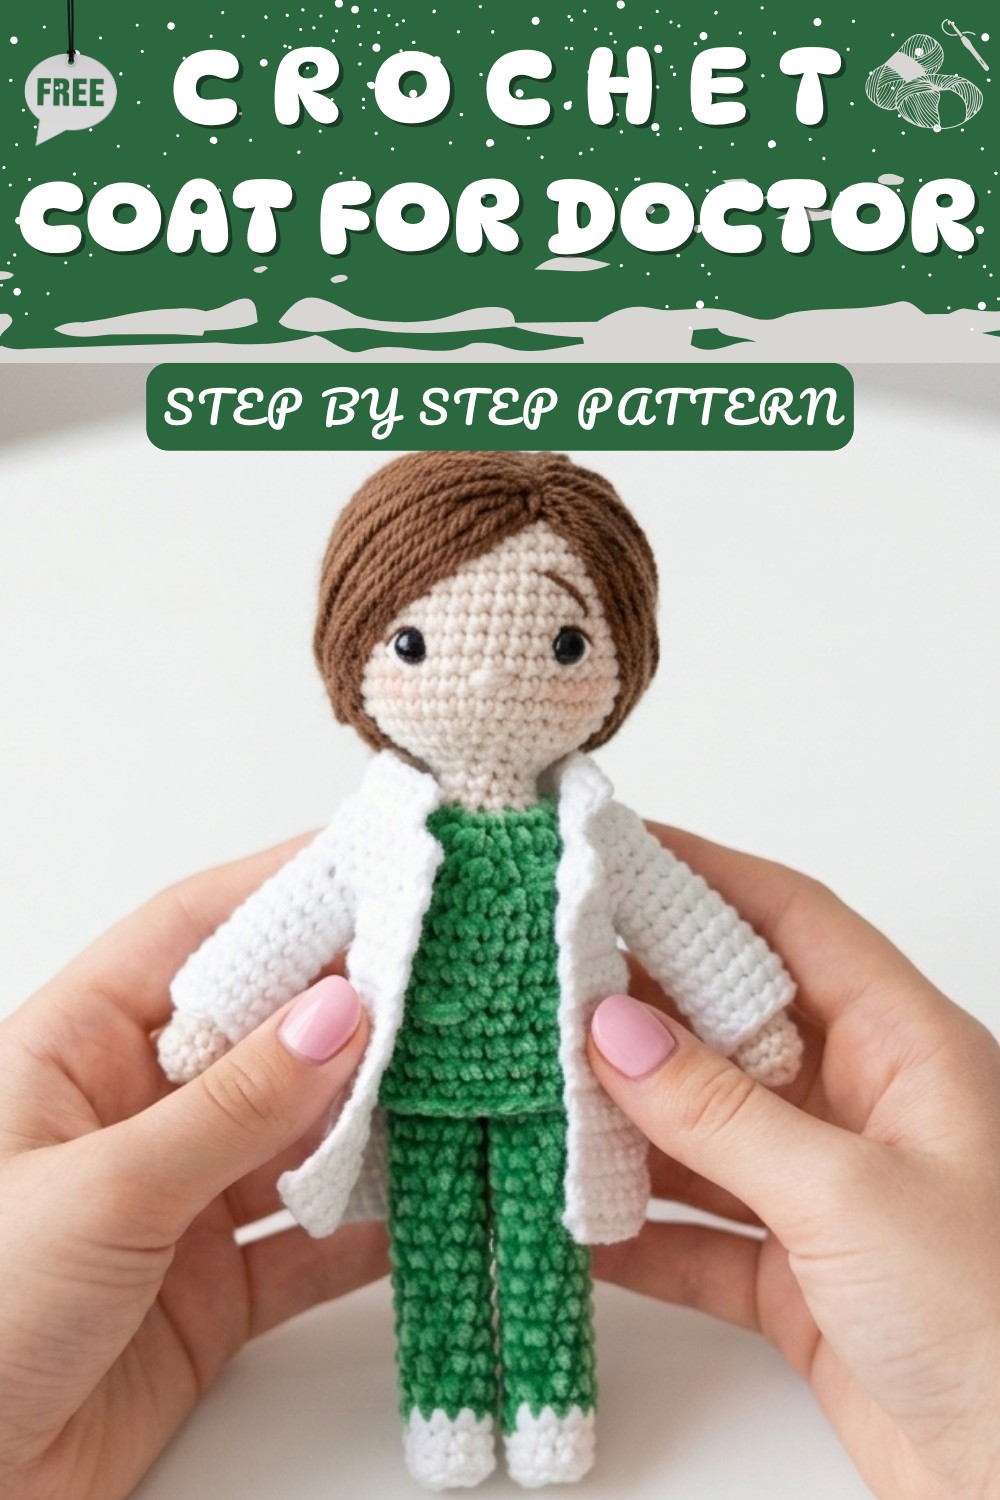
This project is best suited for crocheters with a beginner to intermediate skill level. The main stitch used is usually the single crochet, which creates a dense and sturdy fabric perfect for such a small garment. You’ll also practice simple shaping techniques and seaming, which make the coat fit just right. It’s an excellent way to build confidence working with small details without feeling overwhelmed.
Whether you’re making a gift for a medical professional, a unique decoration, or a collectible wardrobe for your amigurumi dolls, this little crochet coat is both practical and charming. I encourage you to give it a try—if you enjoy cute, wearable projects that add personality to your creations, this one will definitely bring you joy and a sense of accomplishment.
Quick Overview Of Pattern
-
Skill Level: Beginner-friendly.
-
Technique: Primarily utilizes single crochet stitches.
-
Construction: Worked in flat rows for the main body, with sleeves added afterward in rounds.
-
Design: Features built-in armholes and a classic coat structure.
-
Customization: Easily adapted by changing yarn colors to suit the specific personality of your doll.
-
Fit: Designed to fit standard-sized amigurumi dolls effectively.
Notes
-
The chain 1 at the start of the rows is not counted as a stitch. This ensures the edges remain straight and uniform.
-
The project requires a 3mm crochet hook; ensure your tension remains tight so that the underlying stuffing does not show through the garment.
-
Use a stitch marker or a safety pin to track your rounds, especially during the sleeve construction, as precise counting is vital for symmetry.
-
This pattern utilizes standard terminology. If you are new to these terms, take time with each stitch to ensure consistency throughout your work.
-
Cotton yarn is recommended for its crisp definition, which works well for small garments. However, acrylic yarn is a suitable alternative if you prefer a softer, more pliable drape.
-
Always ensure you are working into the correct stitch base when increasing or decreasing to maintain the intended silhouette of the coat.
Skill Level
Beginner. This pattern relies on fundamental stitches and simple shaping, making it an excellent exercise for those refining their foundational skills while working on miniature items. The repetitive nature of the rows assists in building muscle memory.
Materials
-
White cotton yarn (or your preferred color for the doll's attire).
-
3mm crochet hook.
-
Scissors for trimming yarn.
-
Needle for weaving in ends and finishing touches.
-
Safety pin (to function as a stitch marker).
Measurements / Sizing
This coat is designed to fit a standard amigurumi doll. Given the nature of amigurumi sizing, the dimensions are adjustable by modifying the number of starting chains or the total number of rows worked before the armholes. This pattern is optimized for a doll of approximately 5–6 inches in height. If your doll is larger, consider adding a few extra chains to the foundation.
Gauge
For the best results, maintain a consistent tension. You are aiming for a dense fabric that holds its shape. If your stitches appear too loose, consider moving down to a smaller hook size to ensure the coat remains structured. A tight gauge prevents the garment from looking baggy on the doll.
Stitch Abbreviations
-
Ch: Chain
-
SC: Single Crochet
-
Inc: Increase (2 single crochet stitches in the same space)
-
SS: Slip Stitch
-
St/Sts: Stitch/Stitches
Special Stitches
-
Increase (Inc): Working 2 single crochet stitches into a single stitch from the previous row. This technique is used to widen the fabric without requiring complex maneuvers.
The Crochet Pattern!
Main Body (Row 1–Row 16)
-
Row 1:
-
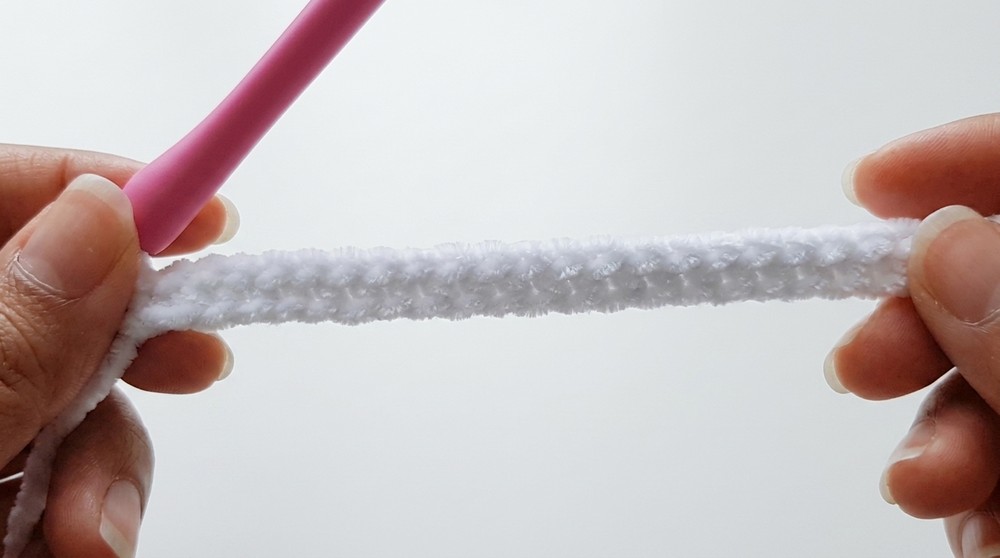
Begin by forming a slipknot on your hook.
-
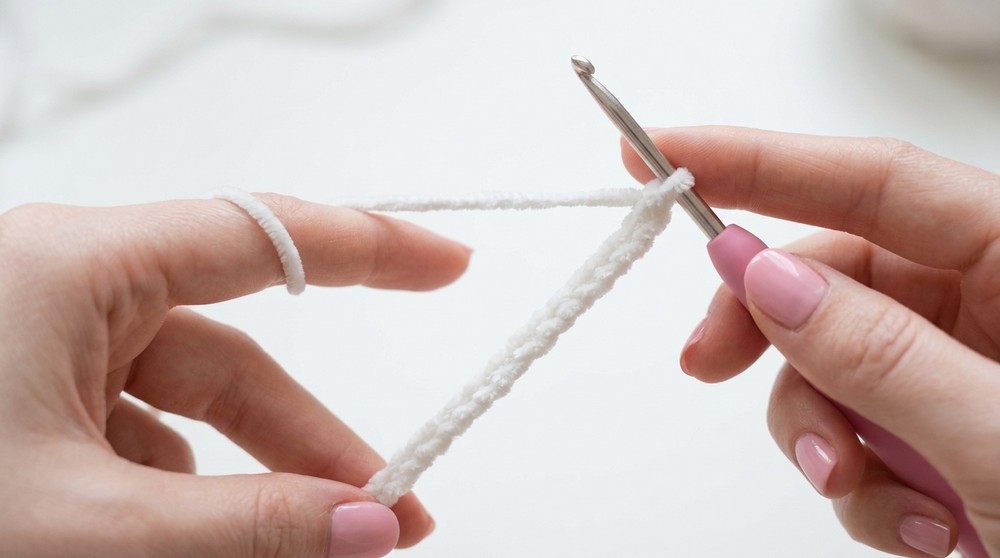
Chain 30 to establish the foundation.
-
-
Row 2:
-
Work 1 single crochet in the second chain from your hook.
-
Continue working 1 single crochet into each chain across the row for a total of 29 single crochet stitches.
-
-
Row 3:
-
Turn your work to begin the next section.
-
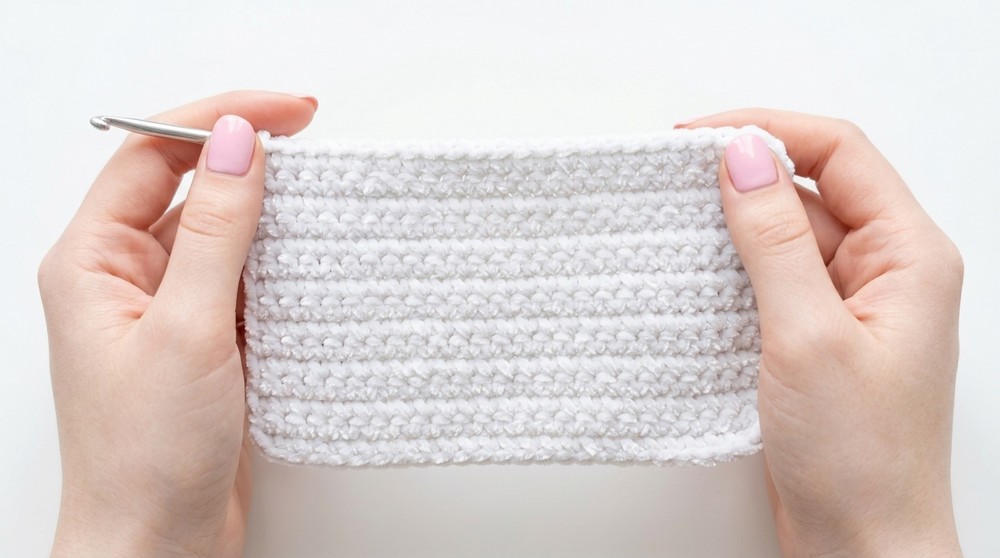
Work 1 single crochet in every stitch across the row, maintaining the count of 29 single crochet stitches.
-
-
Row 4:
-
Turn your work.
-
Work 1 single crochet into each stitch across the row.
-
-
Row 5:
-
Turn your work.
-
Work 1 single crochet in every stitch across the row.
-
-
Row 6:
-
Turn your work.
-
Work 1 single crochet into each stitch across the row.
-
-
Row 7:
-
Turn your work.
-
Work 1 single crochet in every stitch across the row.
-
-
Row 8:
-
Turn your work.
-
Work 1 single crochet into each stitch across the row.
-
-
Row 9:
-
Turn your work.
-
Work 1 single crochet in every stitch across the row.
-
-
Row 10:
-
Turn your work.
-
Work 1 single crochet into each stitch across the row.
-
-
Row 11:
-
Turn your work.
-
Work 1 single crochet in every stitch across the row.
-
-
Row 12:
-
Turn your work.
-
Work 1 single crochet into each stitch across the row.
-
-
Row 13:
-
Turn your work.
-
Work 1 single crochet in every stitch across the row.
-
-
Row 14:
-
Turn your work.
-
Work 1 single crochet into each stitch across the row.
-
-
Row 15:
-
Turn your work.
-
Work 1 single crochet in every stitch across the row.
-
-
Row 16:
-
Turn your work.
-
Work 1 single crochet into each stitch across the row.
-
Armhole Formation (Row 17)
-
Row 17:
-
Turn your work.
-
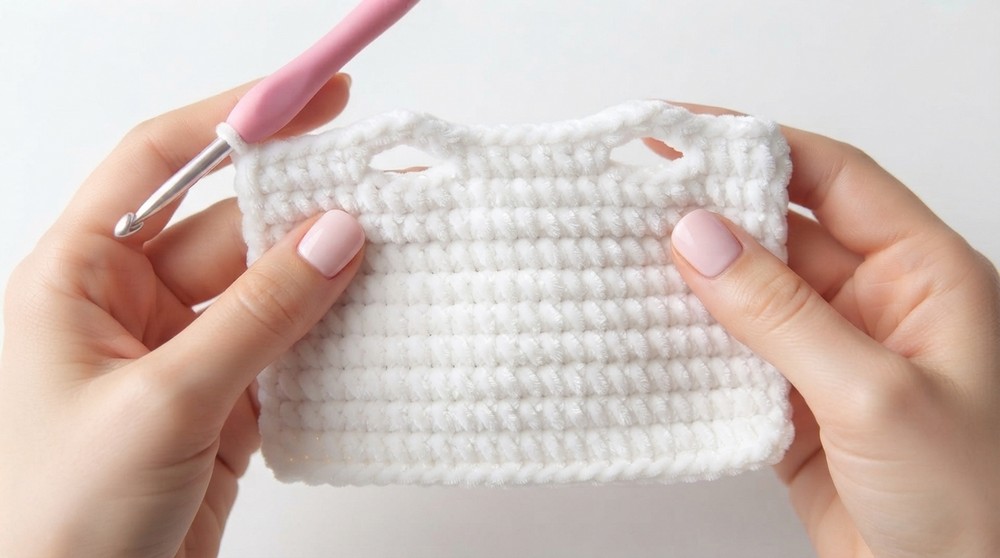
Work 1 single crochet into the next 5 stitches.
-
In the 6th stitch, work an increase (2 single crochet stitches).
-
Chain 5 and skip the next 5 stitches.
-
In the next stitch, work an increase.
-
Work 1 single crochet in the next 5 stitches.
-
In the following stitch, work an increase.
-
Chain 5 and skip the next 5 stitches.
-
In the next stitch, work an increase.
-
Work 1 single crochet in the remaining 5 stitches.
-
Body Continuation (Row 18–Row 19)
-
Row 18:
-
Turn your work.
-
Work 1 single crochet in each of the next 6 stitches.
-
In the 7th stitch, work an increase.
-
Work 5 single crochet stitches into the first armhole chain space.
-
Work 1 single crochet in each stitch across the back section.
-
Work 5 single crochet stitches into the second armhole chain space.
-
Work 1 single crochet in each remaining stitch to the end of the row, totaling 33 single crochet stitches.
-
-
Row 19:
-
Turn your work.
-
Work 1 single crochet in every stitch across the row, maintaining the count of 33 single crochet stitches.
-
Chain 1 and fasten off your yarn, trimming the excess.
-
Bottom Section (Row 20–Row 23)
-
Row 20:
-
Skip the first 3 stitches of the previous row.
-
Insert your hook into the 4th stitch to join your yarn.
-
Chain 1 (this does not count as a stitch).
-
Work 1 single crochet into the first stitch and continue with 1 single crochet in the next 27 stitches.
-
Skip the final 3 stitches at the end of the row.
-
-
Row 21:
-
Turn your work.
-
Work 1 single crochet in every stitch across the row.
-
-
Row 22:
-
Turn your work.
-
Work 1 single crochet in every stitch across the row.
-
-
Row 23:
-
Turn your work.
-
Work 1 single crochet in every stitch across the row.
-
Chain 1 and fasten off.
-
Sleeves
-
Round 1:
-
Insert your hook into the first stitch of the armhole area.
-
Attach your yarn and chain 1.
-
Work 1 single crochet in the same stitch.
-
Work an increase in the next stitch.
-
Work 1 single crochet in the next 5 stitches.
-
Work an increase in the next stitch.
-
Work 1 single crochet in the next 5 stitches.
-
Perform an increase in the 5th stitch (inserting the hook into the stitch base, not the hole).
-
You should now have 15 stitches total; place your stitch marker in the final stitch.
-
-
Round 2:
-
Work 1 single crochet in every stitch around.
-
-
Round 3:
-
Work 1 single crochet in every stitch around.
-
-
Round 4:
-
Work 1 single crochet in every stitch around.
-
-
Round 5:
-
Work 1 single crochet in every stitch around.
-
-
Round 6:
-
Work 1 single crochet in every stitch around.
-
-
Round 7:
-
Work 1 single crochet in every stitch around.
-
-
Round 8:
-
Work 1 single crochet in every stitch around.
-
-
Round 9:
-
Work 1 single crochet in every stitch around.
-
-
Round 10:
-
Work 1 single crochet in every stitch around.
-
Slip stitch into the next stitch, chain 1, and fasten off.
-
-
Repeat:
-
Follow the exact same steps for the second sleeve.
-
Assembly & Finished Size
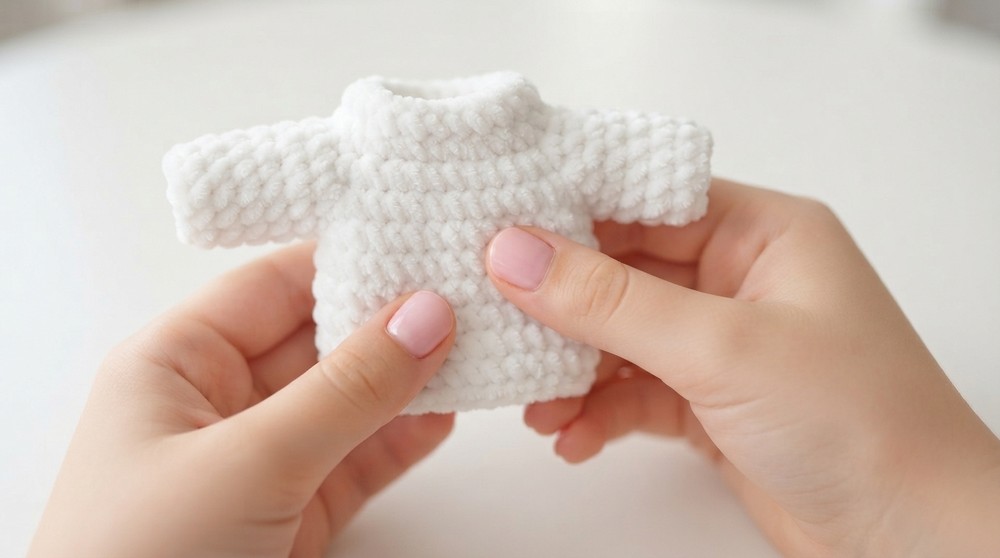
To finalize your project, use your needle to weave in all loose yarn ends, securing them firmly on the inside of the coat. Trim any remaining excess yarn carefully. Inspect the stitches around the armholes to ensure they are tidy and secure, as this area experiences the most tension. The finished coat should provide a structured, professional look that is ready for your doll.
Conclusion and ending words
By following this detailed pattern, you have produced a custom garment that showcases precise stitching and thoughtful construction. Remember that consistent practice is essential for mastering these techniques, and each attempt will yield even more polished results. If you enjoyed this project, consider experimenting with different colors or textures to expand your doll's wardrobe. This exercise serves as a solid foundation for further garment design.