
Easy Free Crochet PRINCESS AURORA AMIGURUMI Pattern to Try
Turn yarn into a fairy tale with this free crochet PRINCESS AURORA AMIGURUMI pattern, making it easy to create a cute and charming sleeping beauty doll!
Crocheting beloved characters is a wonderful way to blend creativity with storytelling, and this project is a perfect example. The free crochet PRINCESS AURORA AMIGURUMI pattern allows you to create a charming soft toy inspired by the classic fairy tale princess. With small adjustments like changing hair color or dress design, you can easily turn this pattern to make other princesses or fantasy dolls.
Adorable Free Crochet PRINCESS AURORA AMIGURUMI Pattern
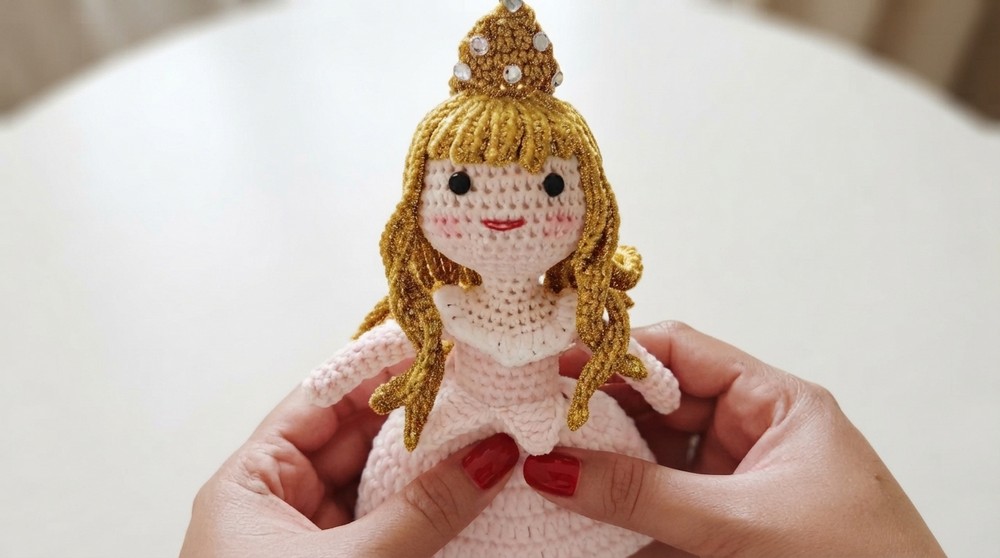
This Princess Aurora amigurumi features flowing golden hair and a delicate pink gown that really brings out her royal elegance. The texture is smooth and soft thanks to tight, even stitches that give the doll a well-defined shape. Her round face and slender body capture the gentle and graceful style of the character. Key design details such as the cascading hair and tiny crown add a distinctive fairy tale touch, making this doll both eye-catching and adorable.
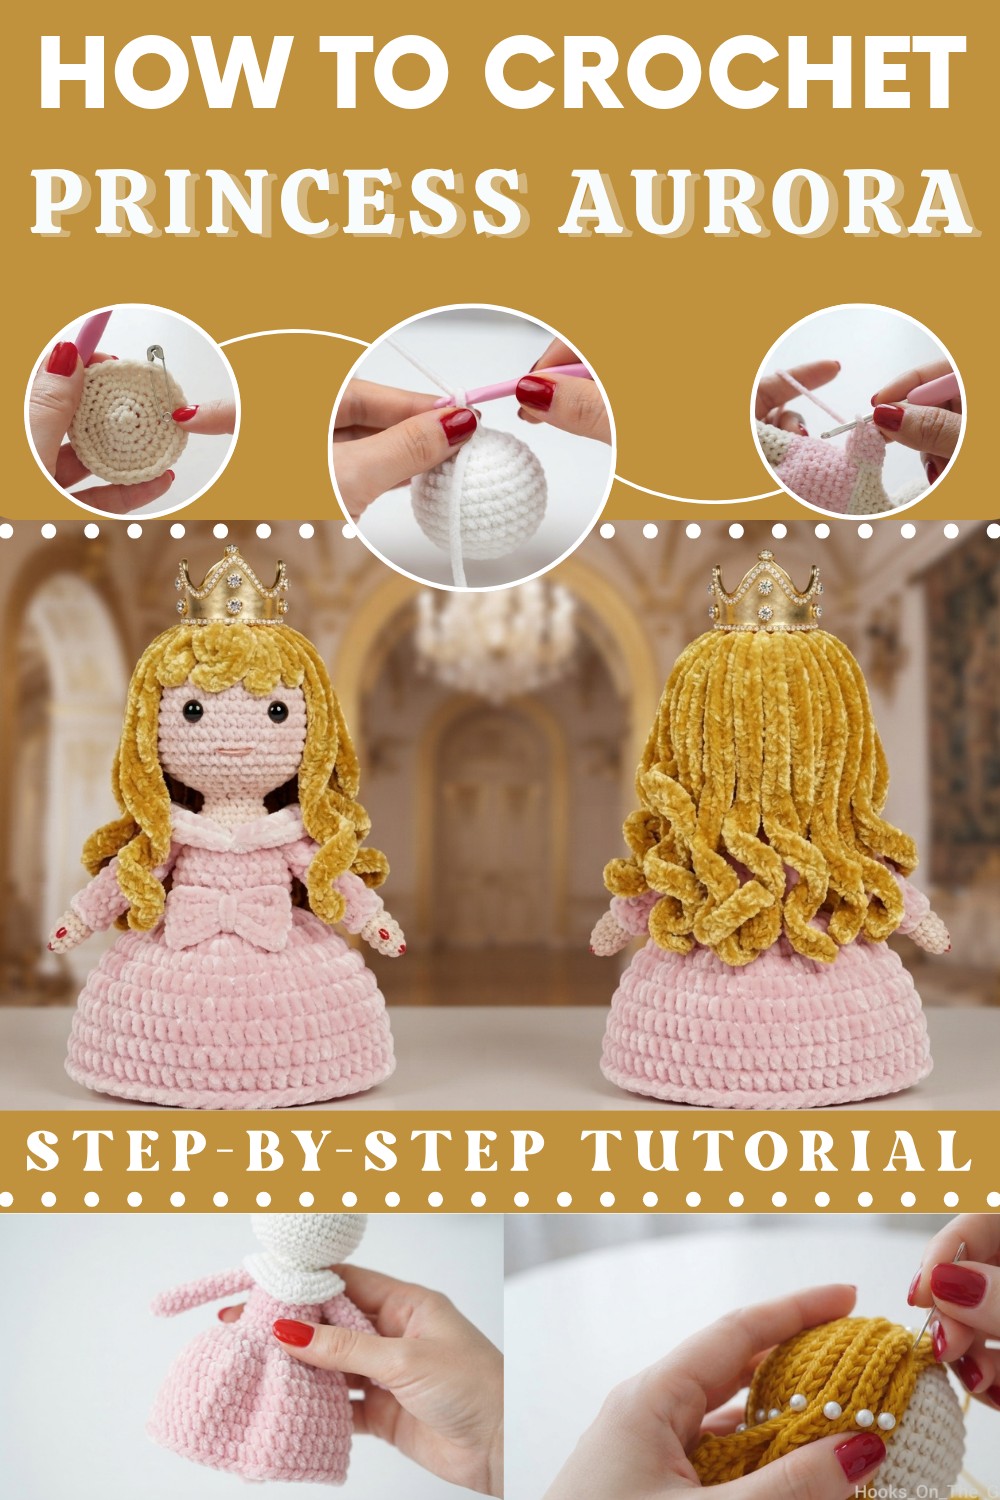
Suitable for crocheters with some basic experience, this pattern mainly uses the single crochet stitch worked in continuous rounds, which helps create a seamless and smooth shape. If you have made simple amigurumi or stuffed animals before, this project offers a nice balance of simple shaping and lovely details like hair and outfit embellishments that bring the character to life.

This amigurumi makes a delightful gift for children or fairy tale fans, a sweet decoration for a nursery or bedroom, and a unique addition to any crocheter’s collection. If you enjoy creating character dolls that are colorful, charming, and full of personality, this Princess Aurora crochet pattern is an excellent and rewarding project to try.

Amigurumi Princess Aurora (Sleeping Beauty) – Crochet Pattern
This amigurumi Princess Aurora is a charming, detailed doll featuring her iconic pink ballgown, flowing golden hair, and elegant crown. Crafted seamlessly in continuous rounds for the head and body, the arms, skirt, upper clothing, hair, and crown are added for a complete look. Follow this clear, structured pattern to create your own magical keepsake for play or display!
Pattern Notes
- All rounds are worked in a continuous spiral; do not join or turn unless directed.
- Use a stitch marker to mark the last stitch of each round and move it up each round.
- The body, head, and limbs are worked in one piece—attachments are added separately for styling.
- Stuff as you go, especially at narrowing points.
- When working increases, always put 2 single crochet (sc) in the indicated stitch.
- Invisible decreases are recommended for best results.
- Color changes: Always finish the last st of previous color with the new color for a neat join.
- Sizes can vary depending on yarn and tension/hook; gauge is not critical.
Skill Level
Advanced Beginner to Intermediate
You need to know how to work basic amigurumi increases and decreases in the round, color changes, and some elementary sewing/assembly.
Materials
- Cotton yarn: skin tone, white, light pink, yellow-mustard
- 3 mm crochet hook
- Toy stuffing (polyester fiberfill)
- Safety eyes (small size)
- Safety pin (stitch marker)
- Embroidery needle and scissors
Measurements / Sizing
- Finished doll measures approx. 18–22 cm (7–9 in) tall
- Varies with yarn and tension
Gauge
- Not critical for this project; just ensure your stitches are tight enough to prevent stuffing from showing through.
- Example: 10 sc x 10 rows = 4 cm x 4 cm with 3 mm hook.
Stitch Abbreviations
- sc = single crochet
- inc = increase (2 sc in the same stitch)
- dec = decrease (invisible decrease recommended)
- hdc = half double crochet
- dc = double crochet
- tr = treble crochet
- MR = magic ring
- ch = chain
- sl st = slip stitch
- BLO = back loop only
- FLO = front loop only
- FO = fasten off
Special Stitches
- Invisible Decrease: Insert hook in the front loops of the next two stitches, yarn over, pull through both loops, yarn over, pull through remaining two loops.
- Color Change: On the last yarn-over of the last st in old color, switch to new color and finish stitch.
The Crochet Pattern
HEAD
With skin tone yarn:
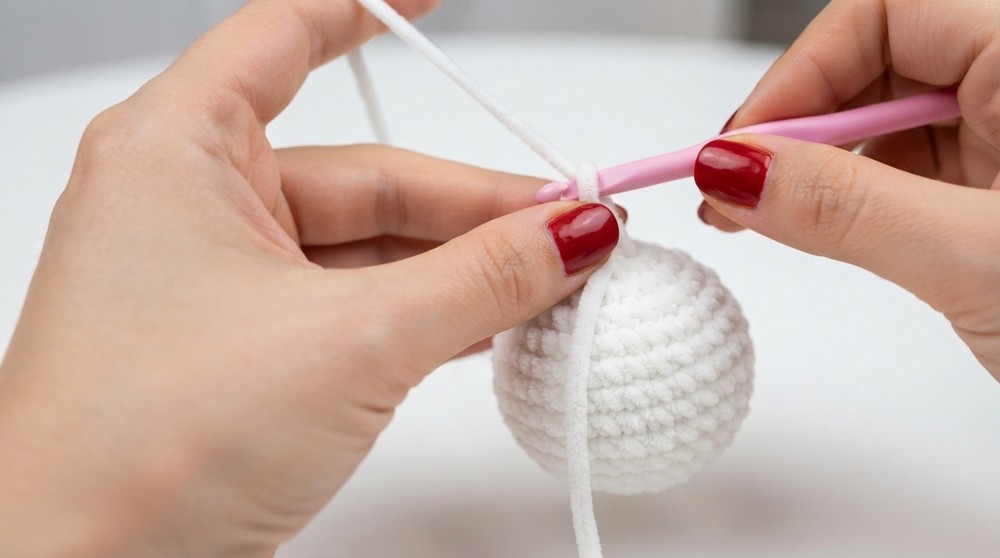
- MR, ch 1, 6 sc in ring (6)
- Inc in each st around (12)
- (Sc, inc) around (18)
- (Sc in next 2, inc) around (24)
- (Sc in next 3, inc) around (30)
- (Sc in next 4, inc) around (36)
- (Sc in next 5, inc) around (42)
8–12. Sc in each st (42 sts, 5 rounds)

Shaping:
13. (Sc in 5, dec) around (36)
- (Sc in 4, dec) around (30)
- (Sc in 3, dec) around (24)
- (Sc in 2, dec) around (18) – Start stuffing head
- (Sc, dec) around (12) – Add more stuffing
NECK
18–20. Sc in each st (12)
21. (Sc, inc) around (18)
- (Sc in 2, inc) around (24)

UPPER BODY & BODICE
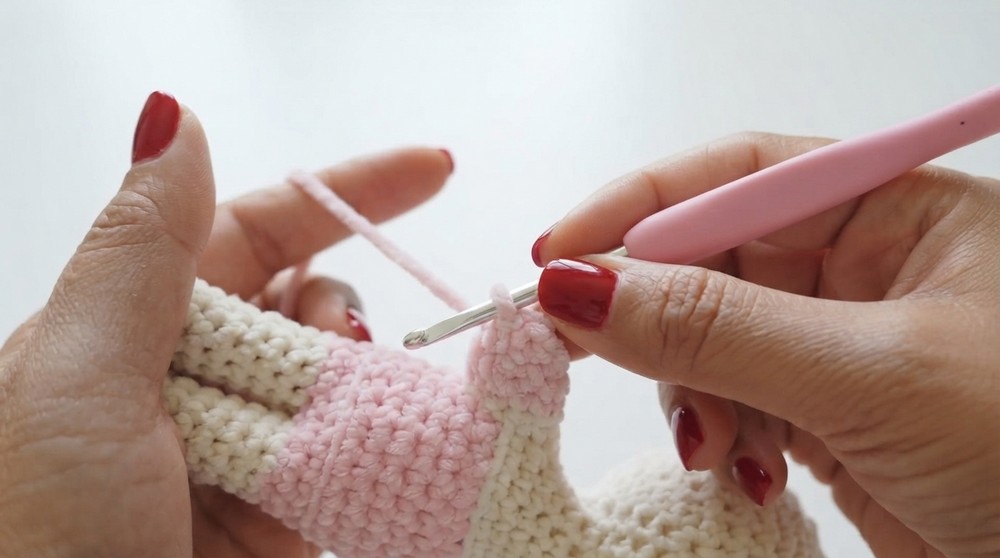
- Change to white yarn. (Sc in 3, inc) around (30)
- Change to dark pink, work in BLO. (Sc in 4, inc) around (36)
- Cut previous color, place stitch marker

ARM PARTITION
- Fold flat; place markers for each arm opening of 8 stitches
- Body between arms: 20 sts
BODY
25–29. Sc in each st (20), both loops; 5 rounds
30. Sc in BLO of each st (20)
- Sc in each st (20) – Stuff body firmly
LEG PARTITION & LEGS
Change to skin tone:
- Divide 20 sts into 2 legs (10 each).
For each leg:
- 1st round: sc in 10 leg sts
- 2–12. Sc in each st (10 for 12 rounds)
- Change to dark pink for shoes:
- 13–15. Sc in each st (10, 3 rounds)
- Optional: Insert pipe cleaner or finish stuffing.
- FO, sew closed with needle.
ARMS (Make 2)
Attach light pink in first armhole, ch 1:
1–12. Sc in each st (8)
- Optional: Insert pipe cleaner after stuffing.
- FO, sew ends closed.
UPPER CLOTHES
With white yarn and FLO of round 23 (top body):
- Join in any st, ch 2 (not counted), dc in each st around (30 dc)
- Sl st to join, FO, hide ends.
SKIRT
With dark pink, join to FLO of round 24 (waist/skirt base):
- Ch 2, dc in same st, dc inc in next, dc in next repeat around (30 dc), sl st join
- Ch 2, (dc in each of next 2, dc inc in next) repeat (40 dc), sl st
- Ch 2, (dc in next 3, dc inc in next) repeat (50 dc), sl st
4–7. Ch 2, dc in each st around (50 dc, 4 rounds), sl st each round, FO.
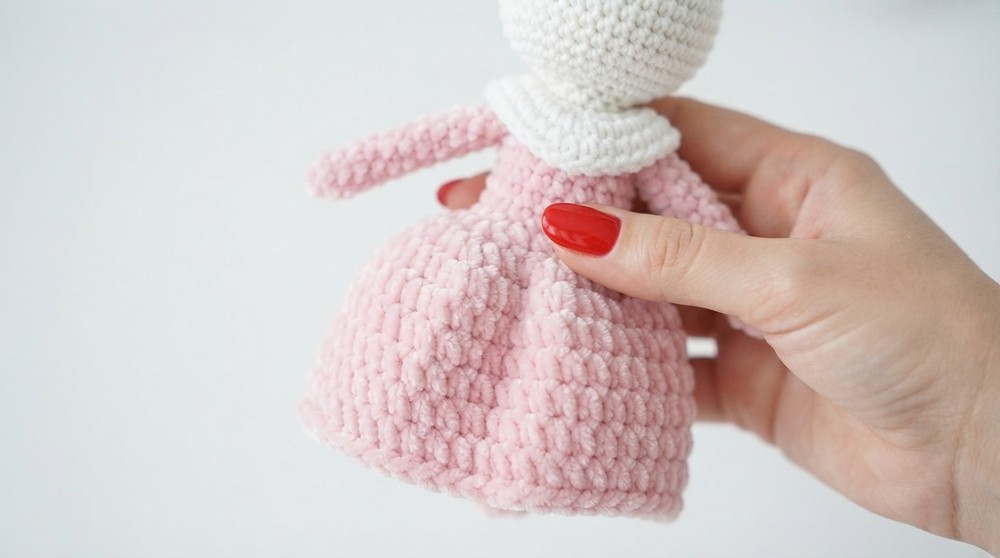
SKIRT DECORATION
With light pink, join at top of skirt:
Work 4 times for 4 triangles:
- Join, ch 7, sl st in 2nd ch from hook,
sc next, hdc next, dc next,
tr in next 2, skip 4 sts of skirt, sl st to join. - Repeat to create 4 points evenly spaced around skirt.
HAIR
With yellow-mustard, make 20 long strands (ch approx. 25, work back with sl st).
- Sew 10 strands on each side of the center scalp.
- Add optional 5 shorter bangs at front and sew down.
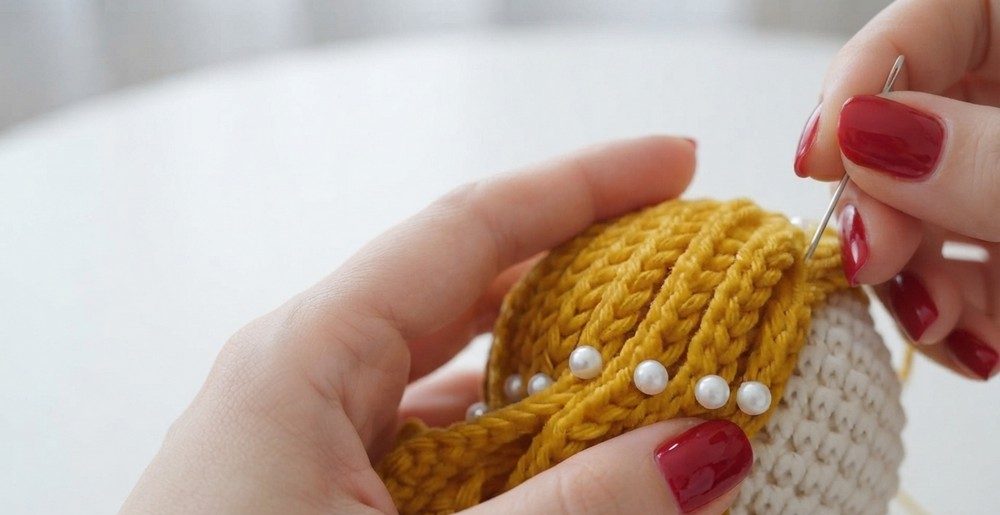
CROWN
With yellow:
- Ch to fit around head, sl st to join
- 2 rounds of sc, then work simple "points" as: (sc, ch 2, sc in same st) in every 3rd st.
- Optionally, sew on a diamond bead/gem.
ASSEMBLY & FINISHED SIZE
- Stuff all limbs, head, and body firmly.
- Attach arms and legs as marked.
- Attach hair strands then bangs at front.
- Sew on the completed crown.
- Glue or place safety eyes on face; embroider mouth and details as desired.
- Weave in/hide all ends.
- Finished doll is approx. 18–22 cm (7–9 in).
Quick Pattern Overview for Beginners
- Crochet head, shape with increases/decreases, and work down to neck and body as one piece.
- Change colors for clothes, work arms and legs directly from arm/leg holes.
- Make skirt and decorations by joining in skipped loops.
- Add hair by sewing on chains, create bangs, and add a crochet crown.
- Stuff firmly throughout, sew closed, and assemble details.