
How to Crochet Mini Turtle Keychain With this Easy Pattern
Bring a smile to your day with this free crochet mini turtle keychain pattern, offering simple steps to create a playful and adorable handmade charm.
Small handmade items have a way of brightening up everyday things, and one project I really enjoy is the free crochet mini turtle keychain pattern. This adorable little turtle keychain is perfect for adding a touch of charm to your keys, backpack, or purse. With just a few simple changes—like switching up the yarn colors or adjusting the shape, you can also create other animal keychains or cute little charms using this versatile pattern.
Free Crochet Mini Turtle Keychain Pattern You’ll Love
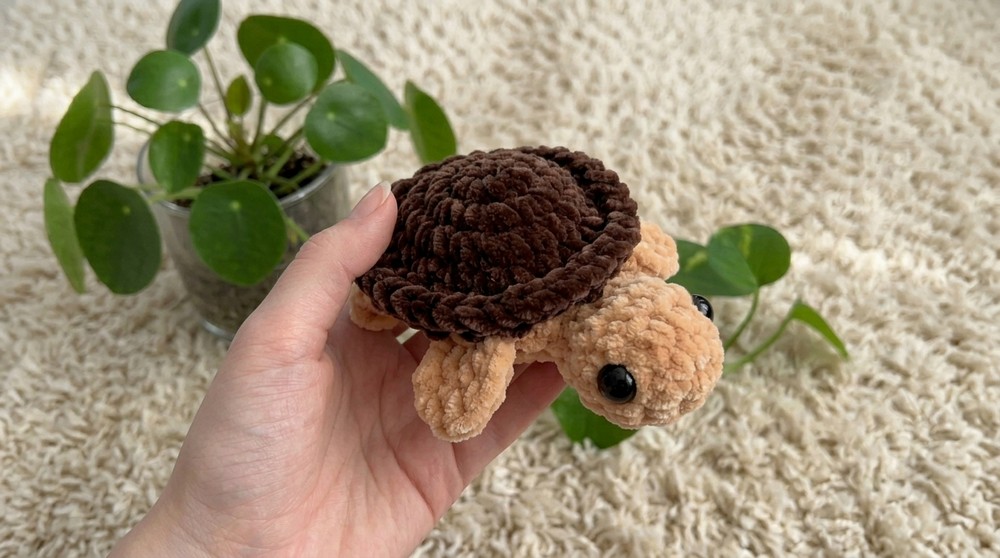
The mini turtle features a round, textured shell and tiny legs that give it a soft, cuddly look. Its detailed stitches create a beautiful surface pattern that makes the keychain stand out. Compact and lightweight, it’s comfortable to hold and easy to carry around. The friendly shape of the turtle, with its small head and limbs, adds personality and makes this keychain a delightful accessory for everyday use.
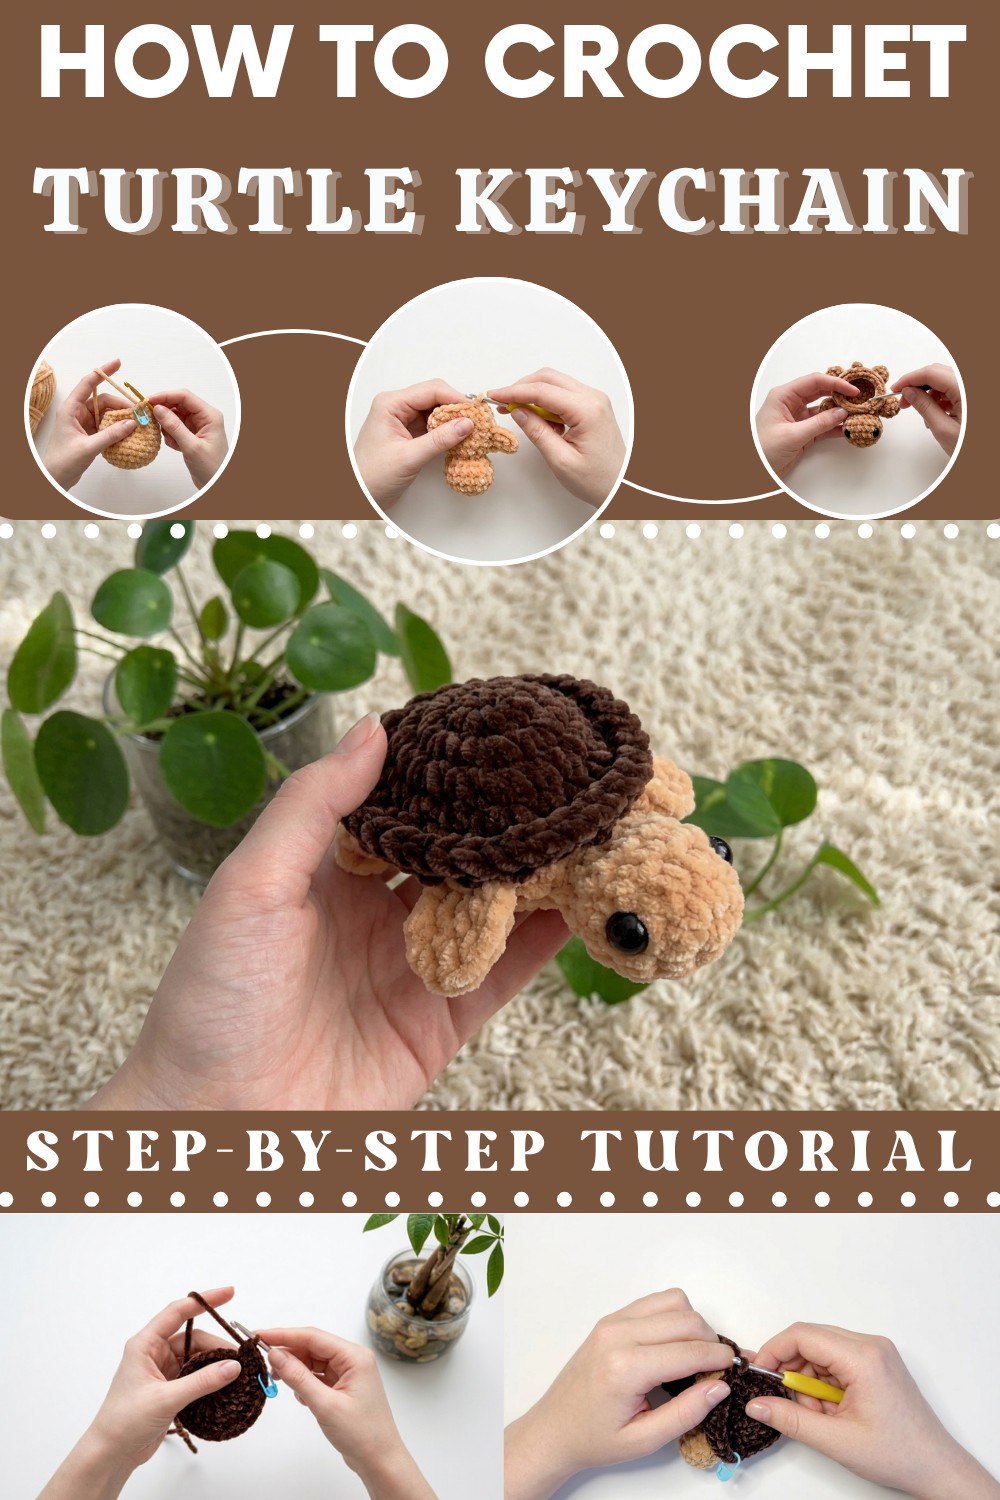
This project is beginner-friendly since it mainly uses the single crochet stitch, worked in rounds to build the shell and body parts. The pattern instructions are clear and simple, helping even new crocheters finish a neat and cute keychain without difficulty. It’s a great way to practice basic stitches while creating something fun and practical.
Once completed, this crochet mini turtle keychain works wonderfully as a thoughtful handmade gift, a decorative item, or a collectible piece to add to your keychain collection. If you’re looking for a small project that’s both rewarding and enjoyable, this free crochet mini turtle keychain pattern could be just what you need to spark your creativity and brighten your day.
Mini Crochet Turtle Keychain Pattern
Crochet a whimsical mini turtle keychain, perfect for gifts, backpacks, or your own set of keys! This project uses sturdy yarn in two colors, basic amigurumi skills, and playful details like safety eyes and tiny feet for a charming and sturdy finished accessory. The entire turtle is assembled in the round and features detailed construction for its head, body with legs and tail, and a classic shell.
Pattern Notes
- This pattern is worked mainly in spirals/continuous rounds. Use a stitch marker or scrap piece of yarn to mark the first stitch of each round.
- All color changes and joining are noted in the steps. Feel free to adjust yarn colors for your own unique turtle.
- Safety eyes are recommended but can be replaced by embroidered eyes for younger children.
- Lightly stuff as you work—especially the head and shell.
- Directions include joining as you go, creating a seamless look for limbs and shell.
Skill Level
Beginner to Advanced Beginner:
You should be familiar with basic crochet stitches (chains, slip stitch, single crochet, increases, and decreases), working in the round, and basic sewing/assembly techniques.
Materials
- Yarn: Sturdy, medium-weight acrylic or cotton in light brown (main), Chocolate brown (shell), plus a scrap of color for detail if desired.
- Hook: 5 mm (H-8) crochet hook
- Safety Eyes: 8–10 mm diameter (1 pair)
- Fiberfill/stuffing
- Keychain hardware
- Tapestry/yarn needle
- Small, sharp scissors
- Optional: Lighter/hot tool for melting safety eye backs
Measurements / Sizing
- Turtle head diameter: approx. 3 cm (1.25")
- Turtle body length with shell: approx. 5.5–6 cm (2.25")
- Finished turtle with keyring: approx. 7–8 cm (3") long
- Leg span: about 4–4.5 cm (1.5–1.75") across
Gauge (and Stitch Pattern)
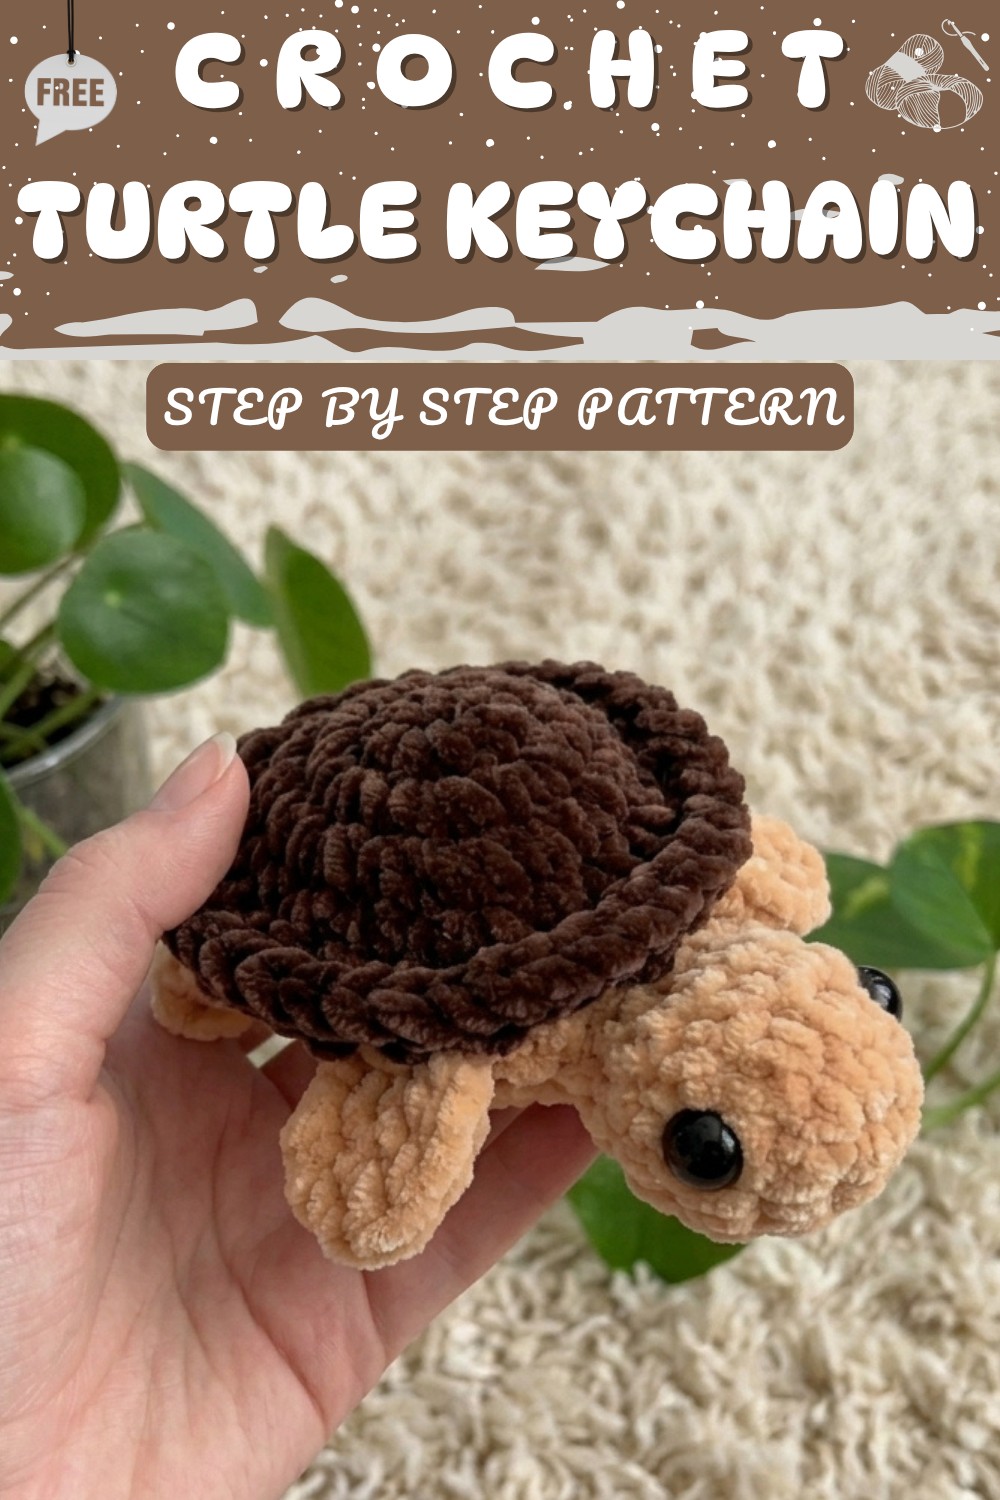
- Gauge: Not crucial for amigurumi; ensure stitches are tight enough to hold stuffing, approx. 5–6 sc x 7–8 rows in a 2.5 cm (1 in) square.
- Stitch Pattern: All worked in single crochet unless otherwise specified.
Stitch Abbreviations
| Abbreviation | Meaning |
|---|---|
| MR | Magic ring (adjustable ring) |
| ch | Chain |
| st(s) | Stitch(es) |
| sc | Single crochet |
| sl st | Slip stitch |
| hdc | Half double crochet |
| dc | Double crochet |
| tr | Treble (triple) crochet |
| inc | Increase (2 sc in one st) |
| dec | Decrease (sc 2 sts together) |
Special Stitches
- Magic Ring (MR): Wrap yarn into a loop, insert hook, pull up a loop, ch 1 (does NOT count as st), then work stitches into the ring. Pull tight to close.
- Invisible Decrease (inv dec): Insert hook into front loop only of next two sts, yarn over, pull through both, yarn over, pull through remaining two loops.
- Joining Head/Body as You Go: When instructed, you will crochet through both the body and head stitches to attach seamlessly.
The Crochet Pattern!
Turtle Head (light brown)
- Round 1: MR, 6 sc into ring. (6)
- Round 2: Inc in each st around. (12)
- Rounds 3–4: Sc in each st around. (12 per round)
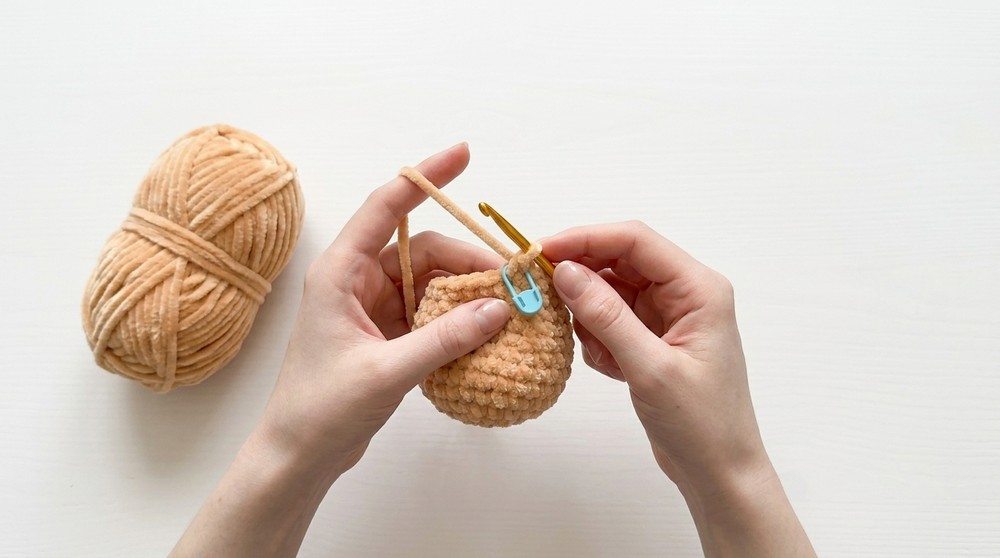
⮞ Place safety eyes between rounds 2 and 3, about 5 stitches apart. Fasten securely. For extra safety, melt the posts' plastic backs or glue lightly after attaching.
At this point, you have a small sphere. Position safety eyes before continuing.
- Round 5: Dec in each st around. (6)
- Fasten off. Stuff head gently and weave in end.
Body (light brown)
- Round 1: MR, 8 sc into ring. (8)
- Round 2: Inc in each st around. (16)
- Round 3: Sc in next 7, inc in next—repeat this sequence twice. (18)
- Round 4:
- Sc in next 3 sts, then join head: Sc through both body and head for next 3 sts.
- Continue with 1 sc in next st, front loop only of next st: (sl st, ch 1, hdc, dc, tr, ch 3, sl st) into the same st (makes first leg).
- 3 sc, front loop only of next st: (sl st, ch 2, dc, ch 2, sl st) (second leg).
- Front loop only of next st: (sl st, ch 2, sl st) (tail).
- 1 sc, front loop only of next st: (sl st, ch 2, dc, ch 2, sl st) (third leg).
- 3 sc, front loop only of next st: (sl st, ch 3, tr, dc, hdc, ch 1, sl st) (fourth leg).
- 1 sc.
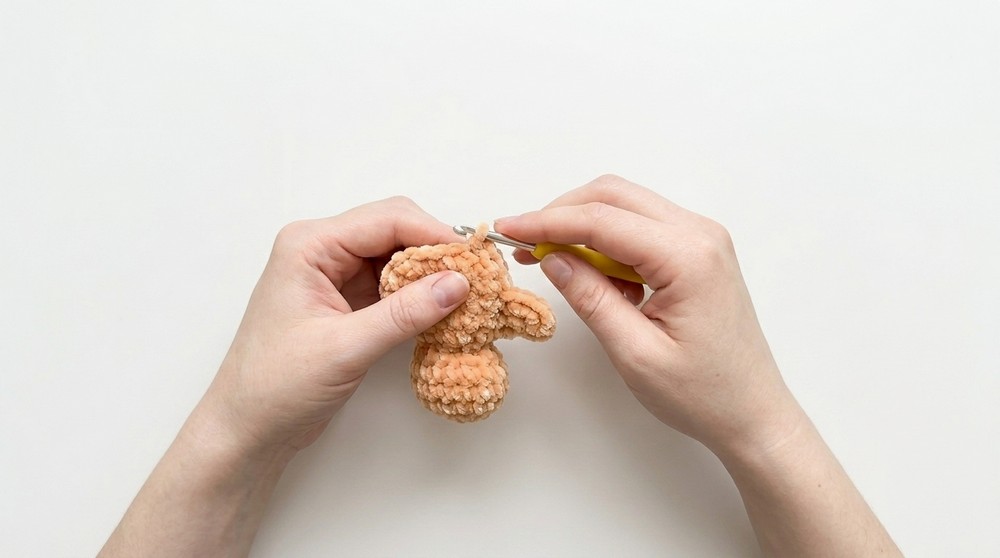
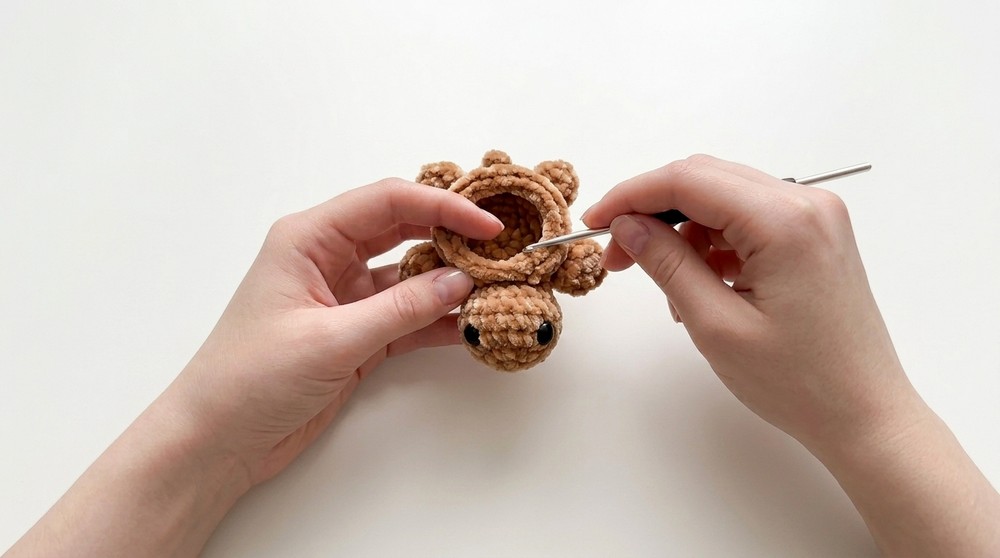
⮞ Take care to work each limb/tail into a front loop only stitch, following the listed order for legs and tail for the turtle’s symmetry and shaping.
- Round 5:
- Working in back loops only, sc in each st around to reinforce the shell base and keep legs/tail at the front. Fasten off.
Turtle Shell (Chocolate brown)
- Round 1: MR, 6 sc in ring. (6)
- Round 2: Inc in each st around. (12)
- Round 3: Sc in next st, inc—repeat around. (18)
- Round 4: Sc around. (18)
- Round 5:
- Hold body and shell with backsides facing, work (inc in each st around) while joining shell to the turtle: 18 times—(36 sts).
- Before closing opening completely, stuff turtle shell firmly.
- Fasten off, weave in ends.
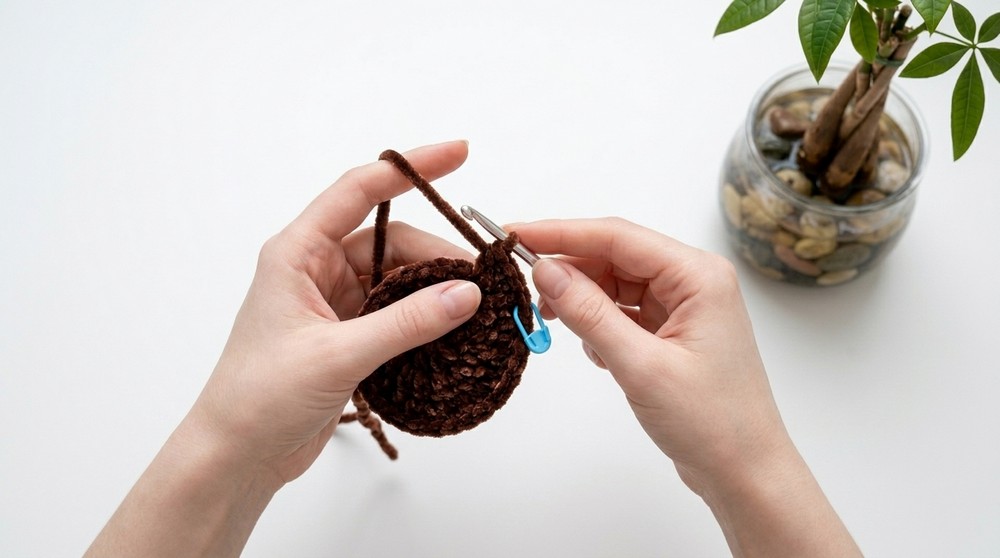
JOIN BODY & SHELL
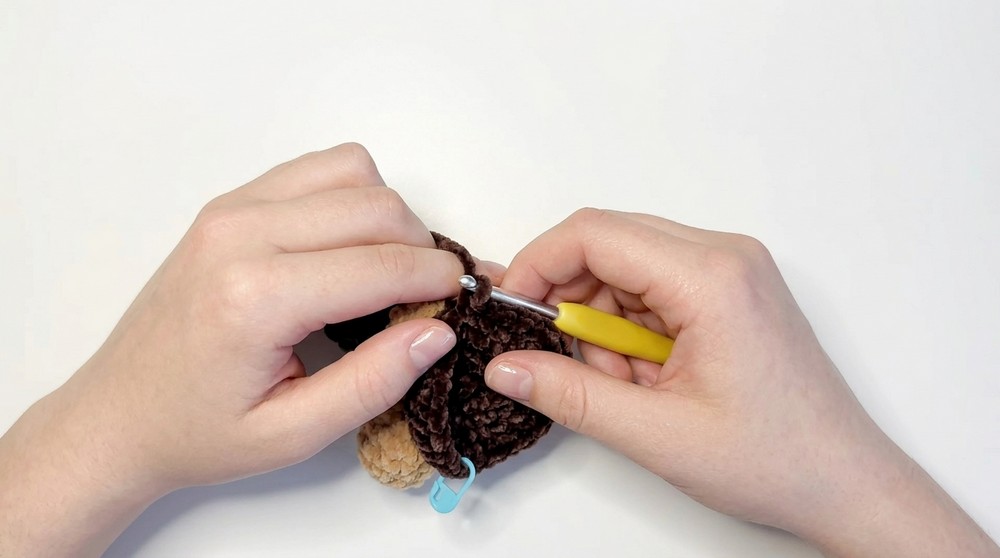
- Hold the body (with legs/tail) and shell backsides together. Insert hook through both BL of body and normal loop of shell.
- Round 5: (inc in each st around) — crocheting the shell and body together as you go (36 total, i.e., 18 pairs of stitches joined with 2 sc in each pair).
- Before closing the seam, stuff the body and shell firmly.
- Join last st, cut yarn, FO, and use yarn needle to weave end and close the opening securely.
Assembly & Finished Size
- Sew in all ends, make sure stuffing is even and firm but not bursting through stitches.
- Attach keyring hardware securely to the back of the shell (through a sc stitch or using a small jump ring).
- Finished turtle size: about 5–6 cm (2–2.5") not including the keychain ring.
- Gently shape feet and tail legs outward for even cuteness and balance.
Now your adorable mini turtle keychain is complete!
With detailed shaping in each step—legs, tail, and facial features—this project produces a sturdy, expressive accessory. You can play with color for the shell, embroider extra details, or add a little blush for personality. This turtle is quickly made, and you might want to crochet a whole fleet for yourself and friends.