
Free Crochet Cherry Keychain Pattern with Leaf Detail
Make a sweet piece with this free crochet cherry keychain pattern, featuring simple instructions to create a fun, handmade charm for everyday use.
I enjoy making small crochet projects that are quick, fun, and useful. One excellent example is the free crochet cherry keychain pattern. This pattern lets you create a cute little keychain that adds a pop of color to your keys, bags, or even zippers. You can also use it to make other fruit-themed charms or mini accessories by changing the colors or adding a few details, so you can easily customize it to your liking.
Cute and Quick Free Crochet Cherry Keychain Pattern
The cherry keychain is bright and cheerful with its red cherries and soft green leaves. It has a round shape and smooth texture that feels nice to hold. The design is simple but stands out because of the tiny leaves and stems, which give it a natural look. You can use it as a fun decoration on your backpack, hang it on your keys, or even attach it to a pencil case. Its playful and stylish style makes it a great gift or a cute addition to your personal items.
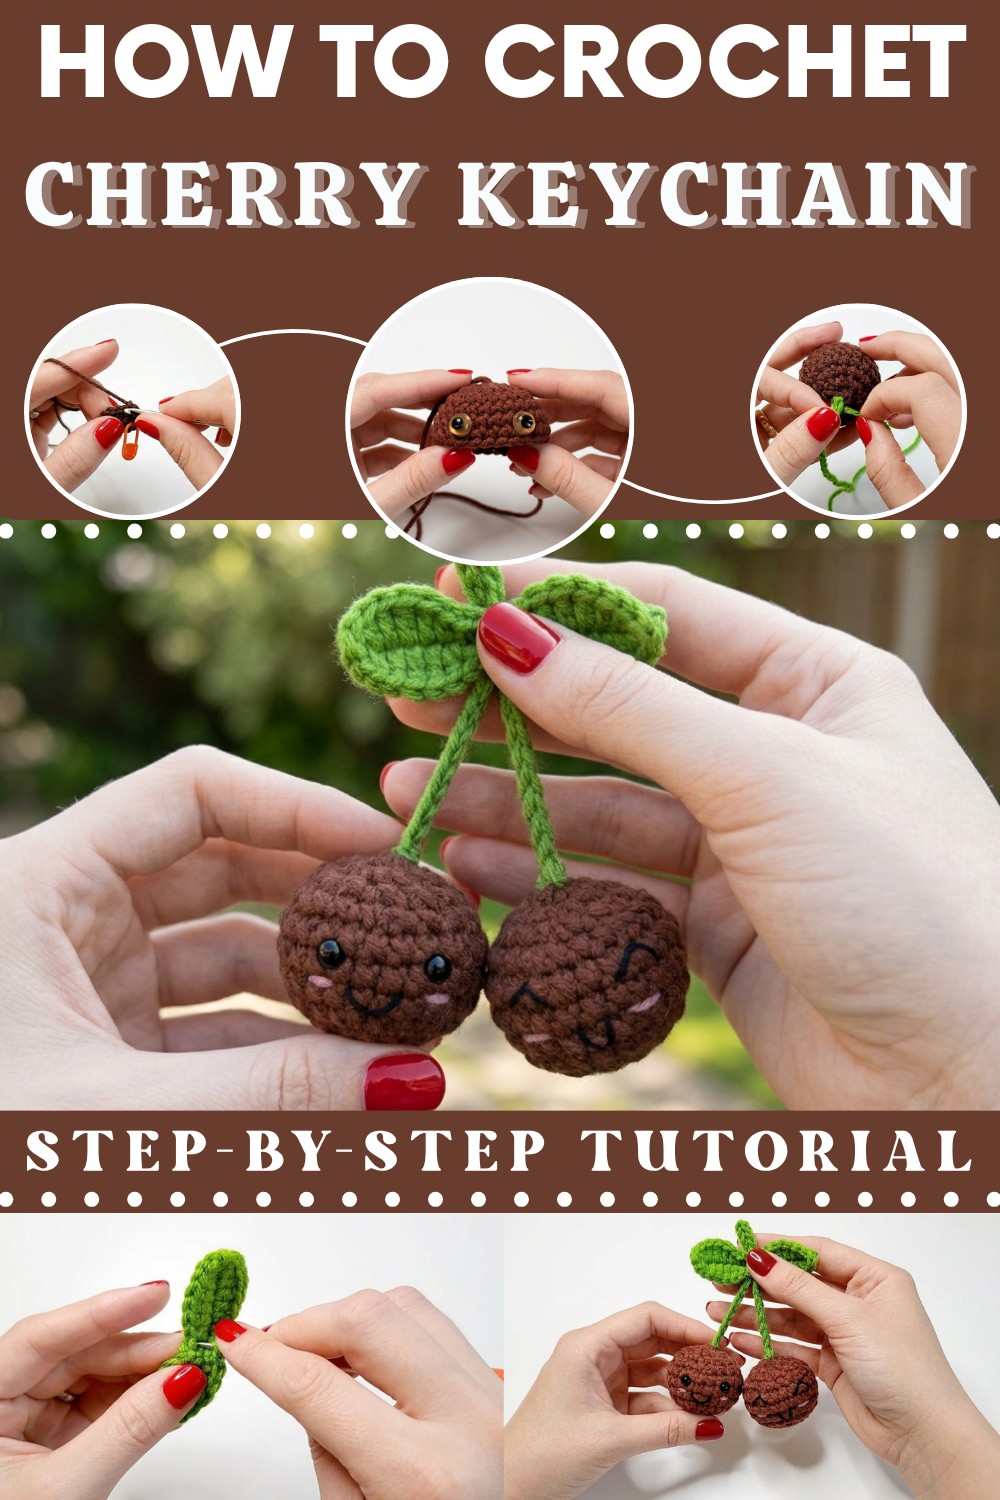
This project is perfect if you’re a beginner or have some basic crochet skills. It mainly uses the single crochet stitch worked in rounds, which makes it easy to follow and finish quickly. The instructions are clear, helping you shape both the cherries and the leaves without any trouble.
When finished, this crochet cherry keychain is a charming gift, a bright decoration, or a wearable charm that shows off your handmade creativity. If you enjoy simple, rewarding projects that you can gift or keep for yourself, this free crochet cherry keychain pattern is a fantastic choice. Give it a try—you’ll love how satisfying and fun it is to make.
Pattern Quick View
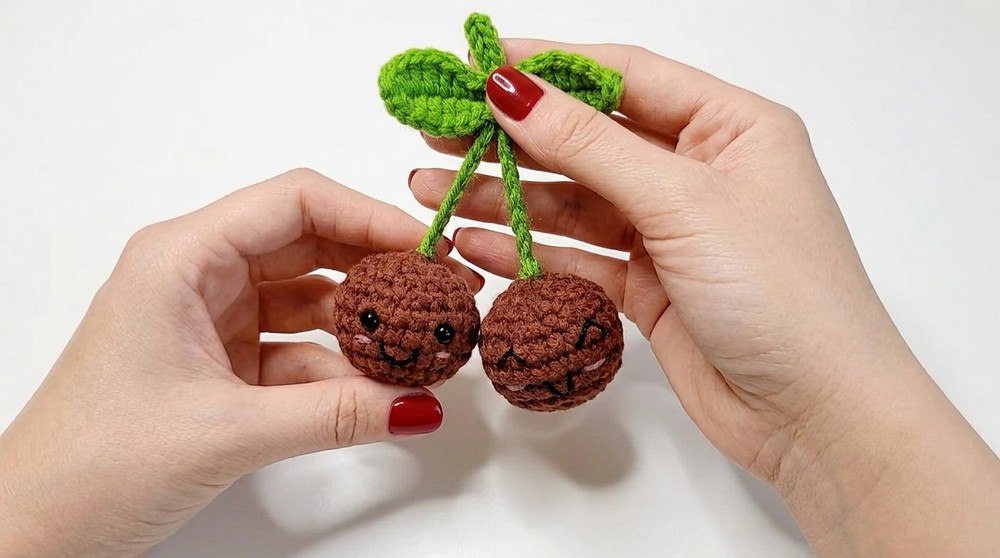
This Kawaii Cherry Keychain is worked up using single crochet, increase, decrease, and simple chains. It’s filled with stuffing, decorated with safety eyes and embroidery, linked together with a crochet chain, finished with a crocheted leaf, and topped off with a keyring. The project uses beginner-friendly amigurumi techniques and makes a beautiful, playful gift or accessory.
Kawaii Cherry Keychain Crochet Pattern
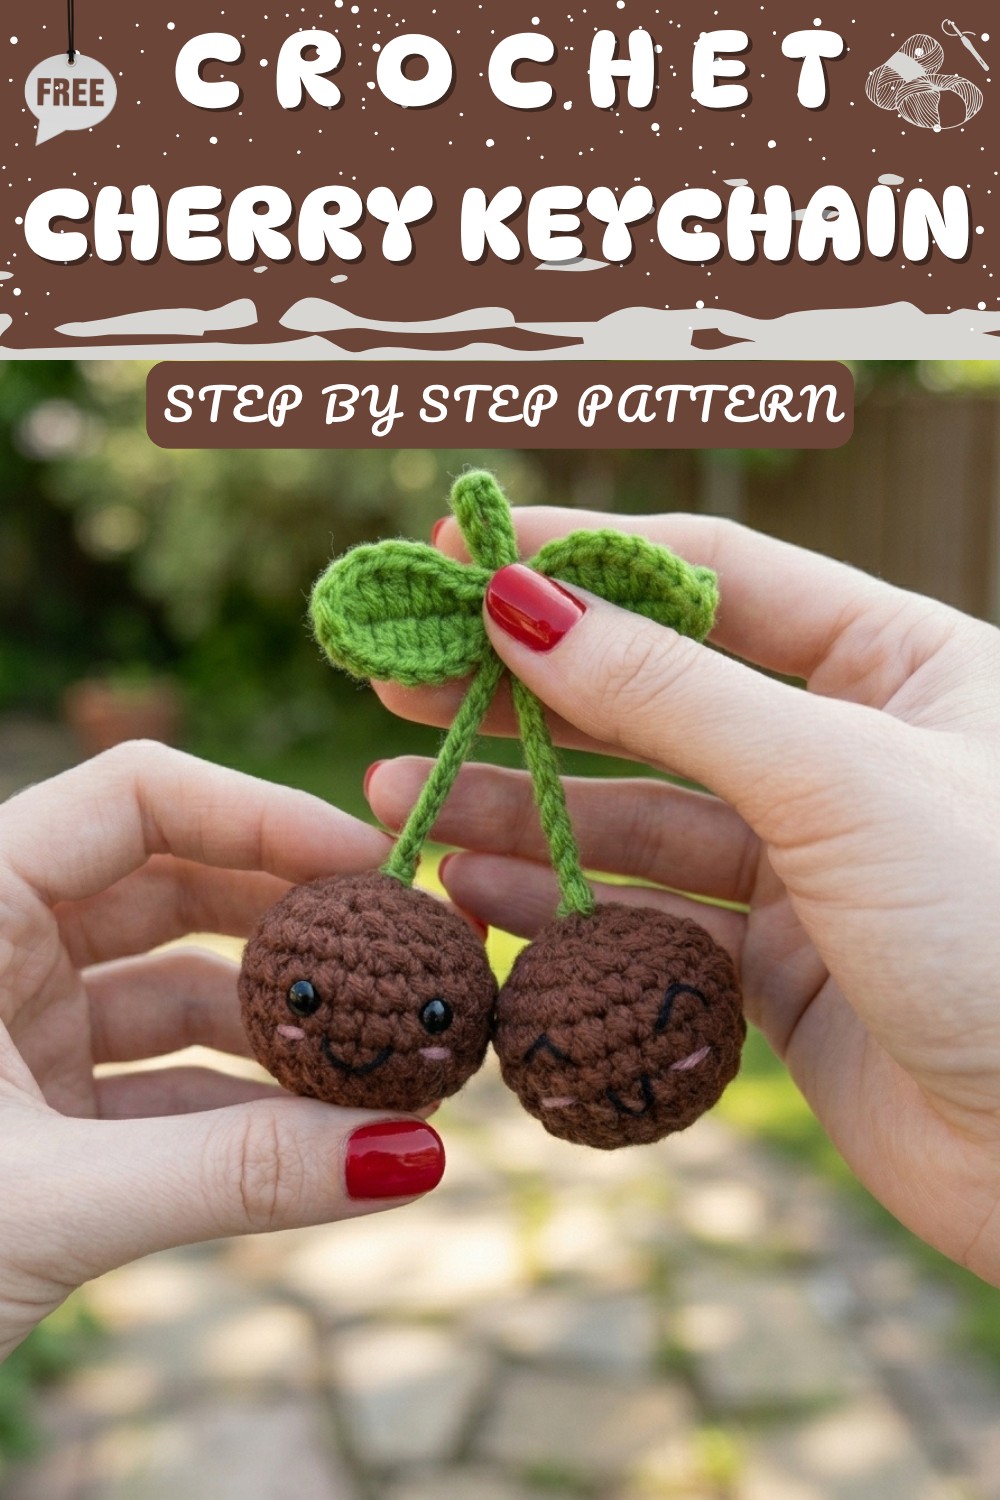
Bring a burst of joy to your day with this beginner-friendly Kawaii Cherry Keychain. These adorable cherries are crafted with simple stitches, expressive safety eyes, and cute facial accents. This project is perfect for adding a playful touch to backpacks, handbags, gifts, or simply keeping for yourself. The cherries are worked in the round, embroidered with sweet details, and attached together with a chain and leaf, creating a wonderfully whimsical accessory.
Skill Level & Terminology
Skill Level: Beginner
Terminology: US crochet terms are used throughout this pattern.
Materials & Tools
- Yarn:
- DK or light-worsted acrylic yarn in dark red, green, pink (for cheeks), and a small amount of black (embroidery)
- Hook: 3.5 mm crochet hook
- Stuffing: Polyester fiberfill
- Eyes: 6 mm safety eyes (or embroider if preferred)
- Notions:
- Scissors
- Stitch marker
- Row/lap counter (optional)
- Yarn needle or wool needle
- Pliers (for keyring hardware)
- Keyring hardware
Gauge
Gauge is not crucial for this pattern, however, your stitches should be close enough to keep the stuffing inside. If your fabric is too loose and shows stuffing, switch to a smaller hook.
Abbreviations
| Abbreviation | Stitch Name |
|---|---|
| MR | Magic Ring |
| ch | Chain |
| sl st | Slip Stitch |
| sc | Single Crochet |
| hdc | Half Double Crochet |
| dc | Double Crochet |
| st(s) | Stitch(es) |
| inc | Increase (2 sc in 1) |
| dec | Decrease (sc 2 tog) |
| FO | Finish Off |
Special Stitch Instructions
- Magic Ring (MR): Wrap yarn into a loop, insert hook, pull working yarn through, ch 1, then work stitches into ring.
- Increase (inc): Work 2 single crochet in the same stitch.
- Decrease (dec): Insert hook in next st, yarn over, pull up loop, insert into next st, yarn over, pull up (3 loops on hook), yarn over and draw through all.
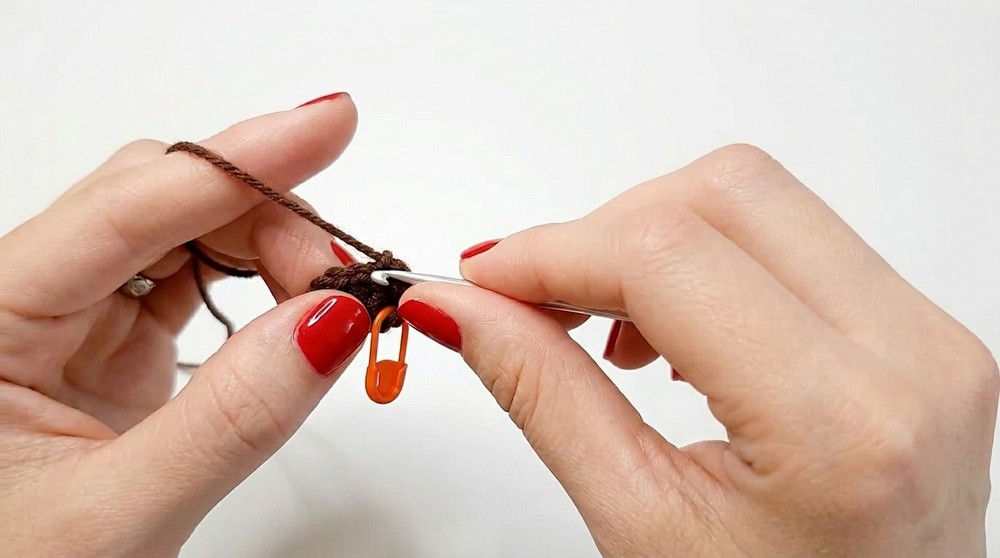
- Working in rounds (amigurumi): After closing MR, continue working in a spiral. Use a stitch marker to mark the first stitch of each round.
Finished Size
Each cherry measures approximately 2.5–3 cm (1–1.25") across. The finished keychain (including two cherries, stems, leaf, and chain) dangles approx. 10–12 cm (4–5") with hardware.
Pattern Instructions
Cherries (Make 2)
Work in rounds with dark red yarn.
- Round 1: Make a magic ring (MR).
Work 6 sc in MR. (6 sts)
Pull ring closed. - Round 2: Work 2 sc in each st around. (12 sts)
- Round 3: [sc 1, inc] around (i.e., 1 sc in next st, 2 sc in next st; repeat) (18 sts)
- Round 4: [sc 2, inc] around (i.e., 1 sc in each of next 2 sts, 2 sc in next st; repeat) (24 sts)
- Rounds 5–7: sc in each st around (no increases). (3 rounds, 24 sts each)
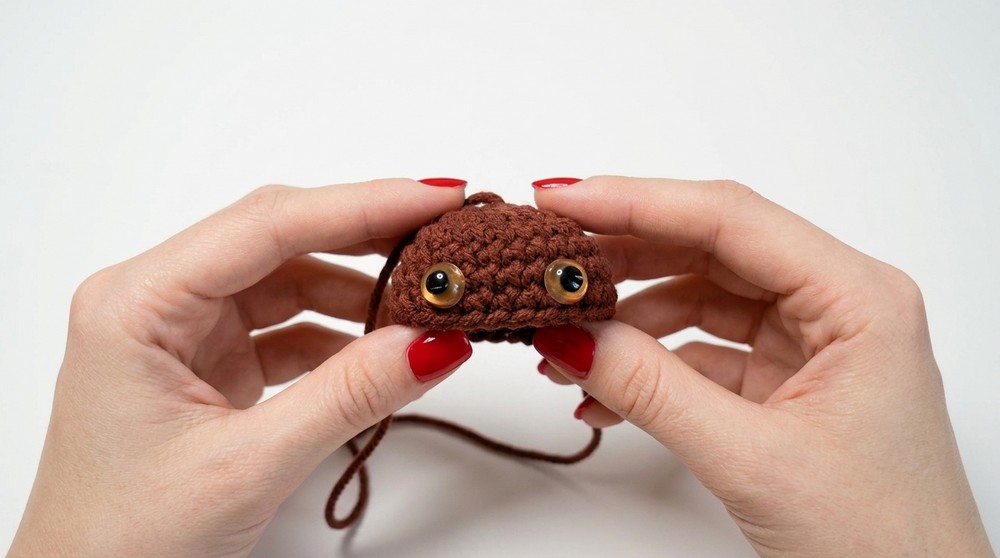
After round 7, insert safety eyes between rounds 6 and 7, about 4 sts apart. Secure backs, optionally with a dab of hot glue for safety.
—
You have crocheted a small amigurumi ball. Inserting the eyes at this stage ensures they are secure and positioned before closing the shape.
Shaping and Closing
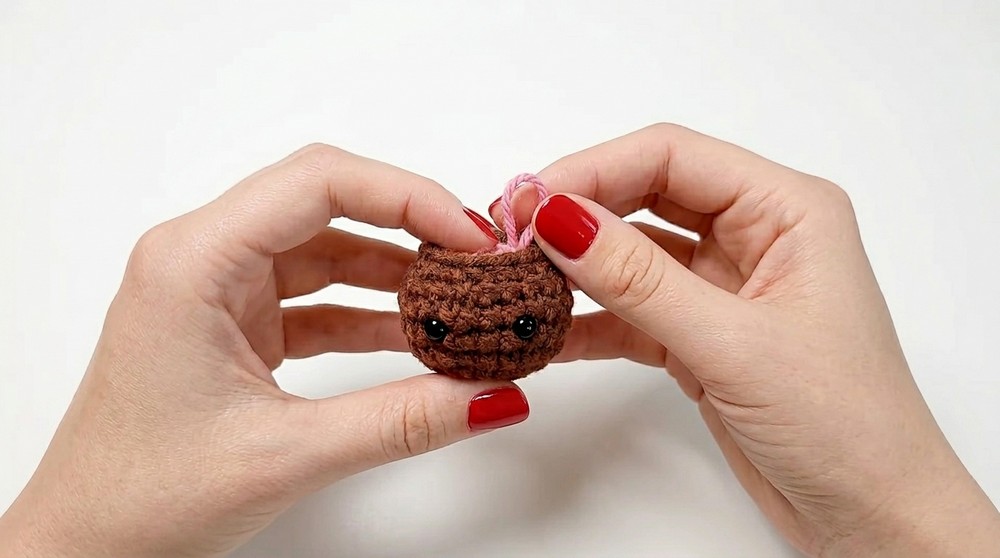
- Round 8: [sc 2, dec] around. (18 sts)
- Round 9: [sc 1, dec] around. (12 sts)
- Stuff cherry firmly with fiberfill.
- Round 10: 6 dec (sc2tog around). (6 sts)
- FO, leaving a long tail. With yarn needle, weave through front loops of the last 6 sts and pull to close. Weave in end securely.
—
As you decrease, stuff to finish shaping your cherry. Once closed, sew any last gap tight and secure the tail inside.
Embroider Face
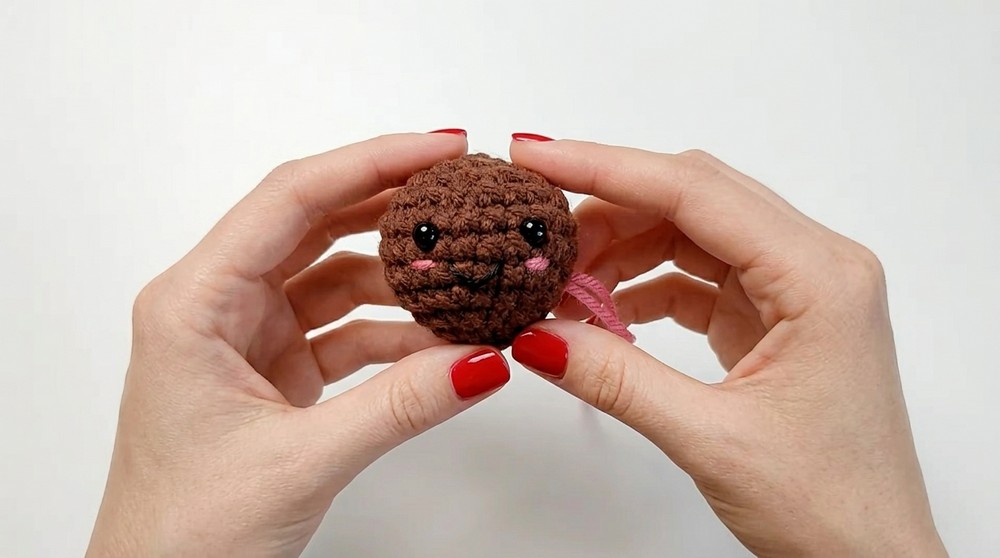
- With black yarn, embroider the mouth:
- Stitch a curved mouth one round below eyes, stretching across two stitches.
- With pink yarn, embroider small “cheeks” just below each eye.
- Weave in all loose ends.
—
Add personality to each cherry! The embroidered mouth and cheeks give your amigurumi its darling kawaii expression.
Stem & Link Chain
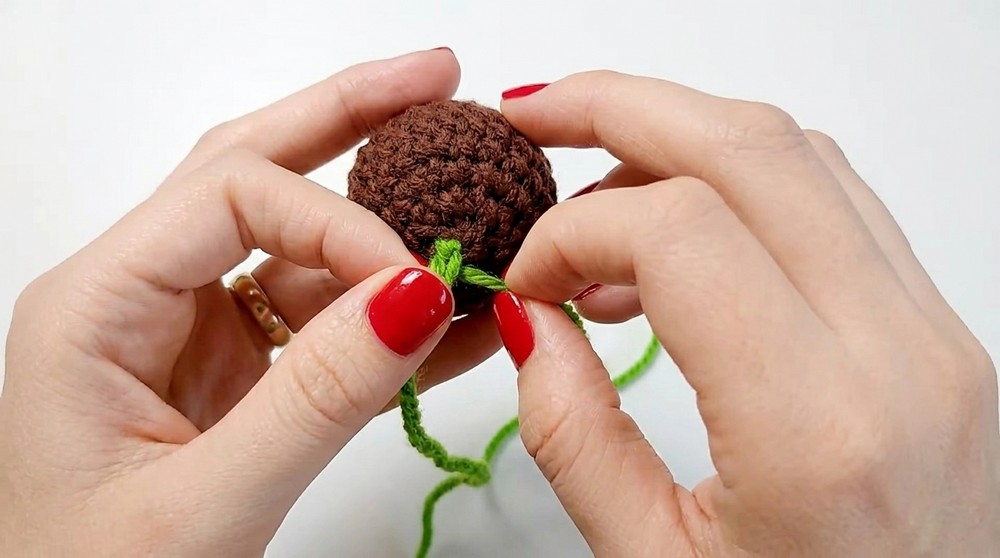
- With green yarn (stem color), ch 36.
- FO, leaving ends for sewing.
—
The chain formed will act as both cherry stalks and the link to connect the two cherries together for your keychain.
Leaf
- With green yarn, ch 17.
- On second ch from hook, sl st.
- sc in next ch.
- hdc in next ch.
- dc in each of next 3 ch.
- hdc in next ch.
- sc in next 2 ch.
- hdc in next ch.
- dc in next 3 ch.
- hdc in next ch.
- sc in next ch.
- sl st in last ch.
- Turn and work back up opposite side:
- sl st, sc, hdc, 3 dc, hdc, 2 sc, hdc, 3 dc, hdc, sc, sl st to finish.
- FO, leaving a tail to sew.
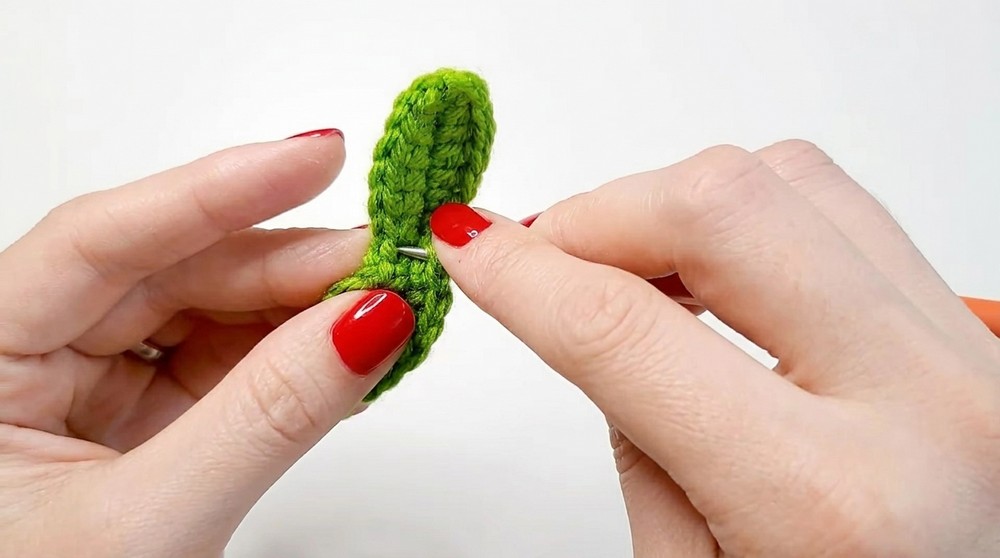
—
This method creates a softly pointed, double-sided leaf to top off your cherry chain.
Assembly & Finishing
- Attach Chain Stems:
- Sew one end of green chain to the center top of each cherry. Secure well and weave in ends inside the cherry.
- Sew Leaf:
- Fold chain to find center. Attach leaf at this midpoint, tacking securely with the tail yarn and weaving in ends.
- Add Keyring:
- Using pliers, open keyring hardware. Slide chain over jump ring or split ring; close securely.
- Shape:
- Arrange the cherries to hang evenly. Flatten and shape the leaf. Make any last adjustments so your keychain sits nicely.
—
Sewing the chain into the top of the cherries and attaching the leaf at the midpoint gives your piece a playful, real cherry look. Attaching hardware turns it into a practical accessory!
For Beginners
- After making two amigurumi cherries, you use a simple chain as stems.
- The leaf is made in one piece and sewn to the chain.
- The face details (mouth and cheeks) are added with embroidery.
- Finally, both cherries are attached to a keyring to complete your keychain.