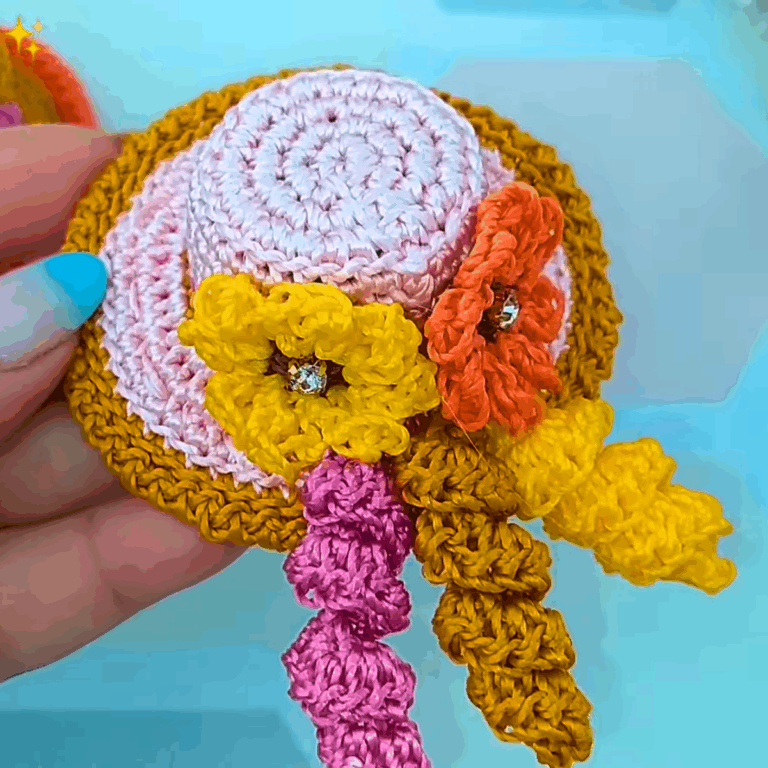
Vintage-Inspired Crochet Souvenir Box for Elegant Organization
Hold memories close with a charming Crochet Souvenir Box Pattern that’s perfect for storing keepsakes, jewelry, and special treasures with style.
Tucked away on a cherished shelf, a small box often holds more than just keepsakes,it preserves memories, stories, and moments frozen in time. This crochet Souvenir Box Pattern special container offers a quiet invitation to revisit laughter, love, and milestones, wrapped in a delicate shell that feels personal and timeless. More than mere storage, it becomes a symbol of thoughtfulness and connection.
Compact Crochet Souvenir Box for Jewelry, Trinkets, and More

With intricate stitching and a sturdy form, this crochet souvenir box pattern transforms simple yarn into a charming vessel. Its compact size makes it perfect for safekeeping small treasures like jewelry, trinkets, or mementos gathered from travels and celebrations. The tactile texture invites touch, while the soft yet durable structure ensures long-lasting use.
Versatility shines in this piece; it functions effortlessly as a decorative accent on dressers, desks, or shelves, enhancing any space with its understated elegance. Gift-givers appreciate its heartfelt appeal, as it offers a handmade touch that speaks volumes without words. Practical and poetic, it keeps cherished items close while adding warmth and character to everyday life.
Materials Required
To complete this project, the following materials are necessary:
- Two Colors of Thread
- Red and white threads are used in the tutorial.
- Type: Thick silk thread (Tex 288, 100% polypropylene).
- Crochet Needle
- 1.75 mm crochet needle.
- Toilet Thread Seals
- Eight seals are required for the project.
- Scissors
- For cutting excess material.
- Lighter
- Used for sealing the ends of the wires/thread.
- Pliers
- For removing burrs from the thread seals.
- Hot Glue
- Used for decoration.
- Optional Decorations
- Crocheted flowers, ribbons, or pearls (e.g., butterfly ribbon).

Step-by-Step Guide
1. Preparing the Seals
- Remove burrs from all the toilet thread seals using pliers.
- Turn the pliers gently to ensure smooth edges.
2. Forming the Base of the Box
- Begin crocheting using the white yarn.
- Stack one seal in the center and another beneath it (aligned where the burr was removed).
- Perform 3 single crochet stitches to connect them.
- Continue adding seals, completing 3 single crochets with each addition.
- At the curved edge, make 10 single crochets to create a smooth curve.
- Complete by joining stitches into the first stitch with a slip stitch.


3. Building the Box Walls
- Crochet single stitches around the base of the box without increasing.
- Create rows where each stitch matches the previous one (“stitch over stitch”).
- For the first row, pick up only the inner loop of the stitch for a clean look.
- Continue crocheting until you finish a total of 5 rows, counting the first row with the inner loop stitch.
- Finalize this area with a row of slip stitches for a neat finish.


4. Adding Decorative Rows
- Use “crab stitch” to create a bold finishing row around the box, grabbing only the inner loops where left from earlier steps.
- Work crab stitches backward for a textured finish.
5. Measuring the Box Dimensions
- After completing the base, measure it:
- Height: 2 cm.
- Width of the base: 6 cm.
- Increase the size by adding more rows (e.g., up to 7 rows).
6. Crafting the Lid
- Create a smaller circle using crochet techniques similar to the base.
- Alternate between single stitches and increases (two stitches in one space) every 3 stitches to expand the lid evenly.
- Finish with rows of slip and crab stitches around the lid’s border.
7. Decoration Suggestions
- Add decorative touches to the lid:
- Ribbons, pearls, crocheted flowers, or your own favorites.
- The butterfly ribbon, showcased in the tutorial, adds charm and repurposes leftover ribbon.

Special Features
- Eco-Friendly Crafting: The project focuses on recycling toilet seals into artistic keepsakes.
- Personalization: The box can be customized with your preferred colors, patterns, and embellishments.
- Versatile Usage: Can be used for gifting, storing items, or as display pieces.
Level of Difficulty
Beginner-friendly:
The pattern assumes basic knowledge of crochet techniques. Steps are demonstrated in detail, making it suitable for beginners with practice on single crochet, slip stitch, and crab stitch.
Tutor’s Suggestions
- Improvisation:
- Increase the height of the box by adding more crochet rows.
- Customize designs based on personal preference or occasion.
- Recycling Appeal:
- Use leftover ribbons or other materials for decoration to reduce waste.
- Community Interaction:
- Leave comments and feedback on the pattern to suggest ideas for future projects.
Uses
- Gift as souvenirs for friends or family.
- Decorative storage for jewelry, small items, or trinkets.
- Showcase your creative skills by creating boxes with unique designs for events like weddings or birthdays.
Tip
Before starting, get comfortable with basic crochet techniques such as single crochet, slip stitch, and crab stitch to ensure smooth progress. Practice on scrap material if needed.
Conclusion
This pattern transforms simple materials, like toilet thread seals and yarn, into aesthetically pleasing keepsakes, a great way to recycle and create meaningful gifts. The detailed steps and personalized touches foster creativity and inspire viewers to explore the art of crochet while making eco-friendly crochets. Don’t forget to add your unique flair to make the box truly yours.