
Tiny Free Crochet Snoopy Dog Pattern That Fits Any Shelf
Snuggle up with the Free Crochet Snoopy Dog Pattern, a delightful handmade companion perfect for gifts, decor, and cozy, cheerful charm.
A small black-and-white dog once became a symbol of playful loyalty and timeless charm, capturing hearts with its simple yet endearing presence. Bringing this beloved character to life through crochet adds a tangible warmth to any space, offering both joy and a sense of accomplishment for those who enjoy hands-on creativity. The Free Crochet Snoopy Dog Pattern provides an opportunity to craft a soft, cuddly companion that doubles as a decorative accent or a heartfelt gift.
Whimsical Crochet Snoopy Dog Pattern You’ll Fall in Love With
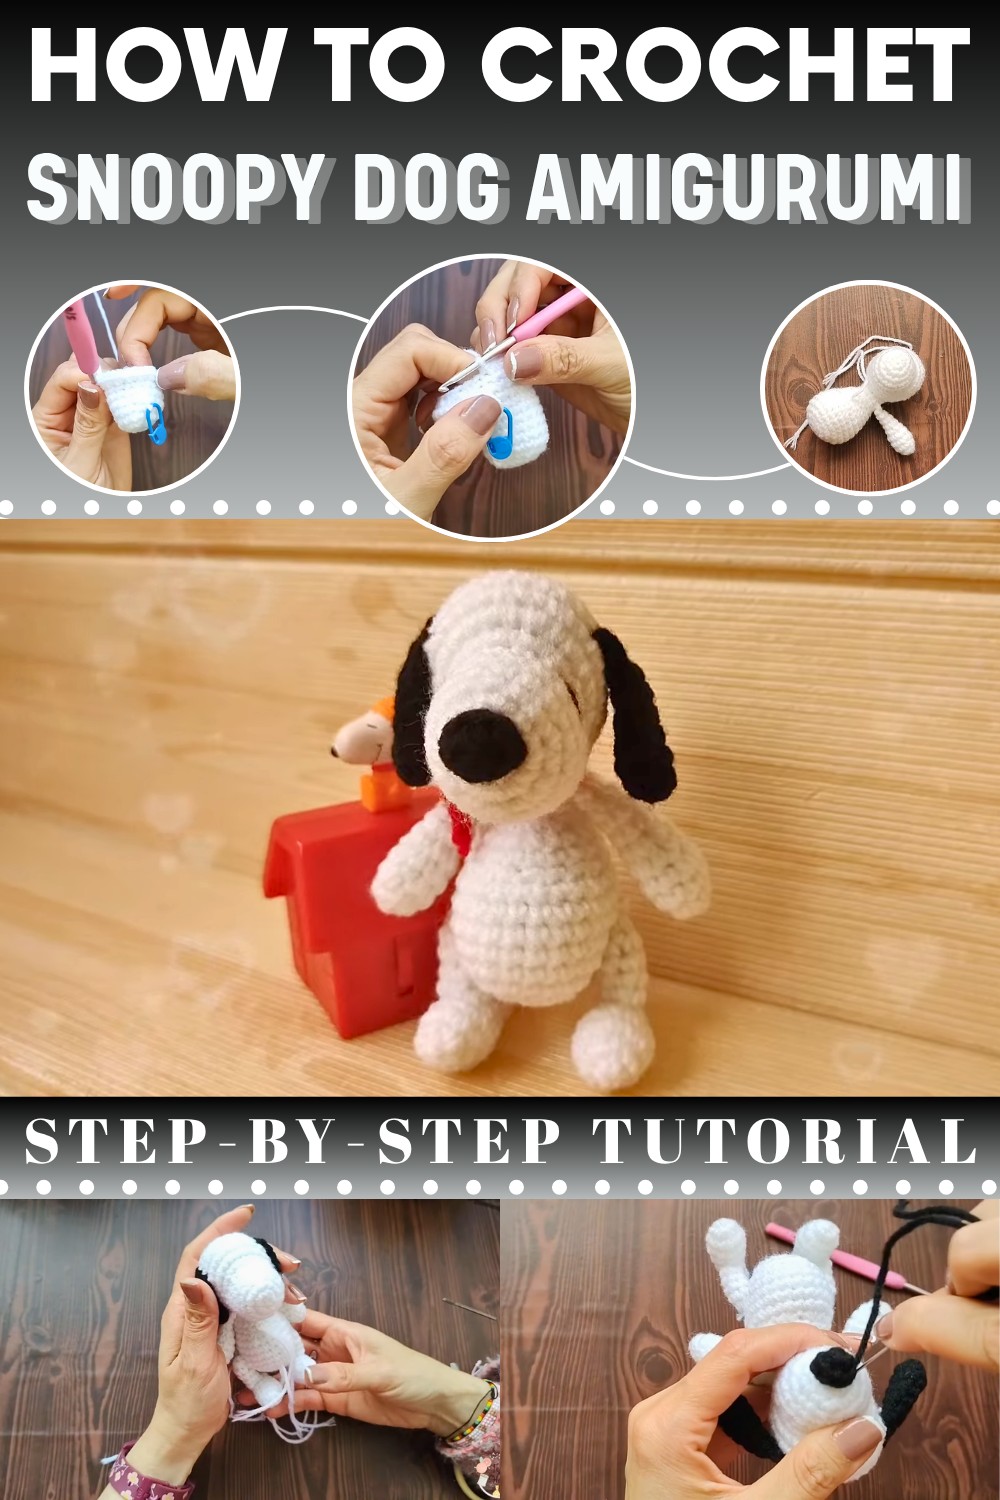
Free Crochet Snoopy Pattern
Finished Size
- Approx. 6-7 inches tall (using a size 3 crochet hook and standard amigurumi yarn).
Materials Needed:
- Yarn
- White yarn (for Snoopy's body, head, arms, legs)
- Black yarn (for Snoopy's ears and nose)
- Red yarn (for Snoopy’s scarf)
- Optional: Additional yarn for accessories like a hat.
- Tools
- Crochet hook size 3 mm (adjust based on the yarn thickness)
- Tapestry needle
- Stitch marker (helps track rounds)
- Scissors
- Stuffing material (polyfill or cotton)
- Optional: Pins to position pieces before assembly.
Gauge
- Gauge is not critical for this amigurumi pattern but depends on your yarn and hook size. Ensure tight stitches to avoid stuffing showing through.
Pattern Instructions
General Notes
- Work in continuous rounds unless stated otherwise (use a stitch marker to track the beginning of the rounds).
- Use invisible decreases for shaping smoother decreases.
- Stuff the parts as you crochet and before closing.
Head
- Start with a magic ring (slip ring):
- R1: 6 single crochet (sc) into the ring. [6]
- R2: 6 increases (2 sc in each stitch). [12]
- R3: 1 sc, 1 increase, repeat around. [18]
- R4: 1 sc into each stitch. [18]
- R5-8: 1 sc into each stitch. [18]
- Shaping the muzzle and face:
- R9: 1 sc, 1 increase 6 times, 12 sc. [30]
- R10-12: 1 sc in each stitch. [30]
- R13: 1 sc, 1 decrease 6 times, 12 sc. [24]
- R14: 1 sc in each stitch. [24]
- R15: 2 sc, 1 decrease around. [18]
- R16: 1 sc, 1 decrease around. [12]
- Closing the head:
- R17: 6 consecutive decreases. [6]
- Cut the yarn, leaving a long strand for sewing onto the body later.
- Stuff firmly and shape the head.
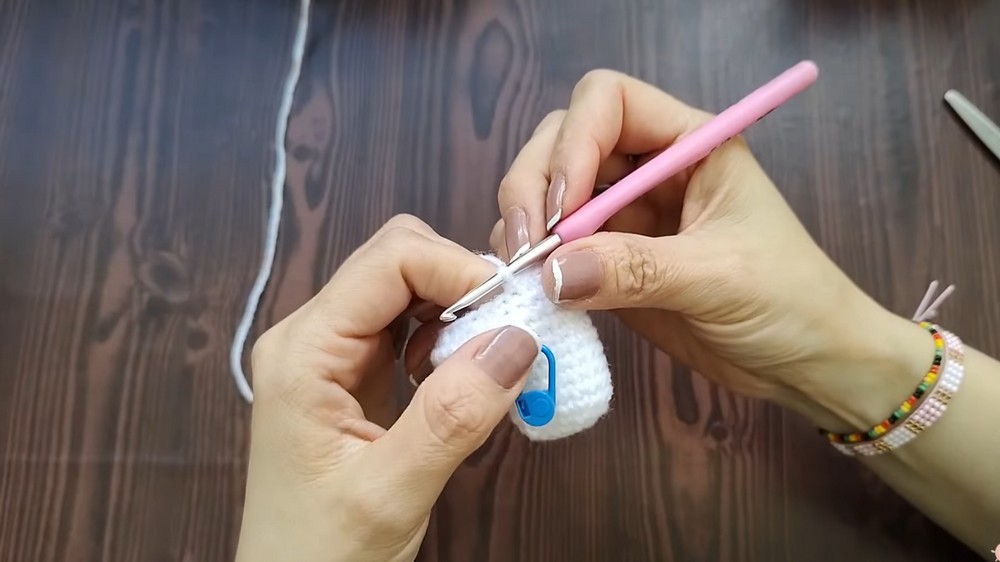
Body
- Start with a magic ring:
- R1: 6 sc into the ring. [6]
- R2: 6 increases. [12]
- R3: 1 sc, 1 increase, repeat around. [18]
- R4: 2 sc, 1 increase around. [24]
- R5-9: 1 sc in each stitch. [24]
- Shaping the base:
- R10: 1 sc, 1 decrease 6 times, 6 sc. [18]
- R11-12: 1 sc in each stitch. [18]
- Bottom shaping:
- R13: 6 increases, 6 sc. [24]
- R14-15: 1 sc in each stitch.
- Cut yarn, leaving a long tail for sewing.
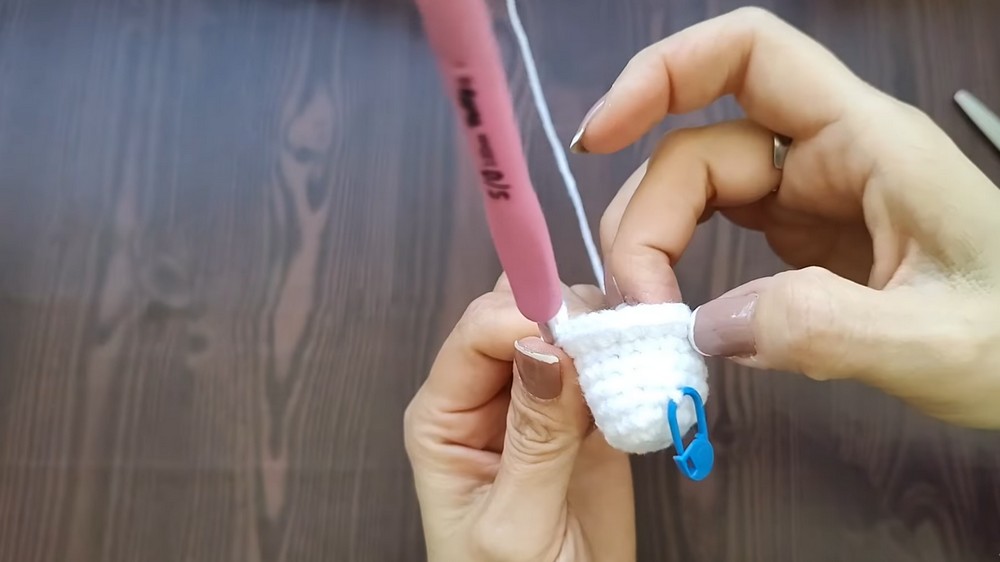
Arms
- Start with a magic ring:
- R1: 6 sc into the ring. [6]
- R2: 1 sc, 1 increase, repeat around. [9]
- R3-5: 1 sc in each stitch. [9]
- R6: 1 sc, 1 decrease, repeat around. [6]
- R7-8: 1 sc in each stitch. [6]
- Finishing:
- Close the top with 3 sc, leaving a long tail for sewing.
- Stuff lightly.
Legs
Leg
- Start with a magic ring:
- R1: 6 sc into the ring. [6]
- R2-5: 1 sc in each stitch. [6]
- Cut and leave a long tail for sewing.
Feet
- Start with a magic ring:
- R1: 5 sc into the ring. [5]
- R2-3: 1 sc in each stitch. [5]
- R4: 5 increases. [10]
- R5: 1 sc in each stitch. [10]
- R6: 2 sc, 1 increase. [12]
- R7: 1 sc into each stitch. [12]
- R8: 6 decreases. [6]
- Cut and stuff, leaving a long tail.
- Assembly with legs:
- Sew the feet onto the legs, ensuring alignment.
- Attach legs to the body at slightly outward angles for proportional positioning.
Ears
- Start with black yarn and a magic ring:
- R1: 6 sc into the ring. [6]
- R2: 1 sc, 1 increase. [9]
- R3-5: 1 sc in each stitch. [9]
- R6: 1 sc, 1 decrease 3 times. [6]
- R7: 1 sc in each stitch. [6]
- Close with 3 decreases and leave a long tail for sewing.
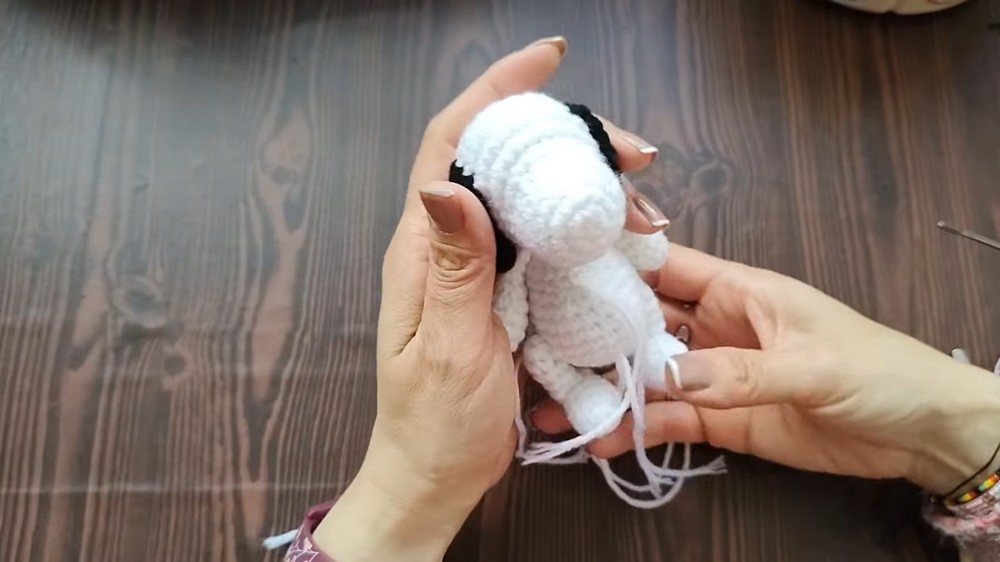
Tail
- Magic ring:
- R1: 4 sc into the ring. [4]
- R2-6: 1 sc in each stitch. [4]
- Cut yarn, leave the tail, and lightly stuff if desired.
Face Details
- Nose:
- Use black yarn.
- Magic ring: R1: 6 sc [6].
- R2: 1 sc in each stitch. [6]
- Cut and sew onto the front of the muzzle.
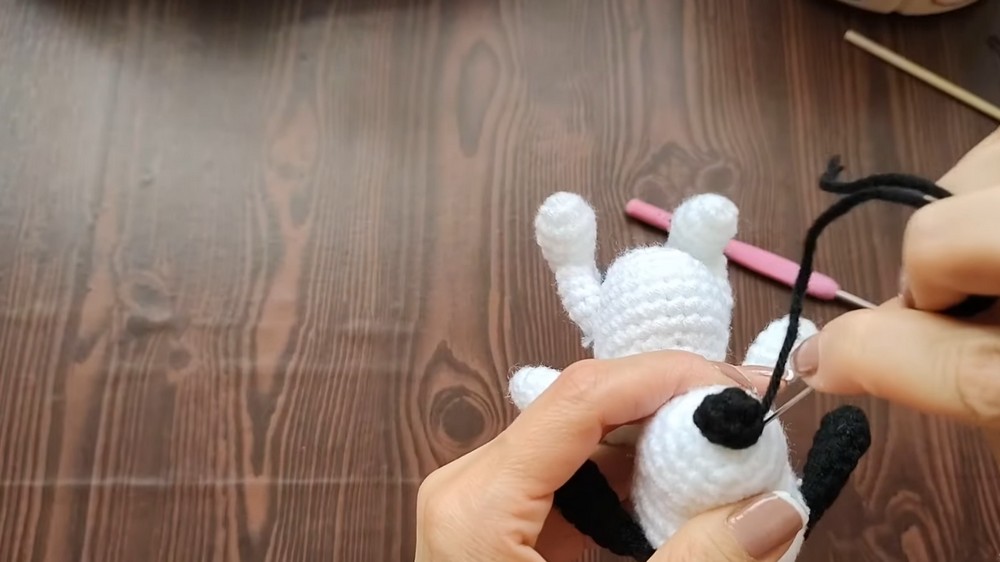
- Embroider eyes with black thread at equal height to the nose.
Scarf
- Using red yarn:
- Chain 30.
- Fasten off, and tie the scarf around Snoopy's neck.
Assembly
- Attach the head to the body, ensuring alignment.
- Sew arms to the sides of the body near the neck.
- Position legs near the base of the body.
- Attach ears at the top sides of Snoopy's head.
- Add the tail to the back of the body.

Customization Ideas
- Accessories: Create an aviator hat, goggles, or festive clothes for Snoopy.
- Poseable limbs: Use pipe cleaners to create bendable arms or legs.
Special Techniques
- Invisible Decrease: Insert hook into the front loops of the next two stitches and complete as a sc decrease.
- Magic Ring Start: Ensures a tight and clean beginning for amigurumi work.

Conclusion and Final Remarks
Congratulations! Your handmade Snoopy is now ready. This adorable creation celebrates the iconic character while allowing you to hone your crochet skills. Whether kept as décor, gifted to friends, or customized further, this charming amigurumi delights all. Do share photos of your creation on social media platforms.