
Tiny Crochet Dog Amigurumi Pattern With Huge Personality
Pounce into joy with the Free Crochet Dog Amigurumi Pattern, a lovable handmade plushie perfect for gifts, décor, or adding playful charm anywhere.
Brighten any space with a tiny companion full of charm and personality, a soft, cheerful dog with perky ears, a wagging tail, and a playful presence. The Free Crochet Dog Amigurumi Pattern offers a delightful project that brings this lovable figure to life while providing an enjoyable hands-on experience. Perfect as a gift, a decorative accent, or a playful toy, this crochet dog captivates with its carefully shaped features, smooth stitches, and lively expression.
Delightful Crochet Dog Amigurumi Pattern That Sparks Joy

Beyond its charming appearance, this project strengthens crochet skills, enhances precision, and produces a heartwarming handmade piece. Its compact size and cheerful personality make it perfect for shelves, desks, or backpacks, bringing warmth, playfulness, and a touch of whimsy to everyday surroundings.
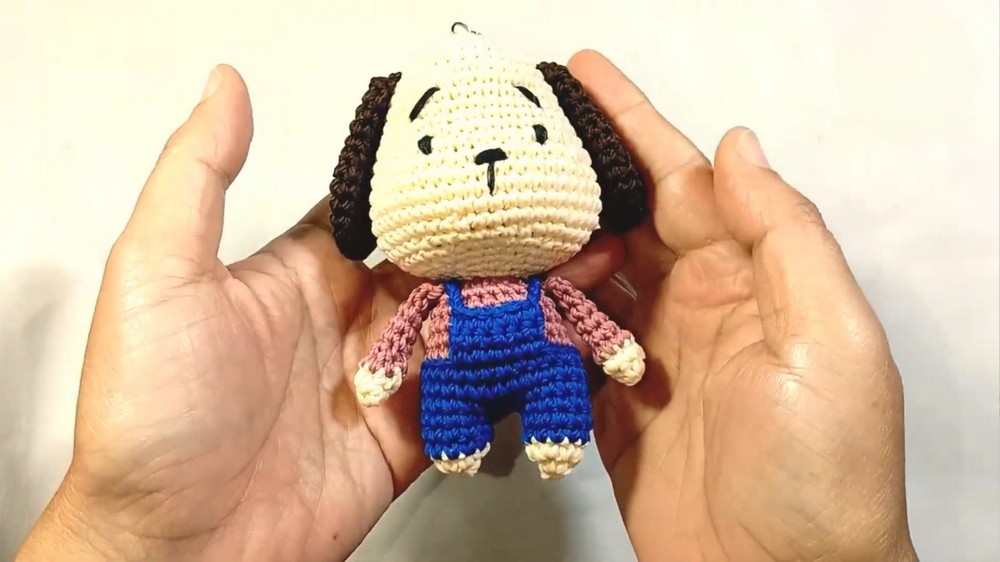
Crochet Pattern: Mini Keychain Doll
Skill LevelIntermediate – Suitable for crocheters comfortable with working several parts, shaping amigurumi patterns, and assembling pieces.
Finished Size
Approximately 8–10 cm (3.1–3.9 inches) tall (depending on yarn and hook size).
Gauge
Gauge is not critical for this project, but accurate, tight stitches are necessary to prevent stuffing from showing. If your stitches are loose, use a smaller hook size.
Materials
- Yarn:
- 2 mm thickness yarn, 100% acrylic recommended for durability.
- Colors required:
- Primary Color 1 (e.g., beige/skin tone) for the doll’s base.
- Color 2 for overalls (e.g., blue).
- Color 3 for hands and ears (e.g., purple).
- Optional: Additional colors for creative customization.
- Colors required:
- 2 mm thickness yarn, 100% acrylic recommended for durability.
- Crochet Hook: 2.5 mm hook suggested for tight stitches.
- Keychain Parts:
- Metal Keyring: Standard size. Optional for customization.
- Stuffing Material:
- Dakron (polyester filling).
- Tapestry Needle: For sewing and weaving ends.
- Scissors.
Abbreviations (US Terminology)
- st: Stitch.
- ch: Chain.
- sc: Single Crochet.
- increase: 2 sc in the same stitch.
- decrease (dec): Work SC2TOG (single crochet two together).
- Magic Ring: Adjustable circle to start crocheting in rounds.
- sl st: Slip Stitch.
Special Techniques
- Magic Ring: Used in the round to avoid gaps at the start of the project.
- Invisible Decrease: Recommended for a neater, seamless look when shaping the head/body parts.
Pattern Instructions
Part 1: The Head
R1:
- Start with a magic ring.
- Work 6 sc into the magic ring, pull the ring tight.
- (6 stitches total)
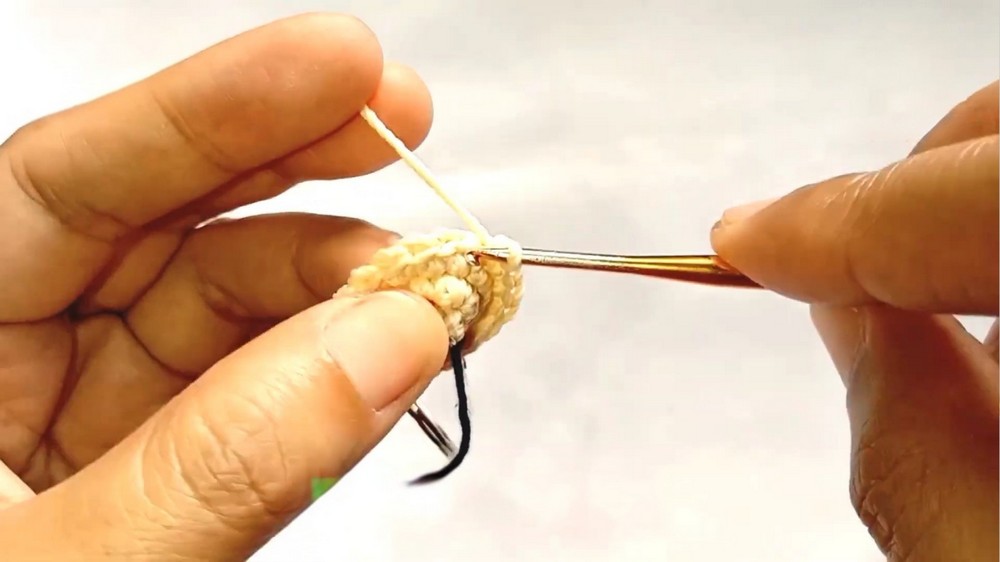
R2:
- Increase in every stitch around: 2 sc in each st.
- (12 stitches total)
R3:
- (1 sc, increase) in each repeat around.
- Repeat the sequence across the round.
- (18 stitches total)
R4:
- (2 sc, increase) in each repeat around.
- Repeat across the round.
- (24 stitches total)
R5:
- (3 sc, increase) in each repeat across the round.
- (30 stitches total)
R6 – R11:
- Work 1 sc in every stitch around (maintain stitch count).
- (30 stitches per round)
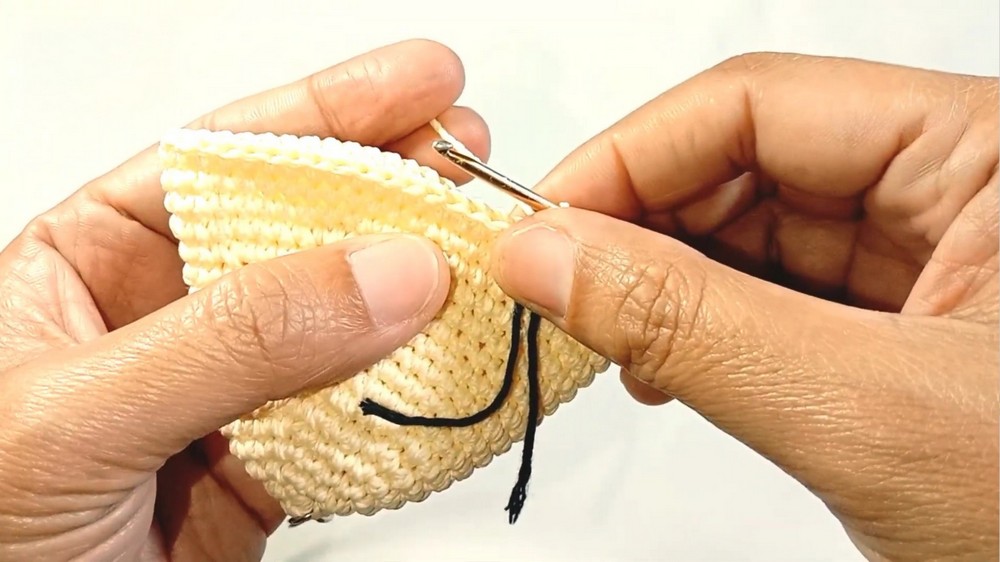
R12:
- (5 sc, decrease) in each repeat across the round.
- (24 stitches total)
R13:
- (3 sc, decrease) in each repeat across the round.
- (18 stitches total)
R14:
- (2 sc, decrease) in each repeat across the round.
- (12 stitches total)
R15:
- (1 sc, decrease) in each repeat across the round.
- (6 stitches total)
- Finish: Stuff the head firmly with dakron (polyester stuffing). Leave a long tail for sewing later.
Part 2: The Body
Legs:
Make two identical legs.
- R1: Magic ring, work 6 sc, close tightly.
- R2: Increase in every stitch (2 sc in each st).
- (12 stitches total).
- R3 – R4: Work 1 sc in each stitch (maintaining 12 stitches in two rounds).
- Fasten off the first leg and cut the yarn.
- On the second leg, leave the yarn attached.
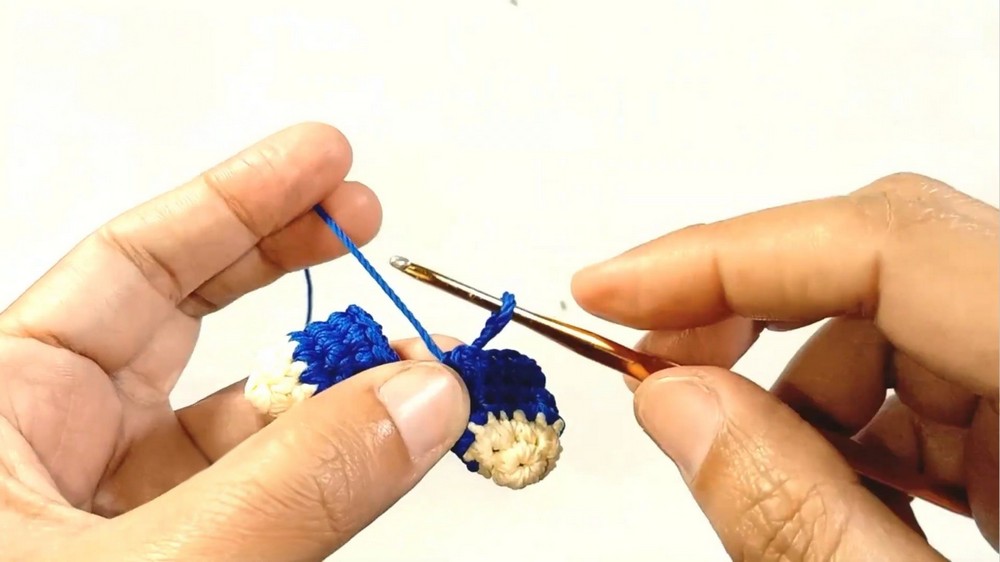
Joining Legs:
- Join the legs:
- Chain 2 from the second leg and connect to the first leg via slip stitch.
- Begin working SC around:
- 12 sc (first leg) + 2 sc (chain between legs) + 12 sc (second leg) = 28 stitches total.
- R6 – R8: Work 1 sc in each stitch (maintain 28 sts).
Body Decreases:
- R9: Switch to blue yarn:
- Work 5 sc, followed by 1 decrease (SC2TOG).
- Repeat around for body shaping. (24 stitches total).
- R10: Work 3 sc, followed by 1 decrease (repeat around). (18 stitches total).
- R11 – R12: Work 1 sc in every stitch. (18 stitches total).
Finish Stuffing:
- Fill the body firmly with stuffing and prepare for arm placement.
Part 3: Arms
Make two identical arms.
- R1: Magic ring, work 6 sc.
- R2: Work (1 sc, increase) alternately around. (9 stitches total).
- R3 – R8: Work 1 sc in each stitch around for four rounds. (6 stitches per round).
- Flat join: Fold the opening of the arm flat and work 3 sc across both sides of the fold.
- Leave a long tail for sewing.
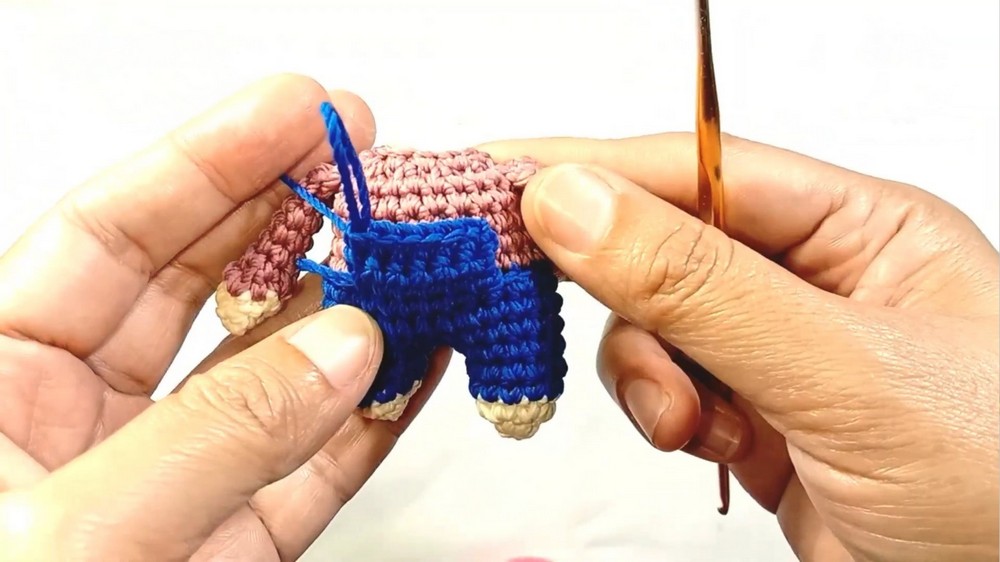
Attach Arms: Using stitch markers, position both arms on either side of the body. Sew securely.
Part 4: Ears
Make two identical ears.
- R1: Magic Ring, work 6 sc, pull tight.
- R2: Work increase in every stitch (2 sc per st). (12 stitches total).
- R3: (1 sc, increase) repeat around. (18 stitches total).
- R4 – R7: Work 1 sc in each stitch for 4 rounds.
- Leave a visible long tail for sewing.
- Attach ears symmetrically on each side of the head.
Part 5: Overalls
Front Panel:
- Using blue yarn, attach at the front loops of the body’s stitch rows.
- Work 6 sc across the front loops.
- Turn and repeat: Chain 1, work 6 sc across for 3 rows (or desired height).
Straps:
- For each strap:
- Chain 10, turn.
- Attach to the back using slip stitches (connect to the back loops).
Customization Ideas
- Color Variations:
- Use multiple yarn colors for a playful and vibrant keychain accessory.
- Add decorative buttons or embroidery to the doll’s outfit.
- Accessories:
- Add a crocheted hat, glasses, or scarf!
- Use felt fabric or embellishments to personalize facial features.
- Keychain Options:
- Loop metal rings, or leave the doll standalone for decoration.
Conclusion
This miniature doll is small, portable, and charming – perfect for gifts, craft fairs, or personal keepsakes. The combination of amigurumi techniques ensures the final product has a detailed finish with flexible posing thanks to the wire/rigid stuffing.
Important Remarks
- Stitch Neatness: Ensure tight and consistent stitches to keep stuffing inside.
- Assembly Order: Assemble parts carefully to ensure balance and proportion.
- Safety: For delicate areas such as ears, use pins/stitch markers to place them symmetrically before sewing permanently.