
Tiny Crochet Amigurumi Bunny Free Pattern For Keychains
Try this easy and fun Crochet Amigurumi Bunny Free Pattern that brings a cute, handmade charm to your collection with simple stitches anyone can follow.
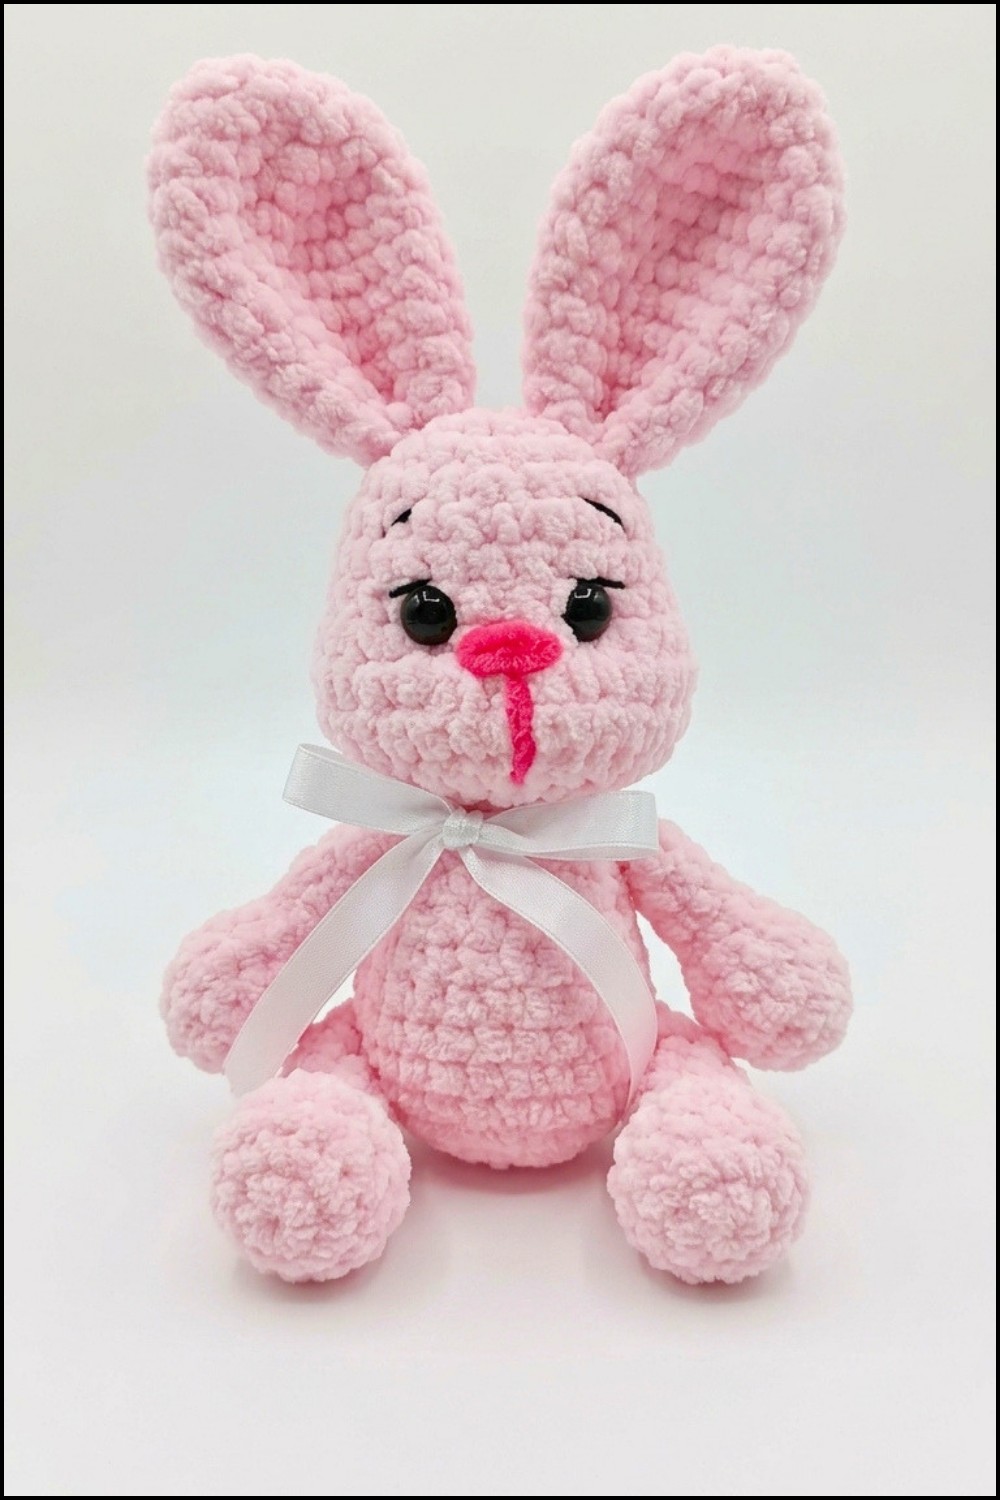
Let's talk about a small, soft toy that many people love. The Crochet Amigurumi Bunny is a simple and cute handmade item made with yarn and a crochet hook. It usually stands about 6 to 8 inches tall and has a round, smooth body with long, floppy ears. Its face is gentle, often featuring small stitched eyes and a tiny nose, which give it a friendly, happy look.
Simple Crochet Amigurumi Bunny Free Pattern For Room Decor
The design of this bunny is easy to follow. The body, arms, legs, and ears are crocheted separately and then sewn together. Most often, the bunny is worked in soft pastel colors like white, pink, or gray but you can choose any yarn color you prefer for a personal touch. This project mainly uses basic crochet stitches, such as single crochet, worked in rounds.
This project suits beginners and those with some crochet experience because it teaches simple shaping and joining parts. After finishing the crochet pieces, you stuff the bunny with soft fiberfill to give it a cuddly feel. Sewing on the facial features carefully finishes the look.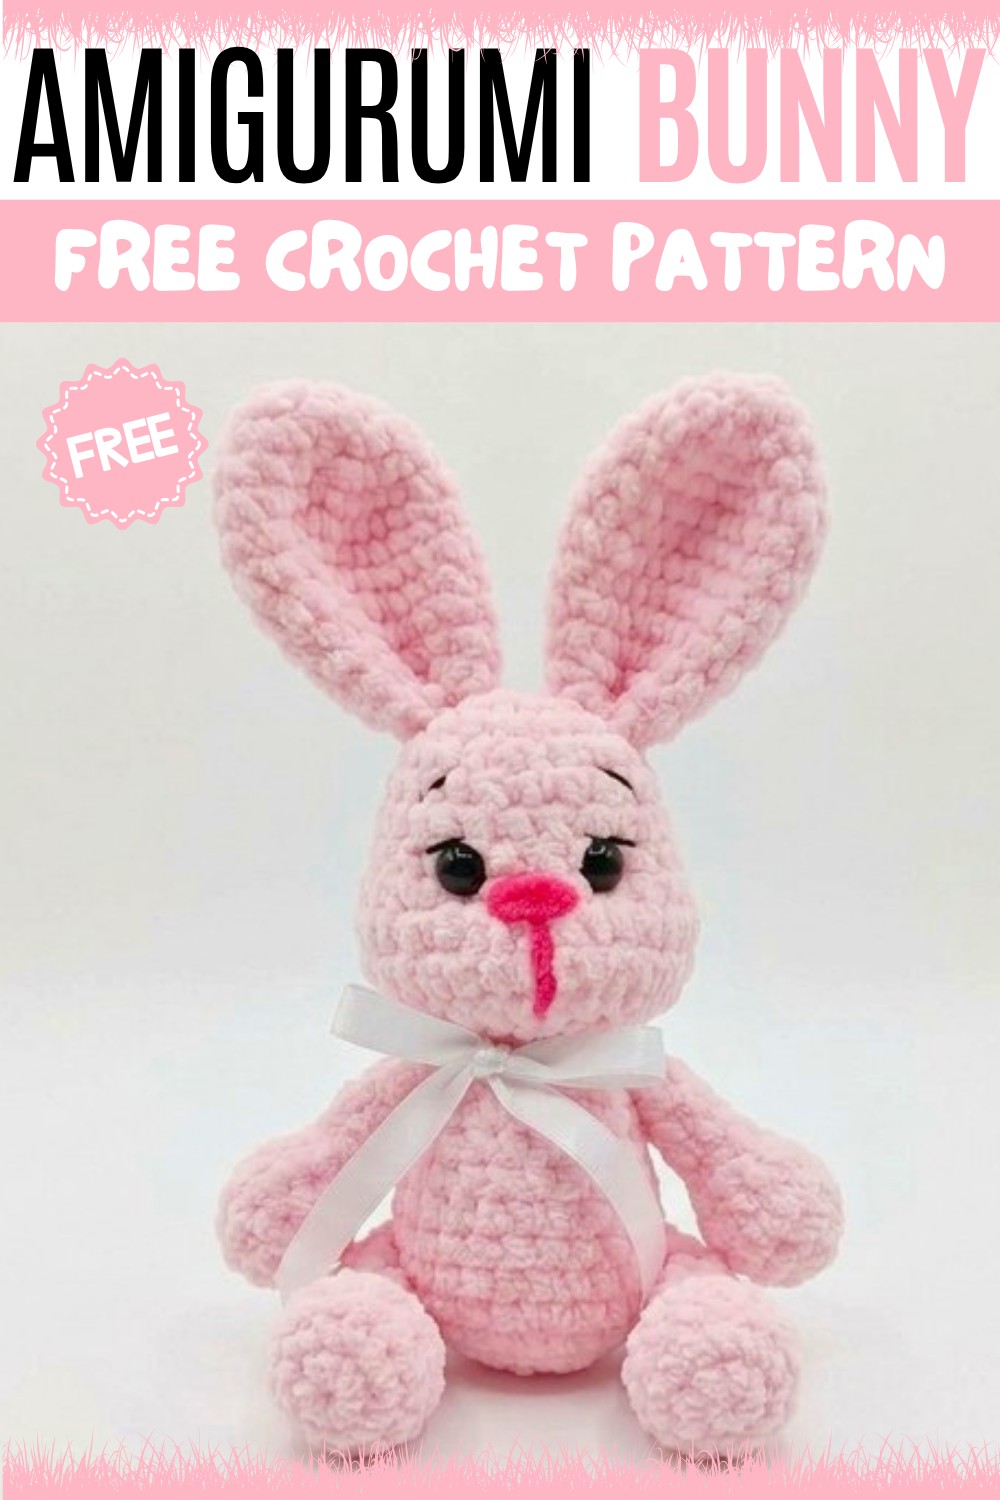
All in all, the Crochet Amigurumi Bunny is a lovely, approachable project that results in a soft toy perfect for gifts or decoration. It demonstrates how easy crochet can turn yarn into something warm and charming.
The Free Pattern is based on Youtube Channel Viktoriia&Amigurumi
Plush Toy Bunny Crochet Pattern
A plush amigurumi bunny is crafted in distinct parts—arms, legs, ears, body, and head—each created with detailed increases and decreases for gentle shaping. Classic amigurumi technique ensures seamless, rounded pieces with expressive embroidered features. Thoughtful assembly and careful stuffing produce a huggable, child-friendly plush that is robust enough for cuddles or display.

Pattern Basic Points
- All parts are crocheted in the round or turned rows for sculpted shaping.
- Assembly includes precise placement of limbs and features for optimal balance.
- Limbs are attached as you crochet the body for strength and clean lines.
- Facial features are embroidered and eyes are sculpted for expressive character.
- Sequential construction supports intuitive, stress-free assembly.
Special Notes
- Use a tight tension for dense, gap-free fabric that prevents stuffing from escaping.
- For a cuddly finish, select a soft, worsted or DK weight yarn (cotton or acrylic), and avoid overstuffing to preserve plushness.
- Eyes may be embroidered or made from safety eyes; always secure or sew for children’s toys.
- Placement of limbs and ears is crucial to overall character. Use pins to audition positions before final sewing.
- Stuff parts lightly but sufficiently, especially smaller pieces, to maintain intended shape.
- Tailor embroidery to create custom expressions, adjusting line thickness for eyebrows, nose, and eyelids.
Skill Level
Confident Beginner to Intermediate.
Familiarity with amigurumi basics (single crochet in the round, increases, decreases, joining parts, embroidery) is expected. The pattern is accessible but involves sequential attachment and minor shaping techniques.
Materials
- Yarn: Worsted or DK weight plush yarn in main color for body, accent (inner ear, nose, embroidery)
- Hook: 2.5–3.5mm (adjust to suit yarn and desired density)
- Stuffing: Polyester fiberfill
- Tapestry needle: For sewing and embroidery
- Thread or thin yarn: For sculpting eyes/face, in strong matching or nylon thread
- Small scissors
- Embroidery thread: Black/brown for facial features
- Optional: Safety eyes or black yarn for crocheted/embroidered eyes
- Pins: For part placement
Measurements
- Finished height (seated): ~17–20 cm (6.5"–8"), varies with yarn and hook
- Body width: ~8–9 cm (3.1"–3.5")
- Limbs: ~4–5 cm (1.5"–2")
- Ears: ~9 cm (3.5")
Gauge
Gauge is less critical for plush amigurumi; ensure stitches are tight enough to prevent stuffing being visible—6 rounds of single crochet ≈ 3 cm diameter (unstuffed).
Stitch Abbreviations
- MR – Magic Ring
- SC – Single Crochet
- INC – Increase (2 SC in same st)
- DEC – Decrease (SC 2 together)
- CH – Chain
- SL ST – Slip Stitch
Special Stitches
Invisible Decrease: Insert hook into the front loops of the next two stitches, yarn over, pull through, yarn over, pull through both loops.
Flatten and close: To finish arms, legs, or ears, flatten the last row and work single crochet across both sides to close the piece.
Pattern Instructions
Arms (Make 2)
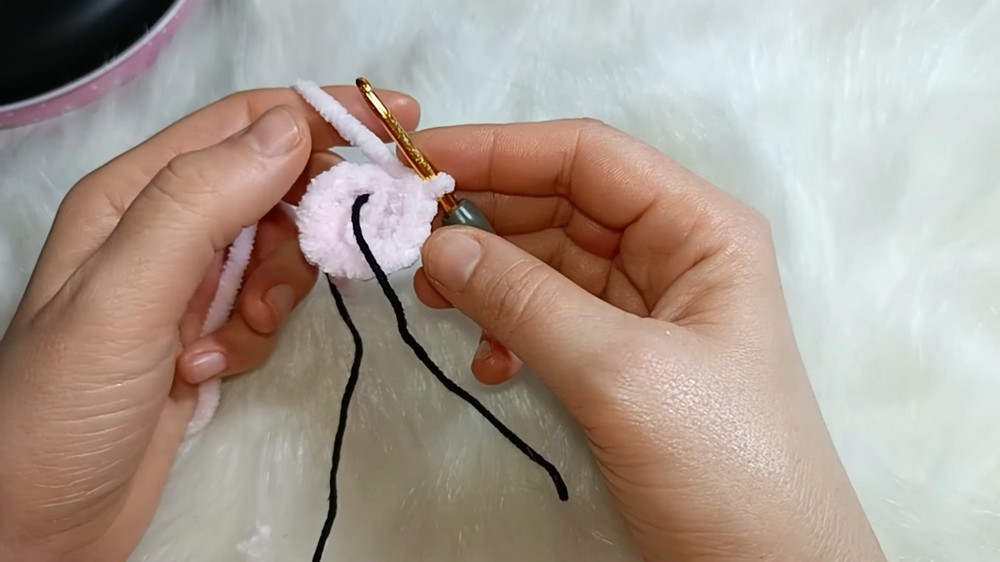
- Row 1: CH 2, 6 SC in first CH. (6)
- Row 2: INC in every SC. (12)
- Rows 3–4: SC in each stitch. (12)
- Row 5: 4 SC, DEC, DEC, 4 SC. (10)
- Row 6: 3 SC, DEC, DEC, 3 SC. (8)
- Stuff only the bottom portion.
- Row 7: Flatten the piece and SC 4 across both sides to close. Fasten off, leave long tail for sewing.
Legs (Make 2)
- Row 1: CH 4, SC in 2nd CH from hook, SC in next, 3 SC in last chain.
On the other side: SC in 1st CH, SC in next, 3 SC in last chain (opposite side). (Total 10 SC) - Row 2: INC in 3 stitches, SC 2, INC in 3 stitches, SC 2. (19)
- Rows 3: SC in each stitch. (19)
- Row 4: (1 SC, DEC) x 2, 1 SC, (1 SC, DEC) x 2, 3 SC, DEC, SC. (15)
- Row 5: (1 SC, DEC) x 2, 6 SC, (1 SC, DEC) x 1. (12)
- Row 6: SC in each stitch. (12)
- Stuff the leg.
- Row 7: Flatten the top, SC across both sides to close with 5 SC. Fasten off, leave tail to sew onto body.
Ears (Make 2)
- Round 1: 6 SC in MR. (6)
- Round 2: INC in each SC. (12)
- Round 3: (1 SC, INC) repeat 6 times. (18)
- Round 4: (2 SC, INC) repeat 6 times. (24)
- Rows 5–6: SC in each stitch. (24)
- Row 7: (6 SC, DEC, 6 SC, DEC, 6 SC) (22)
- Row 8: SC in each stitch. (22)
- Row 9: (6 SC, DEC, SC, DEC, 6 SC) (20)
- Row 10: SC in each stitch. (20)
- Row 11: (4 SC, DEC, 4 SC, DEC, 4 SC) (18)
- Row 12: Flatten the piece and SC 9 across both sides to close. Fasten off, leave long tail for sewing.
Body
- Round 1: 6 SC in MR. (6)
- Round 2: INC in each SC. (12)
- Round 3: (1 SC, INC) x 6. (18)
- Round 4: (2 SC, INC) x 6. (24)
- Round 5: (3 SC, INC) x 6. (30)
- Round 6: Insert completed legs on opposite sides—working through both leg and body stitches, join each leg with the first and sixteenth stitch. (30)
- Round 7: SC in each stitch. (30)
- Round 8: (4 SC, DEC) x 5. (25)
- Round 9: (3 SC, DEC) x 5. (20)
- Round 10: (2 SC, DEC) x 5. (15)
- Round 11: (1 SC, DEC) x 5. (10)
- Round 12: Attach arms on both sides with SC through arm and body stitches. (10)
- Stuff the body firmly as you go.
- Fasten off, leave the opening for head attachment.
Head
- Round 1: 6 SC in MR. (6)
- Round 2: INC in each SC. (12)
- Round 3: (1 SC, INC) x 6. (18)
- Round 4: (2 SC, INC) x 6. (24)
- Rounds 5–7: SC in each stitch. (24)
- Round 8: Cheek shaping: 6 SC, 5 INC, 6 SC, 5 INC, 6 SC. (34)
- Rounds 9–10: SC in each stitch. (34)
- Round 11: (1 SC, DEC) x 6, 14 SC. (28)
- Round 12: (1 SC, DEC) x 6, 10 SC. (22)
- Stuff the head well for shape.
- Fasten off, leave tail for sewing to body.
Assembly & Finished Size
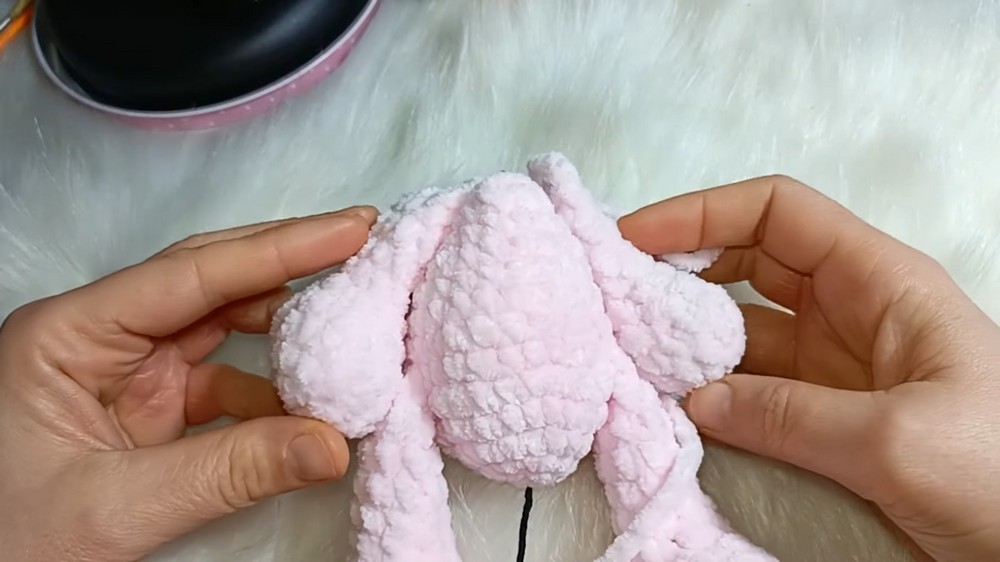
- Attach the ears to the head, sewing securely along the upper sides, slightly forward for character.
- Deepen eye expression:
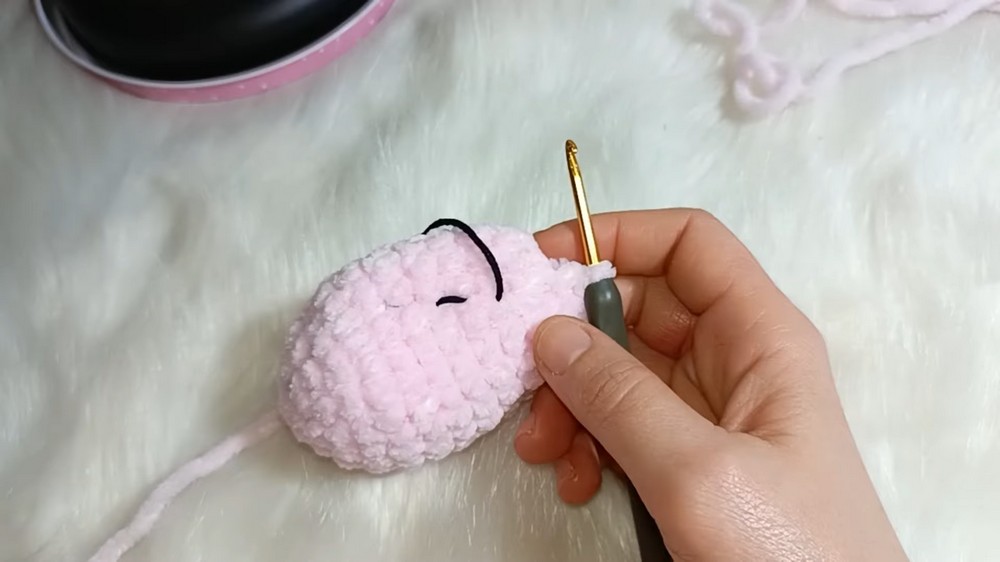
- Thread strong yarn or nylon through each side of the head (through intended eye positions), draw tight for sculpted eye sockets.
- Embroider facial details with black/dark thread:
- Add eye outlines (eyelids), fine eyebrows, and a V-shaped nose (and mouth if desired).
- Sew the head firmly onto the stuffed body, closing all gaps.
- Ensure that all limbs are aligned for a balanced, upright plush—reposition as needed before final fastening.
- Shape and gently adjust stuffing for smoothness and symmetry.
- Weave in and trim all remaining yarn tails or hide inside the plush.
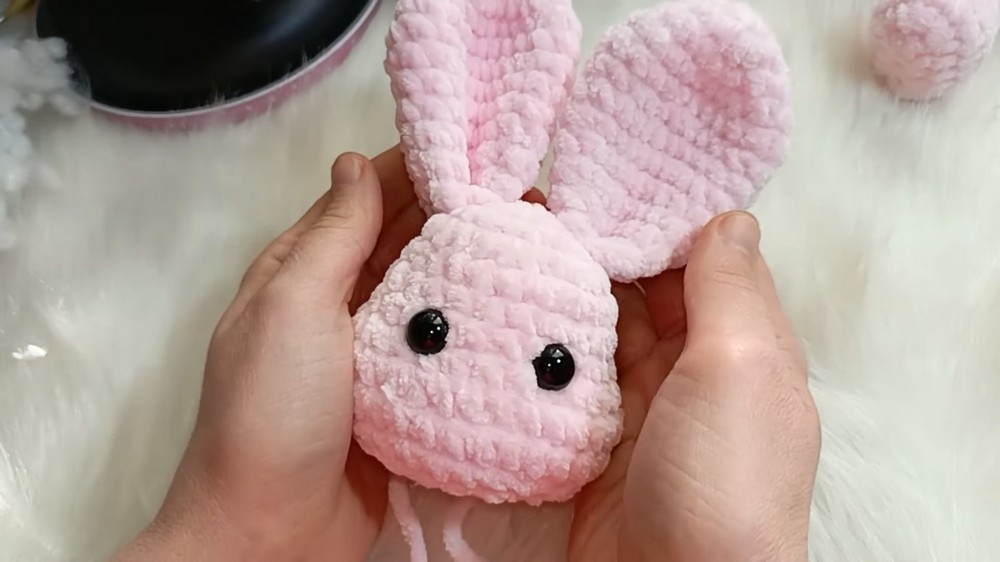
Finished Size
- Approximate height (seated): 17–20 cm (6.5"–8")
- Body width: 8–9 cm
- Ears: 9 cm long
Conclusion
This plush toy bunny pattern brings together core amigurumi skills for a loveable soft toy with expressive features and gentle shaping. The thoughtful progression from limbs to body and embroidered finishing touches creates a seamless appearance and inviting personality. Adapt this basic structure for varied colors or add small accessories for seasonal or personalized gifts, resulting in a timeless, heartwarming plush suitable for all ages.