
Simple Free Crochet No Sew Pocket Bear in Cozy Spaces
Enjoy making a cute and huggable pocket-sized bear with this fun no-sew crochet guide, perfect for spreading joy and sharing smiles with everyone.
Soft toys have long held a special place in hearts, offering comfort, companionship, and a sense of nostalgia. The pocket bear takes this timeless charm and transforms it into a compact, no-sew creation that is both approachable and endearing. Perfect for children, collectors, or as a heartfelt handmade gift, it combines warmth, personality, and convenience in a miniature form that can be carried anywhere.
Adorable Free Crochet No Sew Pocket Bear Pattern
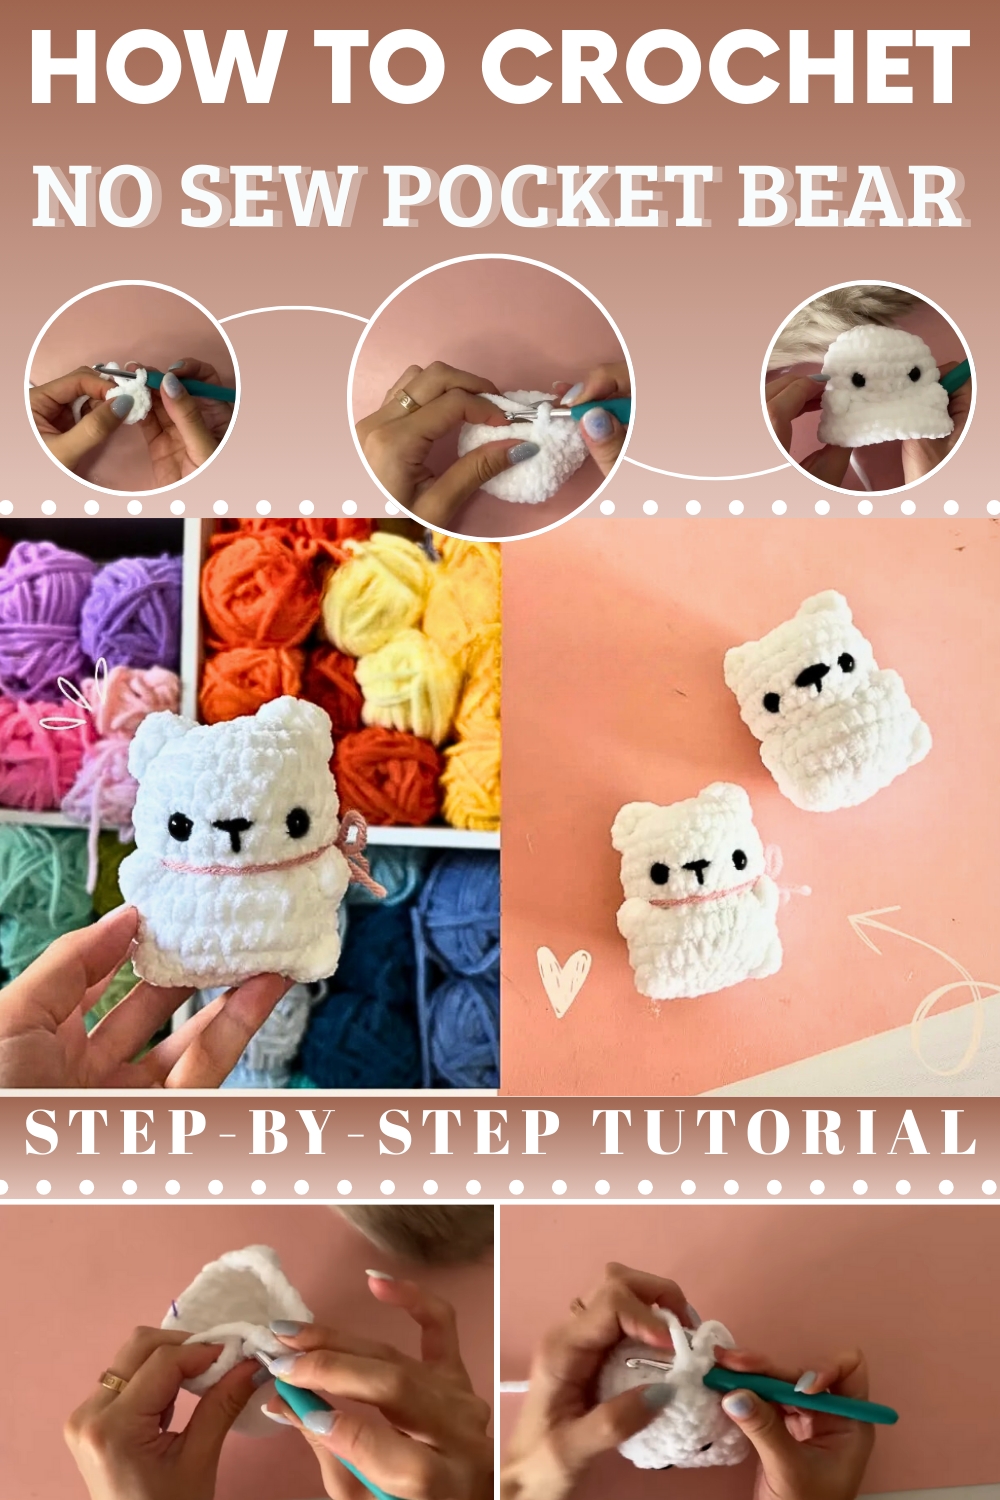
The process begins with forming the bear’s rounded body and head, shaped carefully to achieve balance and proportion. Midway, stubby arms and tiny legs are added to enhance its cuddly silhouette, while facial features such as eyes, nose, and mouth are introduced using simple techniques that require no sewing. Each component is gently attached, creating a soft and cohesive figure that feels complete and expressive without the need for intricate stitching.
Lightweight, portable, and endlessly versatile, this pocket-sized bear can be customized in a variety of colors, textures, or sizes, making it ideal for multiple purposes—from a charming keychain accent to a playful companion tucked into a bag. Combining whimsy with practicality, the crochet no-sew pocket bear carries emotional warmth, serving as a delightful keepsake that brings joy, comfort, and handmade charm in every stitch.
Materials Required
To make your own crocheted pocket bear, you will need:
- Yarn: White yarn (or any color of choice); Suna uses a thicker yarn like Bernat Blanket or Parfait Chunky.
- Hook: 5.5 mm crochet hook (can also use 5 mm for tighter stitches).
- Accessories:
- Two 10 mm safety eyes
- Stitch marker
- Scissors
- Yarn needle
- Stuffing: Polyfill or any soft fiberfill of your choice.
- Optional: Black yarn for embroidering facial features, like the nose and mouth.
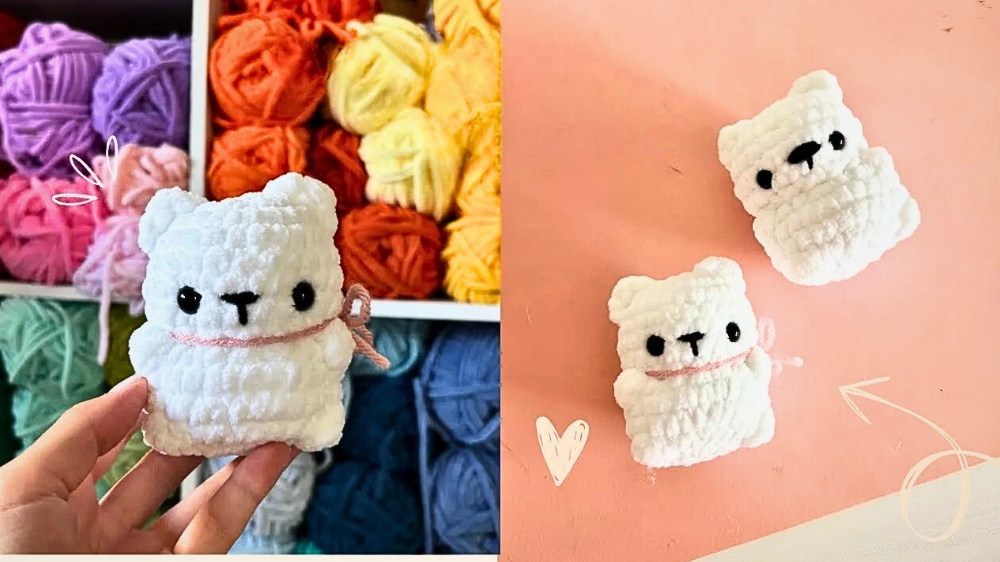
Special Features of the Pocket Bear
- No-Sew Design: The bear is crocheted completely in one piece, avoiding the need to attach separate parts like arms, feet, or ears.
- Beginner-to-Intermediate Level: While it’s accessible to determined beginners, some experience with basic stitches (magic ring, single crochet, front loop only, bobble stitch) is helpful.
- Quick to Make: This fast-working pattern makes it easy to finish in one sitting, perfect for markets or last-minute gifts.
- Customizable: By switching yarn colors, you can create bears in traditional “teddy” tones, playful pastels, or bold shades.
- Portable and Charming: Its small size makes it portable, lightweight, and irresistibly cute!
Step-by-Step Details
Head (Rounds 1–8)
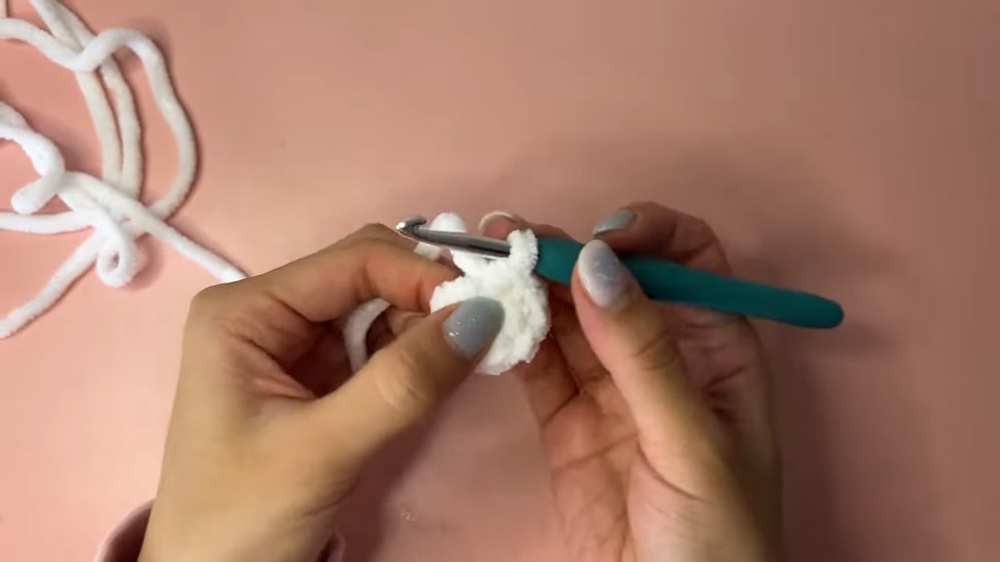
- Round 1: Start with a magic ring and crochet 8 single crochets into it. Tighten the loop to close.
- Round 2: Crochet 8 increases (16 stitches in total).
- Round 3: Work one single crochet followed by one increase, repeating around until you have 24 stitches. Use your stitch marker to track your rounds.
- Rounds 4–7: Single crochet in every stitch for four rounds to build the head’s height (24 stitches in each round).
- Round 8: Begin decreasing by making one single crochet followed by one decrease. Repeat this sequence around to finish with 16 stitches. Stuff the head as you go.

Body and Arms (Rounds 9–12)
- Round 9 (Front Loop Only): Work into the front loops only:
- Single crochet, increase (repeat twice).
- First Arm: Use the bobble stitch (4 double crochets) to form the first arm.
- Continue the sequence with a single crochet, increase, then repeat another bobble stitch for the second arm.
- Round 10: Continue with 3 single crochets, 1 increase, and so on. Adjust stitching as detailed in the video for proper proportions.
- Round 11: Begin shaping and adding legs:
- Single crochet and decrease.
- First Foot: Use another bobble stitch for the foot.
- Alternate decreases and single crochets until the round is complete. Add the second foot in a similar manner.
- Round 12-13:
- Continue shaping the body and decreasing.
- Begin stuffing the body before fully closing it.
- Complete the last round with decreases to close the opening and shape the bear’s bottom.

Facial Features
- Eyes: Place the 10 mm safety eyes approximately between Rounds 6–7, directly above the arms. Ensure they are evenly spaced (around 4 visible stitches apart).
- Nose and Mouth: Use black yarn to embroider a small triangular nose just under the eyes. Add a simple line for the mouth. Suna demonstrates how to give the nose a little volume by stitching multiple times.
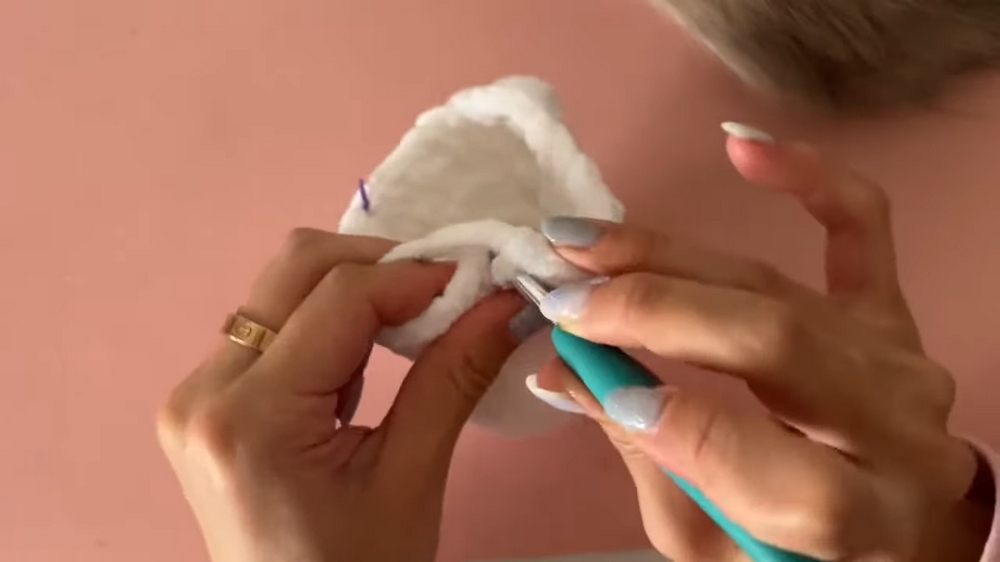
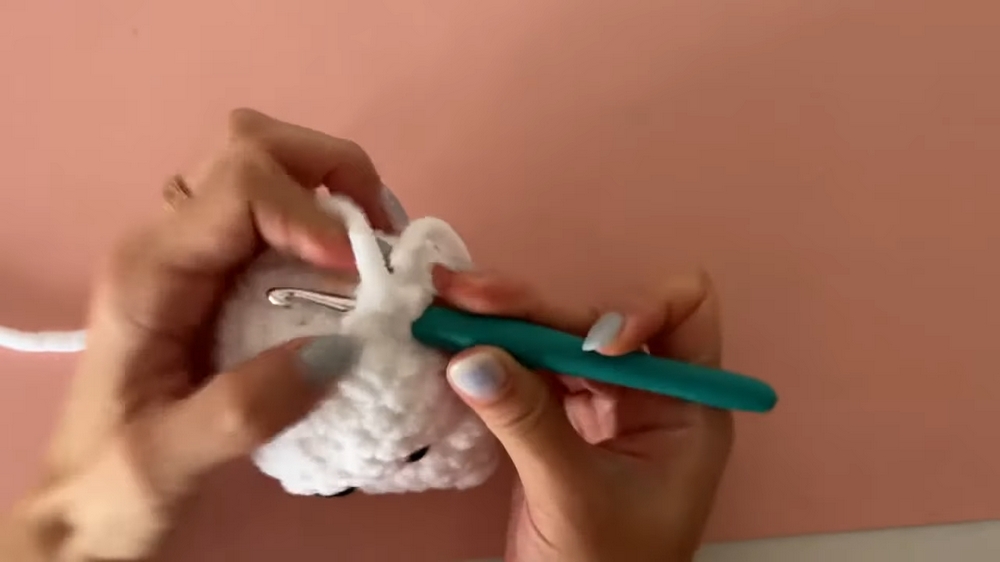
Ears (No-Sew Method)
- First Ear:
- Locate Round 4 of the head and attach the yarn directly to the stitch. Create a semi-circle using the following stitches:
- Half double crochet, double crochet, and another half double crochet into the same stitch.
- Secure the ear with a slip stitch in the next stitch.
- Hide the yarn ends inside the bear’s body.
- Locate Round 4 of the head and attach the yarn directly to the stitch. Create a semi-circle using the following stitches:
- Second Ear:
- Mirror the first ear’s process on the opposite side of the head, working backward for symmetry.
Tutor's Suggestions
- Tight Stitches: Work slightly tighter stitches to maintain shape and avoid gaps, especially when using thicker yarns.
- Stitch Marker: Use a stitch marker to keep track of rounds and the start of each row, particularly when working into small pieces.
- Color Variations: Experiment with teddy bear browns, pastel pinks, or even multicolor yarns to create different personalities for your bears.
Difficulty Level
The project falls into the beginner-to-intermediate range. While the basic stitches are straightforward, techniques like bobble stitch, front loop only, and no-sew ear construction may require some practice for beginners. However, with the tutor’s clear instructions, this project is approachable for anyone willing to try.
Uses
- Gifting: Tiny and heartfelt, perfect for children, friends, or as party favors.
- Decor: Great for a nursery, desk decoration, or collection shelf.
- Craft Fairs: Highly marketable as they are quick to make, adorable, and customizable.
- Personal Keepsakes: A little bear to carry in your pocket as a comforting reminder of positivity!
Tip for Beginners
Make sure to firmly stuff the bear as you go—especially in the head and body—but avoid overstuffing, which can distort the shape or make the stitches too tight.
Conclusion
The No-Sew Pocket Bear Crochet Tutorial is a charming and practical project that combines quick work, minimal materials, and plenty of cuteness. Its small size, no-sew design, and versatility make it perfect for both personal creations and market-ready items. Whether you’re a crochet enthusiast or just starting, this project is a wonderful way to create something adorable and unique.