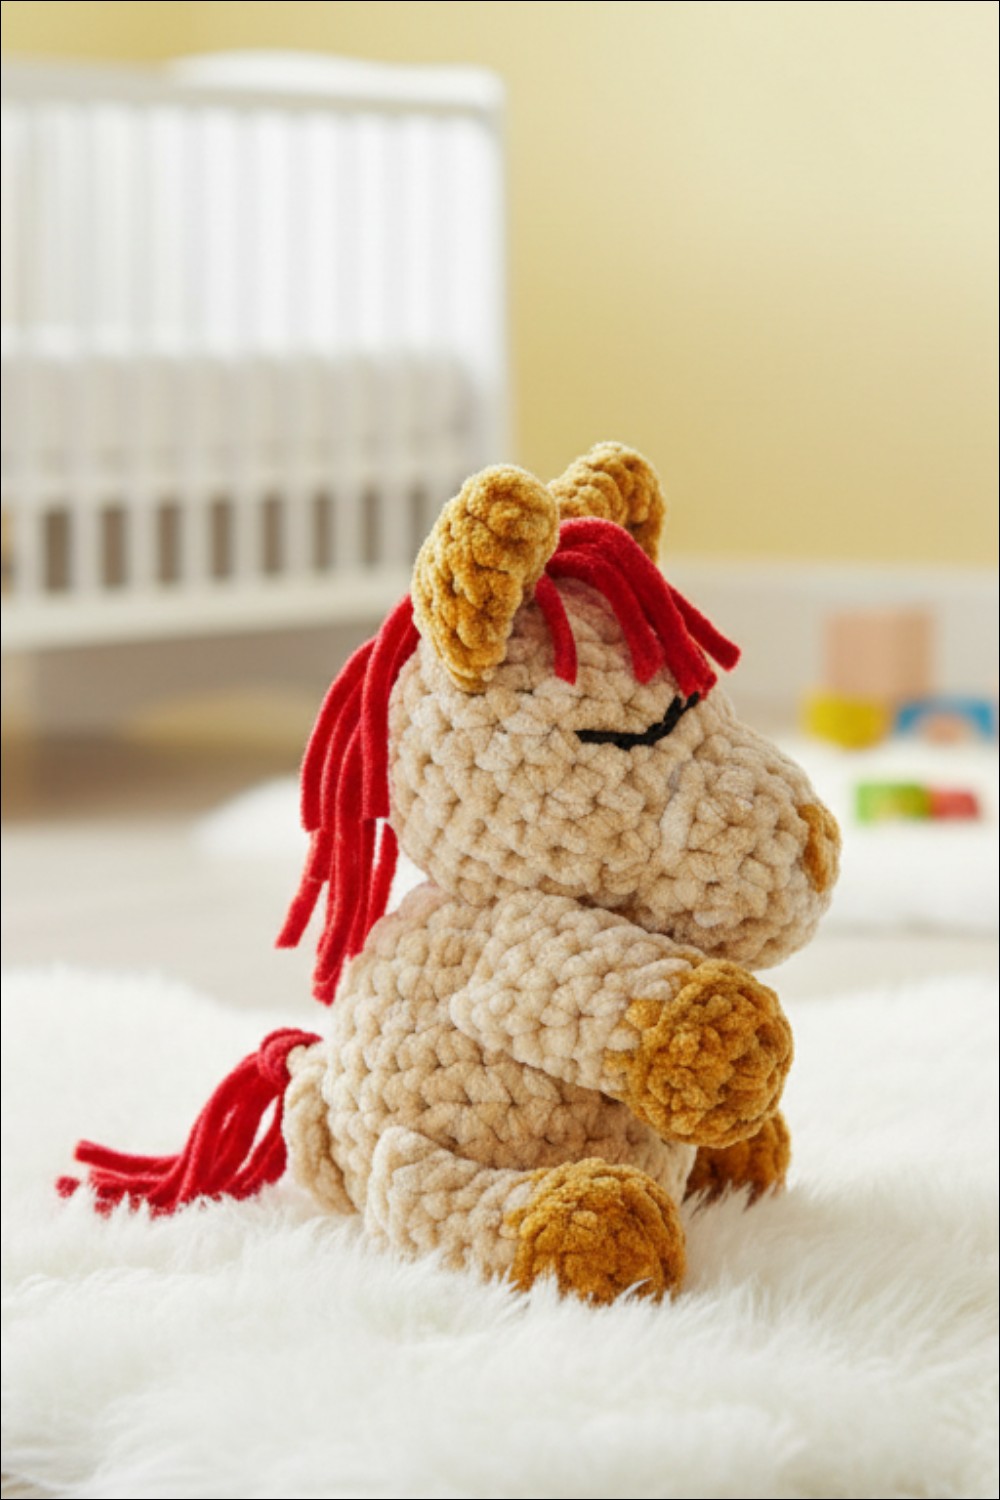
Sweet Free Crochet Sleeping Foal Pattern Perfect for Animal Lovers
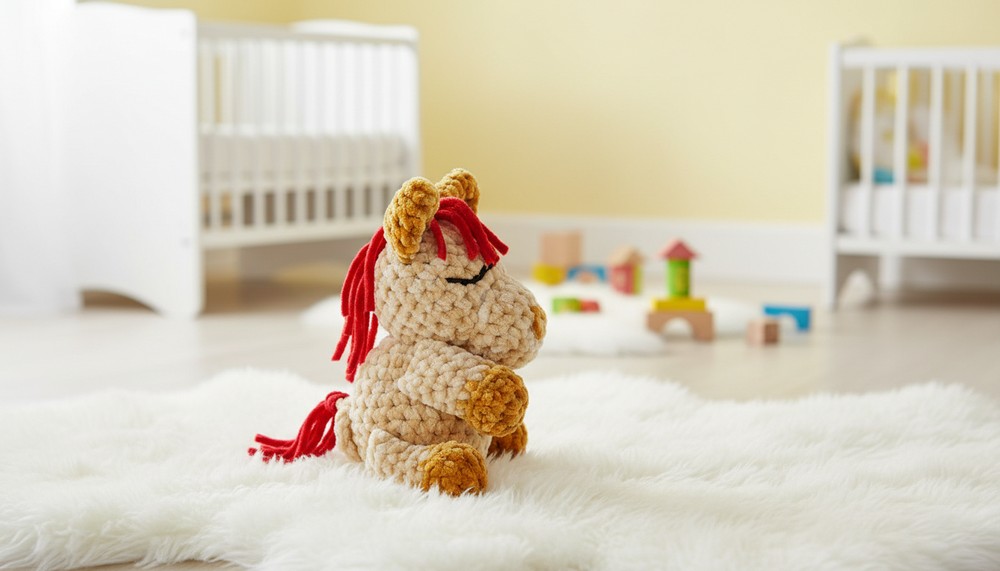
There is nothing as adorable and heartwarming as a tiny foal that looks like it is peacefully sleeping. The Crochet Sleeping Foal pattern allows anyone to make this sweet little horse with soft yarn, folded legs, and closed eyes, giving it a lifelike and gentle appearance. Its delicate mane, soft curves, and realistic details make it one of the most beautiful handmade creations you can own.
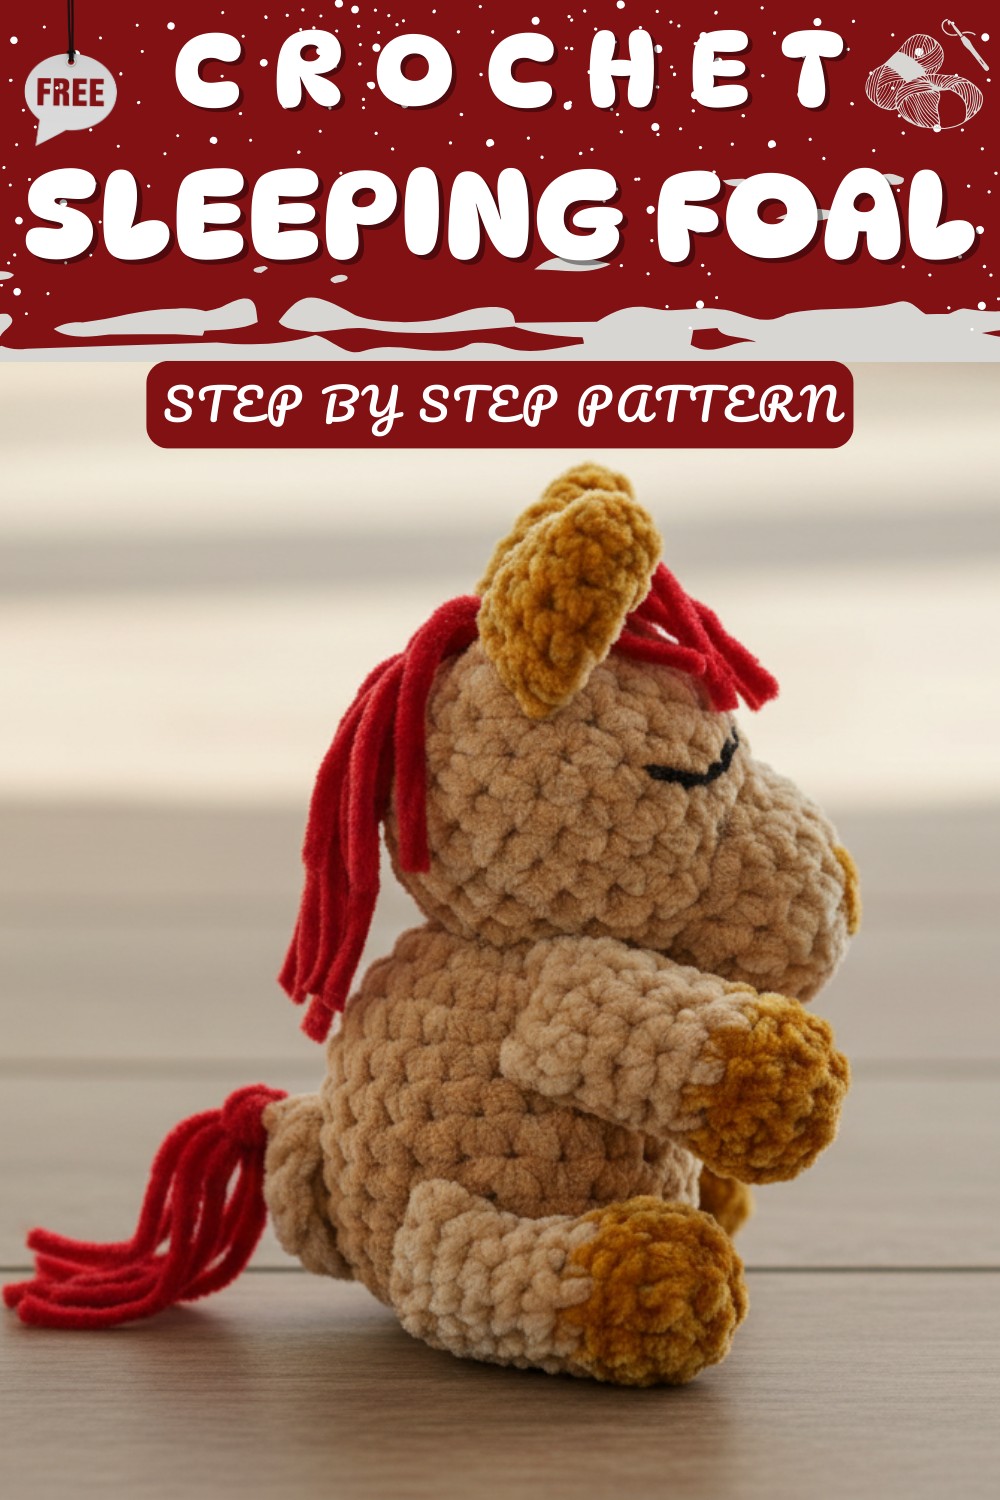
You can use it as a nursery decoration, a soft cuddle companion for children, or a thoughtful gift for friends and family. It also encourages imagination and play, making it perfect for both display and fun. Every stitch is carefully hand-made, giving it a unique charm that cannot be found in store-bought toys. Its lifelike sleeping pose, soft texture, and handmade details make it truly special, comforting, and full of joy.
Brighten hearts with this Free Crochet Sleeping Foal Pattern that’s a sweet, lovable design ideal for gifts, nurseries, or home décor.

Enchanting Crochet Sleeping Foal Pattern Inspire Joy in Every Stitch
Materials List
- Yarn:
- (Bulky 5; 10.5 oz/300 g; 315 yds/288 m)
- Contrast A: Brown, 1 ball or 95 yds/86 m
- Contrast B: Mustered, 1 ball or 30 yds/28 m
- Contrast C: Red, 1 ball or 30 yds/28 m
- (8.8 oz/250 g; 305 yds/279 m)
- (Bulky 5; 10.5 oz/300 g; 315 yds/288 m)
- Hook: U.S. I/9 (5.5 mm) crochet hook (or size needed to obtain gauge)
- Notions:
- Stitch marker
- yarn needle
- Coats & Clark embroidery floss, Black (8403) - 8.75 yds [8 m]
- Polyester stuffing
Gauge
- 11 sc and 12 rows = 4" [10 cm]
- 13 sc and 14 rows = 4" [10 cm]
Abbreviations
| Abbreviation | Meaning |
|---|---|
| Approx | Approximately |
| Beg | Begin(ning) |
| Ch | Chain(s) |
| PM | Place marker |
| Rem | Remaining(s) |
| Rep | Repeat |
| Rnd | Round(s) |
| RS | Right side |
| Sc | Single crochet |
| Sc2tog | Single crochet 2 together |
| Sl st | Slip stitch |
| St(s) | Stitch(es) |
| Yoh | Yarn over hook |
Special Stitch Notes:
- Sc2tog: Draw up a loop in each of next 2 sc, yarn over, and draw through all 3 loops on hook.
Pattern Notes
- Do not join at the end of rounds. Work in continuous rounds unless otherwise stated.
- Move marker as you progress to keep track of rounds.
- All stitch counts are given at the end of each round.

Pattern Instructions
Body
With A,
- Ch 2.
- Rnd 1: 6 sc in 2nd ch from hook. Do not join. PM for beg of rnd. (6 sc)
- Rnd 2: 2 sc in each sc around. (12 sc)
- Rnd 3: *1 sc in next sc, 2 sc in next sc; rep from * around. (18 sc)
- Rnd 4: *1 sc in each of next 2 sc, 2 sc in next sc; rep from * around. (24 sc)
- Rnds 5–13: 1 sc in each sc around.
- Rnd 14: *Sc2tog, 1 sc in each of next 2 sc; rep from * around. (18 sts)
- Rnd 15: *Sc2tog, 1 sc in next sc; rep from * around. (12 sts)
- Stuff the body firmly.
- Rnd 16: *Sc2tog; rep from * around. (6 sts)
- Fasten off, leaving a long end. Thread yarn through front loops of remaining sts and pull tightly to close. Fasten securely.
Head
- Work Rounds 1–4 as for Body.
- Rnds 5-6: 1 sc in each sc around.
- Rnds 7-9: Repeat Body Rnds 14–16 (see above: decrease and close as for Body).
Muzzle
With A,
- Ch 4.
- Rnd 1: 2 sc in 2nd ch from hook, 1 sc in next ch, 3 sc in last ch. Do not turn. Work in remaining loops of the foundation chain, 1 sc in next ch, 1 sc in last ch. PM for start of round. (8 sc)
- Rnd 2: *1 sc in next sc, 2 sc in next sc; rep from * around. (12 sc)
- Rnd 3: 2 sc in each of next 2 sc, 1 sc in each of next 3 sc, 2 sc in each of next 3 sc, 1 sc in each of next 3 sc, 2 sc in last sc. (18 sc)
- Rnds 4-5: 1 sc in each sc around.
- Next row: 1 sc in next sc, sl st in next sc. Fasten off, leaving a long end for sewing.
- Sew muzzle to head leaving a small opening. Stuff muzzle tightly, then close opening.
Ears (Make 2)
With B,
- Ch 2.
- Rnd 1: 4 sc in 2nd ch from hook. (4 sc)
- Rnd 2: (2 sc in next sc, 1 sc in next sc) twice. (6 sc)
- Rnd 3: (2 sc in next sc, 1 sc in each of next 2 sc) twice. (8 sc)
- Rnd 4: (2 sc in next sc, 1 sc in each of next 3 sc) twice. (10 sc)
- Rnds 5–6: 1 sc in each sc around.
- Next row: Sl st in next sc, fasten off with a long tail.
- Fold ears flat and shape bend.
- Sew ears to top of head about 3 sc apart (see diagram/picture if available.)
Face Embroidery
- With black embroidery floss:
- Using a stem stitch, embroider sleepy eyes over 4 sc and 2 rounds, 3 sc apart.
- With two strands of B:
- Using a straight stitch, embroider nostrils over 2 rounds and 2 sc apart.
Legs (Make 4)
Hoof (with B):
- Ch 2.
- Rnd 1: 10 sc in 2nd ch from hook. Join with sl st. (10 sc)
- Rnds 2–3: Ch 1, 1 sc in each sc around. Join. Fasten off.
Leg (with A):
- Join A with sl st to back loop of any sc.
- Rnd 1: Ch 1, working in back loops only, (*Sc2tog, 1 sc in each of next 3 sc) twice. (8 sts)
- Do not join; work in continuous rounds:
- Rnds 2–6: 1 sc in each sc around.
- Next rnd: Sl st in next sc, fasten off with long tail.
- Stuff hoof tightly and leg lightly.
- Flatten end of each leg and sew to body as shown in picture.
Tail
With A:
- Ch 10, leaving long end.
- Row 1 (RS): 1 sc in 2nd ch from hook and each to end. (9 sc)
- Fasten off with long end for sewing.
- Attach tail to bottom back of body.
Mane & Tail Fringe
- Cut 7" [18 cm] lengths of C.
- For mane: Take 3 strands and knot into 4 fringes, starting at top and down the back of head to seam with body.
- For tail: Use 3 strands to knot fringe to top of tail. Trim as desired.
Basket
With D:
- Ch 2.
- Rnd 1: 8 sc in 2nd ch from hook. Do not join; PM for beg of round. (8 sc)
- Rnd 2: 2 sc in each sc around. (16 sc)
- Rnd 3: *1 sc in next sc, 2 sc in next st; rep from * around. (24 sc)
- Rnd 4: *1 sc in each of next 2 sc, 2 sc in next st; rep from * around. (32 sc)
- Rnd 5: *1 sc in each of next 3 sc, 2 sc in next st; rep from * around. (40 sc)
- Rnd 6: *1 sc in each of next 4 sc, 2 sc in next st; rep from * around. (48 sc)
- Rnds 7–16: 1 sc in each sc around.
- Next rnd: Sl st in next sc, fasten off.
Customization Ideas
- Color: Choose any color combination for contrast yarns to personalize your foal.
- Size: Use lighter or heavier weight yarn and suitable hook to adjust the size.
- Details: Add a ribbon, bell, or bead for a collar.
- Basket: Decorate basket with embroidery or small applique.
Special Notes
- Always check your gauge if you want the finished size to match.
- Move your stitch marker at the start of each round to avoid losing your place, especially when rounds are not joined.
- Use safety eyes for an alternative facial feature (not for small children).
Conclusion
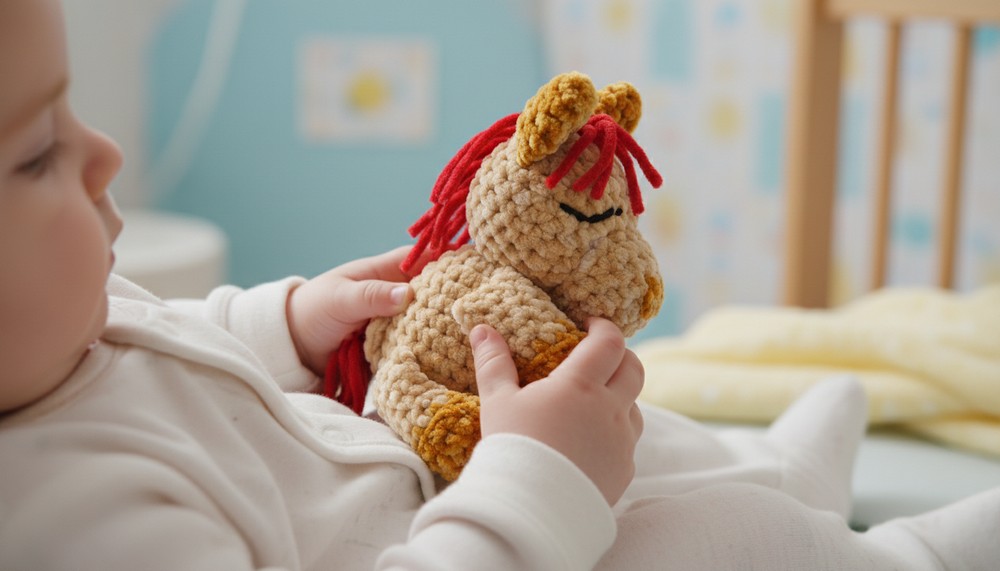
This Sleeping Foal to Crochet makes a delightful gift or keepsake, suitable for beginners and experienced crocheters alike. The accompanying basket adds a charming touch, perfect for display or play.
Pattern Correction & Tips
- Correction: Pattern rounds in body/head are worked in continuous rounds, not joined.
- Tips:
- Stuff body parts gradually as you go for gentler shaping.
- Use invisible decrease for neater shaping if you prefer.
- Secure all ends securely inside the toy to prevent unraveling.