
Striking Crochet Bald Eagle Pattern for a Bold Room Accent
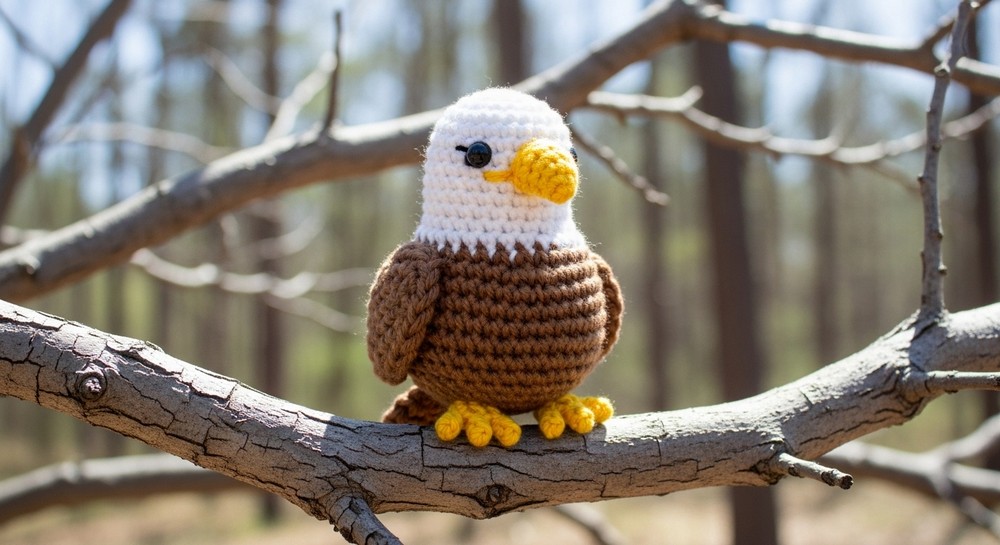
Celebrate the beauty of one of the most iconic birds in the world with this Crochet Bald Eagle pattern. This handmade design captures the eagle's proud stance, white head, sharp yellow beak, and bold brown body. It’s a simple yet impressive creation that brings charm to any space. Perfect for wildlife lovers and those who enjoy patriotic themes, it makes a thoughtful gift or a creative home decoration.

This bald eagle can be displayed on shelves, tables, or desks to add a personal touch to your room. It’s also great for teaching kids about this majestic bird in a fun and playful way. Whether it’s for yourself or someone special, it’s a unique piece that represents strength, freedom, and creativity. Simple, easy, and full of character, this crochet bald eagle is a wonderful way to enjoy handmade art while celebrating nature’s beauty.
Soar with pride and beauty with Crochet Bald Eagle Pattern that's perfect for majestic & striking creation that inspires awe and admiration.
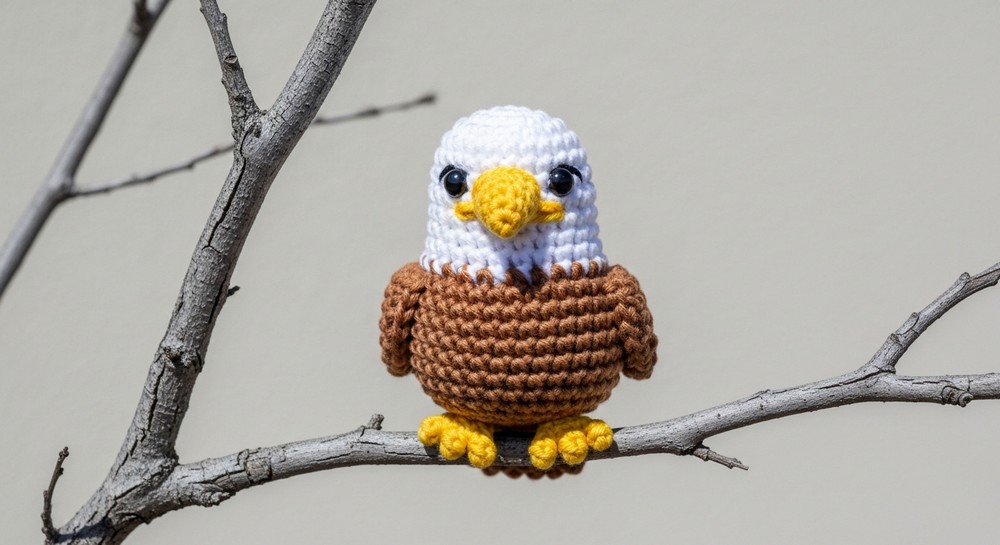
Regal Crochet Bald Eagle Pattern for Your Patriotic Collection
Materials Needed
Yarn (Worsted Weight Acrylic):
- Yarn – White (head)
- Yarn – Coffee (Brown) (Wings and body)
- Yarn – Lemon (Yellow) (Beak and feet)
Tools and Notions:
- Crochet Hook: 4.0mm
- Yarn Needle: For sewing and weaving in ends
- Stitch Marker: To track rounds and stitches
- Scissors: General cutting needs
- Glue: For attaching felt (or any reliable fabric glue)
- Black Felt: To cut small circles for the eyes
- Polyfill Stuffing: For filling the eagle amigurumi
Key Abbreviations
Below are the abbreviations used in US crochet terms:
- ch: chain
- sc: single crochet
- hdc: half double crochet
- dc: double crochet
- sl st: slip stitch
- sc2tog: single crochet 2 together (decrease)
- st: stitch
Notes and Special Tips
- Stitch Markers: Use a stitch marker to track the start of each round, as this is an amigurumi worked in continuous spirals.
- Glue Application: Use Fabri-tac (or similar fabric glue) to attach the black felt eyes to the head securely. Let the glue dry fully before handling the amigurumi.
- Customization Ideas:
- Use a smaller hook size for tighter stitches and a more petite bald eagle.
- Swap colors to create a fantasy or cartoon-style bird that fits your preferences.
- Assembly Help: Pinning components, like wings and feet, before sewing ensures proper placement.
Pattern Instructions
Body
With White Yarn:
- Round 1: Work 6 sc into a magic ring. [6]
- Round 2: Work 2 sc in each st around. [12]
- Round 3: [2 sc in next st, sc in next st], repeat around. [18]
- Round 4: [2 sc in next st, sc in next 2 sts], repeat around. [24]
- Rounds 5–7: Sc in each st around. [24]
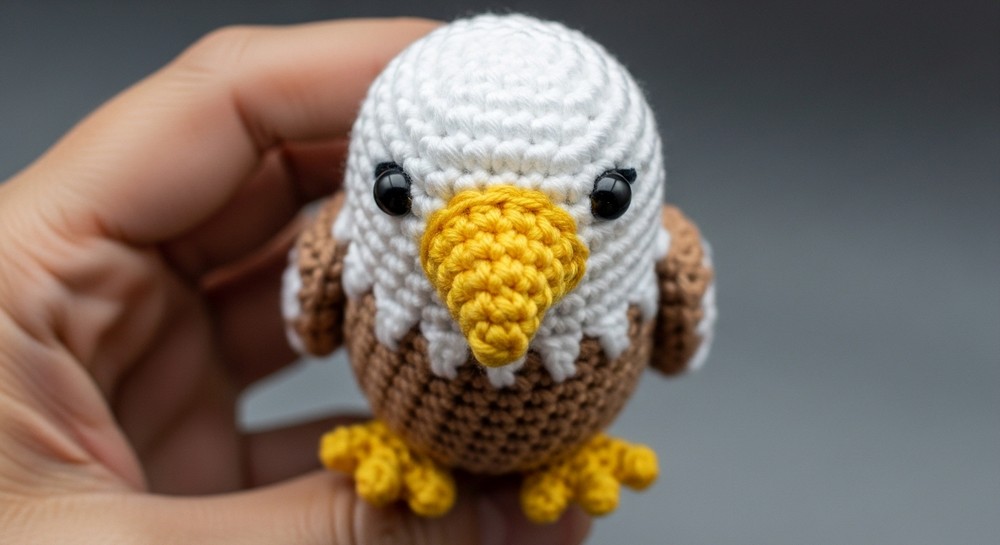
- Round 8 (Front loop only): [(sl st, hdc) in next st, (hdc, sl st) in next st, sl st in next st] 3 times. Through both loops, sc in next 15 sts.
- Note: This creates 3 ruffles. See photos or video for reference.
- Round 9: Sc in next 24 sts (first 9 stitches through back loop, remaining 15 through both loops). Then sc in next 2 sts only. Move your stitch marker here to mark the new end of the round.
With Brown Yarn:
8. Round 10 (Front loop only): [(sl st, hdc) in next st, (hdc, sl st) in next st, sl st in next st] 2 times. Through both loops, sc in next 18 sts.
- Round 11: Sc in next 24 sts (first 9 stitches through back loop, remaining 15 through both loops).
- Rounds 12–17: Sc in each st around. [24]
- Sc in next 12 sts only. Move your stitch marker to the last stitch made to mark the new end of the round.
- Round 18 (Back loop only): [Sc2tog, sc in next 2 sts], repeat around. [18]
- Round 19: [Sc2tog, sc in next st], repeat around. [12]
- Begin stuffing the body.
- Round 20: Sc2tog around. [6]
- Fasten off, leaving a long tail. Finish stuffing and sew the top closed.
Wings (Make 2)
With Brown Yarn:
- Round 1: Work 6 sc into a magic ring. [6]
- Round 2: Work 2 sc in each st around. [12]
- Round 3: Work 2 dc in next st, 1 dc in next st, repeat around. Fasten off, leaving a long tail for sewing.
Beak
With Yellow Yarn:
- Round 1: Work 4 sc into a magic ring. [4]
- Round 2: Work 2 sc in each st around. [8]
- Round 3: Work hdc in next 4 sts, sc in next 4 sts. Sl st in next st. [8]
- Fasten off, leaving a long tail for sewing.
Feet (Make 2)
With Yellow Yarn:
- Ch 4, sl st back across the next 3 ch, ch 3, sl st back across the next 3 ch, ch 3, sl st back across the next 3 ch.
- Fasten off, leaving a long tail for sewing.
Bald Eagle Amigurumi Assembly
- Attach the Beak: Sew the beak 4 rounds down from the top of the head. The beak should sit right above the first set of chest ruffles.
- Add the Eyes: Cut 2 small circles from the black felt. Attach them just above the beak using Fabri-tac glue. Refer to photos for placement.
- Sew the Wings: Attach one wing to each side of the bird, right next to the chest ruffles. Sew securely.
- Attach the Feet: Sew the feet to the bottom side of the eagle’s body. Only sew along one row, leaving the rest of the rows free to stick out like talons.
- Finish: Cut and hide all loose yarn ends.

Conclusion
This Bald Eagle Amigurumi is the perfect project for adding a splash of creativity and patriotism to your collection. With carefully crafted details like chest ruffles, wings, and feet, this crochet eagle is as fun to make as it is to display. Whether it’s for festive decor, gifting, or honoring this national icon, it’s sure to bring joy and pride.
Pattern Corrections
- Body Round 8: Ensure you alternate slip stitches and half-double crochet properly for symmetrical ruffles.
- Wing Round 3: Maintain consistency with double crochet increases for a smooth, curved shape.
Final Tip
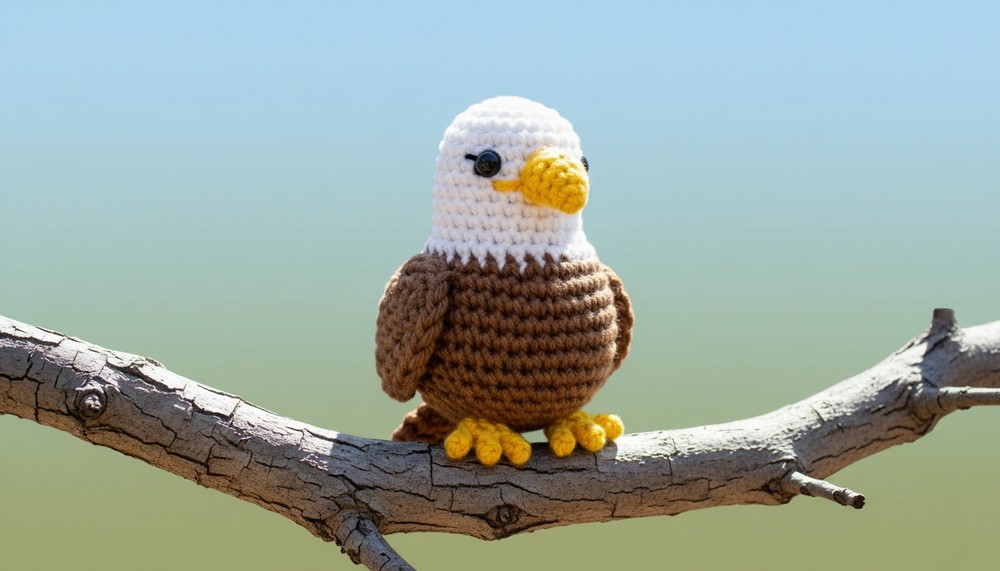
To keep the ruffles neatly flared near the chest area, lightly press or shape them after assembly. This will enhance the eagle’s proud and majestic stance! 🦅
