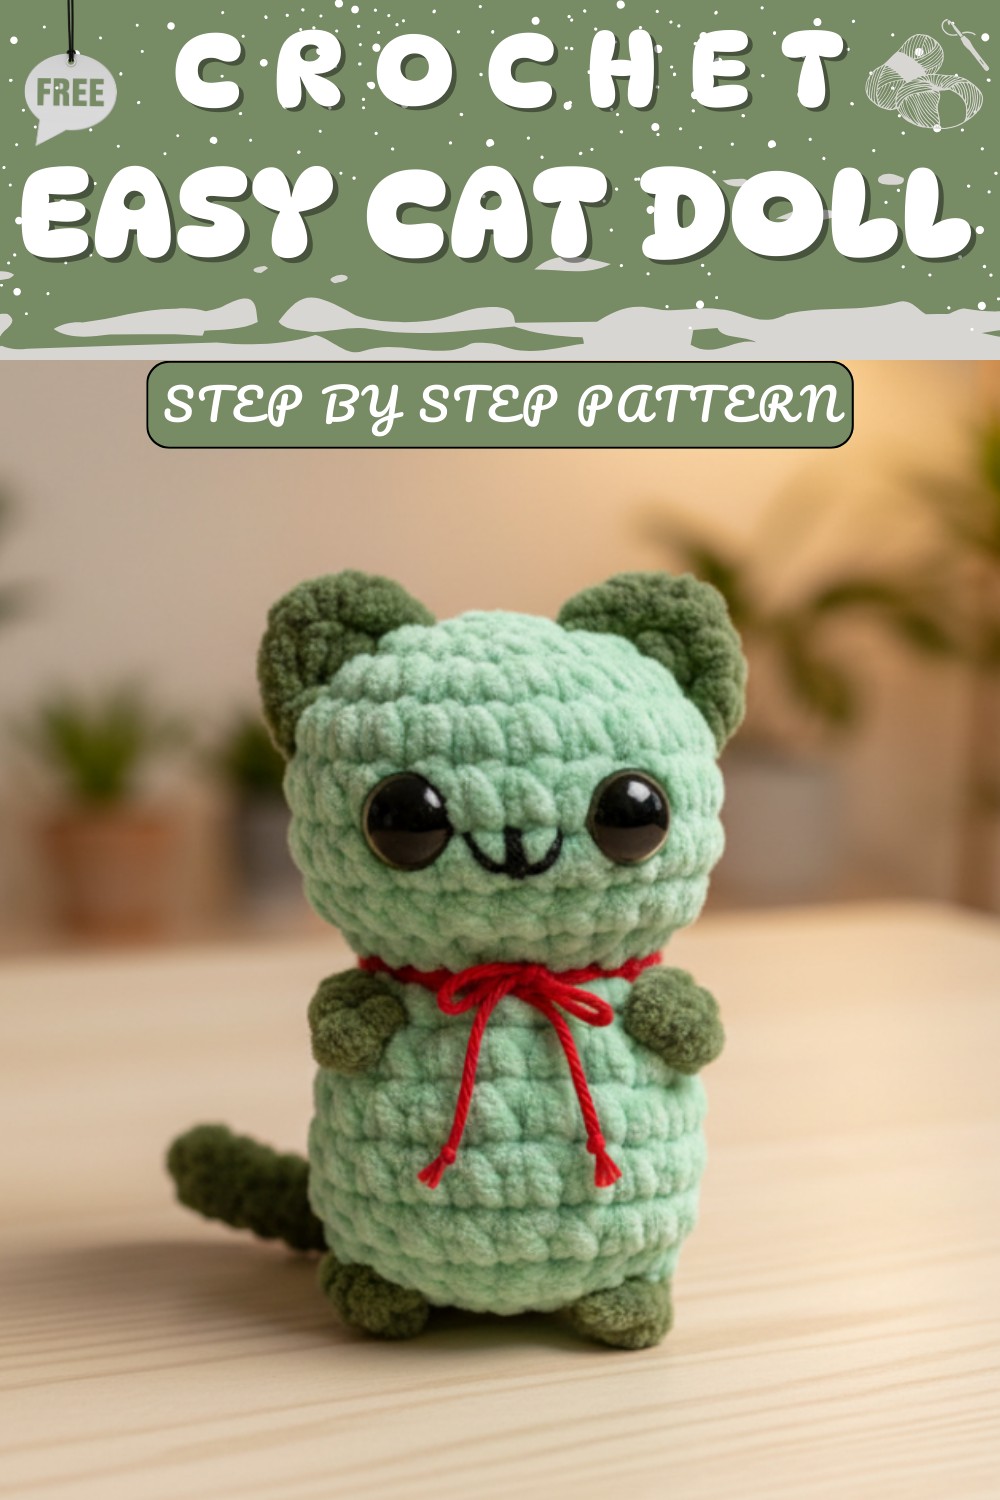
Soft Crochet Cat Keychain Pattern That Everyone Will Adore
A little animal friend can bring joy and color to any room. This crochet cat doll pattern shows soft yarn and bright shades that feel nice in the hand. Its cute face and small body make it fun to hold, hug, or place anywhere you like. It is perfect for decorating a child’s room, adding a cheerful touch to a bed or shelf, or giving as a sweet gift that brings a smile. Every doll has its own tiny details and stitches, making it special and one-of-a-kind.

Lightweight and soft, it can travel easily in a bag or stay nearby as a comforting companion. Its playful look and gentle textures make it inviting and friendly. This little cat doll turns a simple corner into a happy space, adding warmth, personality, and a touch of magic to everyday life for children and adults alike.
Bring home a charming with this Crochet Cat Doll Pattern that delights with every stitch and makes a lovely gift or decoration for any space.

Tiny Whiskers Crochet Cat Keychain Pattern for Quick Cuddles
Materials Required
Essentials
- Yarn:
- Main yarn color: Super bulky yarn (e.g., Honey Bunny Yarn by Hobbii).
- Collar/Details: Medium-weight yarn for contrast details (optional).
- Crochet Hook: 5mm.
- Stuffing: Fiberfill stuffing.
- Plastic Safety Eyes:
- Suggested sizes: 14mm or 9mm.
- Scissors.
- Yarn needle.
Optional
- Additional embellishments: small bells, buttons, charms, or felt for the nose or other details.
- Stitch marker (to track row beginnings).
- Surface slip stitching tool for adding additional details.
Key Abbreviations
- ch = chain
- sl st = slip stitch
- sc = single crochet
- inc = increase (work 2 sc in 1 stitch)
- dec/inv dec = decrease/invisible decrease (crochet 2 stitches together)
- st(s) = stitch(es)
Note: Invisible decreases (inv dec) are preferred for a cleaner finish.
Pattern Instructions
Follow these instructions starting with the head and working down through the rest of the body, ears, arms, and tail.
HEAD & BODY
Round 1: (Using chain foundation)
- Make a slip knot on your hook.
- Ch 2. Work 8 sc in the second chain from the hook.
- Tighten the foundation loop to close.
- Sl st to join. (8 sts total in round 1)
Round 2:
- Increase all the way around: Work 2 sc in each st around. (16 sts total)

Round 3:
- (1 sc, inc) — repeat all the way around. (24 sts total)
Round 4-7:
- Work 1 sc in each st (no increases or decreases). (Maintain 24 sts per round for 4 rounds)

Tip: Consider attaching ears between rounds 4-7 for convenience.
EARS
Placement: Ear placement starts between rounds 2-4 of the head.
Ear Instructions:
- Insert your hook into round 4 where you want the ear to start.
- Attach yarn and chain 1.
- In the same st, work sc.
- In the next st (round 3): work dc.
- In the next st (round 2): work sc.
- Fasten off and pull both yarn ends into the inside of the doll's head.
- Knot the ends securely and weave them into the head.
Repeat on the other side for the second ear.
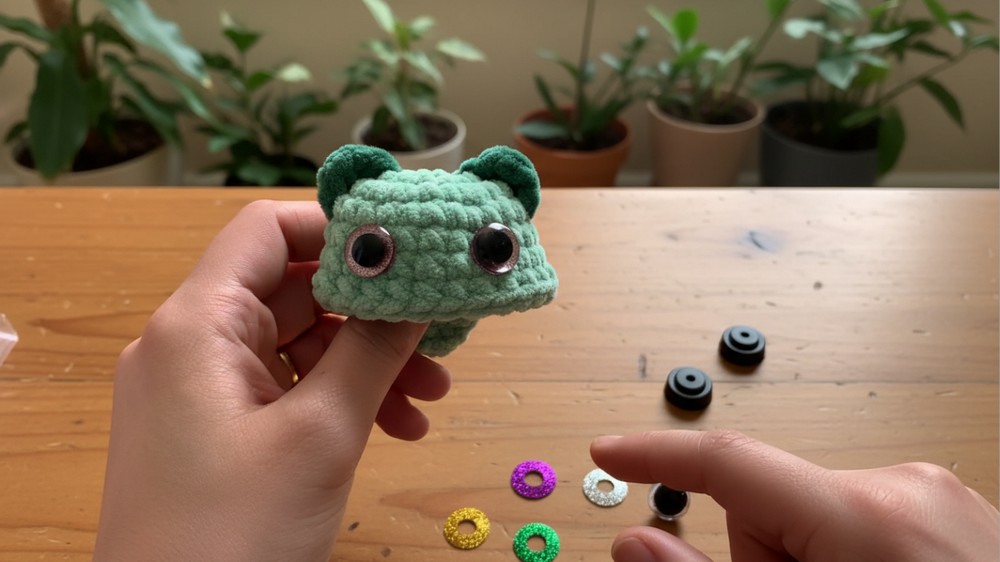
EYES
Placement: Insert safety eyes between rounds 5 and 6, spaced 5 stitches apart.
- Use safety eyes sized 14mm or 9mm based on your preference.
- Insert and secure the safety eye backing with a firm click.
- Optional: Use craft glue for added security if desired.
BODY
Round 8:
- Work dec all the way around. (12 sts total)
Round 9:
- Working in front loops only (FLO): (1 sc, inc) — repeat all the way around. (18 sts total)
Round 10:
- Work (sc in next 5 sts, inc) — repeat 3 times. (21 sts total)
Rounds 11–13:
- Work 1 sc in each st all the way around. (Maintain 21 sts per round)
ARMS
Placement: Arms go between rounds 9 and 10.
- Insert your hook and attach secondary yarn.
- (Optional for puffier arms) Work puff stitches as follows:
- Yarn over, insert hook, pull through. Repeat until 5 loops are on the hook.
- Yarn over and pull through all loops.
- Fasten off and pull yarn ends into the body.
- Tie off securely.
Repeat this process on the opposite side.
Round 14:
- Work (sc in next 5 sts, dec) — repeat. (18 sts total)
Round 15:
- Work dec around. (9 sts total)
LEGS
Placement: Legs go between rounds 14 and 15.
- Insert hook with puff stitch method:
- Follow the same puff stitch technique as the arms.
- Securely tie off both starting and ending yarn ends inside the body.
Repeat for the second leg and match placement on both sides.
TAIL
- Position the tail centered below the legs. Insert hook at the back of the doll between rounds 14 and 15.
- Ch 10.
- Starting in 2nd ch from the hook, sl st all the way back toward the base.
- Fasten off and thread all yarn ends through the body for security.

CLOSING THE BODY
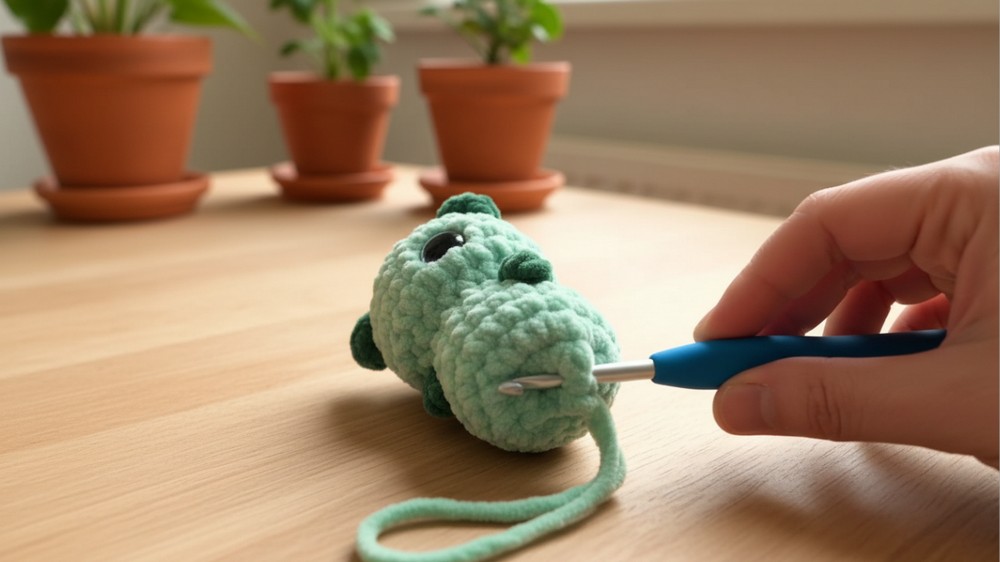
- Use the remaining yarn tail with a needle to thread through the front loops of the final 9 sts.
- Pull tight to cinch the opening closed.
- Weave in any excess tail and trim neatly.
COLLAR (Optional)
- Switch to medium-weight yarn for the collar using a contrasting or vibrant color.
- Starting just beneath the head, use a surface slip stitch technique:
- Insert hook into stitches between the head and body (round 8/9) and pull yarn through.
- Slip stitch around the neck until the collar is complete.
- Cut yarn with a long tail. Tie knots and finish with a bow or embellishments as desired.
Customization Ideas
- Add buttons or charms for a decorative touch.
- Vary the yarn type to achieve different textures.
- Customize colors for various cat breeds or unique designs (e.g., stripes, bi-color, etc.).
- Use embroidery thread or felt for creating a nose and whiskers.
Special Notes
- Invisible Decreases (inv dec): Use the front loops only of the next two sts for tighter decreases.
- Bulkier yarns can make handling details like the eyes or tail more challenging. Adjust by using thinner yarn or larger hooks for certain details.
Conclusion
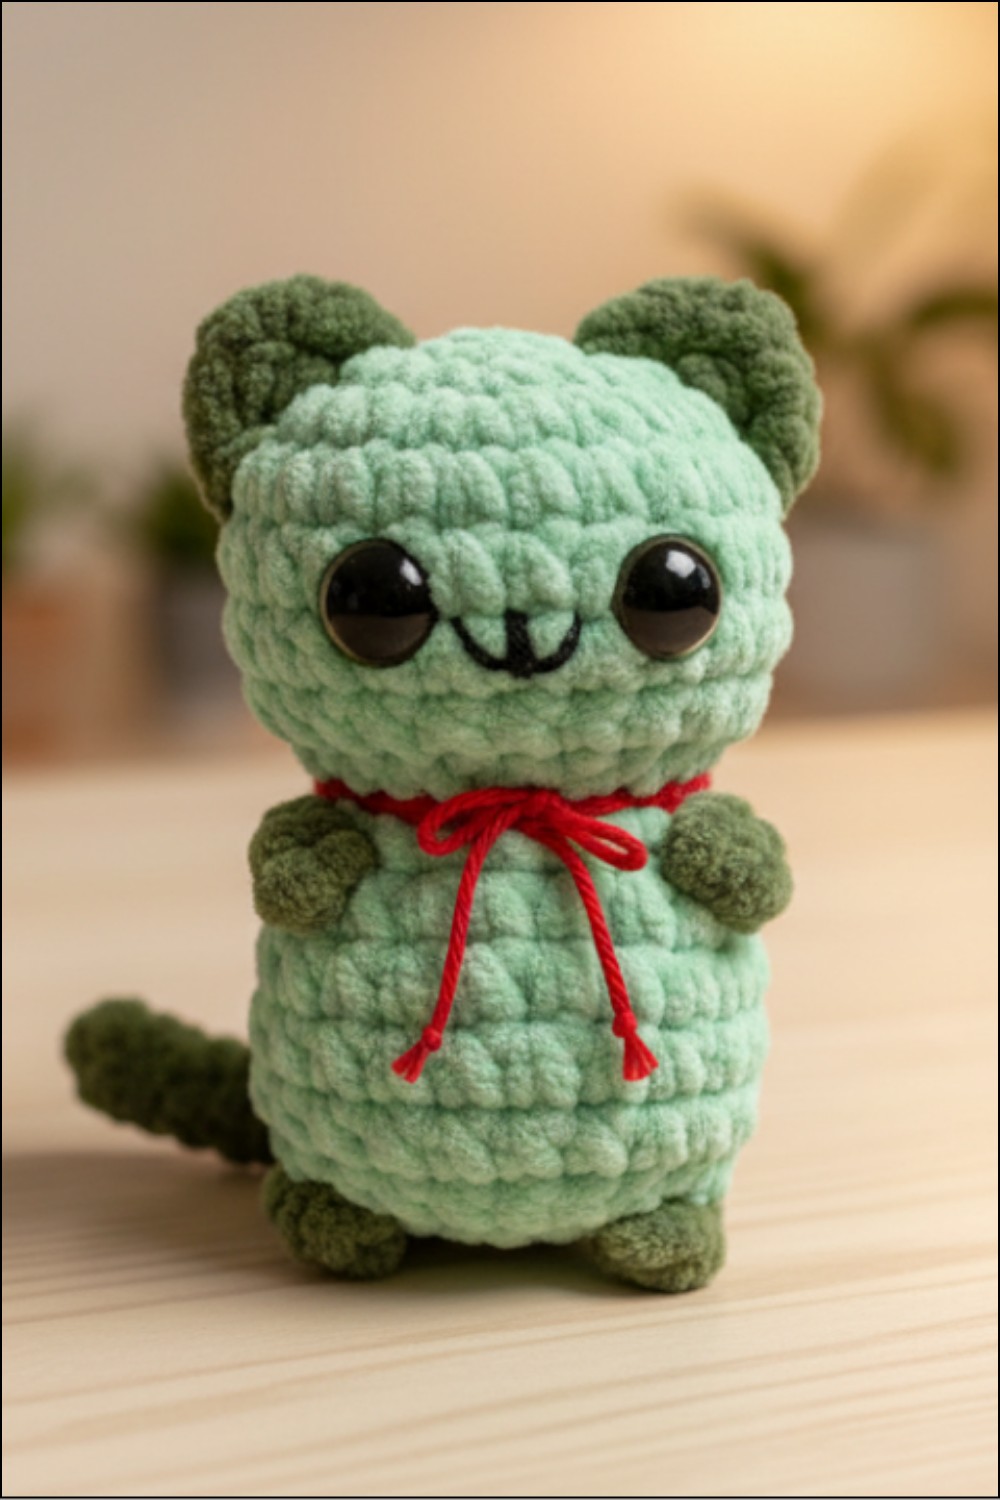
Congratulations! Your no-sew pocket kitty is now completed. Whether it’s for you, a gift, or a whimsical decoration, this project is sure to bring joy. Feel free to experiment with colors, sizes, or additional embellishments.
Pattern Corrections
- If the final body looks uneven, ensure even stuffing and shaping as needed.
- Track your stitches using a marker to avoid losing count in rounds.
Tips
- Surface shaping: You can shape the body by manipulating stuffed areas for symmetry.
- Always pull stitches evenly when tightening to avoid uneven tension.
- Knot securely inside the doll’s body when working with multiple tails from attached parts to prevent unravelling.