
Snuggle-Worthy Crochet Cat Pattern Perfect for Cat Lovers
A soft and playful little feline that brings life and charm to any space can brighten up your home or personal items. This adorable Crochet CAT pattern turns simple yarn into a tiny companion that delights everyone with its cute and cuddly appearance. It makes a perfect decoration for shelves, desks, or even as a keychain that follows you everywhere.

The soft texture feels warm and inviting, showing care and love in every stitch. Making it is simple and fun, allowing anyone to enjoy a relaxing and cheerful activity. It can be a special gift for friends, children, or loved ones, giving them a keepsake that is both charming and meaningful. Each stitch adds personality, making your little cat unique and full of character. Whether used to decorate a room, hang on a bag, or display on a table, this charming companion brings joy, happiness, and comfort to everyday life.
Spread joy with this Free Crochet Cat Pattern that's make a playful gift or decoration perfect for sharing fun and smiles in any space.

Bright Crochet Cat Pattern That Turns Yarn into a Furry Friend
Materials:
- Yarn:
- 8-ply (DK weight) 100% acrylic yarn in at least one color. (Optional: choose two colors for accents like paws and belly.)
- Hook:
- 3.5mm crochet hook.
- Safety Eyes:
- Two 12mm safety eyes.
- Stuffing:
- Polyfill or similar stuffing material.
- Notions:
- Scissors
- Stitch marker (if needed)
Key Abbreviations (US Terminology):
- ch: Chain
- sc: Single crochet
- inc: Increase (2 single crochets into the same stitch)
- dec: Decrease (single crochet worked over two stitches; invisible decreases preferred)
- st(s): Stitch(es)
- MR: Magic ring
Special Notes:
- No-Sew Design: Pieces are attached directly while crocheting the cat, ensuring a smooth and seamless construction.
- Customizable Colors: Switch colors to personalize paws, tail, and belly.
- Invisible Increases/Decreases: For smoother transitions, invisible increases/decreases are recommended (explained in the transcription).
- Stuffing Tips: Stuff evenly and firmly, taking care not to overfill legs and tail.
Pattern Instructions:
Legs (Make 4):
Use your accent color for the paws and your main color for the legs.
Round 1:
- Start with a magic ring and work 6 sc into the ring. (6 sts)
Round 2:
- Work 5 sc, inc (increase in the last stitch). (7 sts)
Round 3:
- Work 6 sc, inc (increase in the last stitch). (8 sts)
Round 4:
- If using different colors, change to your main color on the last stitch of Round 3.
- Work 7 sc, inc (increase in the last stitch). (9 sts)
Rounds 5-6:
- Work 9 sc around. (9 sts per round)
Finish:
- Fasten off, leaving a long tail if desired. Do not stuff just yet.

Tail:
Round 1:
- Start with a magic ring and work 6 sc into the ring. (6 sts)
Rounds 2-6:
- Work 6 sc around. (6 sts per round)
Finish:
- Stuff lightly and flatten the opening. Stitch count should leave 3 pairs of stitches for attachment later.
Belly Foundation (Flat Piece):
The belly is worked flat before continuing to the round construction.
Row 1:
- Chain 4. Starting in 2nd ch from hook, work 3 sc across the chain. (3 sts)
Rows 2-3:
- Ch 1, turn, and work 3 sc across.
Row 4:
- Ch 4, turn. Starting in 2nd ch from hook, work 3 sc into the new chains, then 3 sc into the existing row. (6 sts)

Row 5:
- Ch 4, turn. Starting in 2nd ch from hook, work 3 sc into the new chains, then 6 sc across. (9 sts)

Rows 6-7:
- Chain 1, turn and work 9 sc across.
Row 8:
- Ch 1, turn and work 6 sc, leaving the last 3 sts unworked.
Rows 9-10:
- Repeat thinning process with 3 sc, chaining 1 and turning after each row.
Finish:
This creates an uneven belly shape suitable for attaching legs. Do not fasten off yet.
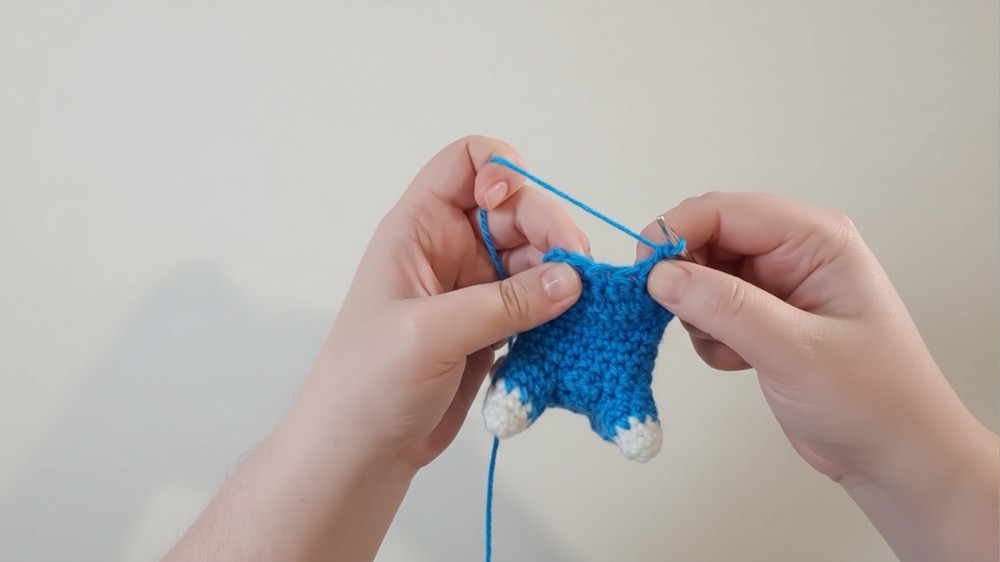
Attaching the Legs:
Follow the diagram attached in the video transcription. Rotate the belly and attach legs at appropriate corners.
- Identify the last stitch of each leg's round.
- Count three stitches from the finishing point of the leg to find the correct alignment for placement.
- For each leg:
- Insert your hook into the corresponding corner stitches of the belly and leg.
- Work 5 sc to attach each leg seamlessly.
Ensure legs are oriented correctly to slope backward (front legs) or slope forward (back legs).
Body Construction:
Turn and Continue:
At this point, turn your work to ensure the right side faces outward. Begin working around the circumference of the piece, including the attached legs.
Round 1:
- Work 3 sc along the back, 4 sc around each leg, and 3 sc between legs. Continue around for 28 sts total in this round.
Rounds 2–5:
- Work 28 sc continuously around for four rows. Stuff the legs firmly as you progress.
Tail Attachment:
Attach the tail at the back, between the rear legs. Flatten the opening between legs and align stitches to attach the tail with 3 sc.
Head Construction:
Short Rows:
To create the head foundation, switch to creating a short row "ledge" beneath the neck.
Row 1:
- Work 7 sc across the front of the neck.
Row 2:
- Increase in the first and last stitch, and work 6 sc in between.
Row 3:
- Increase in the first and last stitch, and work 8 sc in between.
Row 4:
- Work 2 dec, 4 sc, 2 dec across.
Row 5:
- Work 4 dec to shape the narrow top.
Eyes:
Position the eyes:
- Count 4 rows down from the head opening.
- Place the eyes symmetrically based on your preference (leave **2-3 full stitches between them).
Attach safety backs once the positioning looks correct.
Ears (Make 2):
Ear 1:
- Work 8 sc around the allocated head opening.
- Skip 9 sts, splitting the head opening evenly.
- In the next row: Work 3 sc, then 3 dec (total: 6 sts).
Ear 2:
- Reattach yarn to the opposite side of the opening and repeat instructions for the first ear.

Conclusion:
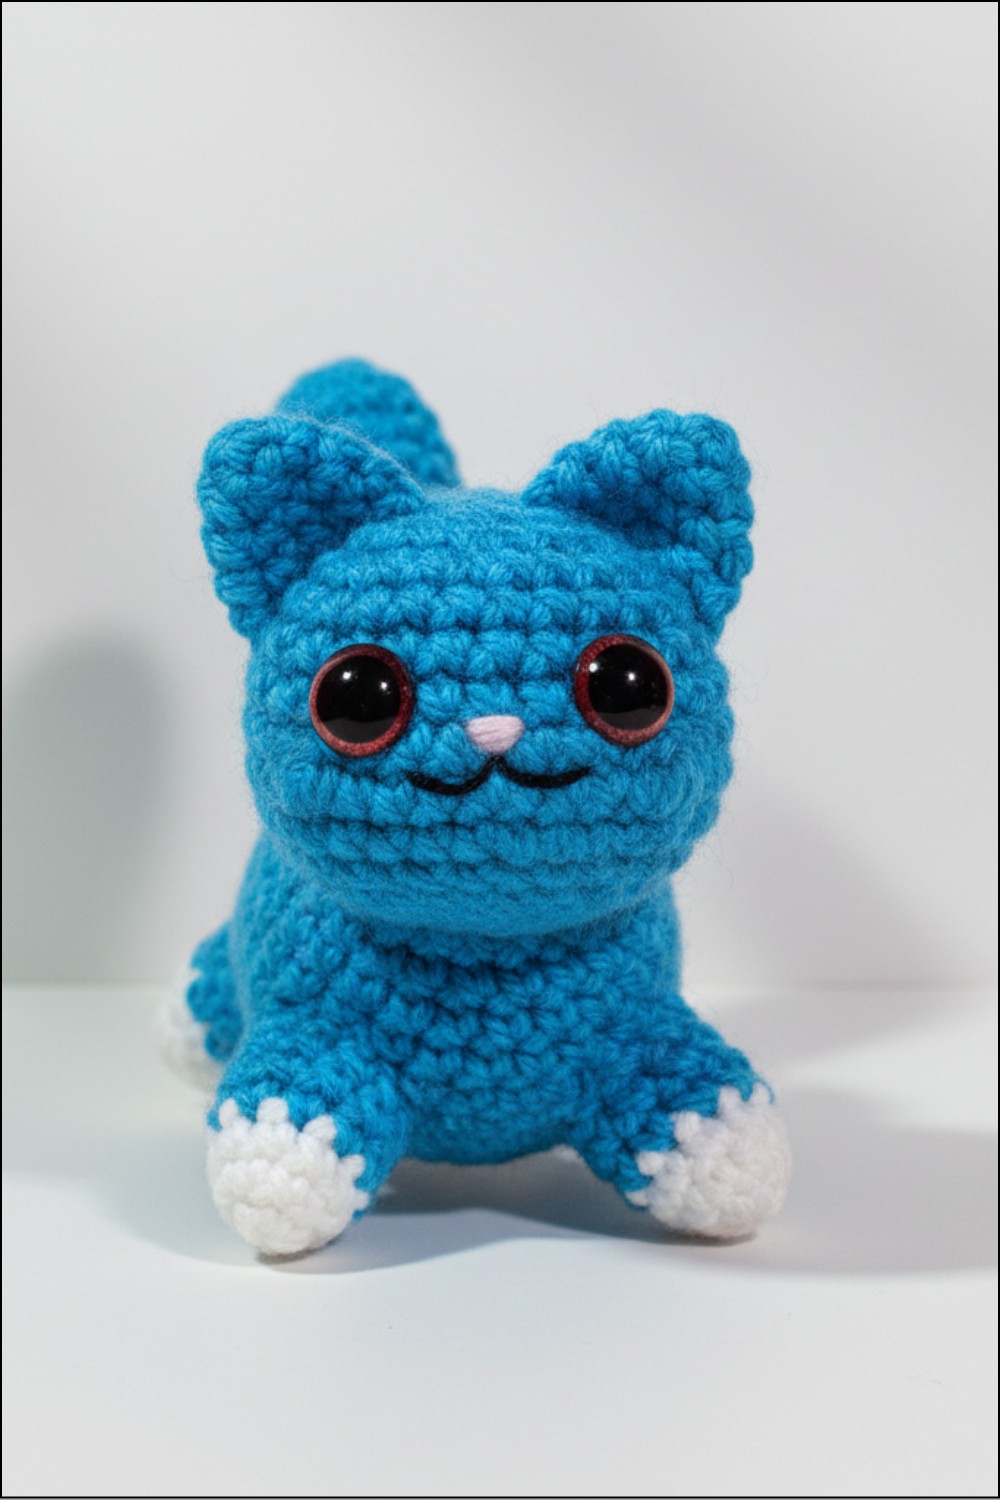
Your seamless no-sew crochet cat is now complete! Its dynamic leaping pose is great for playful displays, and the no-sew design makes for a satisfying one-piece construction. Personalize with color combinations, facial embroidery, or even add accessories like a witch hat for Halloween vibes!
Pattern Corrections:
- Eye Placement: Be cautious about aligning eyes. Ensure they are symmetrical to avoid an unbalanced appearance.
- Diagram Accuracy: Follow leg placement diagrams closely to maintain proportion and correct orientation.
Tips for Success:
- Stuffing: Stuff evenly without overloading; firm but clean stuffing ensures smooth fabric.
- Color Changes: Use seamless color-changing techniques to avoid messy joins.
- Pins for Placement: Use pins or clips to temporarily attach legs and tail while working.
