
Simple Crochet Pikachu Free Pattern With Long Ears
Get the free Crochet Pikachu pattern and create your own cute and cuddly Pokemon friend with easy step-by-step instructions perfect for all skill levels.
Making a soft and cuddly toy can be a fun way to spend time. The Crochet Pikachu created by Ms creations is a popular choice for this. This little amigurumi figure features bright yellow yarn, red cheeks, and black-tipped ears that make it instantly recognizable and full of character. By changing the yarn thickness or hook size, you can customize its size—from a small keychain to a bigger plush toy.
Mini Crochet Pikachu Free Pattern For Small Gifts
The main stitch used in this amigurumi is the single crochet stitch, which produces a firm and tidy fabric perfect for stuffing and shaping. Basic increases and decreases help form Pikachu’s head, body, ears, and tail. Sewing all the parts together carefully brings this charming figure to life.
This cute toy appeals to children and adults alike, adding vibrant color and cheer wherever it sits. It can decorate a room or be carried along as a fun accessory. The simple pattern and familiar stitches make it accessible for those with some crochet experience.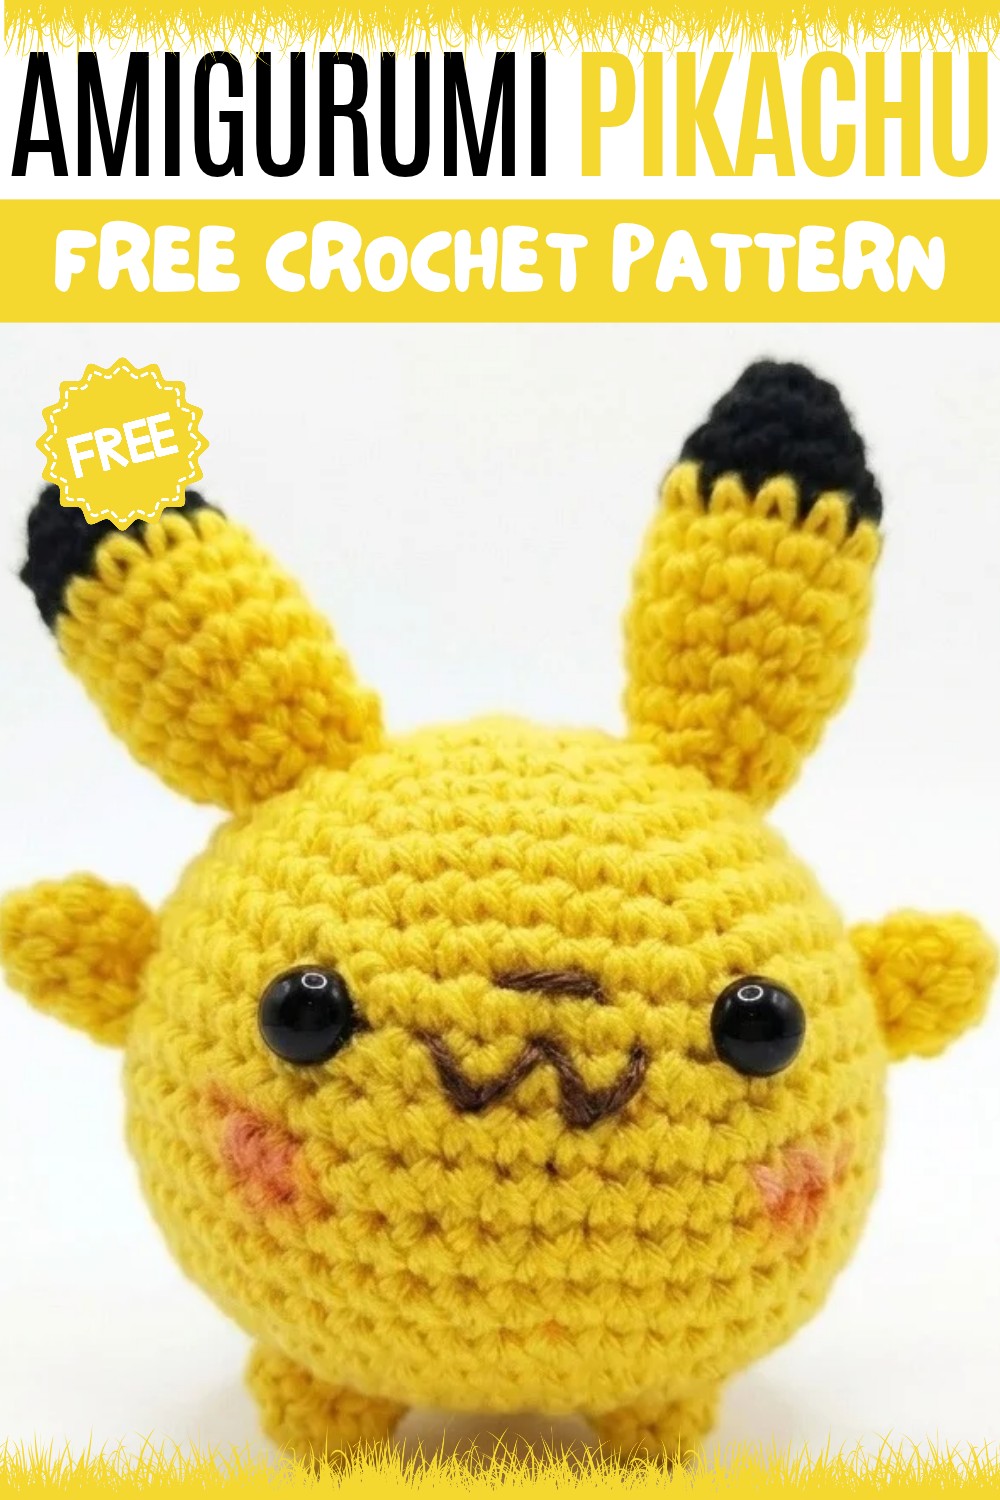
Color and shape come together in this project to capture Pikachu’s unique look. The red cheeks and pointy ears add personality, and careful stitching gives a smooth finish. Overall, it is an enjoyable and colorful way to create something special with yarn.
About the Pattern
This amigurumi Pikachu pattern produces a compact, instantly recognizable version of a beloved character, blending classic shaping with thoughtful details. The body is seamlessly built from the head downward, using continuous rounds to keep a neat, professional finish. Rounded ears, stubby arms, and legs deliver that iconic cute appeal, while safety eyes, embroidered mouth, and cheeks complete the expressive face. The entire assembly uses firm single crochet to ensure structure and longevity, offering the ideal size for a small collectible or keychain accessory.

Pattern at a Glance
- Head/Body: Entirely crocheted as one piece in continuous rounds. Increases form the rounded head; decreases shape the body.
- Ears: Crocheted in black and yellow, featuring precise color changes and narrowing with decreases.
- Arms & Legs: Separately crocheted and sewn to the body for dimension and flexibility.
- Finishing touches: Embroidered features for character and expression; optional chain for keychain use.
Important Notes
- Work all pieces in continuous spirals (do not join rounds with slip stitches).
- Mark the start of each round with a stitch marker, moving it up as you go to maintain accuracy.
- Stuff firmly but evenly, especially the head/body, to keep a rounded shape without puckering.
- Use color changes cleanly on the ears for best appearance.
- Safety eyes are attached before final decreases—placement is essential for correct character proportions.
Difficulty Level
Confident Beginner to Intermediate
This project requires basic amigurumi skills, familiarity with magic ring, increases, decreases, and color changes. The assembly process is straightforward but benefits from careful attention to detail for the final look.
Supplies Needed
- Yarn: 4-ply cotton thread in yellow, black, pink, and brown
- Hook: 2.75 mm crochet hook
- Stuffing: Polyester fiberfill
- Safety eyes: Two pieces (~5-6mm diameter)
- Embroidery needle and fine thread: Brown (for mouth) and pink (for cheeks)
- Tapestry needle: For sewing parts together
- Stitch marker
- Scissors
- Optional: Keychain chains/rings
Size & Measurements
- Finished size: Approximately 8–10 cm tall
- Perfectly sized for small plushies, ornaments, or bag charms
Gauge & Stitch Details
- Gauge: 9 rounds in single crochet = 3 cm diameter (gauge not critical for amigurumi, but affects size)
- Main stitch: Single crochet (tight tension ensures no stuffing shows)
- Continuous spiral construction prevents visible seams
Crochet Abbreviations
| Abbreviation | Stitch Name |
|---|---|
| ch | chain |
| sc | single crochet |
| inc | increase (2 sc in one stitch) |
| dec | decrease (single crochet two together) |
| st(s) | stitch(es) |
| MR | magic ring |
| FO | fasten off |
Special Stitch Guide
- Magic Ring (MR): Wrap yarn into a ring, insert hook, pull up loop, chain one, then work specified number of single crochets into ring. Pull tail to close.
- Increase (inc): Work 2 single crochets into one stitch.
- Decrease (dec): Single crochet two together: Insert hook, pull up loop, insert into next st, pull up loop (3 loops on hook), yarn over, pull through all loops.
Complete Crochet Pattern
1. Head/Body
- Round 1: Begin with a magic ring (MR), 6 sc in ring.
- Round 2: inc in each st around (12 sc).
- Round 3: (1 sc, inc) repeat 6 times (18 sc).
- Round 4: (2 sc, inc) repeat 6 times (24 sc).
- Round 5: (3 sc, inc) repeat 6 times (30 sc).
- Round 6: (4 sc, inc) repeat 6 times (36 sc).
- Round 7: (work even, 36 sc)
- Round 8: (5 sc, inc) repeat 6 times (42 sc).
- Rounds 9: (work even, 42 sc)
- Round 10: (6 sc, inc) repeat 6 times (48 sc).
- Rounds 11–15: (work even, 48 sc per round)


Insert Safety Eyes: Place eyes between rounds 9 and 10, spacing 8 stitches apart.
- Round 16: (4 sc, dec) repeat 6 times (36 sc).
- Round 17: (3 sc, dec) repeat 6 times (24 sc).
- Round 18: (2 sc, dec) repeat 6 times (18 sc).
- Round 19: (1 sc, dec) repeat 6 times (12 sc).
- Round 20: Dec in every st around (continue decreasing evenly until closed).
Stuff body firmly with fiberfill before the final closure.

2. Ears (make 2)
- Begin with black yarn.
- Round 1: MR, 3 sc.
- Round 2: 2 sc in each st, 6 sc.
- Round 3: (1 sc, inc) x 3, 9 sc.
- Round 4: (2 sc, inc) x 3, 12 sc.
- Switch to yellow yarn.
- Rounds 5–8: (work even, 12 sc per round)
- Round 9: (2 sc, dec) x 3 (9 sc)
- Round 10: (1 sc, dec) x 3 (6 sc)
- FO, leaving a long tail for sewing. Lightly stuff the base if desired for shape.
3. Arms and Legs (make 4)
- Round 1: MR, 4 sc.
- Round 2: 2 sc in each st, 8 sc.
- Round 3: work even (8 sc).
- Round 4: (for arms) Stuff lightly, FO with long tail for sewing.
For a chibi style, keep arms and legs short and stubby; adjust length as preferred by adding a round before fastening off for legs.
Assembly
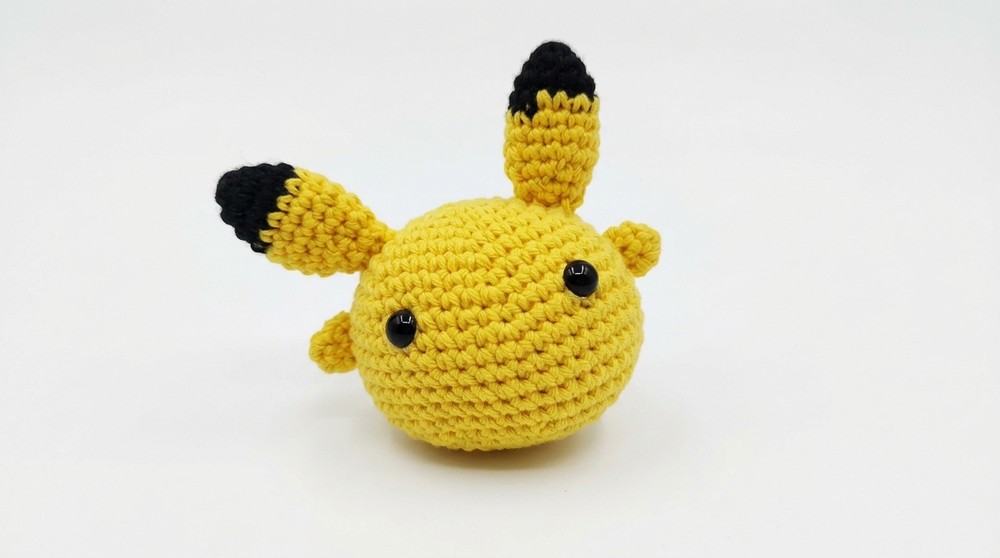
- Ears: Sew to the head, angled slightly outward at the crown.
- Arms: Attach either side of the lower face, at or just below the midpoint of body, using tapestry needle and tails.
- Legs: Attach symmetrically at the base so that Pikachu sits evenly.
- Face Details: With brown thread and embroidery needle, stitch a tiny mouth between and just below eyes. With pink thread, embroider circles for cheeks slightly offset from mouth under each eye.
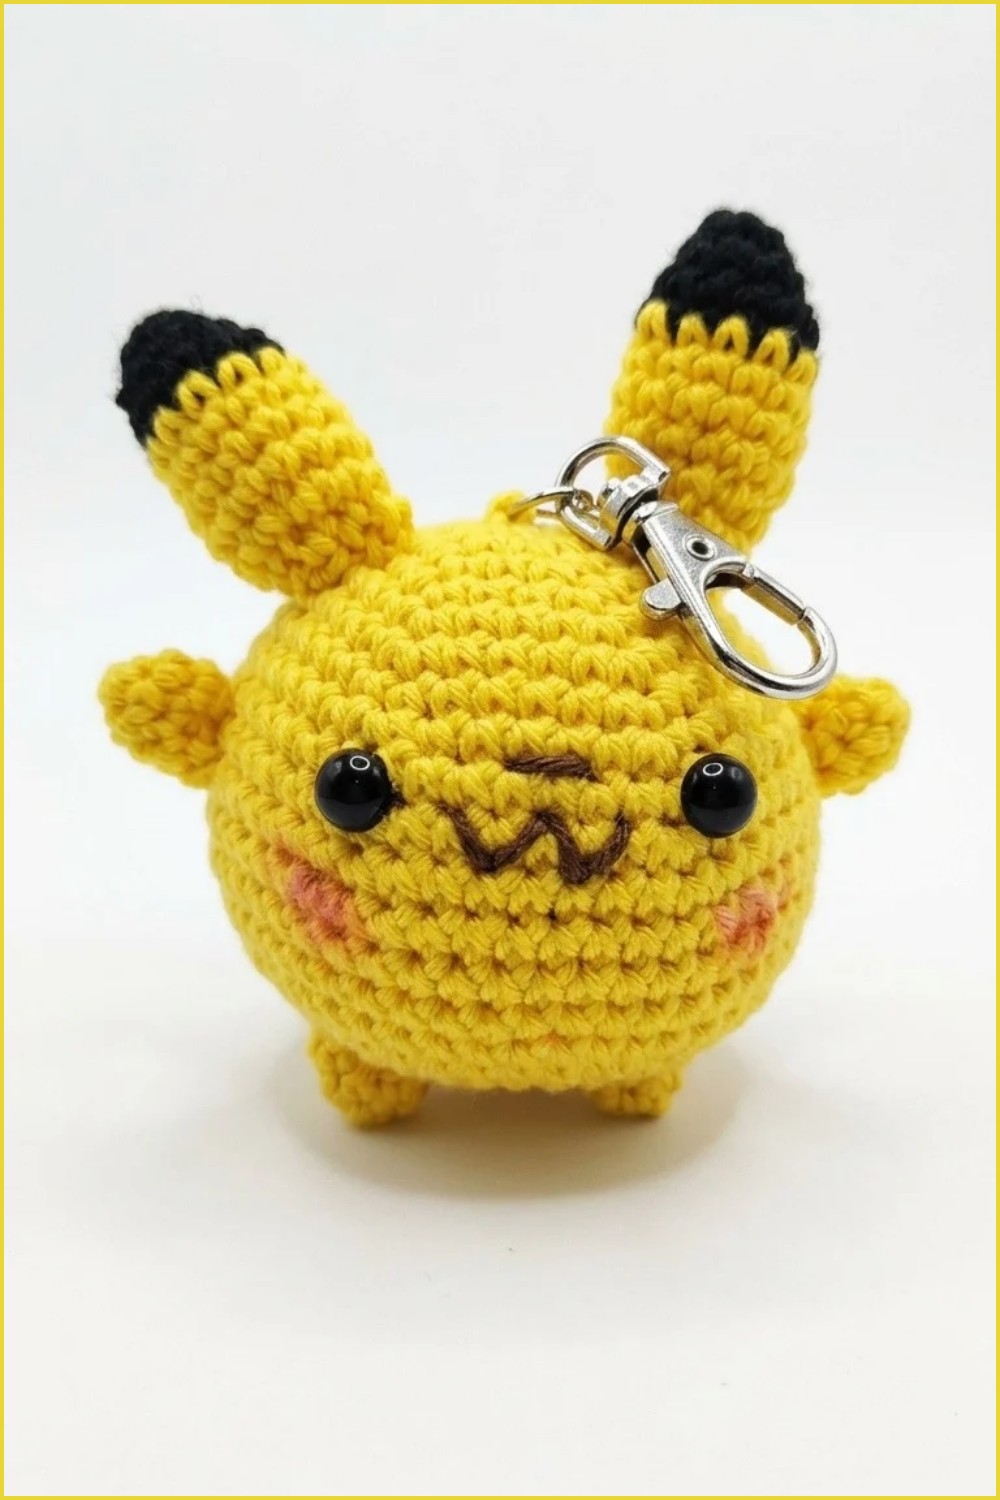
- Optional Keychain Loop: Attach hanging chain at the crown for a keychain or ornament.
Assembly & Finished Size
Double-check sewing for symmetry and stable limbs. The finished Pikachu should be approximately 8–10 cm tall. Ears should stand upright, arms and legs evenly positioned, with face embroidery neat and even. The optional chain converts your Pikachu into a charming keychain or ornament.
Conclusion
Careful stitch counting, even spiraling, and precise color placement combine to create a recognizable amigurumi Pikachu with a lively personality. The finished character is durable and expressive—a compact, joyful tribute thanks to its dense fabric, well-placed features, and thoughtful finishing. Sturdy enough for keys or decoration, it is a delightful, handmade collectible showcasing the satisfaction of detailed amigurumi work.