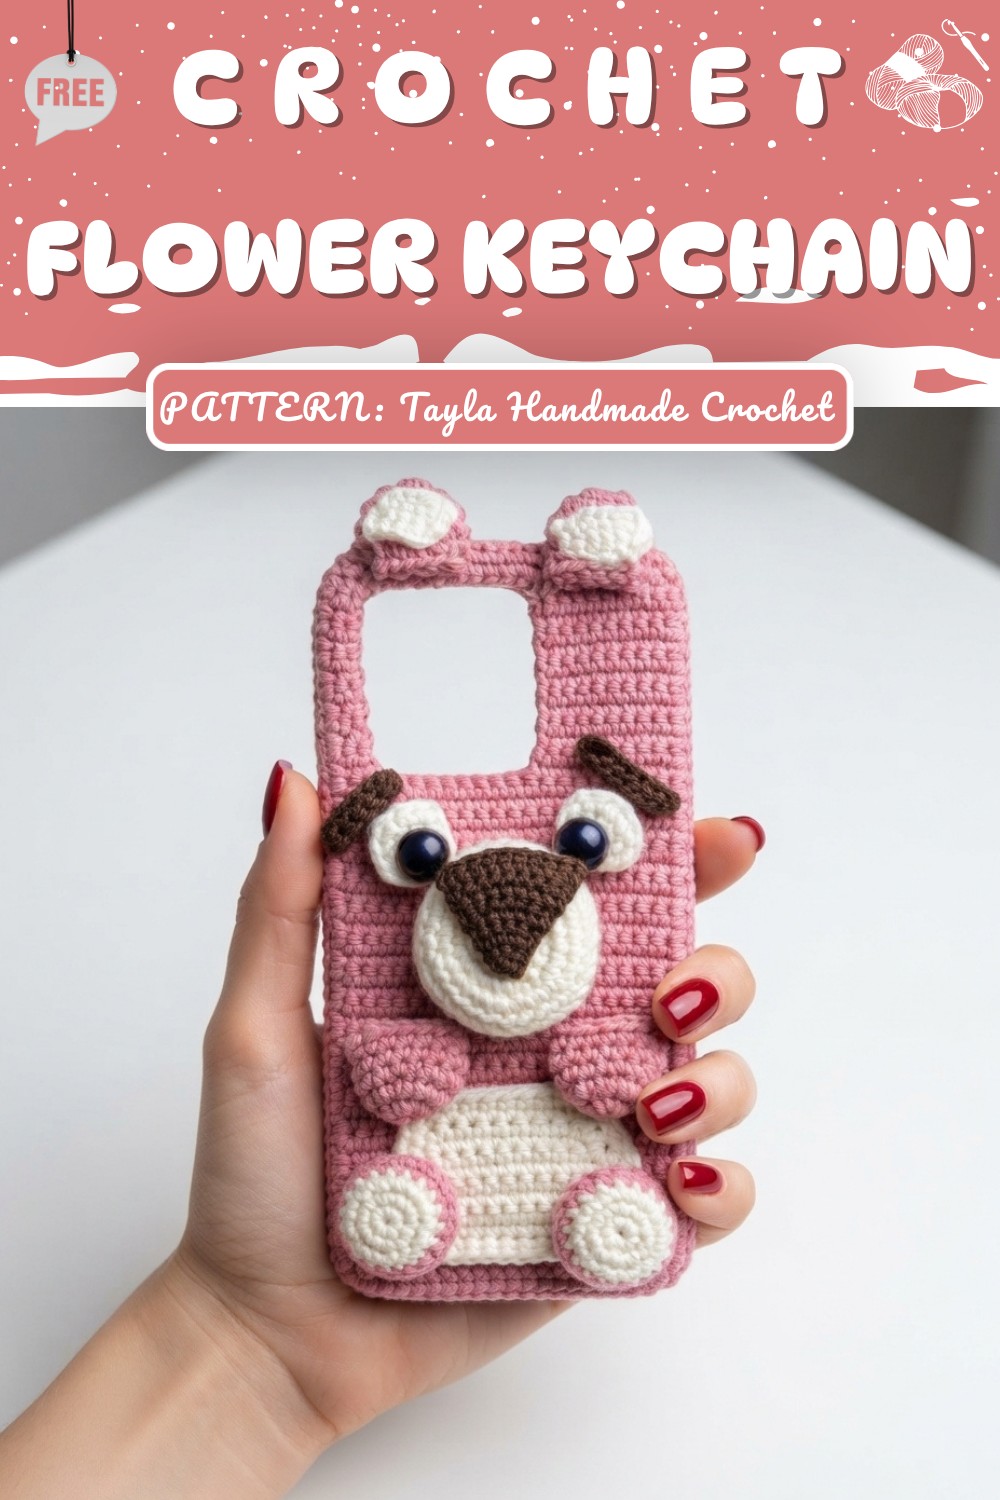
Simple Crochet Phone Case Free Pattern With A Neat Finish
Give your phone a cozy cover with this Crochet Phone Case Pattern to add a simple handmade touch while keeping your device easy to carry.
Looking for a cute and handy way to keep your phone safe? This crochet phone case is a perfect choice. It fits your phone snugly and feels soft and comfortable to hold. Whether you use it every day or take it with you on special outings, this phone case adds a lovely, handmade touch to your style. It’s great for any season and makes a thoughtful gift for friends, family, or even yourself. The Crochet Phone Case Free Pattern is a fun and easy project that lets you create something both beautiful and useful.
Mini Crochet Phone Case Free Pattern for Everyday Use
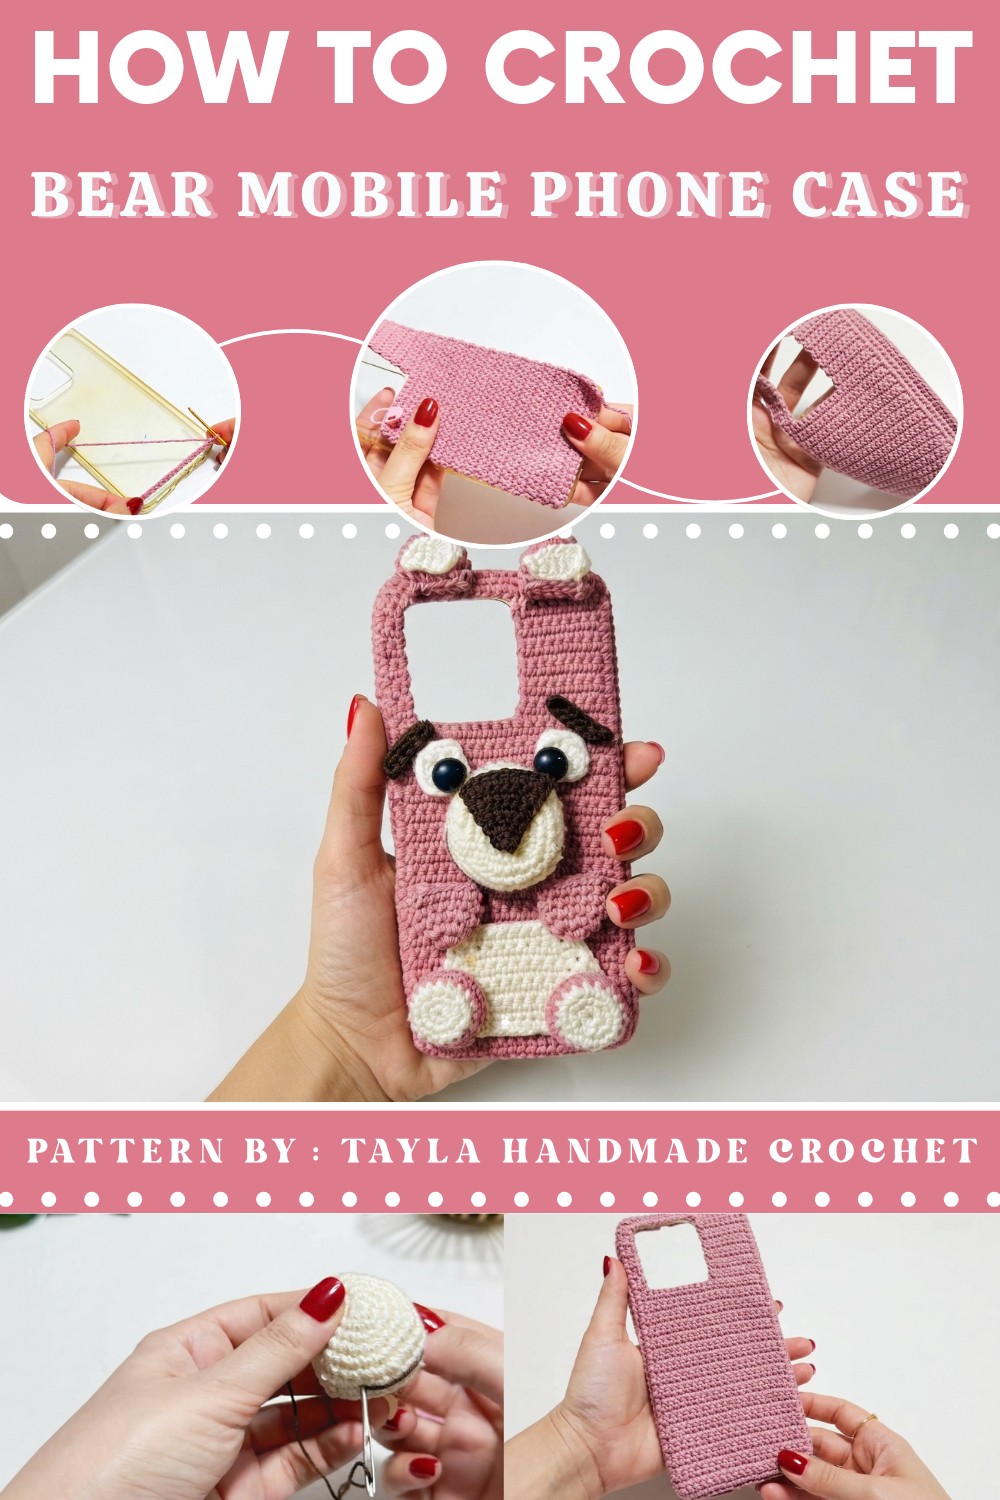
The video by Tayla Handmade Crochet makes the whole process simple to follow, even if you’re new to crochet. Tayla’s clear steps and friendly instructions help you complete the phone case with confidence. This case is stylish on its own but also looks amazing when paired with other crochet accessories. It adds a personal, cute feeling to your everyday items and helps you stand out with a unique, handmade style.
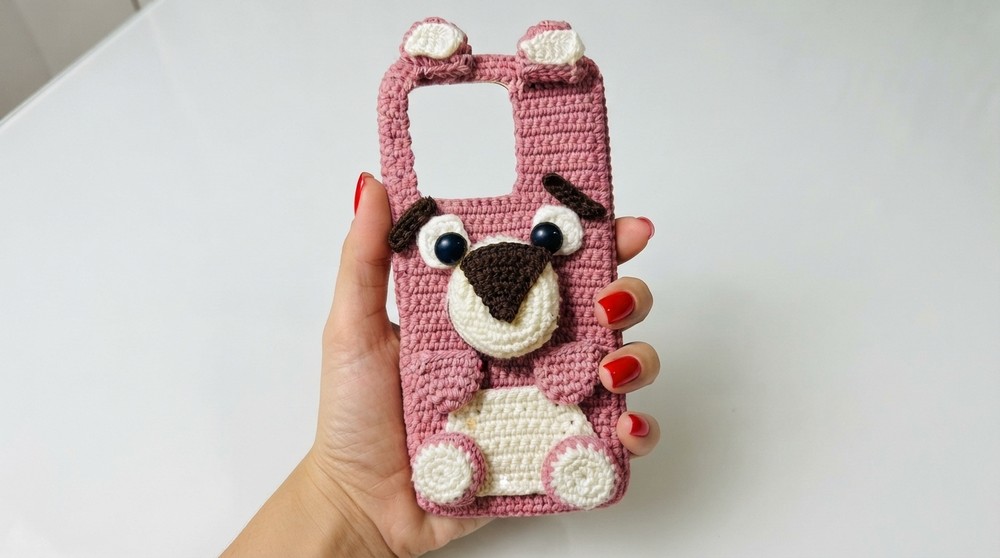
This crochet phone case features a soft, textured surface made with easy stitches that feel nice in your hand. One of the cutest things about this design is the small teddy bear decoration attached to the case. It gives the case extra charm and personality without being too flashy. The edges are neat and the case closes with a button, making sure your phone stays safe inside while keeping the look clean and pretty.
If you love making things with your hands or want a simple project to try, the Crochet Phone Case Free Pattern is a great choice. Following Tayla Handmade Crochet’s step-by-step guide, you’ll be able to craft a lovely, practical phone case that is perfect for everyday use or for gifting. Start this project today and enjoy adding a special touch to your phone!
Crochet Phone Case Pattern
A teddy bear phone case is a sweet and useful way to protect your phone. This step-by-step guide shows how to crochet a cover that fits your phone and adds a cute bear on the front. You’ll use soft yarn and basic crochet stitches as you put the case together and add each bear part. This project is great for anyone who knows the basics of crochet and wants to make something special. By following each step carefully, you’ll end up with a phone case that is both soft and unique, making your device stand out from the rest.
Quick Pattern Structure
- Base Case: Flat rows of single crochet (sc), customized cutouts for device features.
- Teddy Bear Parts: Ears/hands, feet, eyes, eyebrows, muzzle, nose, ear bow/accent, belly patch.
- Assembly: Sew or glue features securely.
Notes
- Custom Fit: Keep measuring your phone as you crochet for a perfect fit!
- Construction: Starts at phone bottom, works up to camera, splits/joins for cutouts and borders.
- Finishing: Sew pieces with a yarn needle, or use strong craft glue.
Skill Level
Intermediate: You should know how to single crochet, track rows, make chain bridges, and assemble appliques.
Materials
- Yarn: Cotton (main + accents)
- Hook: 3.0 mm
- Fiberfill stuffing (for muzzle area)
- Safety eyes/small beads
- Stitch markers
- Yarn needle & scissors
- Strong adhesive/glue (optional)

Measurements / Sizing
- Width: ~21 sc at the bottom
- Height & Cutouts: Customize by measuring your phone!
Gauge
- Stitch: Single Crochet (sc)
- Note: Work with firm, even tension for a snug fit.
Stitch Abbreviations
| Term | Meaning |
|---|---|
| ch | chain |
| sc | single crochet |
| dc | double crochet |
| sl st | slip stitch |
| inc | increase (2 sc in same stitch) |
| dec | decrease (sc 2 together) |
| mc | magic circle (magic ring) |
| st(s) | stitch(es) |
Special Stitches
- Increase (inc): Work 2 sc in same stitch.
- Decrease (dec): Insert hook into next st, yarn over, pull up loop; insert hook into next st, yarn over, pull up loop; yarn over, pull through all loops.
- Corner Shell: (1 sc, ch 1, 1 sc) in the corner stitch for crisp turns.
The Crochet Pattern!
Part 1: Main Mobile Case Base
Bottom Base
- Foundation: Make a slip knot, then ch 21.

- Row 1: Ch 1 (does not count as st), turn. 1 sc in each st across (21 sc).
- Row 2: Ch 1, turn. 21 sc.
- Row 3: Ch 1, turn. 21 sc.
- Rows 4 – Up to Camera Height: Repeat ch 1, turn, 21 sc until reaching your camera cutout. Measure as you crochet!
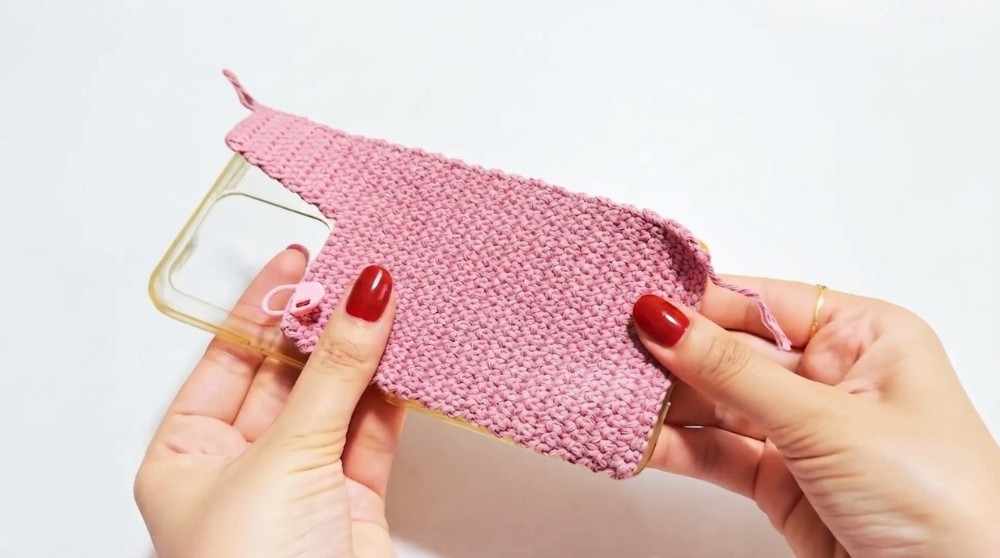
Camera Cutout – First Side
- Ch 1, turn. 9 sc only.
- Repeat for 12 rows (or as needed for your camera opening). Fasten off.
Camera Cutout – Other Side
- Join yarn at opposite edge, ch 1, 2 sc.
- Work 12 rows (match height of first side). Fasten off.
Rejoining Above the Camera
- On side border, 9 sc.
- Ch 10 across the gap.
- Join to other side, 2 sc (21 sts total).
- Next Row: Ch 1, turn. 9 sc, 10 sc into chain bridge, 2 sc = 21 sc.
Border & Edge Shaping
- Perimeter: Ch 1, sc evenly all around edges.
- In every corner: (1 sc, ch 1, 1 sc).
- Join with sl st.
Button Openings & Slots
Using stitch markers, mark where your buttons/slots go!
- Work sc’s to marker.
- Ch 7, skip 1 st, sc into 8th st.
- Ch 5, skip 1 st, sc into 6th st.
- Continue with: ch 4/skip 1/sc into 5th st; repeat as needed.
- Top slot: ch 2, skip 1 st, sc into 3rd st.
- Finish with sl st.
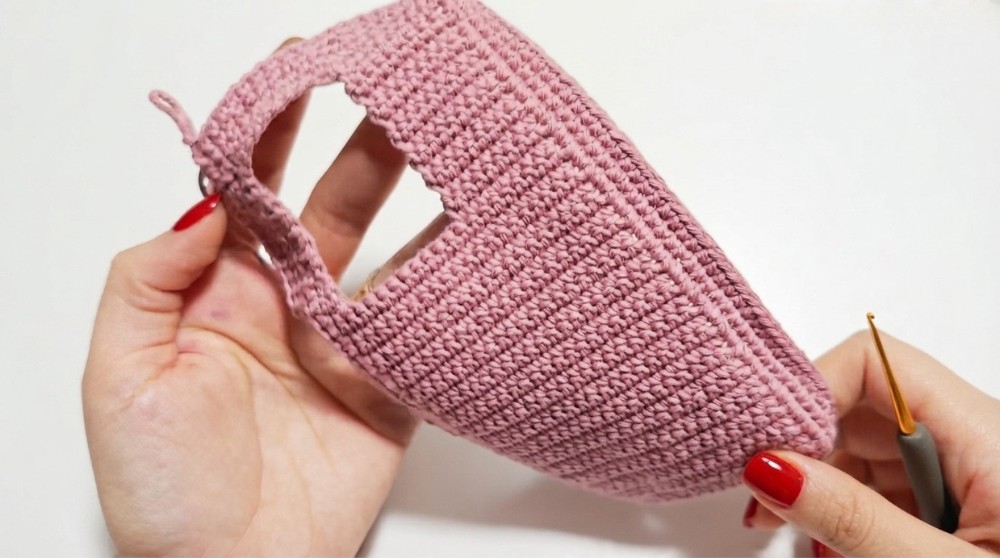
- Do an extra round of sc to reinforce edges. Fasten off.

Part 2: Teddy Bear Appliqué Elements
Hands & Ears (make 4)
- Round 1: MC, 6 sc in ring. Pull tight. (6 sc)
- Round 2: Inc in each st (12 sc).
- Round 3: 12 sc around.
- Round 4: Ch 1, 12 sc around.
- Round 5: 12 sc around, sl st.
Leave a long tail for sewing or trim short for gluing.
Feet (make 2)
- Round 1: MC, 6 sc.
- Round 2: Inc in each st (12 sc).
- Round 3: (1 sc, inc) around (18 sc).

- Round 4: Change color. Ch 1, 18 sc around.
- Round 5: 18 sc around, sl st, cut yarn.
Eyes (make 2)
- Round 1: MC, 6 sc.
- Round 2: 4 sc, sl st, cut yarn.
- Attach safety eyes/beads.
Eyebrows (make 2)
- Foundation: Ch 6.
- Row 1: Ch 1, 6 sc, sl st, cut yarn.
Muzzle
- Round 1: MC, 6 sc.
- Round 2: Inc in each st (12 sc).
- Round 3: (1 sc, inc) around (18 sc).
- Round 4: (2 sc, inc) around (24 sc).
- Round 5: (3 sc, inc) around (30 sc).
- Rounds 6–8: 1 sc in each st around (30 sc/round).
Fasten off.
Nose
- Foundation: Ch 10.
- Row 1: Ch 1, 10 sc.
- Row 2: Dec, 8 sc.
- Continue [each row]: Dec (1 st), rest sc’s.
- Last row: Dec. Fasten off.

Ear Accent / Bow
- Foundation: Ch 5.
- Row 1: Ch 1, 5 dc. Fasten off, place over ear.
Belly Patch
- Foundation: Ch 15.
- Row 1: Ch 1, 15 sc.
- Row 2: 15 sc.
- Row 3: Dec, 13 sc.
- Following rows: Dec at start, rest sc.
(Continue to dec/shorten each row to 8 sc total) - Edging: Sc around, (1 sc, ch 1, 1 sc) in corners.
Assembly
- Face: Embroider a smile curve on muzzle (black yarn).

- Stuffing: Add a little fiberfill to muzzle for 3D.
- Arrange & Attach: Pin or place bear parts (ears, eyes, eyebrows, muzzle, nose, bow, hands, feet, belly) onto main case.
- Securing: Sew with yarn needle or glue firmly.
Conclusion
Now your phone has a special teddy bear case that shows your style and keeps your device safe. Every part—ears, feet, eyes, and more—makes the case look friendly and fun. It’s light, soft, and strong enough for daily use. People will notice your new case and may ask how you made it. You can keep your new case for yourself or give it as a gift to someone you care about. For more help or ideas, check out the Crochet Pattern Tayla channel on YouTube. Your hard work turned simple yarn into something truly cute and handy.