
Simple Crochet Amigurumi Teddy Bear Free Pattern With Round Ears
Celebrate a special day with the Crochet Amigurumi Teddy Bear Free Pattern, a huggable little friend for birthday gift baskets and room decor.
Some gifts are opened once and soon forgotten, but a little teddy bear can become someone's favorite thing for years. The Crochet Amigurumi Teddy Bear is a lovely yarn toy that has a special way of showing love and care. Its sweet appearance and soft feel make it a wonderful choice for anyone who likes cute animals and personal gifts.
Lovable Crochet Amigurumi Teddy Bear Free Pattern With A Sweet Face
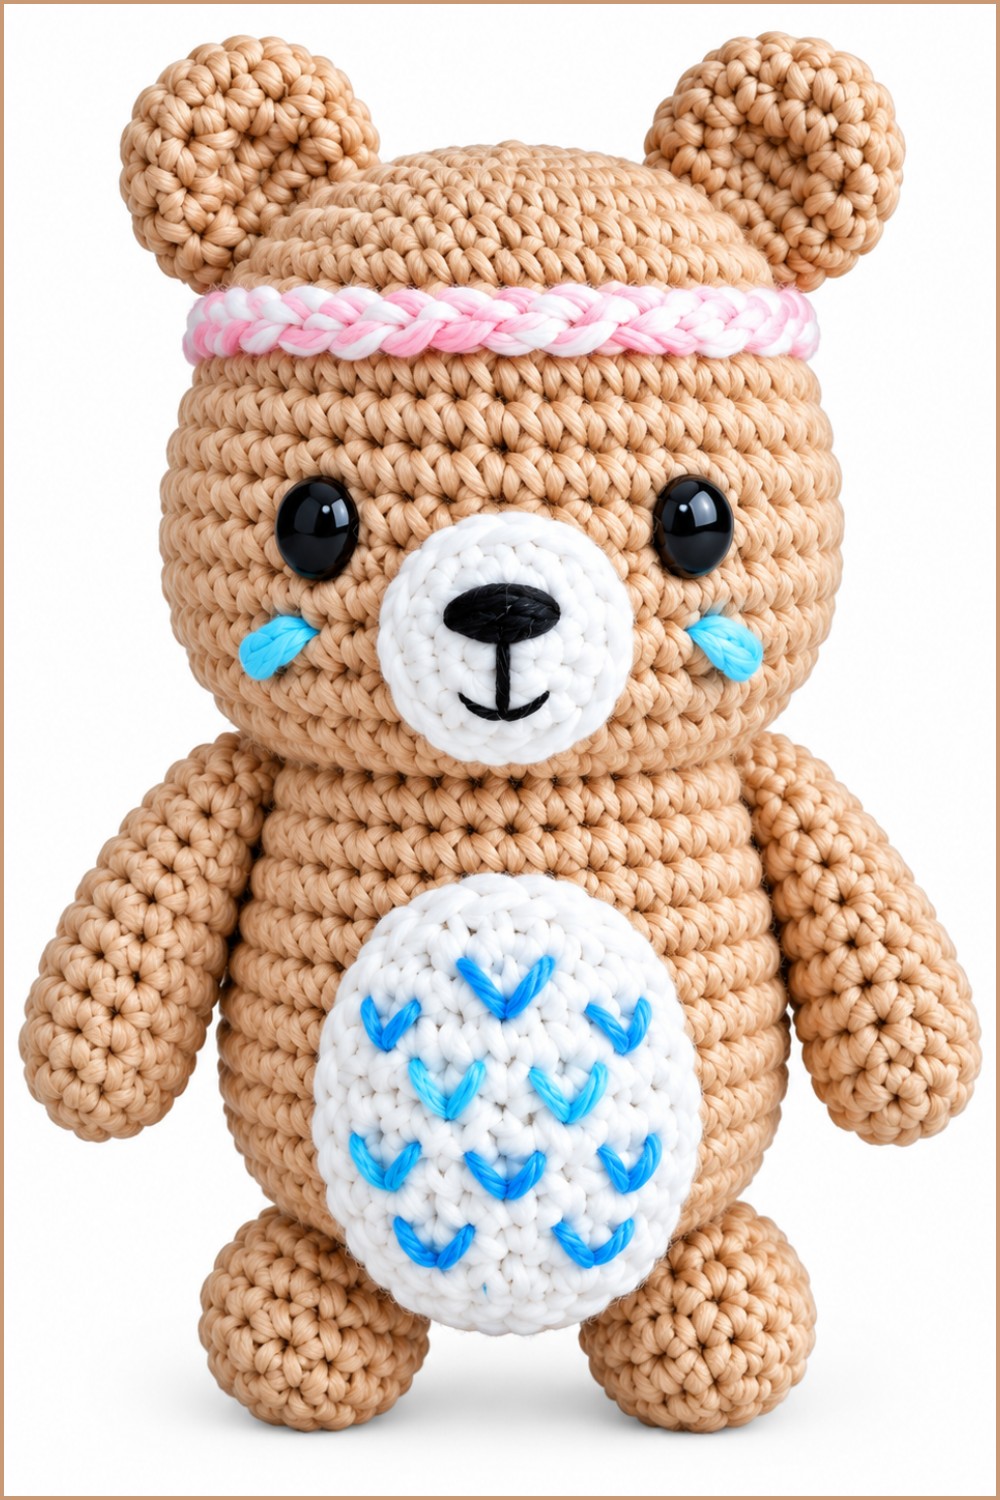
This teddy bear has a lovable face with tiny eyes, a little nose, and two rounded ears. Its small arms and legs give it the familiar look of a childhood toy. The soft yarn adds a pleasant texture, while a little bow around its neck can give it an extra touch of beauty. You can choose light pink, warm cream, or soft brown yarn to give your bear a lovely color.
The teddy bear can be crocheted using basic stitches. The head and body are shaped carefully, while the arms, legs, and ears are added to complete the figure. Soft filling helps it keep its shape, and small facial details give the bear its sweet expression.
You can give this teddy bear as a birthday present, keep it in a baby's room, or place it on a bedroom shelf. It can also be a lovely surprise for your best friend, a Valentine's Day gift, or a special present for someone who lives far away.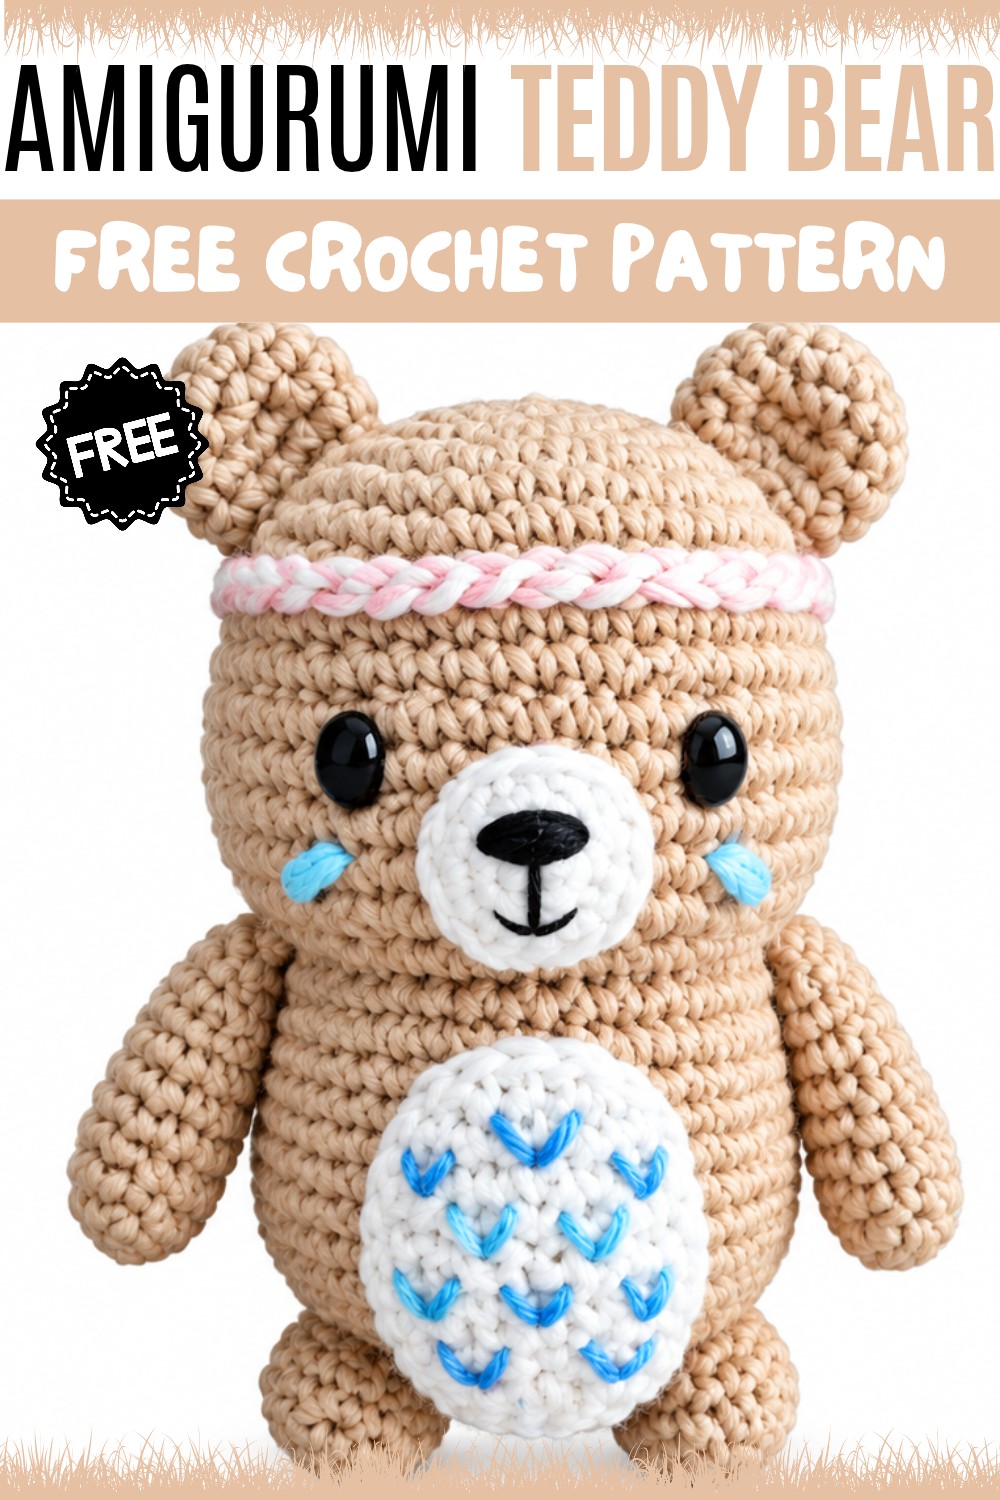
A little teddy bear can remind someone of the person who gave it to them. That is what makes this crochet project so meaningful. It is a small toy that can carry many happy memories.
About the Pattern
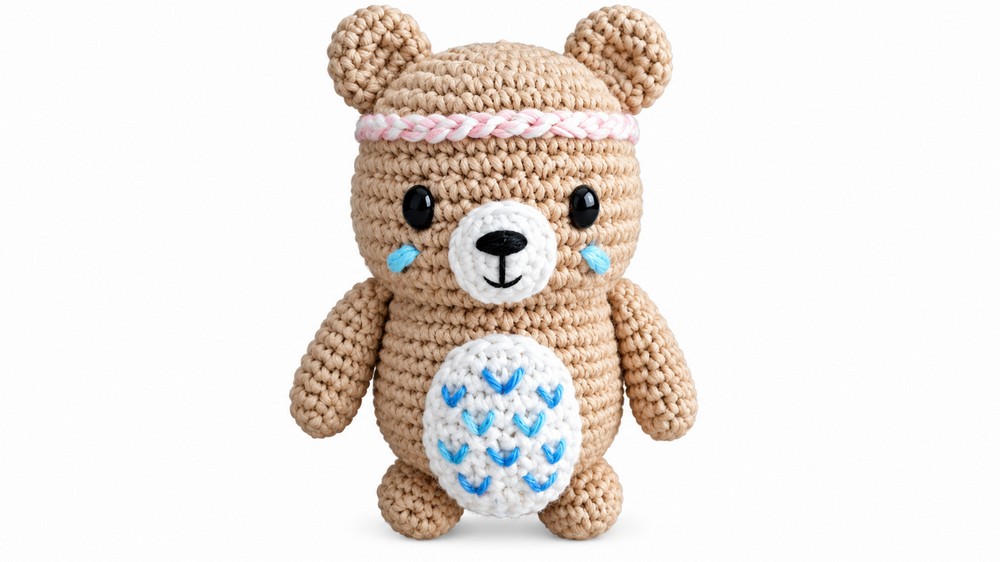
The Oso Nórdico (Nordic Bear) amigurumi pattern is an endearing and detailed plush design that captures the gentle essence of Scandinavian-inspired soft toys. Characterized by a rounded body, expressive facial features, a simple belly patch, and a decorative ribbon, this bear is a timeless decorative figure suitable for cozy spaces or cherished as a heirloom gift. The bear is constructed using classic amigurumi techniques with thoughtful additions for personality and charm.
Pattern at a Glance
- Shape: Cylindrical torso, spherical limbs and snout, flat oval belly patch, and feathered ribbon
- Structure: Worked in the round in separate segments: body, limbs, ears, facial pieces, and accessories. Finished by embroidered embellishments and sewn details.
- Features: Subtle shaping through rounds of increases and decreases; special attention to embroidered facial details for warmth and appeal.
Important Notes
- Always work in continuous spiral rounds unless otherwise noted.
- Use a stitch marker to track the start of each round for accuracy.
- Firm but not over-stuffed pieces create a smooth, soft finish without distorting shapes.
- Attach limbs and facial features with pins before sewing to adjust placement as needed.
- Embroider facial features before final assembly for accessible stitching.
Difficulty Level
The pattern is categorized for adventurous beginners or intermediate crocheters who have practiced amigurumi basics like magic ring, increase, decrease, and sewing parts together. Familiarity with color changes and basic embroidery is helpful for a polished result.
Supplies Needed
- Yarn: Soft worsted or DK weight in body (e.g., gray, brown, or white), contrast color for belly and snout patches, accent for ribbon
- Crochet Hook: 3.0–3.5 mm (adjust to yarn weight for firm stitches)
- Stuffing: Polyester fiberfill
- Tapestry needle: For sewing and embroidery
- Embroidery thread: Black (eyes/nose/mouth), pink (cheek stripes)
- Stitch marker
- Scissors
- Pins: For positioning before sewing
Size & Measurements
Using a 3.5 mm hook and appropriate yarn:
- Height: 8–10 inches (20–25 cm) from base to top (assembled)
- Width: 4–5 inches (10–13 cm) at broadest point
Final size may vary with yarn, hook, and individual tension.
Gauge & Stitch Details
Gauge is less important than producing a dense, seamless fabric so stuffing does not show. Aim for tight single crochet stitches and even gauge across all pieces.
Crochet Abbreviations
- MR: Magic ring
- SC: Single crochet
- INC: Increase (2 SC in one stitch)
- DEC: Decrease (SC two together)
- ch: Chain
- sl st: Slip stitch
- HDC: Half double crochet
- DC: Double crochet
- st(s): Stitch(es)
Special Stitch Guide
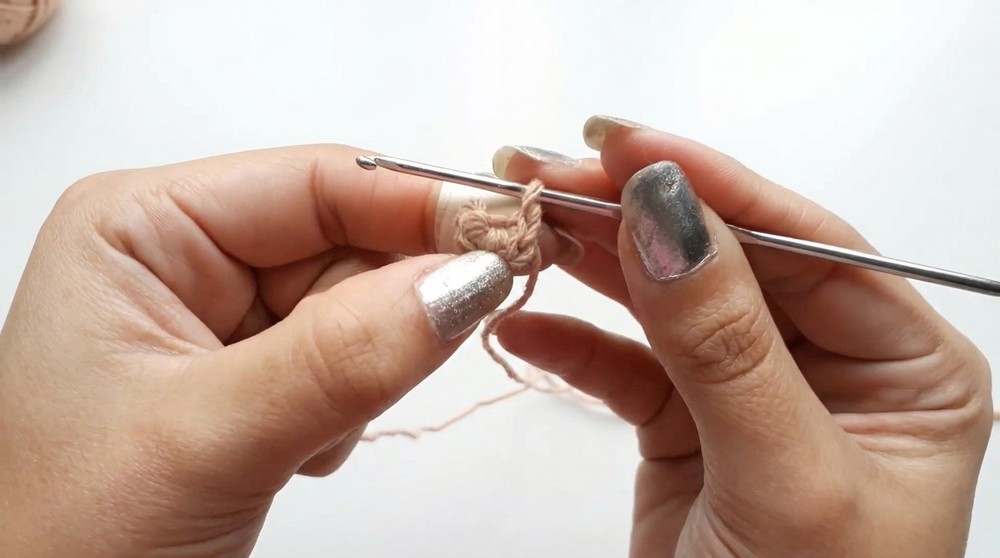
- Magic Ring (MR): Wrap yarn, insert hook through loop, yarn over, pull up loop and work specified stitches into ring. Tighten ring.
- Increase (INC): Work 2 SC in same stitch.
- Decrease (DEC): Work SC two together for invisible decrease.
- Oval Patch: Work stitches around both sides of foundation chain for a smooth oval.
- Feather Stitch (Ribbon): Special cluster or picot for decorative texture; refer to pattern row for detail.
Complete Crochet Pattern
Body
- Round 1: MR, 6 SC (6)
- Round 2: 6 INC (2 SC in each st) (12)
- Round 3: (1 SC, 1 INC) x 6 (18)
- Round 4: (2 SC, 1 INC) x 6 (24)
- Round 5: (3 SC, 1 INC) x 6 (30)
- Round 6: (4 SC, 1 INC) x 6 (36)
- Round 7: (5 SC, 1 INC) x 6 (42)
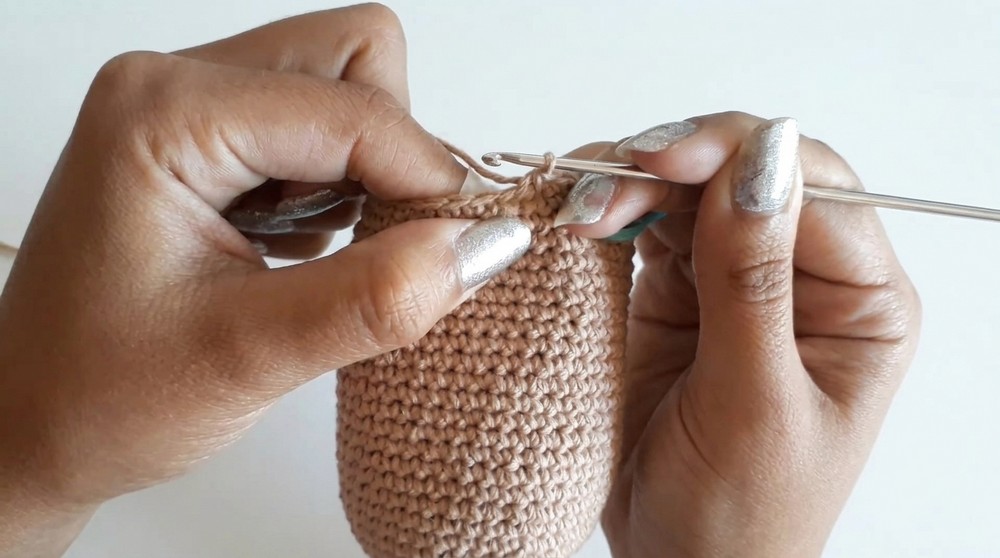
- Rounds 8–26: 42 SC (19 rounds)
- Round 27: (5 SC, 1 DEC) x 6 (36)
- Round 28: (4 SC, 1 DEC) x 6 (30)
- Round 29: (3 SC, 1 DEC) x 6 (24)
- Stuff body firmly.
- Round 30: (2 SC, 1 DEC) to end
- Round 31: (1 SC, 1 DEC) to close
- Round 32: Continue DEC until closed, fasten off and secure yarn.
Snout
- Round 1: MR, 4 SC (4)
- Round 2: 4 INC (8)
- Round 3: (1 SC, 1 INC) x 6 (12)
- Embroider nose and mouth with black thread before attaching.
Belly Patch
- Foundation: Ch 6
- Round 1: Begin in 2nd ch from hook, work HDC, HDC, HDC, HDC, 3 HDC in last ch; rotate and work along opposite side: HDC, HDC, HDC, HDC, 3 HDC in last ch (create an even oval).
- Round 2: Work HDC and DC evenly around to widen and smooth edges; add INC at corners for roundness.
- Continue working in rounds until desired patch size is achieved. Fasten off.
Ears (Make 2)
- Round 1: MR, 4 SC (4)
- Round 2: 4 INC (8)
- Round 3: (1 SC, 1 INC) x 6 (12)
- Rounds 4–5: 12 SC each round
- Fasten off, leaving tail for sewing.
Arms (Make 2)
- Round 1: MR, 5 SC (5)
- Round 2: 5 INC (10)
- Rounds 3–13: 10 SC for 11 rows
- Fasten off, lightly stuff, and leave tail for sewing.
Legs (Make 2)
- Round 1: MR, 6 SC (6)
- Round 2: 6 INC (12)
- Rounds 3–5: 12 SC for 3 rows
- Fasten off, slightly stuff, leave tail.
Head Ribbon
- Ch 8, turn, work special feather-like stitches across (use a cluster, picot, or decorative textured stitch as desired).
- Repeat to make two "feathers" for each end.
- Ch 44 between the two feather shapes for the long center chain. Fasten off and shape.
Assembly & Finished Size
- Use pins to arrange snout onto face center, ears on top sides, arms on upper torso, and legs at the base of body. Adjust placement to your preference.
- Sew snout, ears, arms, and legs in place with a tapestry needle and matching yarn, making sure all are secure.
- Stitch the belly patch onto the lower front, centered.
- Attach the ribbon for a decorative accent.
- Finish by embroidering eyes and mouth in black thread and cheek stripes or blush as small lines with pink thread.
- Weave in all yarn and thread tails. Shape body and limbs gently.
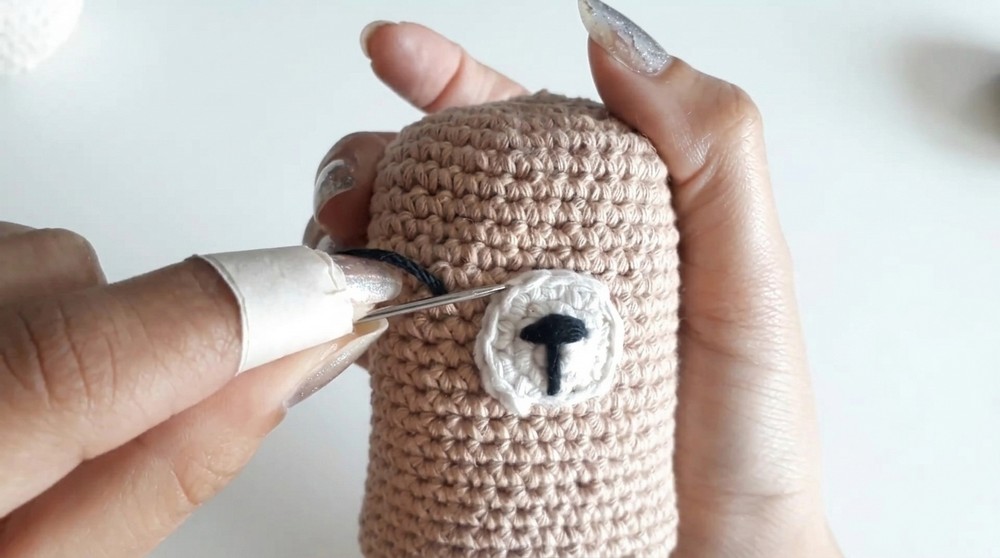
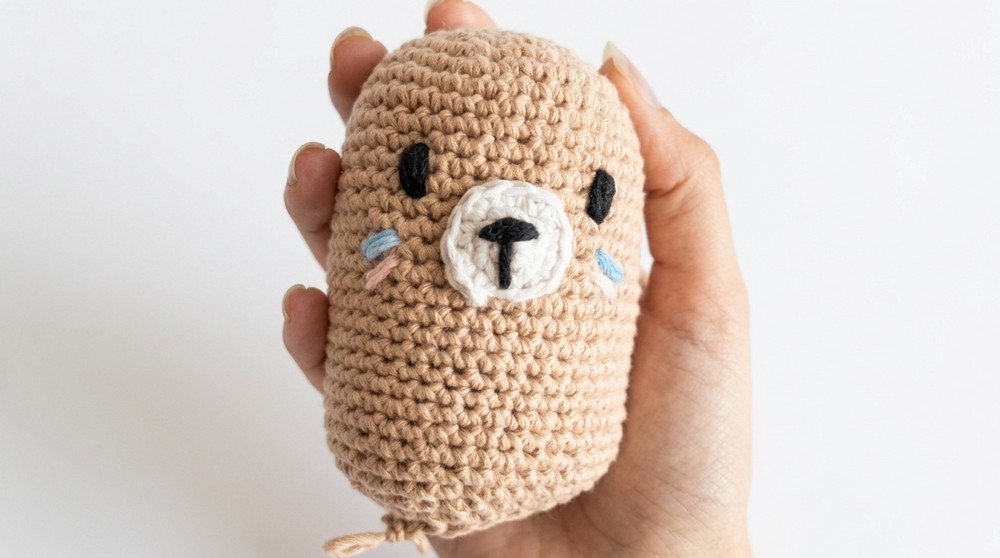
When assembled, the Nordic Bear displays a charming, snuggly silhouette with playful details and a hand-finished feel.
Conclusion
The Oso Nórdico pattern provides an engaging amigurumi journey through classic construction, subtle shaping, and meaningful handmade details. Techniques such as the magic ring, oval patch, and delicate embroidery infuse the bear with personality. The completed figure stands out with visually inviting curves and characteristic accents—the result is a plush with both sentimental and decorative value suitable for a range of occasions or recipients. This pattern also encourages creativity in color and detail personalization, ensuring a unique heirloom toy or décor piece every time it is made.