
Simple Crochet Amigurumi Gnome Free Pattern For Home Decor
Create a charming Crochet Amigurumi Gnome by following simple steps that bring this adorable handmade decoration to life with unique yarn colors.
Are you interested in a charming and approachable project? The Crochet amigurumi gnomes created by Keep Calm and Crochet are a great choice. These small, friendly figures capture a human-like appearance that instantly warms heart. With their round noses, soft beards, and tall pointed hats, they resemble little characters full of personality.
Mini Crochet Amigurumi Gnome Free Pattern For Shelf Displays
One appealing aspect is their friendly expression. The carefully shaped features and gentle eyes give each gnome a kind and approachable look. Typically, these gnomes come in vivid colors; bright reds, greens, or blues highlight their hats and clothes. This colorful quality remains striking over time due to quality yarn fibers, which resist fading and maintain texture.
Besides visual appeal, there are positive effects linked to working on these figures. The repetitive stitching involved in crocheting can provide a calming effect and help reduce stress. Moreover, the compact size of amigurumi gnomes makes them easy to display anywhere—on shelves, desks, or as playful décor in living spaces.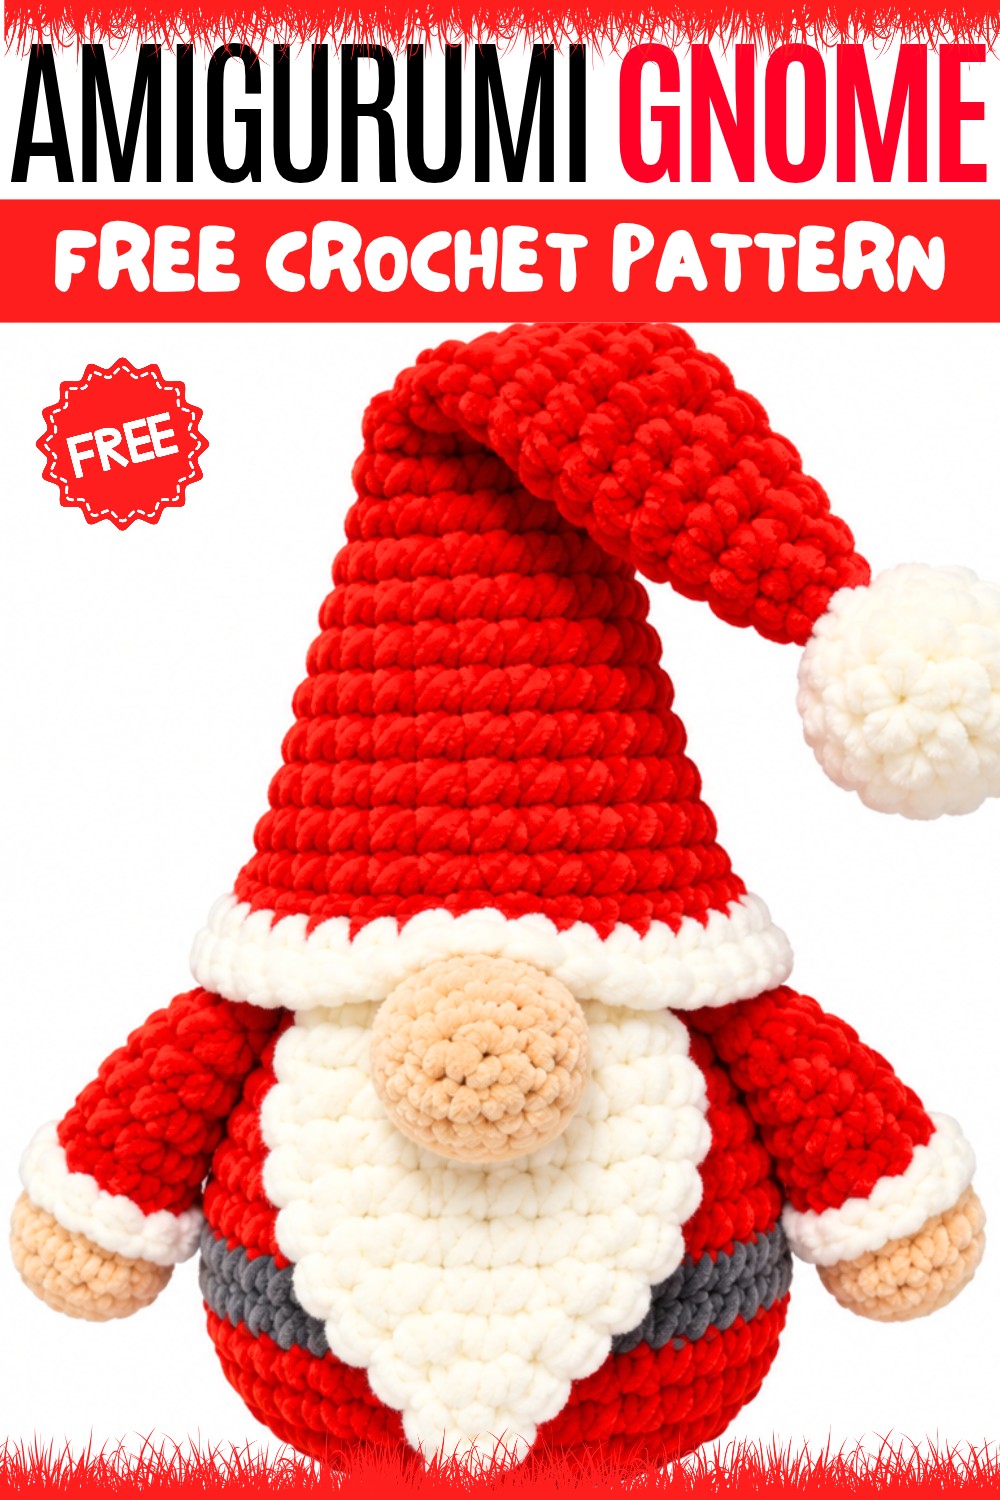
Another interesting point is the flexibility in personalizing colors and small details. This allows each individual to give their gnome its own unique character. Therefore, these tiny companions not only brighten homes but also create a cozy, welcoming atmosphere.
Overall, crochet amigurumi gnomes represent a delightful combination of charm, color vibrancy, and relaxing activity. Their human-like features and friendly look make them delightful additions to any collection.
About the Pattern
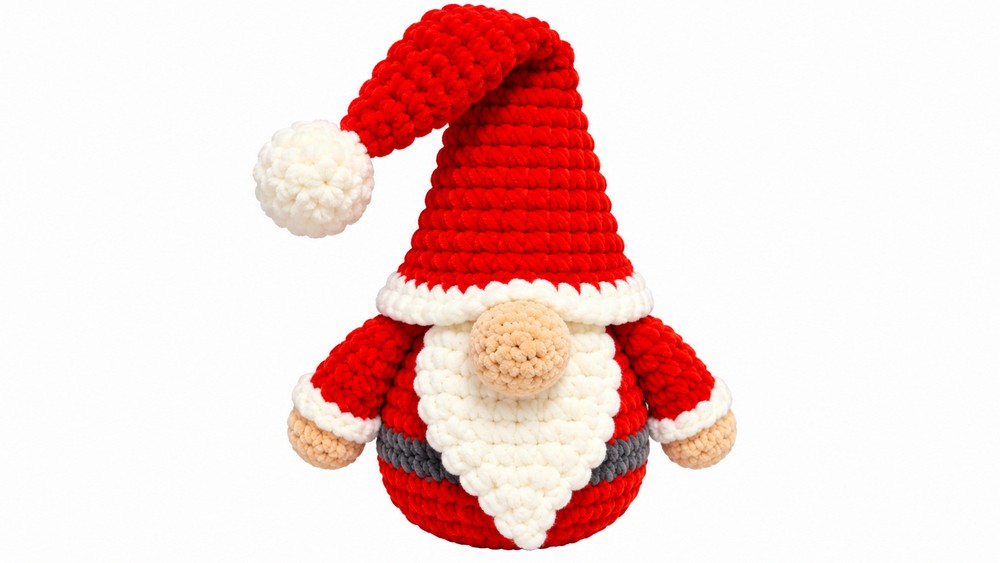
The Christmas Gonk crochet pattern offers a delightfully festive amigurumi figure composed of separately constructed components that are assembled to create an appealing holiday ornament. Each part—the arms, beard, nose, head and body, hat trim, and bobble—utilizes classic amigurumi techniques. This pattern highlights colorwork, assembly order, and precise shaping, guiding crocheters through the entire process for a playful and iconic seasonal project. The emphasis on modular construction, attached features, and simple finishes ensures a rewarding and decorative result for crocheters of all experience levels.
Pattern Basic Points
- Modular Parts: Individual sections (arms, beard, nose, head/body, hat trim, bobble) are created separately for clear assembly.
- Color Changes: Several transitions per part (skin, red, white, gray) to create realistic and visually distinct details.
- Amigurumi Spirals: Main pieces worked continuously in the round (spiral) for a seamless finish.
- Surface Detailing: Hat trim is crocheted onto the front loops of the body, adding professional structure and clean lines.
- Precise Assembly: The prescribed joining order ensures the Gonk's classic posture and expression, with positions noted for arms, beard, and nose.
Special Notes
- Mark the first stitch of each round to keep count accurately, which is essential with spirals and color changes.
- Stuff parts as you complete them, except where noted—beard should not be stuffed to remain flat.
- Use firm but not overstuffed filling to help your Gonk stand upright and maintain shape.
- All color changes should be completed cleanly at the end of a round to ensure sharp color break lines; weave ends deeply into the finished piece for durability.
- Assembly requires careful placement for facial features—refer to the order for authentic Gonk character.
- Matching tension and gauge ensures components fit together as intended, particularly for arms, hat trim, and beard.
Skill Level
Beginner. This project uses basic single crochet, increases, decreases, and color changes, making it approachable to newer crocheters. Assembly requires basic sewing skills, and the construction steps are clearly mapped for ease.
Materials
- Yarn: DK or worsted weight in red (body, hat), white (hat trim, cuffs, beard, bobble), gray (belt), and skin/flesh tone (arms, nose).
- Hook: 3 mm crochet hook (or size suited to your chosen yarn and tightness required for amigurumi).
- Stuffing: Polyester fiberfill or preferred synthetic stuffing.
- Tapestry/Blunt Needle: For assembly and weaving in ends.
- Scissors
- Stitch Marker
Measurements & Gauge
- Finished Height: Approximately 15–17 cm tall (variation depending on tension and stuffing).
- Gauge: Not critical for amigurumi, but final fabric should be dense enough for stuffing to not show through. Aim for 8–9 SC in 2.5 cm.
- Stitch Pattern: All main parts utilize single crochet, with increases (2 SC in same stitch), decreases (SC two together), and both standard and loop-specific (front, back) placements.
Stitch Abbreviations
- MR: Magic Ring
- SC: Single Crochet
- inc: Increase (2 SC in one stitch)
- dec: Decrease (SC 2 together)
- ch: Chain
- sl st: Slip Stitch
- FLO: Front Loop Only
- BLO: Back Loop Only
- st(s): Stitch(es)
Special Stitches Used
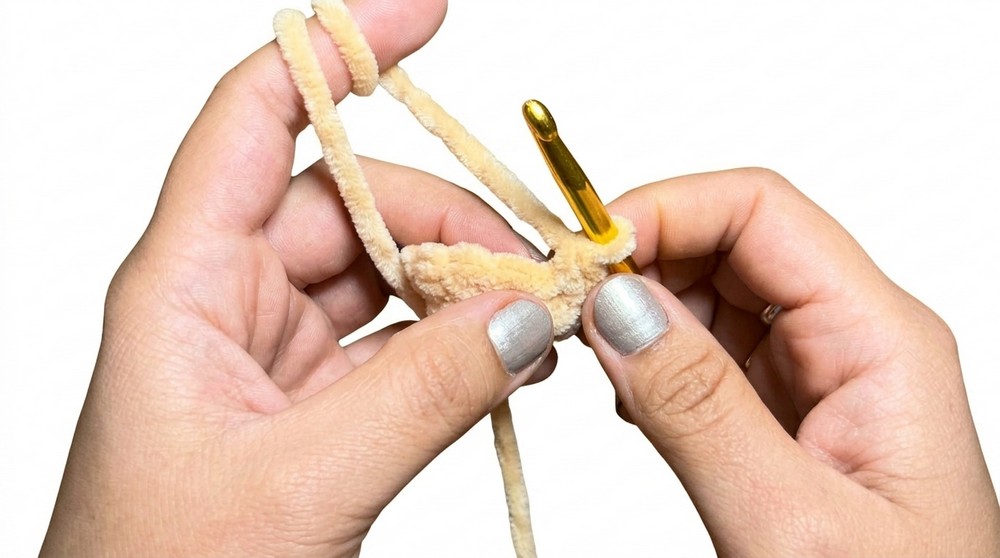
- Magic Ring (MR): Form a loop, work SC stitches into the loop, and pull tight.
- Invisible Decrease (dec): Insert hook into front loops of two stitches, yarn over, pull through both, yarn over, pull through both loops on hook (used for less visible decreases).
- Front Loop Only (FLO): Used to attach hat trim for a raised edge.
Complete Pattern
Arms (Make 2)
- Using skin-colored yarn:
- MR: 6 SC into ring.
- Round 2: inc in each st around (12 SC).
- Rounds 3-4: SC in each st around (12 SC).
- Round 5: (SC, dec) repeat around (8 SC).
- Switch to red for sleeve:
- Round 6: (inc, SC) x 4 (12 SC).
- Rounds 7-8: SC in each st around (12 SC).
- Round 9: (dec, SC, SC) repeat around (9 SC).
- Switch to white for the cuff:
- Round 10: SC in each st around (9 SC).
- Fasten off, leaving a tail for sewing.
- Lightly stuff each arm before closing.
Beard
- With white yarn:
- MR: 6 SC into ring.
- Round 2: inc in each st around (12 SC).
- Round 3: (SC, inc) repeat around (18 SC).
- Round 4: SC in each st around (18 SC).
- Do not stuff; close and leave a long tail for sewing.
Nose
- Using skin-colored yarn:
- MR: 6 SC into ring.
- Round 2: inc in each st (12 SC).
- Round 3: SC in each st (12 SC).
- Round 4: (SC, dec) repeat around (8 SC).
- Stuff gently, close, leave tail for sewing.
Head / Body
- With red yarn:
- MR: 6 SC into ring.
- Round 2: inc in each st around (12 SC).
- Round 3: (SC, inc) repeat around (18 SC).
- Round 4: (2 SC, inc) repeat around (24 SC).
- Round 5: (3 SC, inc) repeat around (30 SC).
- Round 6: (4 SC, inc) repeat around (36 SC).
- Round 7: (5 SC, inc) repeat around (42 SC).
- Round 8: (6 SC, inc) repeat around (48 SC).
- Rounds 9–16: SC around (48 SC per round).
- Switch to gray for the belt:
- Rounds 17–19: SC in each st around (48 SC).
- Switch back to red:
- Rounds 20–23: SC in each st around (48 SC).
- Begin decreasing (shape top):
- (6 SC, dec) repeat around (42 SC)
- (5 SC, dec) repeat around (36 SC)
- (4 SC, dec) repeat around (30 SC)
- (3 SC, dec) repeat around (24 SC)
- (2 SC, dec) repeat around (18 SC)
- (SC, dec) repeat around (12 SC)
- Stuff the body well at this stage, then
- (dec only) across last round until closed.
- Secure and weave in end.
Hat Trim
- Attach white yarn to front loop only of the body’s final round.
- Round 1: FLO—SC evenly around to reach 40 SC.
- Rounds 2-3: SC in each st (40 SC); continue more rounds for desired thickness.
- Fasten off and weave in ends.
Bobble
- With white yarn:
- MR: 6 SC in ring.
- Round 2: inc in each st (12 SC).
- Rounds 3-4: SC in each st (12 SC).
- Round 5: (SC, dec) repeat around (8 SC).
- Stuff bobble before closing.
- Finish off with a long tail for attaching.
Assembly & Finished Size
- Attach Bobble:
Sew the finished bobble securely to the very top center of the hat, rounding out the gonk’s iconic silhouette. - Attach Arms:
Position each arm symmetrically on either side of the body, just two rounds below the hat’s bottom edge or trim line. Sew through both the cuff and sleeve for stability. - Attach Beard:
Find the central lower front, between the arms. Stitch the beard firmly in place, so it sits evenly and hangs free. - Attach Nose:
Center the nose on the beard—directly onto the beard’s upper portion and carefully sew it so that it sits securely and protrudes slightly.
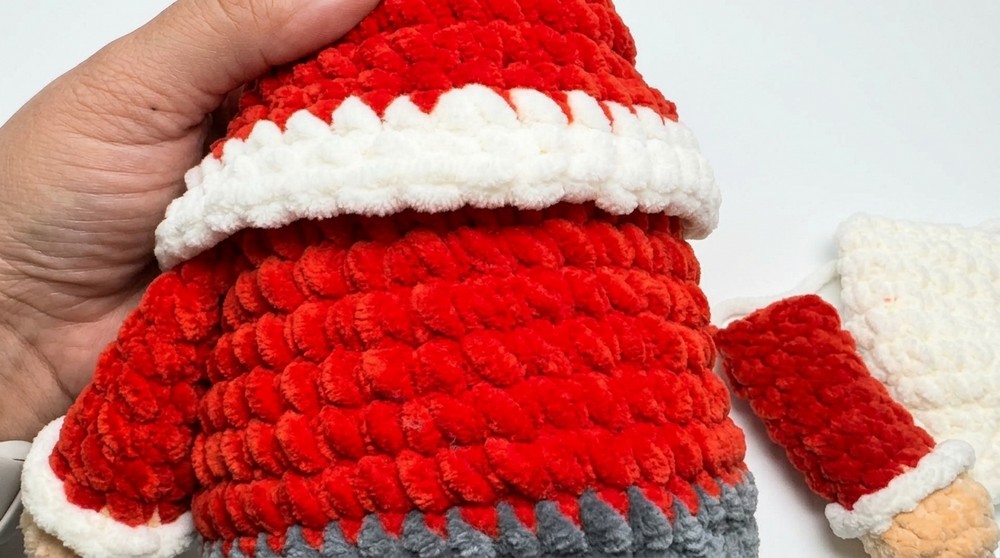
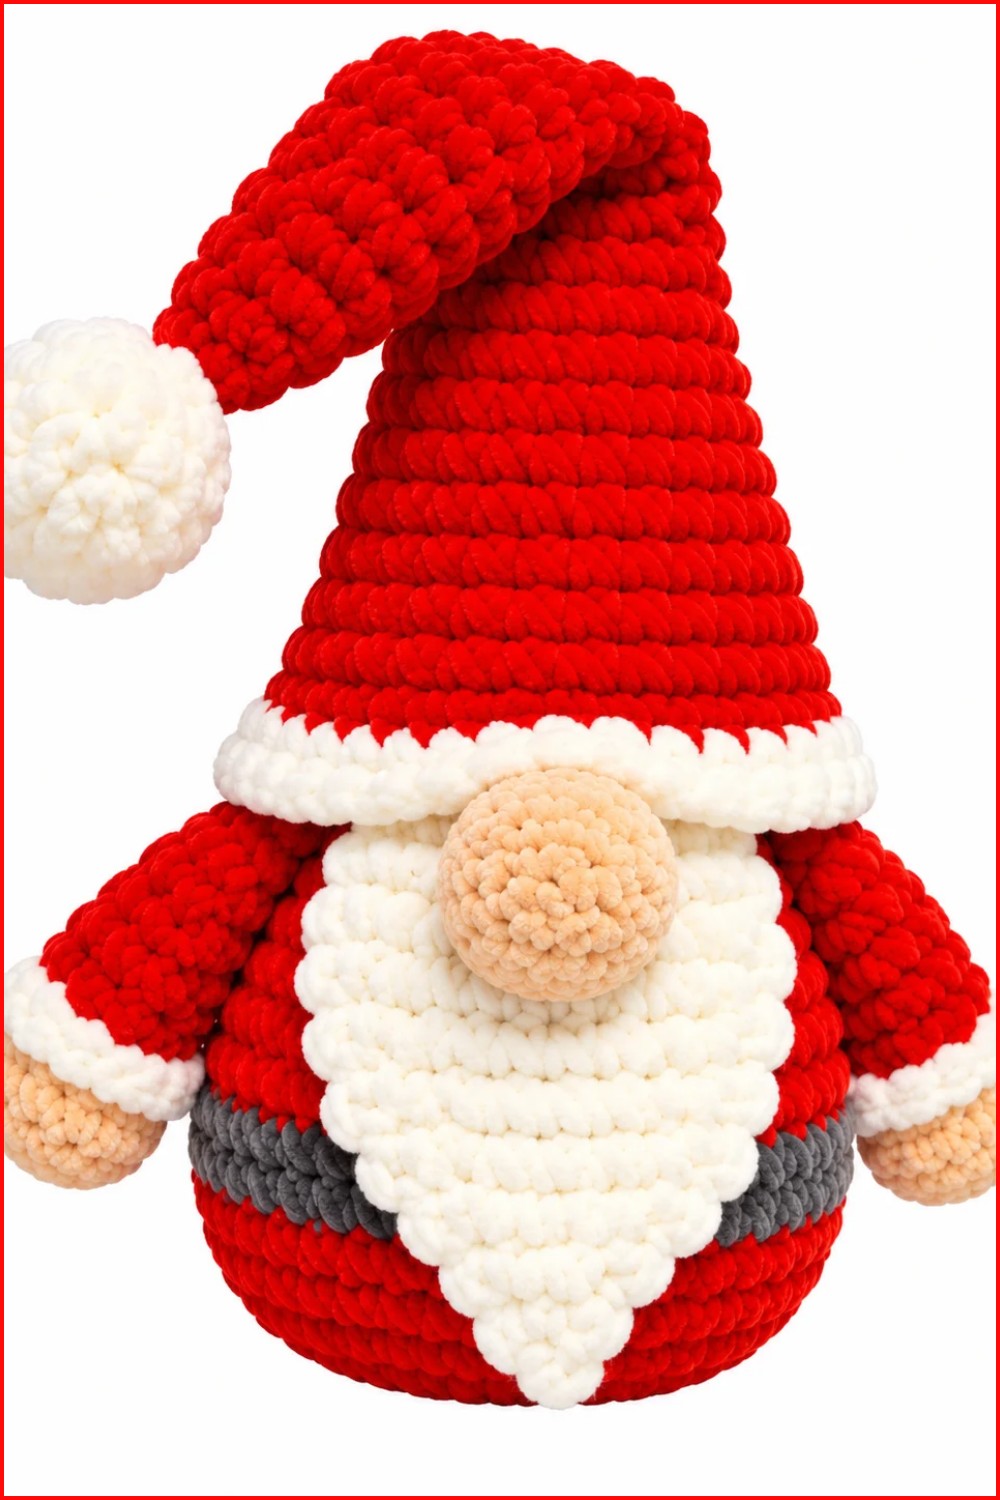
Make sure all yarn ends are secured inside the body. The finished gonk stands about 15–17 cm tall, with a rotund base, decorative belt, lively arms, plush beard, signature nose, and a classic bobble-tipped hat.
Conclusion
The Christmas Gonk crochet pattern combines amigurumi essentials, colorwork, and intentional surface finishing for a project that is both accessible and visually rewarding. Its modular construction facilitates easier handling during each crocheting stage, and the detailed assembly instructions ensure expressive and festive results every time. This pattern is not only a festive decor idea but is designed to teach and reinforce crochet basics, confidence in part assembly, and careful colorwork, making it a delightful seasonal option for all skill levels.