
Sunflower Earring Crochet Pattern to Lift Your Look
Shine with style using this Free Crochet Sunflower Earring Pattern, perfect for lightweight accessories that brighten outfits and spark cheerful vibes.
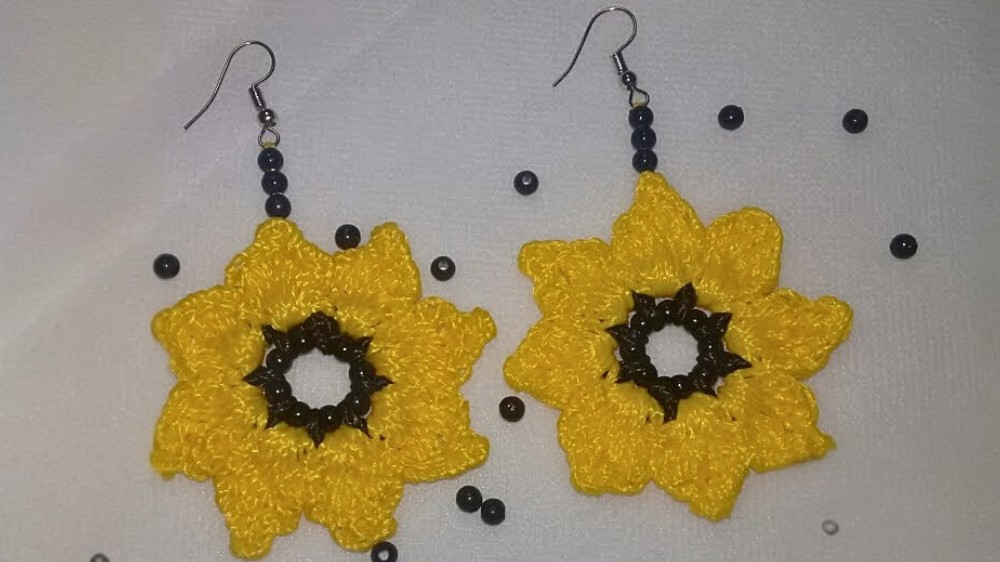
Sunshine and warmth are often associated with the cheerful bloom of a sunflower, and translating this vibrant flower into delicate earrings brings a touch of nature’s brightness to everyday wear. The crochet sunflower earring captures the essence of summer’s glow, with its lively yellow petals radiating joy and positivity. Crocheted with intricate details, each petal is carefully shaped to mimic the natural curvature, creating a miniature floral masterpiece that dances with movement and life.
Warm Glow Crochet Sunflower Earring Pattern for Nature Lovers
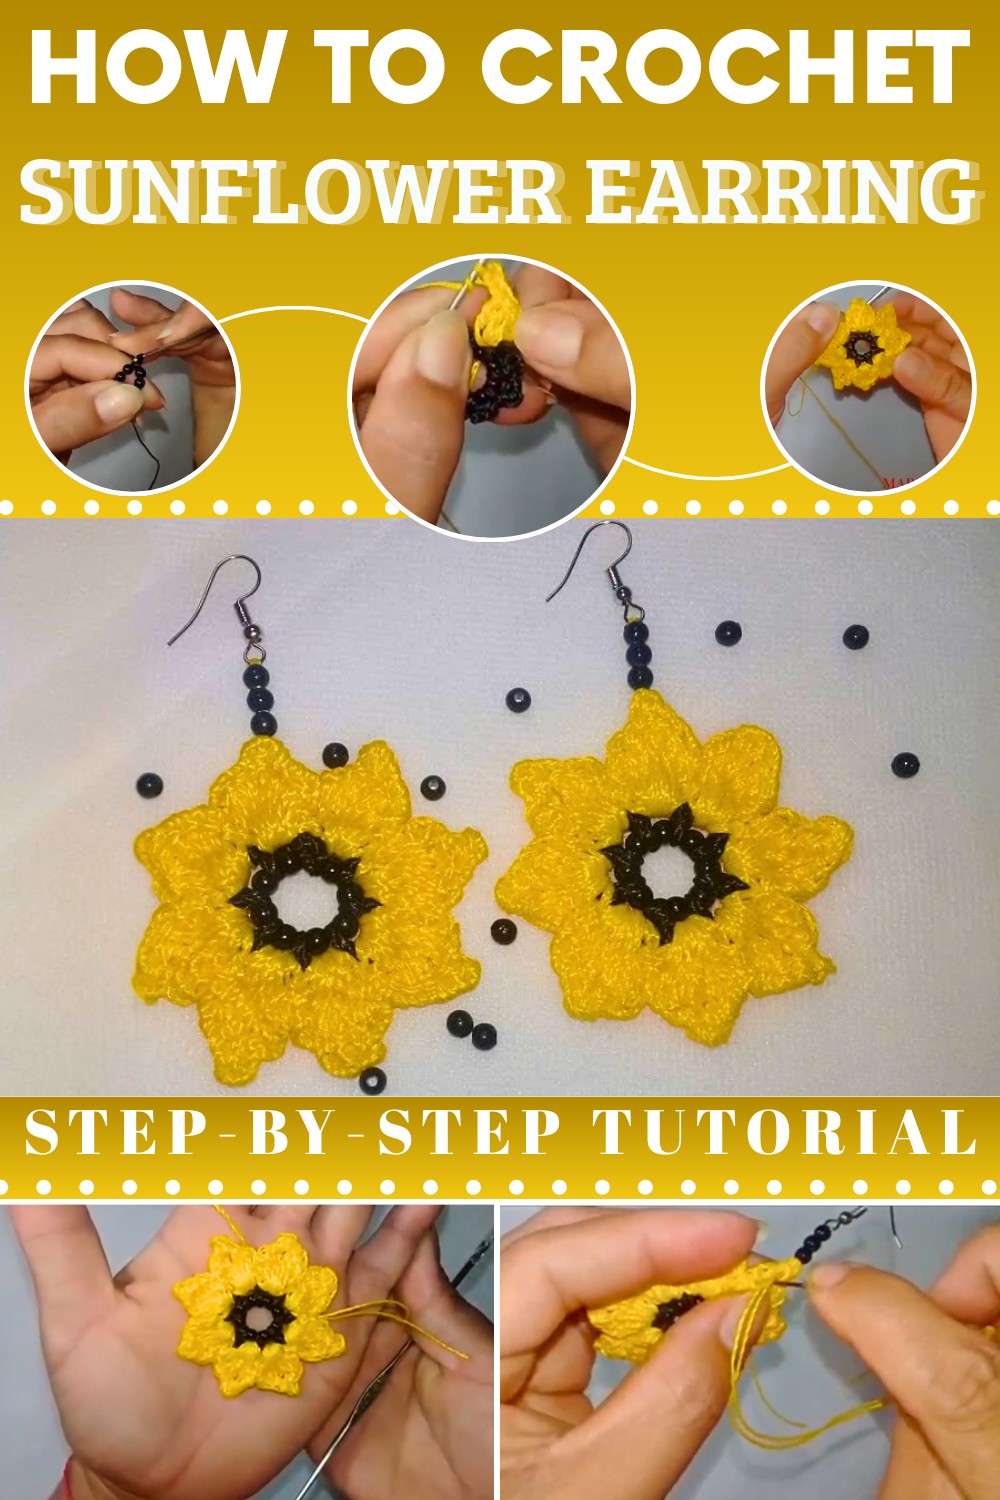
Their lightweight construction ensures comfort, making them suitable for all-day wear while providing a striking, handcrafted look that expresses personality and creativity. The pattern strikes a balance between simplicity and elegance, making it accessible for beginners yet satisfying for experienced crocheters seeking a fulfilling project. The process emphasizes neat finishing, with attention to securely fastening the hooks and weaving in loose ends for durability.
Lightweight and comfortable, these earrings are perfect for daily wear or gifting to loved ones. Bright, cheerful, and utterly charming, they bring a little piece of nature’s sunshine into your jewelry collection, showcasing the beauty of crochet craftsmanship. Each pair becomes a wearable symbol of positivity, crafted with love and attention to detail that makes every glance at them a reminder of sunny days and happy moments.
Step-by-Step Crochet Pattern: Sunflower-Inspired Earrings
1. Materials Needed
- Yarn:
- Fine black crochet thread (e.g., "Raissa").
- Fine yellow crochet thread (e.g., "Raissa"). Use two strands together if you don’t have a thicker yellow thread.
- Crochet Hook: 1.75 mm.
- Notions:
- Scissors.
- Regular sewing needle.
- Lighter (optional, for sealing yarn ends).
- Hot glue gun (optional for hardening/stiffening).
- Additional Supplies:
- Pearls: 11 pearls in total (size #4).
- 8 pearls for the outer circle.
- 3 pearls for the center drop detail.
- Earring Hook or Base: “Sunny” earring clasp, metal hooks, or clip-on bases.
- Acrylic Stiffener (optional): "Lina Acrilex” clear hardening solution or DIY stiffening (sugar water or starch mix) for firmness.
- Pearls: 11 pearls in total (size #4).
2. Finished Size
- Diameter: Approximately 2.5–3 cm for the flower-shaped earring (excluding the pearl drop).
- Drop Length: Varies based on the hook and pearl length (~5 cm overall).
3. Gauge
No specific gauge is required, but using the suggested thread type and hook size will ensure the final size is small and dainty. Adjust thread thickness or hook size for larger or smaller earrings.
4. Special Techniques
- Picot Stitch for Petals:
- Stitch sequence: Chain 2 or 3, return to the base of the chain, and secure with a slip stitch for a small decorative point.
- Double Treble Crochet:
- Yarn over 3 times, insert hook into stitch, yarn over, pull up a loop, and complete the stitch by pulling through 2 loops at a time (four steps total).
- Guiding Two Yarn Strands (for Yellow):
- If the yellow thread is thin, use two strands together to mimic the thickness of the black thread.
- Tying Secure Knots with Pearls:
- After stringing pearls, knot tightly but leave room to crochet over the knot.
5. Pattern Instructions
Base Ring with Pearls (Outer Circle)
- String Pearls:
- Thread 8 pearls onto the black thread using a sewing needle. Slide them onto the working black yarn.
- Create a Circle:
- Form a loop of pearls by sliding all 8 pearls to the working end of the yarn.
- Knot the thread tightly to close the circle.
- Start First Round:
- Insert crochet hook into the center of the pearl loop.
- Chain 1 to secure.
- Spacing Mesh (Between Pearls):
- Work 3 chains, then make a slip stitch into the gap between the next two pearls to anchor the chain loops.
- Repeat around all 8 pearls: Chain 3, slip stitch between pearls.
- Slip stitch into the first chain to join the round.
- Fasten Off Black Thread:
- Cut the black thread and weave the loose end securely. The finished round will now form a black mesh-like structure around the pearls.

Yellow Petals
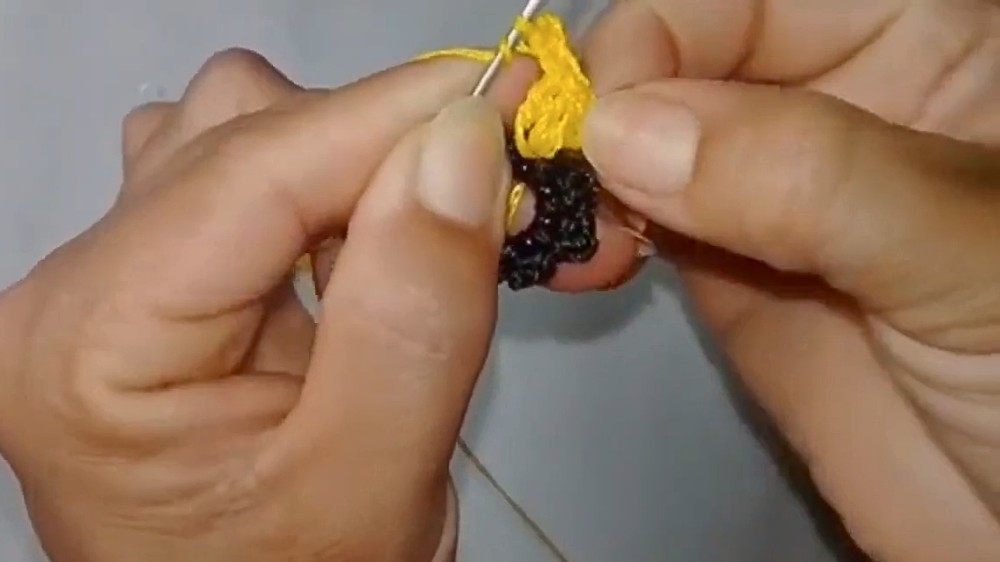
- Attach Yellow Yarn:
- Attach the yellow yarn (using 2 strands if necessary) at any chain loop of the black base. Secure with a slip knot.
- Petal Formation (in Each Chain Space):
- In each chain space between pearls, perform the following:
- Chain 2 (represents a half double crochet).
- 2 double crochet stitches in the same chain space.
- 1 double treble crochet stitch and chain 3 to form a picot (slip stitch back into the top of the double treble stitch to close the picot).
- 2 double crochet stitches back in the same chain space.
- Chain 2, then make a slip stitch into the same chain space to complete the petal.
- In each chain space between pearls, perform the following:
- Repeat for All Petals:
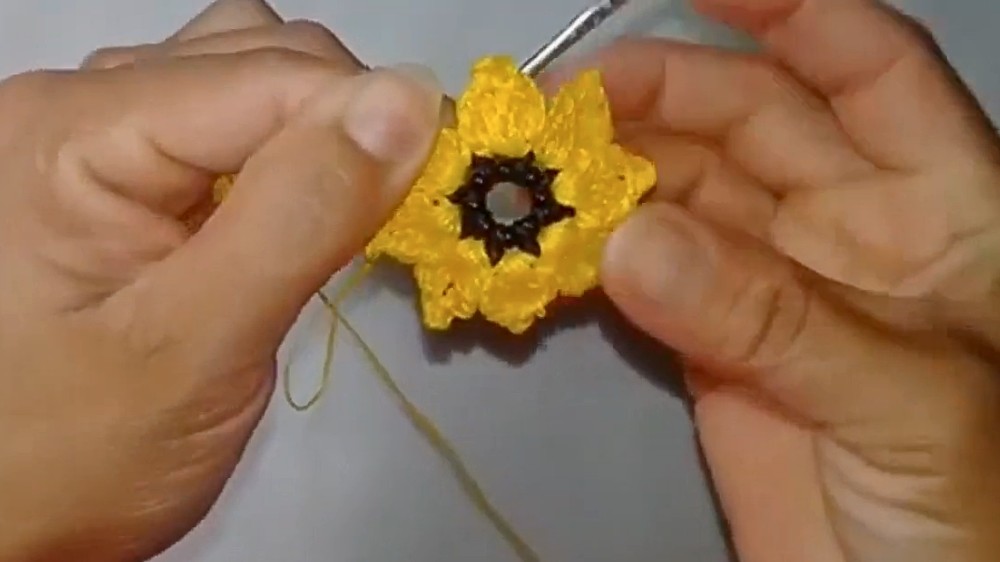
- Repeat the above steps in each chain loop around the base. You will have 8 petals in total when finished.
- Fasten Off Yellow Yarn:
- Slip stitch to close the round. Cut and fasten off the yellow yarn.
- Weave ends securely or use a lighter to melt synthetic yarn ends for smoothness.
Center Drop with Pearls
- Reattach Thread for Pearls:
- Cut a length of black yarn and thread it onto a sewing needle.
- Thread Pearls for Drop:
- String 3 pearls onto the black thread.
- Attach Earring Hook:
- String the earring hook or clasp along with the pearls, ensuring proper alignment.
- Secure Pearls:
- Pass the thread back through the 3 pearls to secure them and create a stable drop.
- Tie off the thread firmly and weave it back through the work to hide loose ends.

6. Stiffening the Earrings (Optional)
If you prefer a firmer earring shape:
- Apply Stiffening Solution:
- Use a soft brush to evenly apply acrylic stiffener or DIY stiffener to the back and front of the petals. Avoid soaking too much into the yarn.
- Shape and Dry:
- Place the earring on a flat surface or gently press into a round shape around a small bottle or ball. Allow to air-dry completely for 24 hours.

7. Assembly
- Use the long tail from the black base or sewing thread to securely attach the earring hook or clip to the top of the pearl circle.
- Use hot glue or stitch extra embellishments (if desired), ensuring they are secure and balanced.
8. Final Words, Tips, and Maintenance
- Color Customization: Experiment with different petal colors for a variety of flower effects (e.g., red for a poppy, pink for a vibrant flower).
- Thread Replacement: If fine thread is not available, use embroidery thread or cotton yarn for a thicker variation. Adjust the hook size accordingly.
- Decoration Variations: Instead of pearls, try beads, sequins, or rhinestones for varying texture and sparkle.
- Earring Care: Avoid exposure to excess moisture unless stiffened and sealed. A gentle wipe will keep the thread clean.
Conclusion
These sunflower-inspired earrings are a charming and versatile accessory, suitable for any occasion. Their lightweight feel, elegant finish, and customizable options make them a great addition to your handmade jewelry collection. Perfect for gifting or selling, they are quick to make and require only basic skills.