
Quick Free Crochet Onion Amigurumi Pattern to Brighten Any Room
Whip up tasty fun with Crochet Onion Amigurumi Pattern that adds quirky charm, colorful flair, and cheerful handmade joy to kitchens and gifts.

Turning a simple ball of yarn into a tiny, quirky veggie is more exciting than it sounds! This project kicks off with the little leafy top, giving you a quick win before diving into the round body. As you crochet in loops, the onion starts to puff up, forming soft, round curves that feel just right in your hand.
Free Crochet Onion Amigurumi Pattern For Kids Room
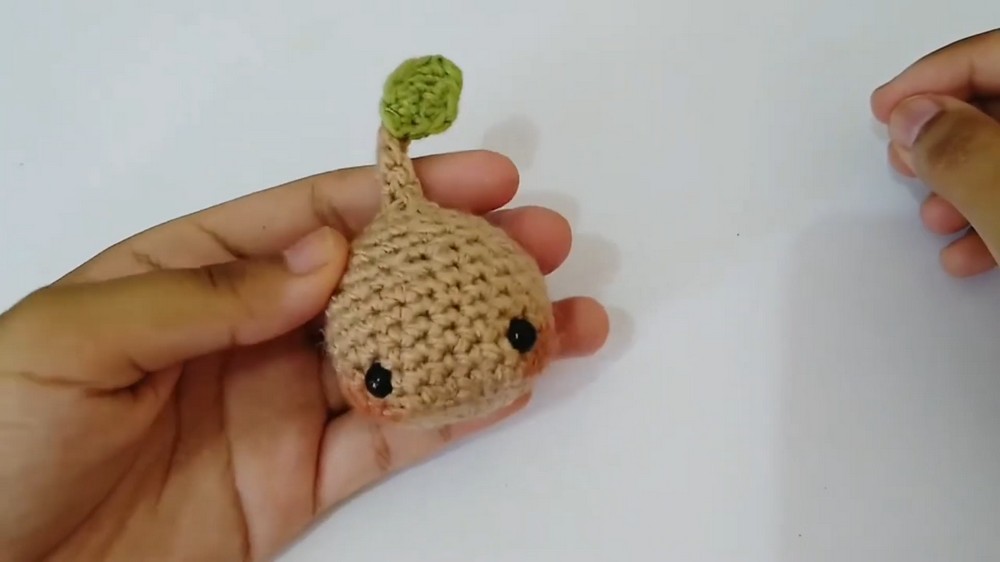
The little green shoots sprouting from the top add a playful twist, making it look lively, like it’s ready to jump off your desk and join a salad. Working row by row, the body grows evenly, and the neat stitching makes it look surprisingly polished for such a small project. Changing yarn colours along the way keeps things interesting and adds a subtle charm.
Materials
- Yarn:
- Main color: Acrylic yarn, color “cappuccino” (or your choice for onion bulb)
- Leaf: Cotton or acrylic yarn, olive green or desired shade
- Hook: 2.5 mm or 3 mm crochet hook (adjust according to yarn thickness)
- Stuffing: Silicone-coated fiberfill or polyester stuffing
- Safety Eyes: 6 mm (or embroider/make felt eyes as alternative)
- Stitch Marker or Clip: Optional, to mark round beginnings
- Blush/Makeup Highlighter: Optional, for cheeks
- Tapestry or Wool Needle: For sewing and finishing
- Scissors
Key Abbreviations (US Crochet Terminology)
- MR – Magic Ring
- SC – Single Crochet
- INC – Increase (2 SC in same stitch)
- DEC – Decrease (single crochet 2 together)
- SL ST – Slip Stitch
- CH – Chain
- DC – Double Crochet
Special Notes
- This pattern is worked in continuous rounds unless specified.
- Use a stitch marker to indicate the beginning of each round.
- Safety eyes are placed between Rounds 5 and 6, 5 stitches apart.
- Use a small amount of blush for cheeks if desired.
- Leaf and stem are crocheted-on/sewn in place for a seamless finish.
Pattern
Onion Bulb (Bulb Color)
- Round 1:
MR, 6 SC in ring. (6) - Round 2:
INC in each st around. (12) - Round 3:
(SC, INC) repeat around. (18) - Round 4:
(SC, SC, INC) repeat around. (24)
5–9. Rounds 5–9:
SC in each st around. (24 per round)
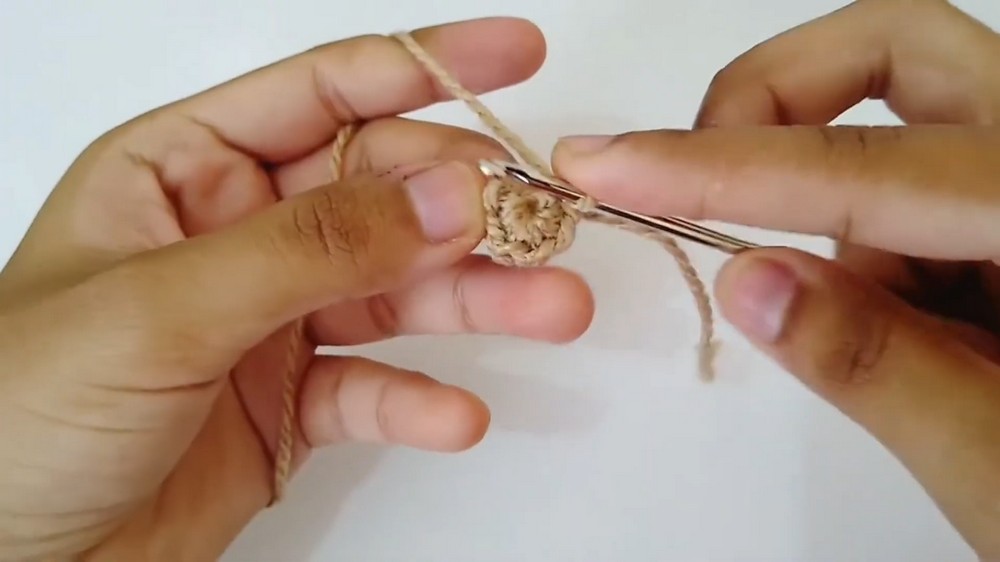

Round 10:
(SC, DEC) repeat around. (18)
Insert Safety Eyes:
- Place between Rounds 5 and 6, 5 stitches apart.
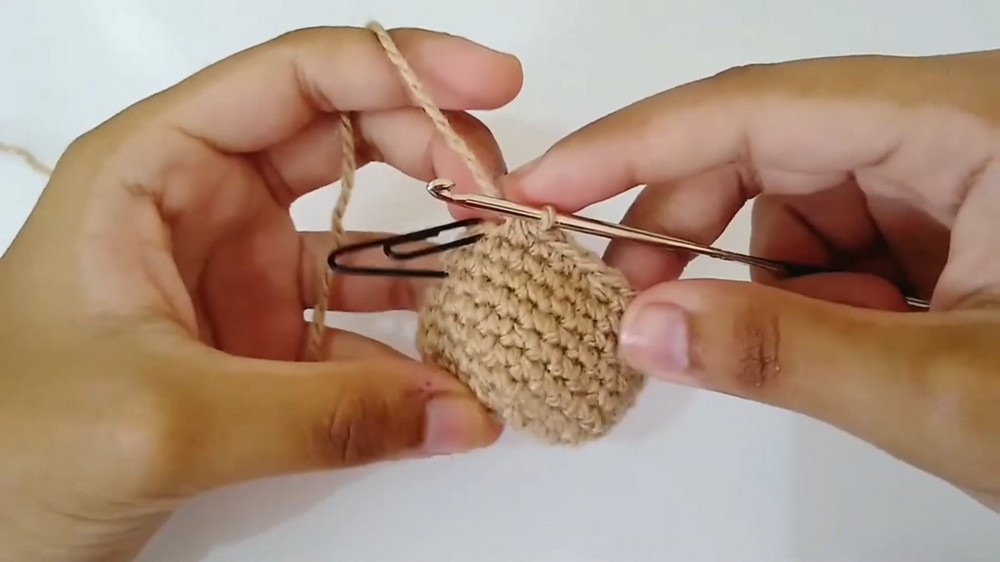
Round 11:
- SC in each st around. (18)
- Stuff firmly with fiberfill as you progress.
Round 12:
- (SC, DEC) repeat around. (12)
Round 13:
- SC in each st around. (12)
- Add a bit more stuffing if needed.
Round 14:
- DEC around. (6)
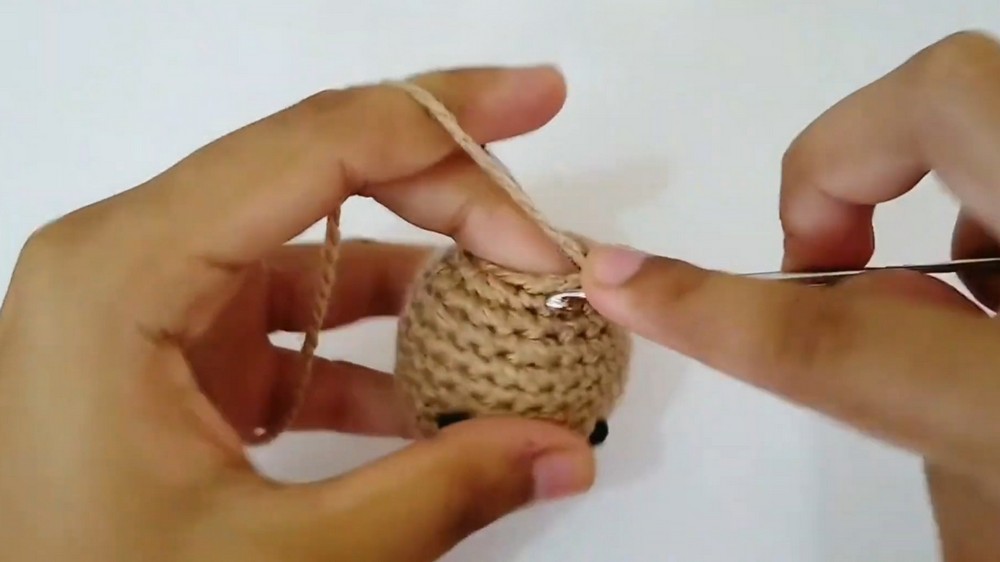
Close the Top and Create Stem
- SL ST in next st.
- Skip 3 sts, in the 4th st, work another SL ST.
- CH 5 (for stem).
- Skip the first CH, SC in each of the remaining 4 CHs back toward the bulb.
Finish Bulb:
- With tapestry needle, use the skipped stitches to work a DEC (pulling together the 3rd and 1st of the skipped sts for a firm closure).
- Cut yarn, weave end inward from unclosed stitch if needed, and hide tail inside.
Leaf (Olive Green Yarn)
- CH 5.
- Skip first CH, work:
- SL ST in second CH
- SC in third CH
- SC in fourth CH
- 2 DC in last (fifth) CH
- Turn and work on the opposite side of the initial chain, hiding any tail:
- 2 DC in same (last) CH as previous
- SC in next CH
- SC in next CH
- SL ST in last CH
- Cut yarn, leaving a long tail for sewing.
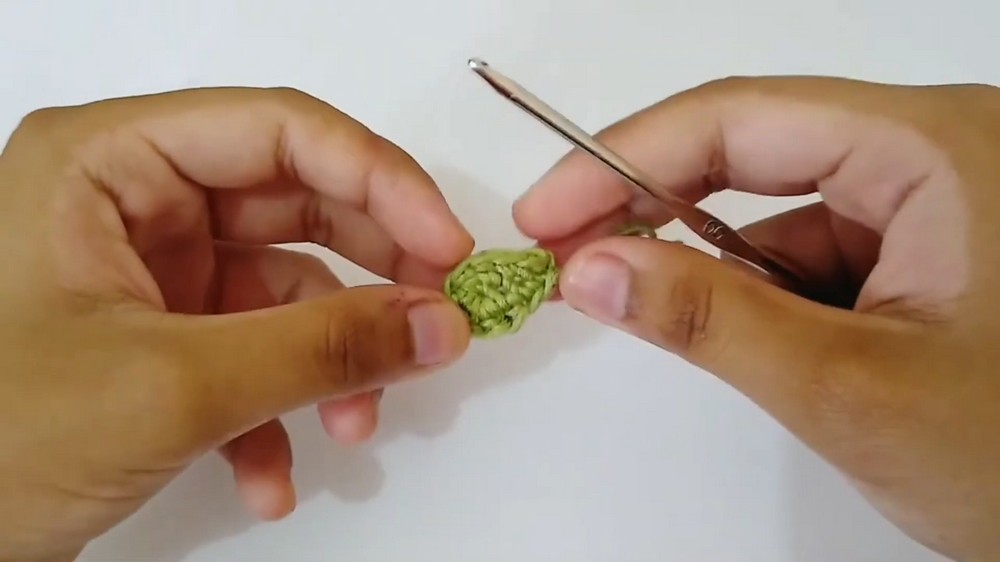
Finishing: Attach Leaf to Stem
- With tapestry needle and yarn tail, sew leaf securely to the top of the stem.
- Hide the sew yarn by weaving through the strands of the leaf and stem.
- Trim any excess.
Optional: Add Cheeks
- Use a makeup brush or cotton swab to gently apply blush or pink eyeshadow to both cheeks for a cute effect.
Conclusion
You have now completed a charming amigurumi onion, perfect for a keychain, desk ornament, or cute gift. Personalize further with different colors or facial expressions!
Pattern Corrections & Tips
- Corrections:
- Ensure stitch counts on each round.
- Adjust hook size for tighter stitches if stuffing shows.
- When closing the bulb and making the stem, join smoothly for a stable base.
- Tips:
- For firmer leaves/stem, use a size down hook or crochet more tightly.
- Re-purpose leftover yarn snippets as stuffing—a sustainable option!
- If making for children, securely attach (or embroider) eyes and double-check all sewn parts.