
Quick Free Crochet Bunch of Grapes Pattern to Add Fruity Flair
Liven any space with this Free Crochet Bunch of Grapes Pattern, offering a charming touch for décor, gifts, or playful kitchen accents.
A bunch of plump, luscious grapes has long symbolized abundance and celebration in many cultures. Their vibrant colors and inviting shape make them a favorite motif for home decor, especially when rendered in soft, textured crochet. The free crochet bunch of grapes pattern offers a charming way to bring this timeless symbol into your living space, adding a touch of nature’s beauty and a splash of color. Whether hung as a decorative piece in the kitchen, used as a charming accent in a centerpiece, or given as a thoughtful handmade gift, these crocheted grapes serve multiple purposes.
Free Crochet Bunch of Grapes Pattern for Festive Garlands
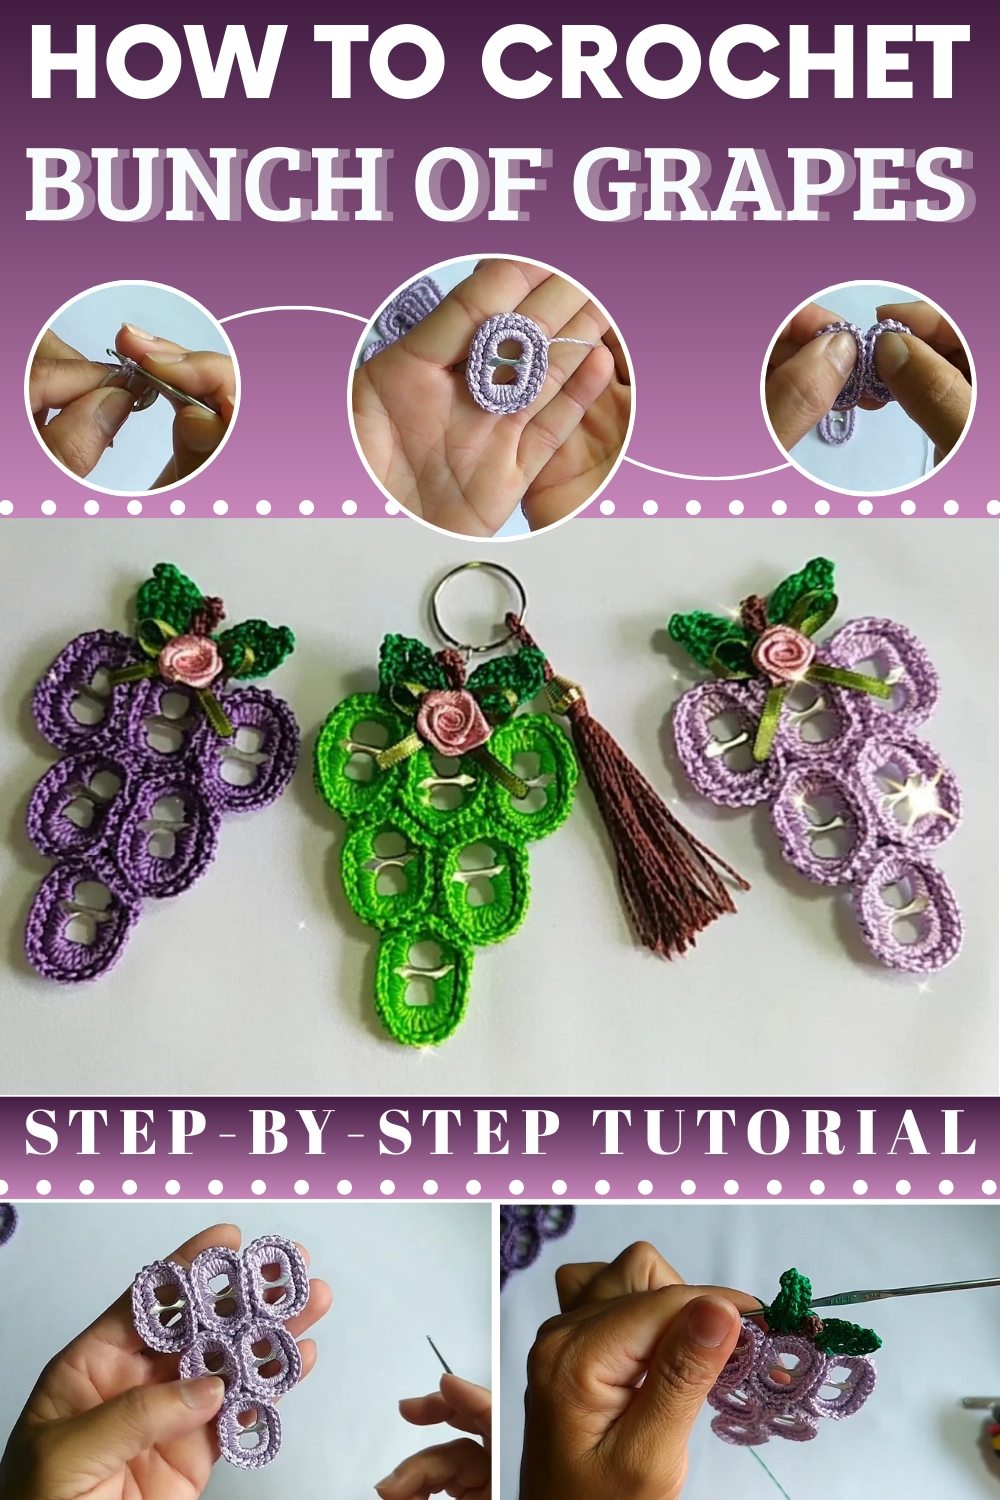
Throughout the process, the pattern emphasizes neat finishing, ensuring each grape is uniformly shaped and securely attached. The pattern’s versatility allows for different color combinations, making each bunch unique. The finished crochet grapes are lightweight and durable, perfect for decorating a kitchen. Adding to a basket of faux fruit, or enhancing a rustic centerpiece.
With thoughtful placement, these crochet bunches can brighten up any space, bringing a sense of freshness and charm that lasts. Their natural beauty and detailed skill make them a delightful addition to any home. It can offering both aesthetic pleasure and a reminder of nature’s simple joys.
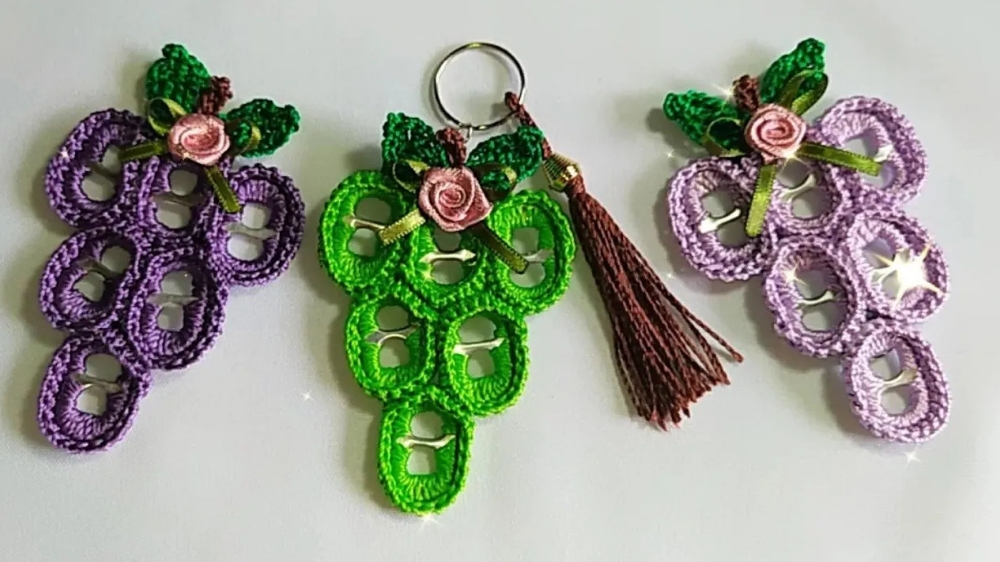
This pattern begins with a series of small, tightly crocheted grape clusters, each made by forming tiny, rounded grape shapes using single crochet stitches worked in spiral rounds. The middle section of the pattern involves assembling these individual grapes into a bunch, attaching them securely to a flexible stem or vine created with green yarn.
Free Crochet Bunch of Grapes Pattern
Materials List
- Yarn:
- Light purple (or grape color, worsted weight cotton recommended)
- Small amount brown (stem)
- Small amount green (leaves)
- Hook: 1.75 mm steel crochet hook
- Can Tabs: 6 (from soda/beer cans, cleaned and smoothed)
- Needle: Tapestry needle for sewing and weaving ends
- Scissors
- Glue: (Optional, for positioning tabs before sewing)
- Keyring: (Optional, to make it a keychain)
- Embellishments: Rococo flower/magnetic pebble (optional decor)
Key Abbreviations (US Terms)
- ch: chain
- sc: single crochet
- sl st: slip stitch
- dc: double crochet
- tr: treble crochet
- dtr: double treble (triple treble) crochet
- st(s): stitch(es)
- FO: fasten off
- rep: repeat
Special Notes
- This project uses 6 can tabs as a base for the grapes.
- All rounds are closed with a slip stitch.
- For best results, block your work gently after assembly.
- For a “quicker” finish and sturdy alignment, a small amount of glue may be used BEFORE sewing, but secure everything with thread.
Pattern Instructions
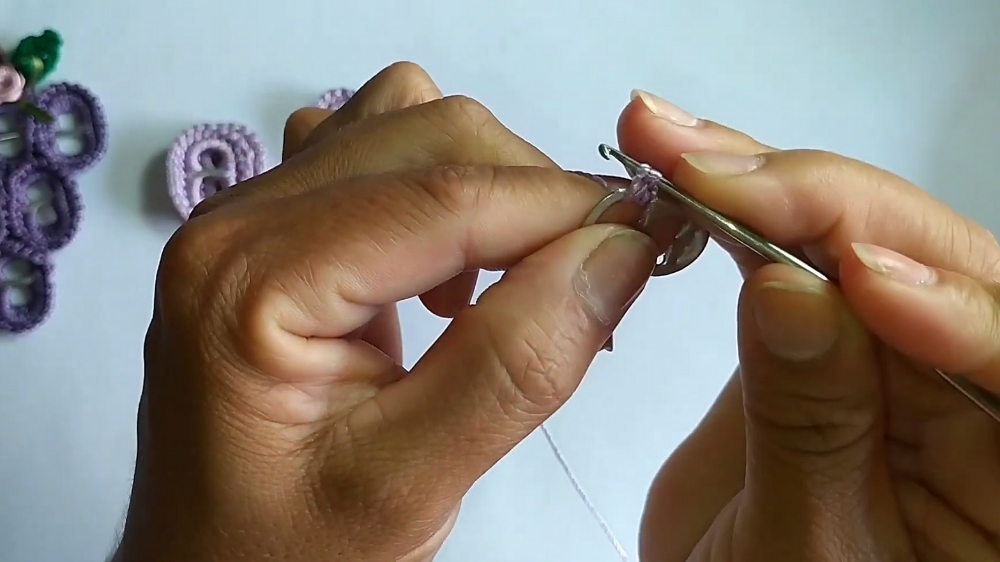
1. Cover Each Can Tab (Make 6)
With grape-colored yarn and 1.75 mm hook:
- Join yarn around the edge of the can tab with a slip knot.
- Round 1:
- Work sc stitches closely and evenly around the tab, covering the metal completely (approx. 18–20 sc per tab).
- Join with sl st to first sc to close the round.
- Round 2:
- Ch 1, sc in each st around.
- Join with sl st.
- Finish off, leaving a long tail on ONLY the last tab for assembly (others can be cut and woven in).
- Neatly weave in all ends except on the last (used for sewing).

2. Grape Bunch Assembly
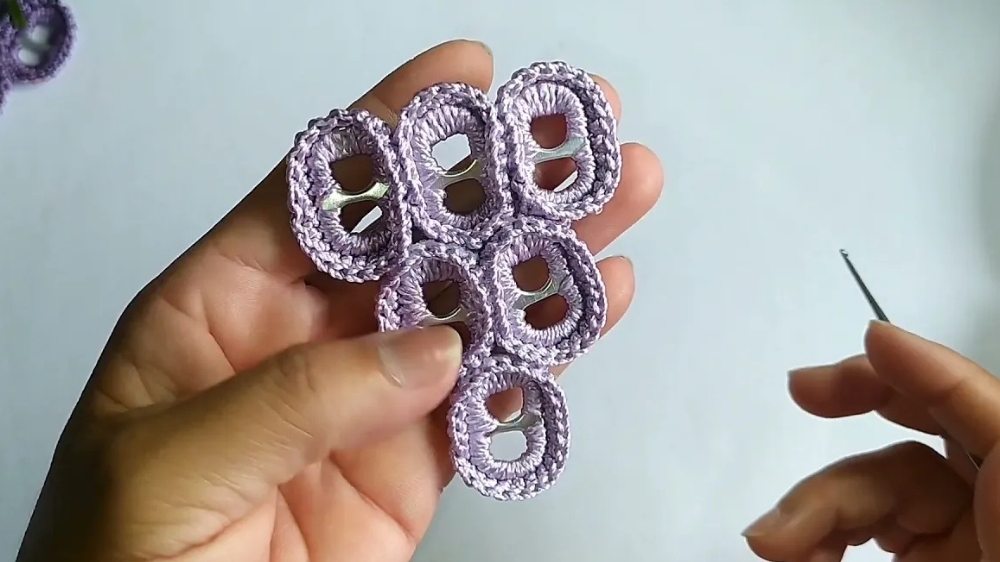
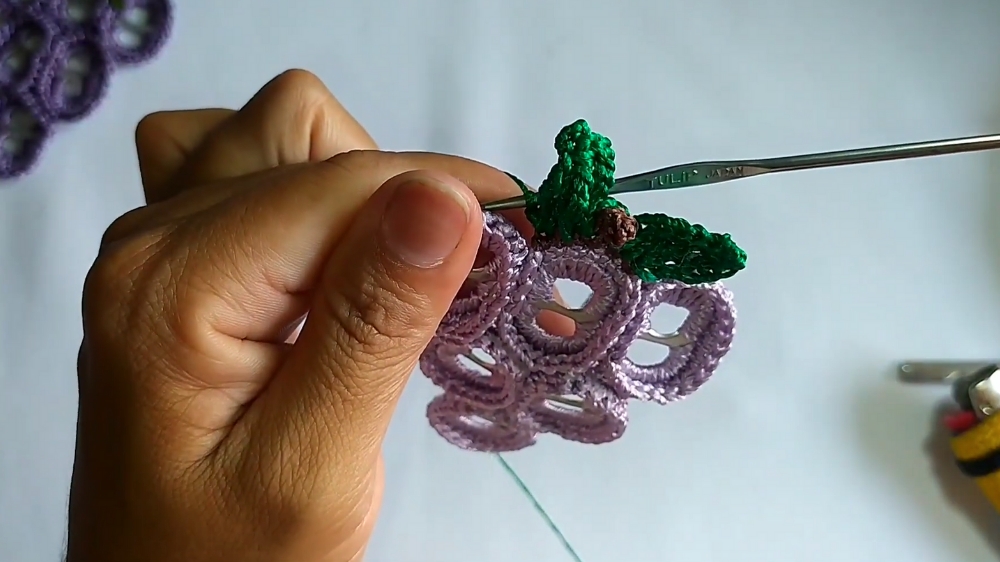
- Arrange the 6 covered tabs in a bunch:
- 1 top,
- 2 in the middle row,
- 3 in the bottom row (traditional grape cluster shape).
- (Optional but recommended): Place one tiny drop of glue between each, let set a few minutes—this simplifies sewing.
- Thread tapestry needle with the long tail.
- Sew the tabs together, passing through edge stitches of adjoining tabs, making the bunch sturdy.
- Weave in end to finish.

3. Stem (Brown Yarn)
- Attach brown yarn to the top tab (center).
- Row:
- Ch 5.
- Sc in each of next 5 ch back toward base (for a curly or short stem).
- Sl st in tab to anchor and FO.
- Optional tendril: after anchoring, ch 5 again and sl st down the ch.
4. Leaves (Green Yarn)
- Attach green yarn at desired spot (usually near the stem).
- Leaf:
- Ch 4,
- Yarn over 3 times, insert in base, pull up a loop, work a triple treble crochet (yarn over, pull through 2, four times).
- Ch 3, sl st at top of trtr st (picot tip of leaf).
- Ch 4, sl st in base for second leaf.
- FO and weave in.
(Add more leaves as desired by repeating above steps in adjacent spaces.)
5. Optional: Hang as Keychain
- Attach a keyring through one of the top edge stitches or small chains made at the stem base.
6. Optional: Decorate
- Glue or sew a small rococo-style flower to the bunch for more realism.
- Add a magnetic “pebble” on the back if using as fridge decor.
Conclusion
This eco-friendly grape keychain or fridge magnet is quick, simple, and a delightful way to upcycle can tabs. It provides an appealing three-dimensional effect and a great beginner amigurumi technique using basic stitches with an inventive base.
Pattern Correction & Tips
- Always check that can tabs are free from rough edges before use.
- Adjust number of sc around each tab if your tabs/yarn are thinner or thicker.
- Use a sturdy cotton or mercerized thread for best shape holding.
- For durability, both glue and sew tabs together—never use glue alone!
- Add more leaves or flowers for variety, or try different colors for a fantasy bunch.
- Tighten your stitches as you work for a snug and neat cover.