
Free Crochet AMIGURUMI RILAKKUMA Pattern That Melts Hearts
Relax into creativity with this Free Crochet AMIGURUMI RILAKKUMA Pattern that's a clear guide for making a soft bear perfect for gifts.

Best Free Crochet AMIGURUMI RILAKKUMA Pattern That Stands Out Sweetly
Small character figures with soft curves and calm expressions bring a comforting feel to any setting. This bear-themed amigurumi is loved for its simple shape, rounded features, and gentle look that instantly feels friendly. Its compact size makes it easy to display on shelves, desks, or bedside tables, while the smooth finish gives it a neat and polished appearance.

Many people enjoy keeping it as a collectible or giving it as a thoughtful present, especially to fans of cute character styles. Working on this project also supports better stitch control and patience, as attention to detail plays an important role in shaping the final look.
Materials
- Yarn:
- Brown (main body, head, arms, legs, part of ears) – acrylic or cotton
- Yellow (inner ear, lower leg/"sole" patch) – cotton or acrylic
- White (snout, tummy patch) – acrylic or cotton
- Hook: 3.0 mm crochet hook
- Stuffing: Polyester fiberfill
- Safety Eyes: Size as preferred (suggestion: 7—9 mm)
- Tapestry Needle
- Black embroidery thread/yarn (for nose and mouth)
- Stitch marker
- Scissors
- Fabric glue (optional, for attaching small pieces)
Key Abbreviations (US Terms)
| Abbreviation | Meaning |
|---|---|
| MR | Magic Ring |
| sc | Single Crochet |
| inc | Increase (2 sc in the same stitch) |
| dec | Decrease (sc2tog; use invisible decrease if preferred) |
| sl st | Slip Stitch |
| ch | Chain |
| FO | Fasten off |
| st(s) | Stitch(es) |
Special Notes
- Pattern is worked in continuous spirals unless stated otherwise.
- Stuff all parts firmly but not overstretched.
- Use invisible decreases for smoother shapes.
- Join rounds with sl st only if specifically mentioned.
- Leave long tails for sewing wherever required.
- This pattern is no-sew for the body, but sewing is needed for assembly of limbs, ears, muzzle, and tummy patch.
- The color change for feet and inner ears requires carrying yarn or sewing the circles together.
Pattern
Head & Body
With brown yarn:
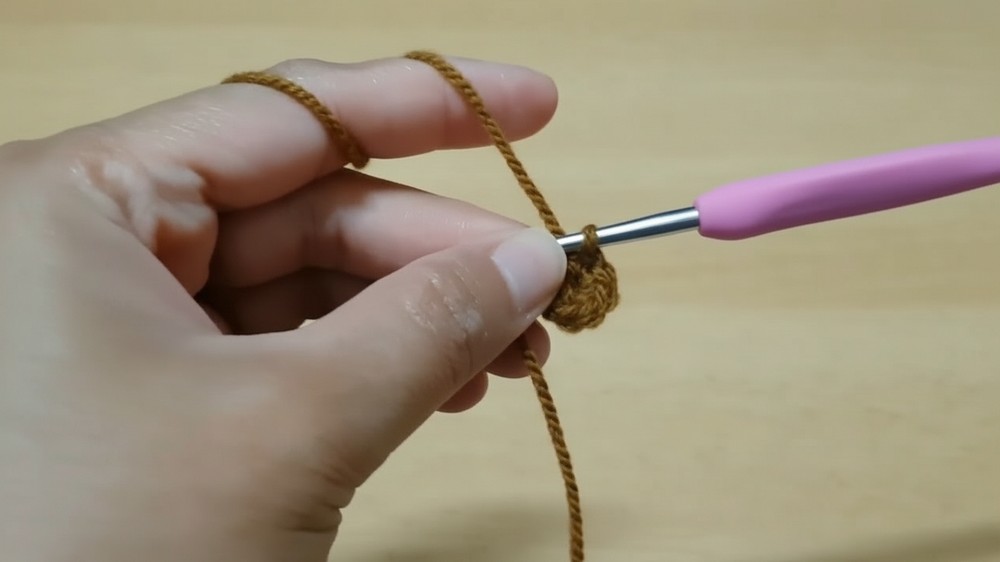
- MR, 6 sc in ring (6)
- Rnd 2: inc in each st around (12)
- Rnd 3: (sc, inc) around (18)
- Rnd 4: (sc in next 2 sts, inc) around (24)
- Rnd 5: (sc in next 3 sts, inc) around (30)
- Rnd 6: (sc in next 4 sts, inc) around (36)
- Rnd 7: (sc in next 5 sts, inc) around (42)
8–14. Rnd 8–14: sc in each st around (42) - Rnd 15: (sc in next 5 sts, dec) around (36)
- Rnd 16: (sc in next 4 sts, dec) around (30)
- Rnd 17: (sc in next 3 sts, dec) around (24)
- Stuff head with fiberfill.
- Rnd 18: (sc in next 2 sts, dec) around (18)
- Stuff again if needed.
- Rnd 19: (sc in next 2 sts, inc) around (24)
- Rnd 20: (sc in next 3 sts, inc) around (30)
- Rnd 21: (sc in next 4 sts, inc) around (36)
- Rnd 22: (sc in next 5 sts, inc) around (42)
- Rnd 23: (sc in next 6 sts, inc) around (48)

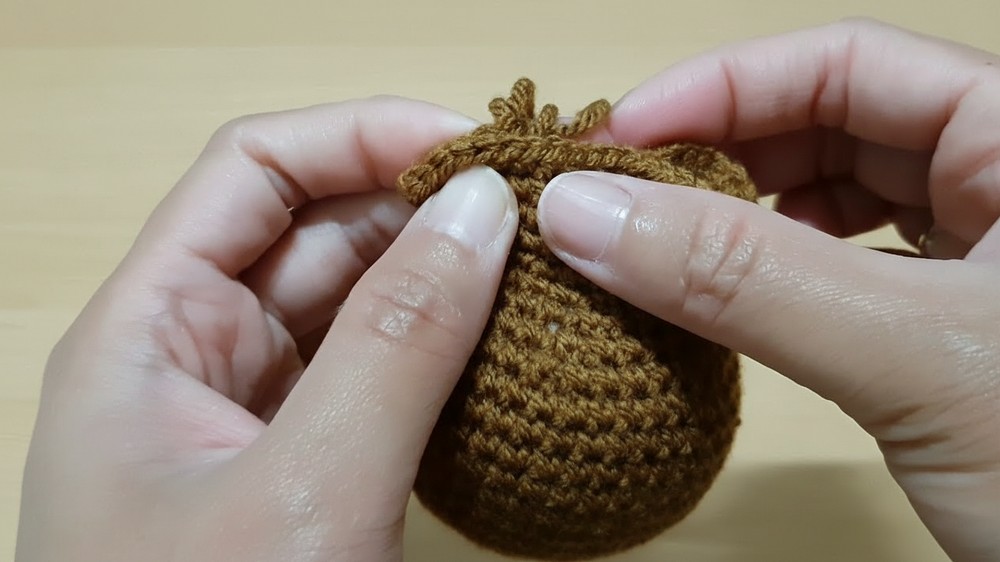
Partitioning for Arms (after round 23):
- Flatten your work. Place a stitch marker at the left-most stitch, count 10 stitches, and place a marker (first arm opening).
- Repeat and mark another set of 10 stitches on the opposite side for the other arm opening.
- After confirming both arm gaps (10 stitches each, on either side), continue from here.
Body (Torso)
24–28. Rnd 24–28: sc in each st around (28)
- You are crocheting only the middle 28 stitches (between the arm partitions). Remove other stitches.
- Stuff body with fiberfill as you go.
Partitioning for Legs:
- Divide the remaining 28 sts into two sections of 14 sts each for both legs.
Legs (Make 2)
Work directly in the round into 14-st partition:
1–2. Rounds 1–2 (Brown): sc in each st around (14)
3. Round 3 (Yellow): Change to yellow yarn, sc in each st around (14)
- Stuff firmly before closing.
- FO, leaving a long tail for sewing.
- Close hole by weaving into FLO and pulling tight, then weave/weave in ends.
Arms (Make 2)
Work in marked 10-stitch holes on each side:
1–3. Rounds 1–3 (Brown): sc in each st around (10)
- FO, leave long tail for sewing.
- Stuff, close with needle through FLO, and hide ends.

Ears (Make 2)
Inner Ear, with yellow:
- MR, 6 sc (6)
- Rnd 2: inc in each st around (12)
- FO, leave a tail.
Outer Ear, with brown (DO NOT FO):
- MR, 6 sc (6)
- Rnd 2: inc in each st around (12)
- DO NOT FO, join yellow inner ear to brown outer ear:
- Hold the two circles together WS touching, sc through both layers in each st around (12)
- FO, leave tail for sewing.
Muzzle (White Yarn)
- MR, 6 sc (6)
- Rnd 2: inc in each st around (12)
3–4. Rnds 3–4: sc in each st around (12)- FO, leave tail for sewing.
Embroider Nose & Mouth
- With black embroidery thread, make a small oval nose at top/center of the snout.
- Embroider a small V for the mouth just below the nose.

Tummy Patch (White Yarn)
- MR, 6 sc (6)
- Rnd 2: inc in each st around (12)
- Rnd 3: (sc, inc) around (18)
- FO, leave tail for sewing.
Face & Assembly
- Attach Safety Eyes: Evenly spaced above the muzzle, between Rnds 13–15 of the head.
- Sew muzzle to lower middle face.
- Sew tummy circle to center of belly.
- Sew arms and legs to appropriate sides/positions.
- Sew ears to either side of the head.
- Hide all yarn ends and trim as needed.
- Optionally, use fabric glue for additional hold on muzzle/tummy patch.
Conclusion
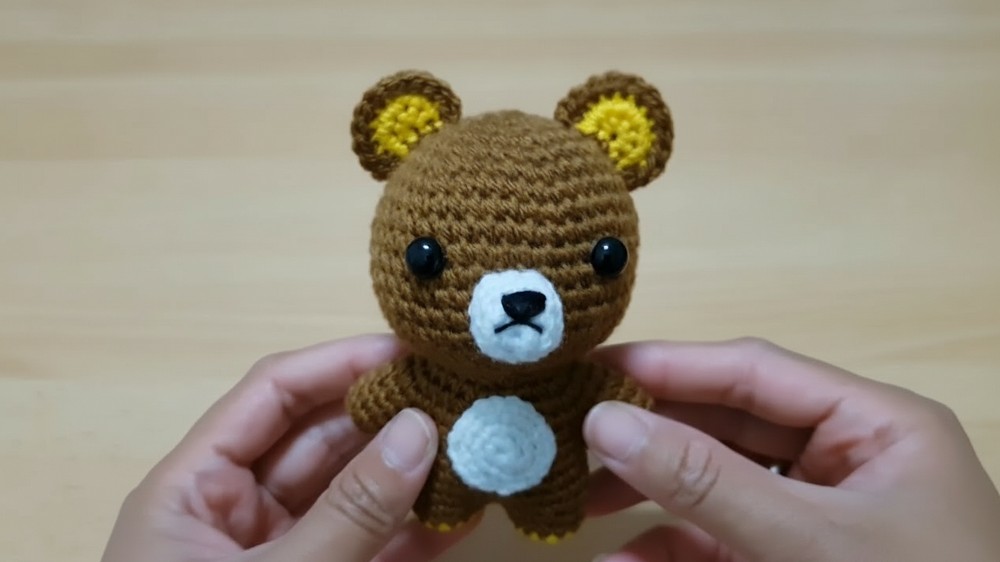
Your crochet Rilakkuma amigurumi is ready! This pattern closely follows the classic design with partitioned limbs and rounded ears, and is suitable as a huggable plush, gift, or display. Personalize further with accessories or embroidery.
Pattern Corrections & Tips
- When joining circles (ears), align stitches carefully; count often to avoid misplacement.
- Use invisible decrease for a neater finish, especially on head.
- Place eyes and snout with pins first before sewing.
- Stuff the arms and legs firmly, but do not overstuff.
- Finish with gentle shaping for the perfect Rilakkuma look.
- Tip: For a chibi version, reduce the number of torso rounds. For a more official look, compare to Rilakkuma images for ear/eye placement.