
Adorable Crochet Armadillo Keychain Free Pattern
A fun twist on everyday accessories, this Crochet Armadillo Keychain Pattern brings charm, texture, and personality to bags, keys, or gifts.
A tiny shape rolled across the desk—round, textured, and surprisingly detailed. It wasn’t a toy or trinket, but a miniature armadillo made entirely from yarn. With its curved shell and curled tail, it brought a subtle charm that made people stop and smile. Small enough to fit in the palm yet rich in character, this little figure serves both as decoration and keepsake, adding warmth wherever it lands.
Tiny Crochet Armadillo Keychain Pattern
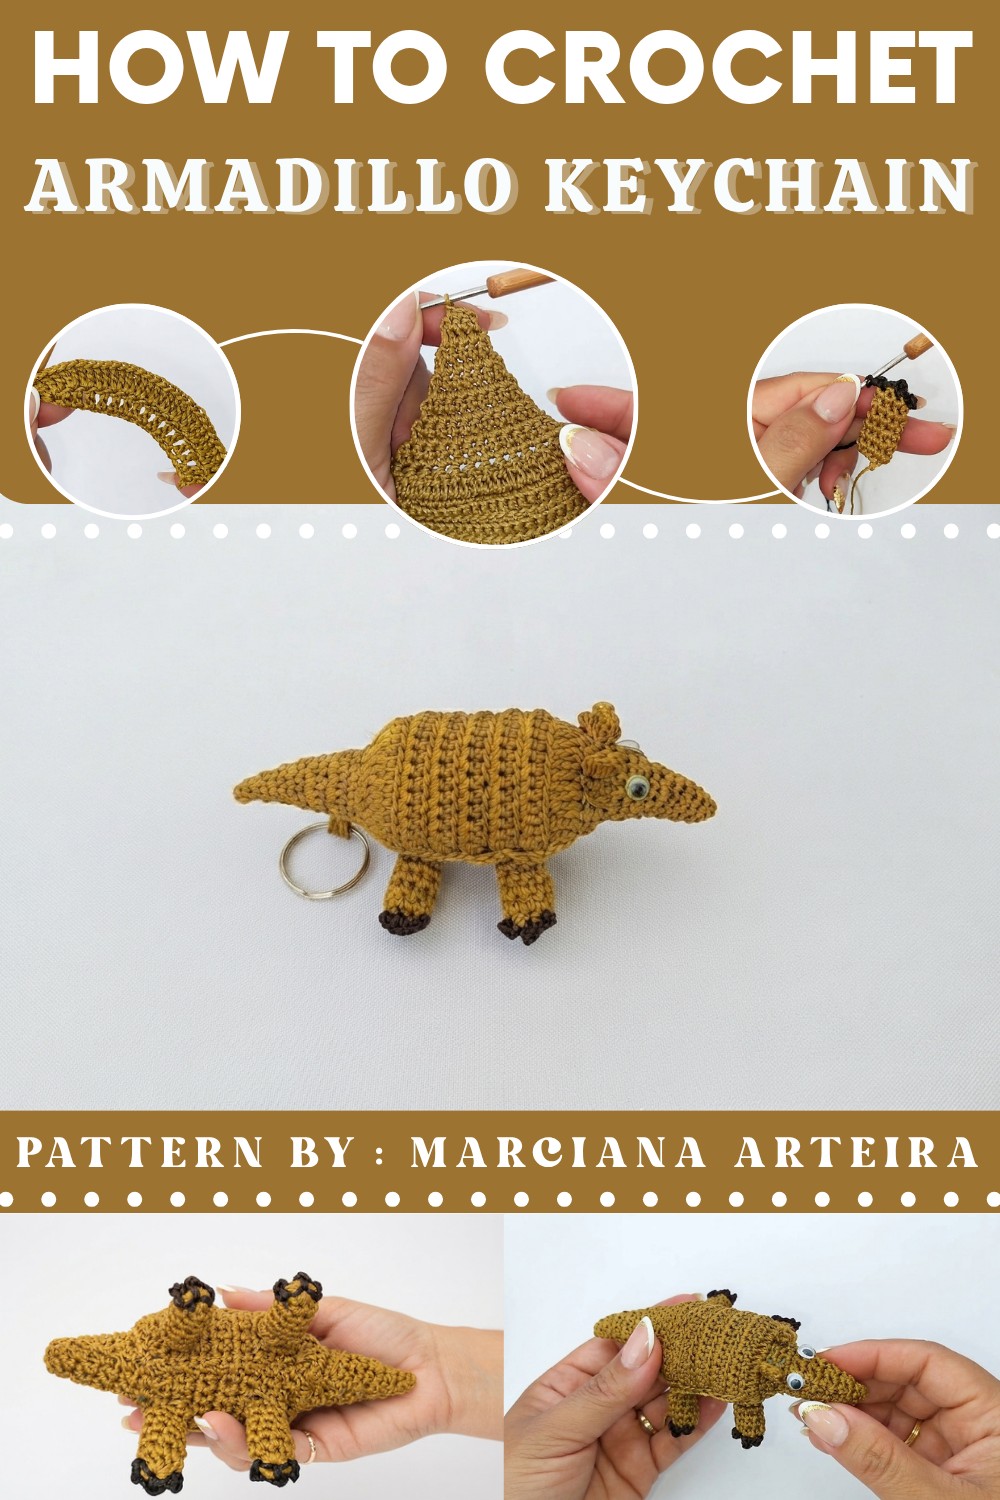
Built with thoughtful shaping and structure, this keychain balances form and function. Its body features a rounded shell formed through increases and decreases using single crochet (sc), with segment lines worked in textured stitches to mimic the armadillo’s natural armor. Tiny feet, ears, and a spiraled tail add to its charm, each shaped individually and stitched on with precision. A loop is added at the top, allowing it to attach easily to keys, zippers, or bags.

Lightweight yet sturdy, this piece holds its form well and uses only a small amount of yarn, perfect for scrap-friendly projects. Its compact size and playful character make it an ideal gift, party favor, or personal keepsake. More than just a keychain, it becomes a soft and meaningful accent that adds personality wherever it goes.
Adorable Crochet Armadillo Keychain Pattern
Finished Size
The finished armadillo keychain measures approximately 10 cm (4 inches) in length and 4 cm (1.5 inches) in height, making it an ideal size for keychains or small decorations.
Materials
- Crochet Hook: 1.75mm hook (or a suitable hook for the chosen yarn).
- Yarn: Thick silk thread (Tex 288, 100% polypropylene) in your desired color(s) for the body and contrasting color for details.
- Main Color: Light brown or gray for the body.
- Contrast Colors: Black for the eyes, nose, and details; White for optional highlights.
- Keyring: Metal keyring (remove any additional chains to use the main ring).
- Eyes: Pair of 0.5 cm safety eyes or black yarn for embroidering eyes.
- Stuffing: Polyester fiberfill.
- Tapestry Needle: For sewing pieces together and embroidering features.
- Scissors: For cutting yarn.
- Lighter: For sealing yarn ends (optional).
- Hot Glue Gun: For securing eyes and other features (optional).
Gauge
Exact gauge is not critical for this pattern, but ensure your stitches are tight enough to prevent stuffing from showing through:
- 20 stitches by 22 rows = 4 inches in single crochet using a 1.75mm hook.

Abbreviations (US Terminology)
- ch: Chain
- sl st: Slip Stitch
- sc: Single Crochet
- dc: Double Crochet
- inc: Increase (two stitches into the same stitch)
- dec: Decrease (joining two stitches into one)
Special Techniques
- Magic Ring (MR):
- Create a loop of yarn, insert the hook through the loop, yarn over, draw through, and chain. Use this ring as the base for stitches, pulling the tail to close the ring after the first round.
- Invisible Decrease (dec):
- Insert the hook into the front loop only of the next two stitches. Yarn over, pull through both loops on the front. Yarn over and pull through the remaining two loops to complete the decrease.
- Sealing Yarn Ends:
- Use a lighter to slightly melt and seal the ends of the polypropylene yarn to prevent fraying.
Pattern Instructions
Step 1: Armadillo Body Base
- Foundation Chains:
- Chain 15, then chain an additional 3 for the turning chain (total 18 chains).
- Row 1:
- Work 16 dc starting from the marked 4th chain from the hook (one dc into each chain to the end of the row). (Total: 16 dc)
- Row 2:
- Ch 3, turn, and work 2 dc in the first stitch to create an increase. Repeat 2 dc in each stitch across to the end. (Total: 32 dc)
- Row 3:
- Ch 1, turn, and sc in each stitch across to the end. (Total: 32 sc)
- Repeat Row 3 for the next row, working sc in each stitch.


Step 2: Creating Body Creases
- Rows 4-13:
- Ch 1, turn, start Row 4 with 6 sc, catching both loops of the stitch. For the remaining stitches in the row, grab only the inner loop to create the crease. (Total: 32 sc)
- Repeat alternating loops for 10 rows, ensuring 6 full stitch sc at both ends of each row to maintain structure.

Step 3: Completing the Body
- Row 14:
- Ch 2, decrease by working 2 dc together across the row. Begin each pair by catching both loops of the stitch.
- Row 15:
- Ch 1, sc across the row to the end. Count stitches to confirm symmetrical decreases. (Total: 16 sc)
- Rows 16-17:
- Ch 1, turn. Work sc, leaving the last stitch unworked at the end of each row until only 3 stitches remain.
Step 4: Creating and Attaching the Head and Tail
Head**
- Foundation:
- Form the head similarly to the tail; follow Row 14 but finish with 6 sc at the edge.
Tail**
- Foundation Chains:
- Chain 15, then chain an additional 3 for turning ch (total 18 chains).
- Rows 1-13:
- Work matching stitches and patterns as Rows 1-13 of the body.

Step 5: Assembling the Armadillo Body
- Sewing Together:
- Use the yarn ends left from body base and ends. Fold tail and head sections into position and sew securely using a tapestry needle. Tie off and neatly weave in the ends.
- Forming Legs and Eyes:
- Form the legs by creating 4 rings, closed with a single crochet. Attach these directly under sides of body.
- Safety eyes or stitches: Use black yarn or 0.5 safety eyes under the head. Embroider if preferred for child-safe assembly.
Step 6: Creating Keychain Ring Holder
- Foundation Chains:
- Attach rings to the keychain by chaining 20 and looping through circles.
- Reinforcing Ring Holder:
- Optional double thick chain stitch reinforcements add structure to keychain stress points. Secure ends and tie off.
Customizations
- Colors:
- Use different colors for personalization or varying armadillo themes.
- Patterns:
- Add repeating cross bobs or textured random crochet cut lines at stages for unique texture.
- Features/sizes:
- Scale easily with larger hooks for tinier change for smaller adored armadillo.
Conclusion
Your adorable armadillo keychain is now complete! This tiny creation is both functional and delightful, perfect for adding a touch of handmade charm to any set of keys. The simple design allows for creativity and customization, so each keychain can be unique.
Final Tip:
Share your adorable armadillo keychains with others or create a small family of armadillos in different colors and styles. They make wonderful gifts and delightful accessories for all ages.