
Playtime Crochet Elephant Amigurumi Pattern Kids Will Love
Adorable plush joy grows with this Crochet Elephant Amigurumi Pattern offering soft texture, cute form, and display or gift appeal for ages.
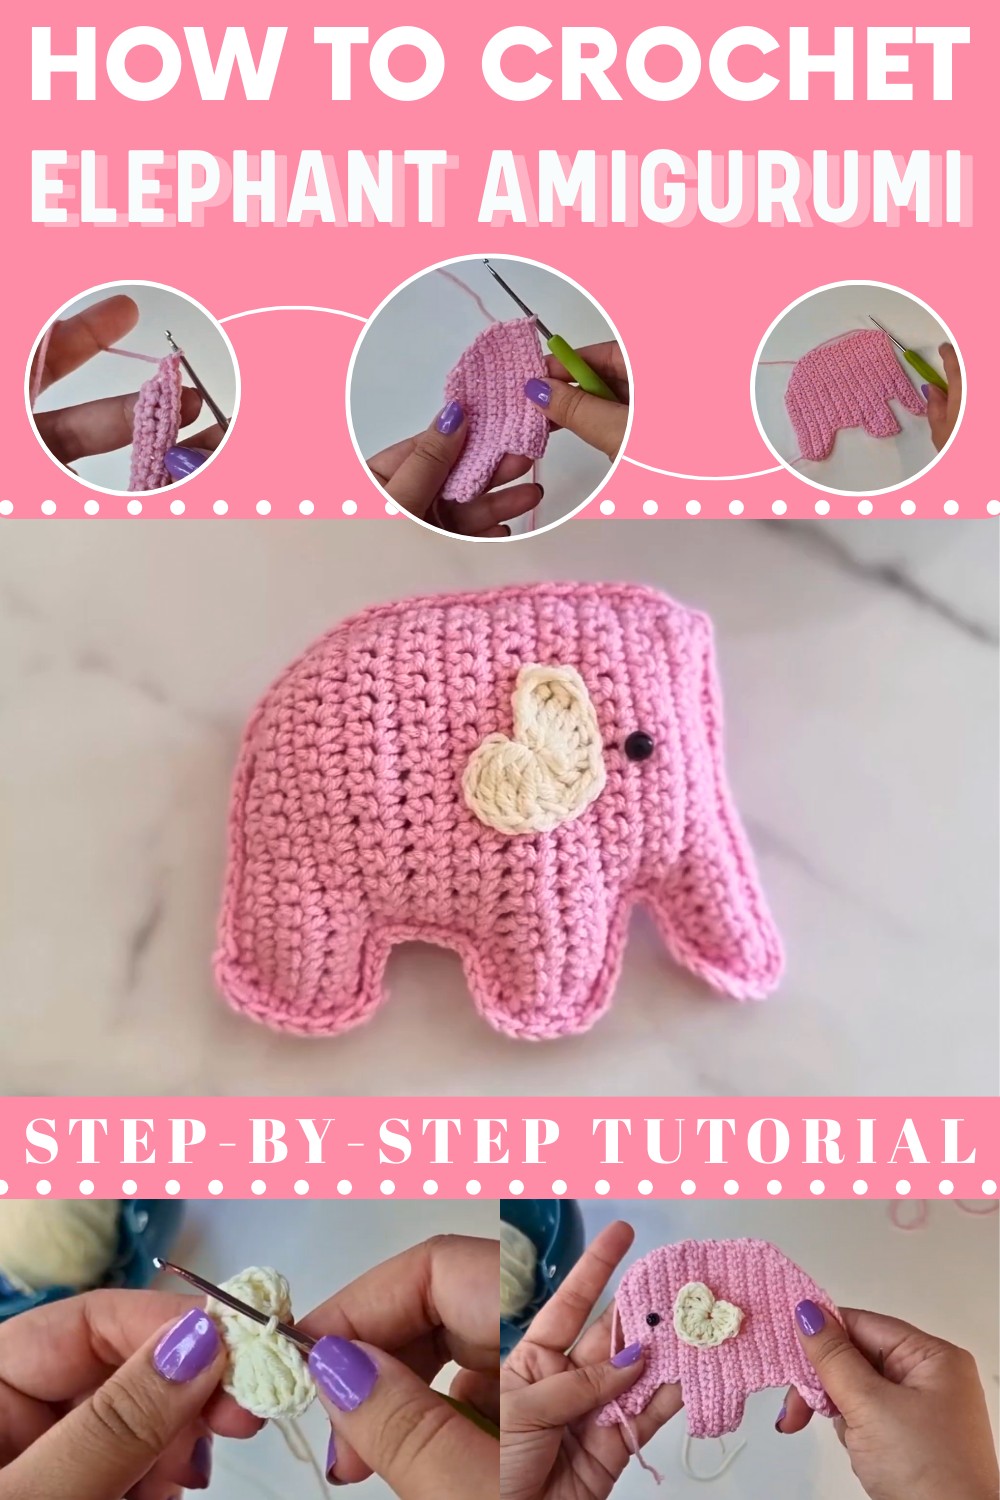
Eye-Catching Crochet Elephant Amigurumi Pattern With Sweet Shape
Soft character and gentle charm come together in a delightful decorative figure that appeals to all ages. The Crochet Elephant Amigurumi Pattern presents an adorable elephant shape with rounded features and expressive details that instantly draw attention. It works beautifully as a nursery accent, a thoughtful gift, or a comforting companion for children and collectors alike. The compact size makes it easy to display on shelves, desks, or beds without taking up much space.

Its smooth texture and balanced form give it a polished, lovable appearance that feels warm and inviting. This pattern allows flexibility in color choices, from classic gray to playful pastel shades, enhancing its visual appeal. Beyond decoration, it supports imaginative play and adds personality to handmade collections. Overall, it combines cuteness with lasting appeal, resulting in a charming figure that feels timeless, meaningful, and perfect for adding a soft, joyful touch to everyday spaces.
Step-by-Step Details
Step 1: Gather Your Materials
You’ll need:
- Scrap sport-weight yarn (or any yarn of your choice) in two colors: one for the body and another for the ears.
- 2mm crochet hook (or a size suitable for your yarn).
- Safety eyes (or black yarn for stitching eyes).
- Scissors.
- Yarn needle for sewing the pieces.
- Stuffing for the plushie.
- Optional: Beads, keyring, or backpack clip if making a charm.
Step 2: Crochet the Body and Head
- Start with the Base Shape:
- Begin by making two identical body/head pieces.
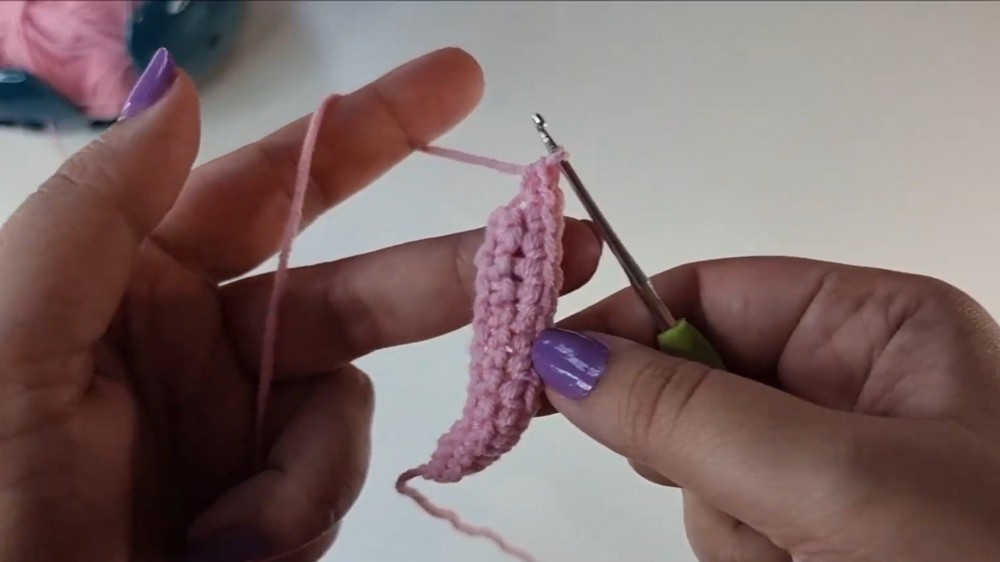
- Create a slip knot, and chain 15 stitches.
- Start the first row: Skip the first chain, then crochet 2 single crochets in the second chain, followed by 1 single crochet in each chain to the end (15 stitches total).
- For subsequent rows:
- Increase only on one side (with 2 single crochets in the first or last stitch) while keeping the other side flat.
- Continue increasing one stitch per row until reaching 20 stitches.
- Form the Base Legs:
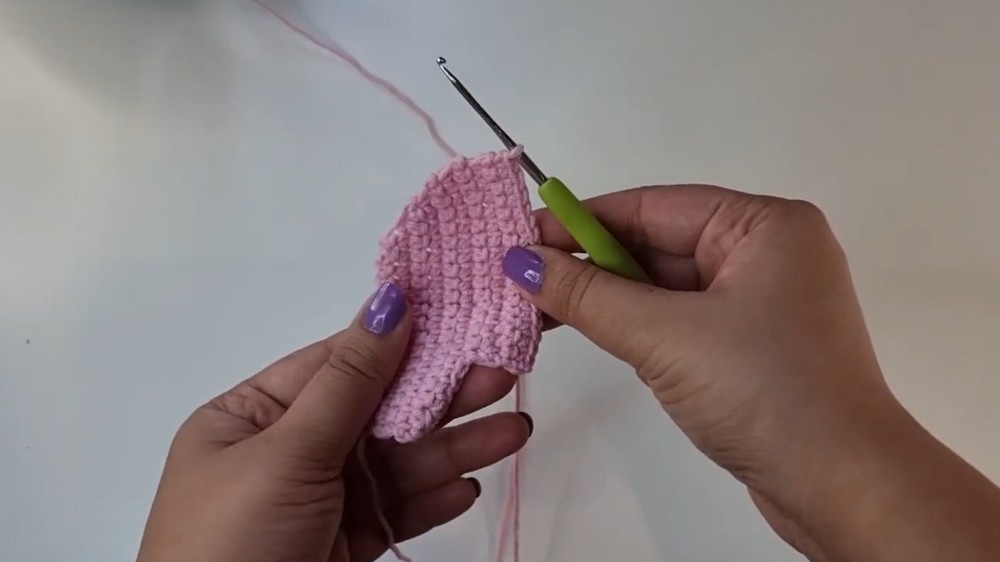
- Once 20 stitches are achieved, crochet 16 single crochets for three rows, leaving four unworked stitches to form a flat side.
- Create two leg sections by chaining 5 (for the bottom), connecting the rows, and crocheting progressively to form a symmetrical body shape.
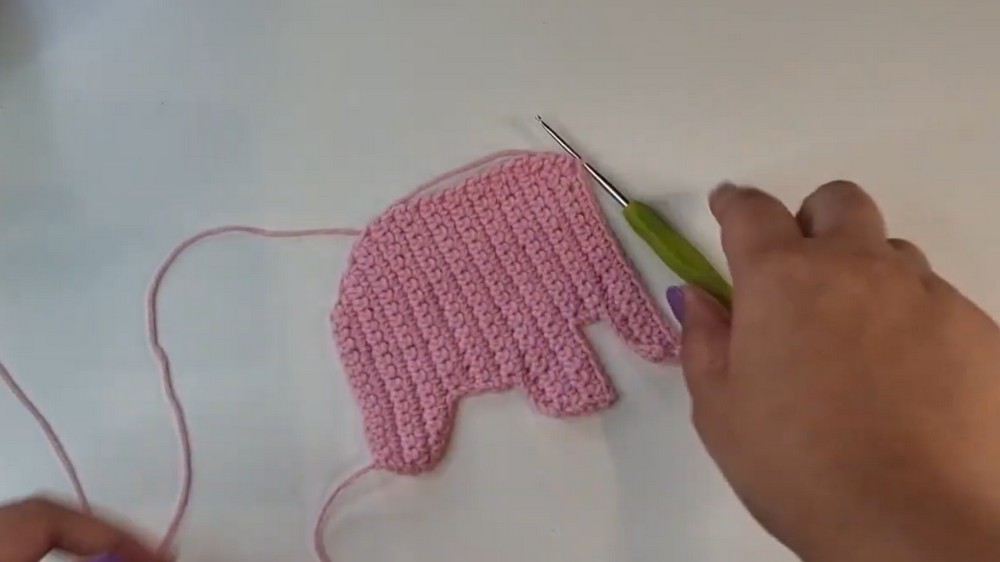
- Reduce stitches and shape the elephant's face and trunk by inserting periodic decreases between rows.
- Repeat for the Second Side:
- Crochet an identical body piece using the same steps but keep one piece attached to the yarn ball for later sewing.
Step 3: Attach the Ears
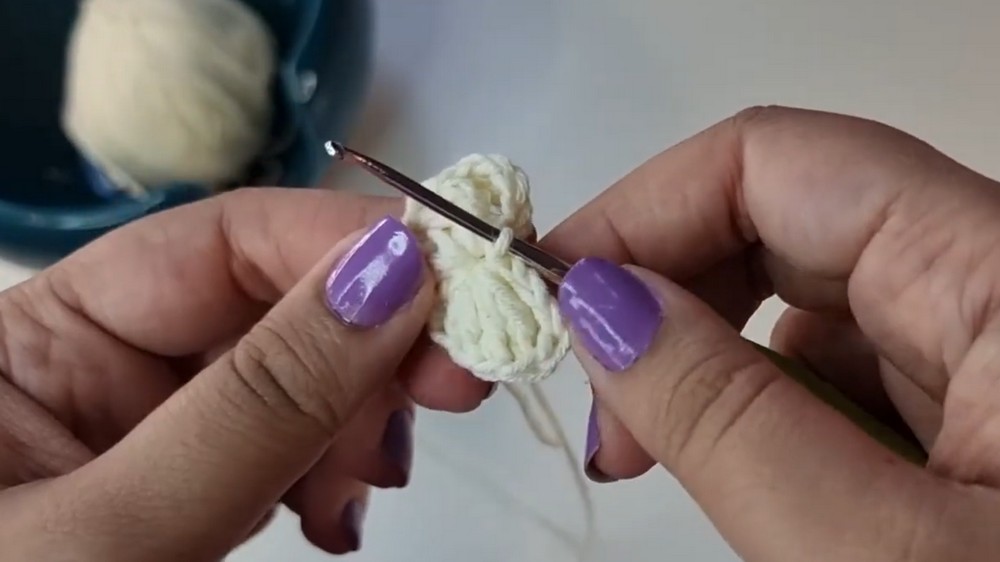
- Crochet Ear Pieces:
- Use a magic ring for the ears:
- Chain 3 and work 2 treble crochets into the ring.
- Follow with 3 double crochets, 1 treble crochet, and another set of 3 double crochets.
- Finish by chaining 3 and slip-stitching into the ring to form a cute heart-shaped ear.
- Tighten the magic ring and leave a long tail for sewing.
- Use a magic ring for the ears:
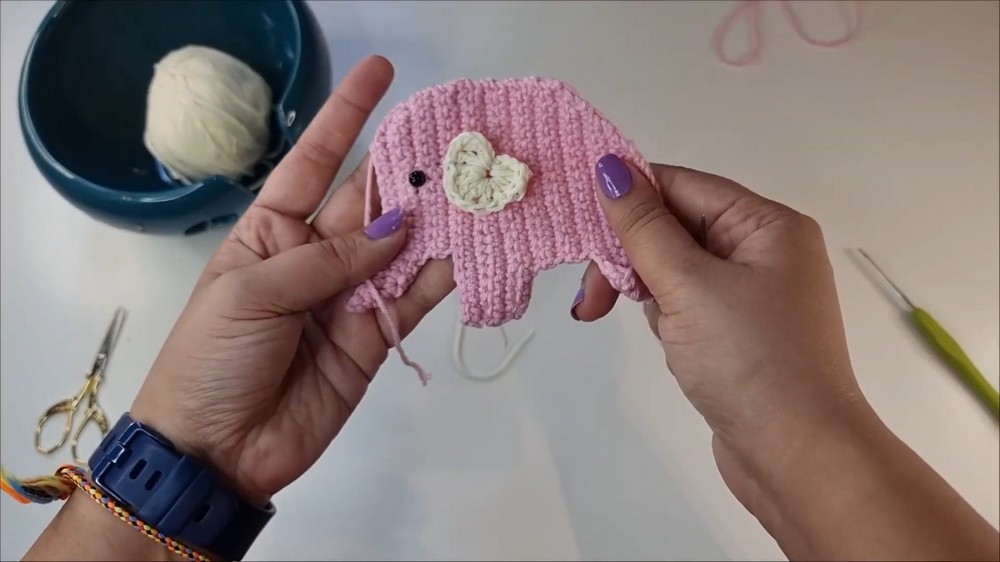
- Sew the Ears to Body:
- Place the ears a few rows behind the safety eyes.
- Sew them on securely, either in a flappy half-circle shape or fully tacked down as a heart-shaped design.
- Leave part of the yarn inside the elephant for cleaner sewing later.
4: Add Safety Eyes
- Insert the safety eyes a few rows above the trunk area, ensuring symmetry.
- Place the backings securely to avoid movement or damage over time.
- (Optional) If not using safety eyes, sew small black circles for eyes using yarn.
5: Stuff and Assemble the Elephant
- Sew the Two Pieces Together:
- Align the edges of the two body pieces, starting at one edge.
- Use a single crochet stitch along the edges to attach the pieces.
- Insert the hook into both the front and back pieces, ensuring tight joining.
- Alternatively, use slip stitches for a flatter edge.
- Add Stuffing as You Sew:
- About halfway through stitching, stuff the body lightly with fiberfill or scrap yarn.
- Avoid overstuffing as the plushie should remain relatively flat.
- Sew the remaining edges to complete the body.
Special Features
- Customizable Design: You can adjust the size and colors of the elephant for different purposes like keyrings, charms, or plushies.
- Scrap Yarn Friendly: This project uses leftover yarn, making it a cost-effective and eco-friendly craft.
- Key Elements in One Project: Create a body, ears, safety eyes, and sewing details all in an easy-to-follow process.
Level of Difficulty
This project is beginner-friendly, but it also appeals to intermediate crocheters due to the combination of basic stitches (single crochets, decreases, increases) and simple shaping techniques.
Tutor’s Suggestions
- Use Scrap Materials: Utilize yarn leftovers and small safety eyes to save costs while still creating a beautiful design.
- Experiment with Stitch Type: While single crochets are used for assembly, use slip stitches if you prefer flatter edges.
- Customize Finishing Touches: Add beads, keyrings, or attach metallic clips to transform the plushie into a practical item.
- Practice Shaping: Keep increases on one side of the base and decreases on the other to maintain symmetry during body formation.
Uses
This cute elephant plushie can serve a variety of purposes:
- Backpack Charm: Add beads and a clip to hang it on zippers.
- Keyring: Attach a keyring for a practical but adorable accessory.
- Gift Item: Make these as gifts for children, teachers, or friends.
- Craft Fair Material: Sell them at craft fairs or online as small, handmade items.
Materials
Here’s a simplified checklist:
- Sport-weight or any light yarn (two colors).
- 2mm crochet hook.
- Tiny safety eyes or black thread.
- Yarn needle, scissors.
- Polyester stuffing or scrap yarn.
- Optional: Keyring, beads, or clip.
Tip
When sewing the ears or joining the pieces, leave a little excess yarn inside the body to avoid visible ends or knots. This ensures a cleaner, professional-looking finish.
Conclusion
The elephant plushie tutorial offers a simple but versatile crochet design that’s both practical and cute. Whether you’re making a keyring, backpack charm, or a small plush gift, this tutorial lets you experiment with scrap yarn while refining your crochet skills. Its beginner-friendly nature and customizable features make it enjoyable for all crochet enthusiasts.