
Playful Free Crochet Guitar Keychain Pattern For Music Fans
Strum up creativity with this unique Crochet Guitar Keychain Pattern that adds a musical touch of handmade charm to your everyday accessories.
A keychain is often seen as a small, functional accessory, but it can also express your personality, evoke fond memories, or serve as a thoughtful handmade keepsake. For music enthusiasts, the crochet guitar keychain is a delightful option that combines charm, art, and utility. Its petite size and intricate detailing make it a unique addition to your daily essentials while doubling as a conversation starter.
Free Crochet Guitar Keychain Pattern for Creative Souls
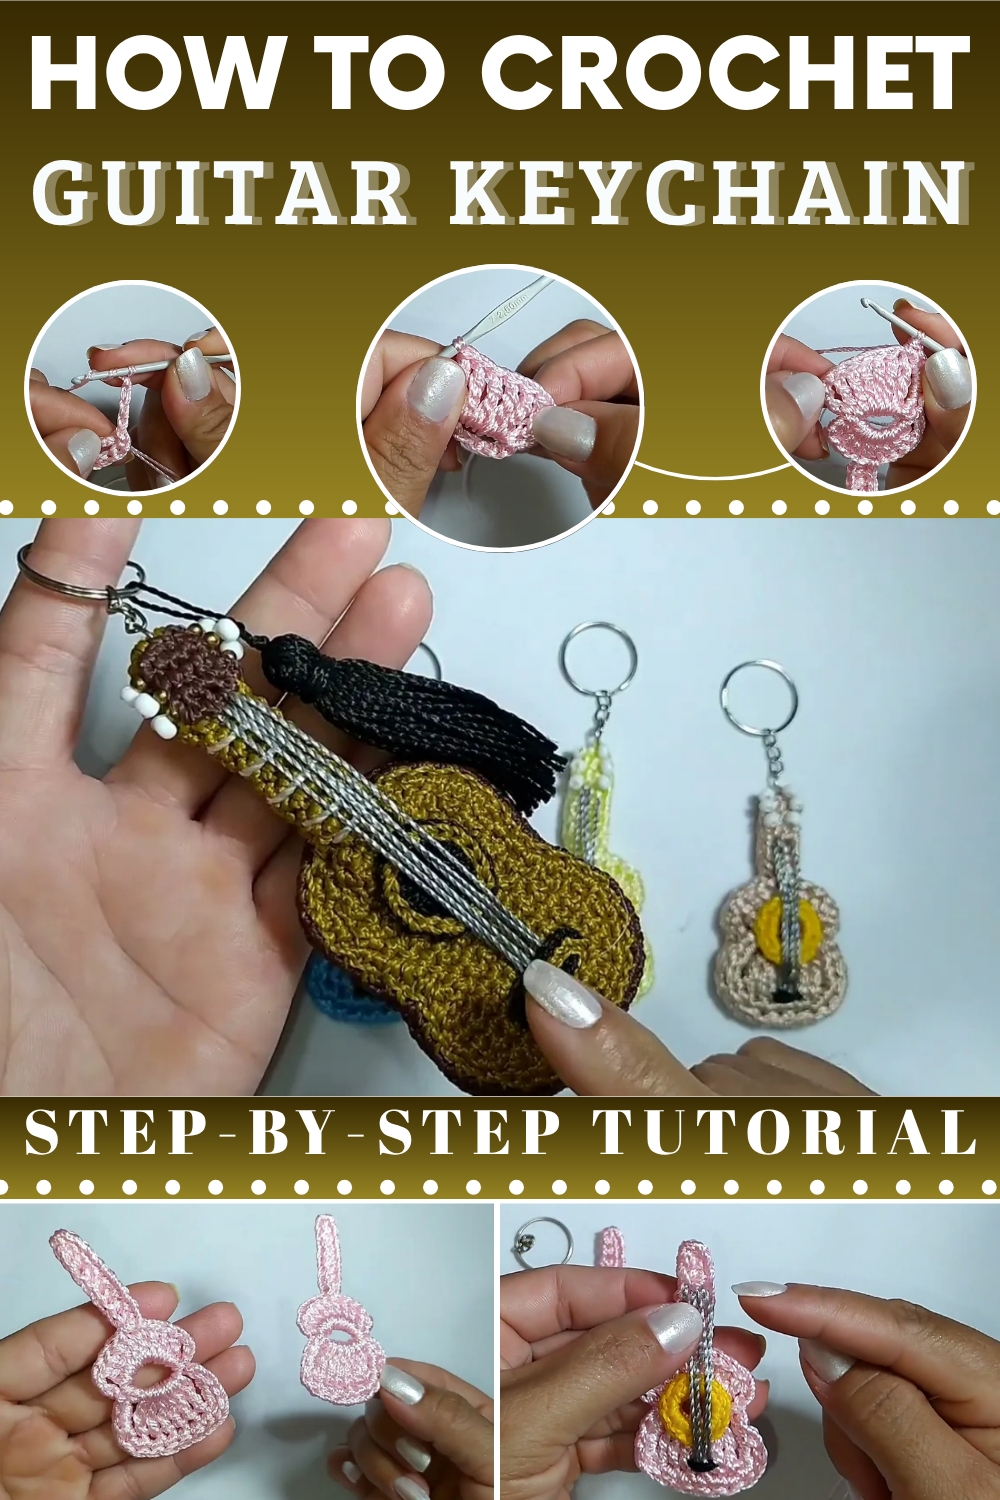
This project is categorized as beginner-friendly, thanks to its simple and repetitive steps that require only basic stitches, such as chains, slip stitches, double crochets, and single crochets. The tutor also encourages customization, from thread types to colors, ensuring each piece is personal and unique.
To make your keychain even more durable, consider switching to a stronger thread if you plan to carry it daily. This small yet impactful project proves that with creativity and patience, even everyday items can be transformed into delightful and meaningful creations.
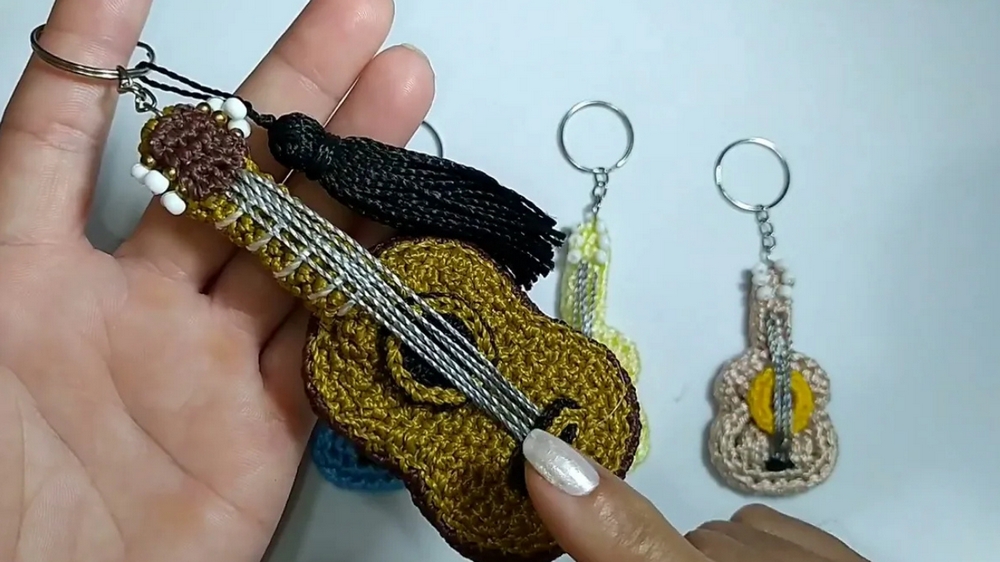
The process begins with arranging the correct materials, such as thick silk thread (Tex 288), a 2.5mm crochet hook, and optional embellishments like beads. The tutor recommends using two threads for better dimension but assures that any thread can be used depending on your preferences.
Free Crochet Guitar Keychain Pattern
Materials
- Yarn: Tex 288 (thick silk/polypropylene) or similar sport/DK or mercerized cotton; use two strands held together for guitar body, and one strand for detail/rosette.
- Suggested Colors:
- Body: Main color of choice
- Rosette/Detail: Contrasting or complementing color
- Hook(s):
- 2.5 mm for the body (if using two strands)
- 1.75 mm for details (if using one strand)
- Tapestry/Yarn Needle: For sewing and attaching beads, weaving in ends
- Scissors
- Hot Glue Gun (for assembly, if preferred)
- Beads (optional, for sound hole or embellishment)
- Keychain hardware or magnet (if making accessories) – optional
Abbreviations (US Terms)
- ch – chain
- sc – single crochet
- dc – double crochet
- tr – treble crochet (yarn over twice)
- sl st – slip stitch
- st(s) – stitch(es)
Special Notes
- The guitar is made in two identical pieces (front and back) and sewn or glued together for structure.
- If using as an appliqué, only one piece is required.
- Use one strand and smaller hook for the central "sound hole"/rosette/detail circle.
Pattern
Part 1: Guitar Body (Make 2)
With two strands of main color yarn and 2.5 mm hook:
- Ch 8, join to first chain with a sl st to form a ring.
- Ch 4 (counts as first tr), work 6 tr into the ring. (Total 7 tr)
- Ch 4, sl st into ring.
(You now have the rounded guitar base and a small “neck” extension starting.) - Ch 3, then work 4 dc into ring.
- Ch 9 (to form the guitar neck),
Starting in 2nd ch from hook, work hdc in each chain back to the guitar body (8 hdc total). - Sl st to top of last dc used for neck join.
- Ch 3, 4 dc into ring (other guitar “shoulder”).
- Ch 3, sl st into ring to finish upper bout.
- Fasten off.


Edging:
10. Using the same or contrasting color, sc evenly around the body and neck to give a neat finish, making 3 sc in end points for shaping (add increases in sharp curves as needed).
Fasten off, weave in ends.
Part 2: Guitar Rosette/Sound Hole (Make 1)
With one strand of contrasting color and 1.75 mm hook:
- Ch 8, join with sl st to make a small ring.
- Work sc stitches around the ring, as many as needed to fill (about 12-15 sc); sl st to join.
- Fasten off, leaving a tail for sewing.

Part 3: Assembly and Decoration
- If using as a keychain/appliqué:
Sew or glue the rosette (circle) to the center of one guitar body piece. - (Optional) String a large bead onto a thread and sew to/through the sound hole as a bridge or decorative detail.
- Place the two guitar body pieces together (right sides out); sew or glue them together around the edges.
- Attach keychain hardware or magnet if desired.
Conclusion
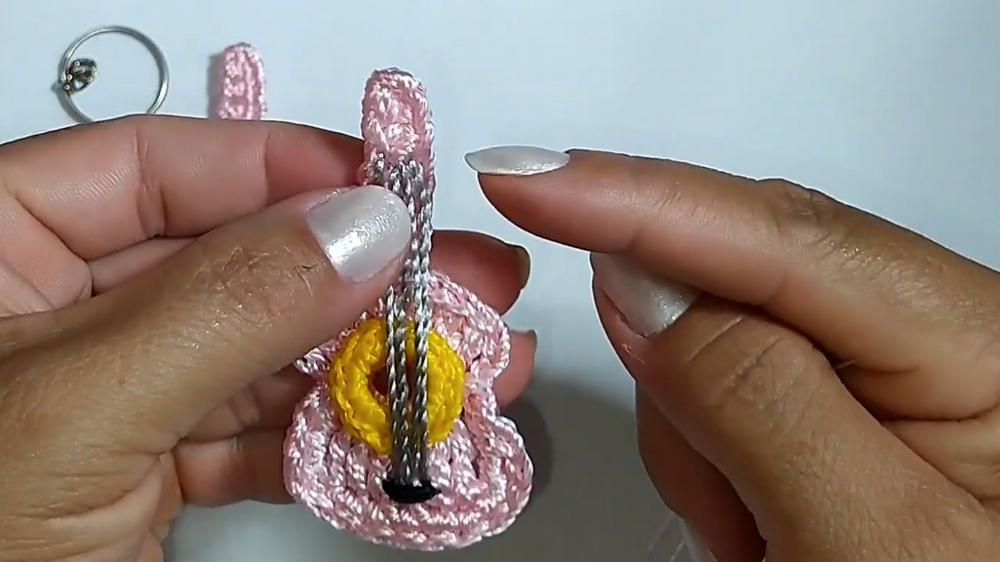
This elegant little guitar can be finished in under 10 minutes, suitable for keychains, appliqués, magnets, or tokens. Use any yarn type or color you prefer for custom effects. Makes a great gift or craft fair product!
Pattern Corrections
- Neck shape: If your neck isn’t straight, be sure you do an hdc in each chain and sl st tightly at the base.
- Circular body: To keep the shape, tighten the initial ring and add or subtract treble crochets if needed.
- Sound hole size: Adjust beginning chains for sound hole if needed.
Tips
- For a stiffer finish, steam block or use starch before sewing/gifting.
- Sew beads and hardware BEFORE final assembly so knots stay hidden.
- Use a glue gun for a no-sew, fast assembly, especially for magnets.
- Experiment with different yarn types for various effects and sizes.