
Playful Crochet Frog Amigurumi Pattern to Add Fun
Enjoy this unique and amazing Free Crochet Frog Amigurumi Pattern to make adorable frogs, ideal for adding charm to your handmade collection.
There’s something truly magical about transforming simple materials into a playful and enchanting creation. Perfect for gifts, decorations, or personal collections, a crochet frog amigurumi pattern helps bring an adorable and cheerful character to life. Its charming design, featuring a rounded body and curious little eyes, makes it a standout craft project for all ages.
Sweet Crochet Frog Amigurumi Pattern for Kids to Enjoy
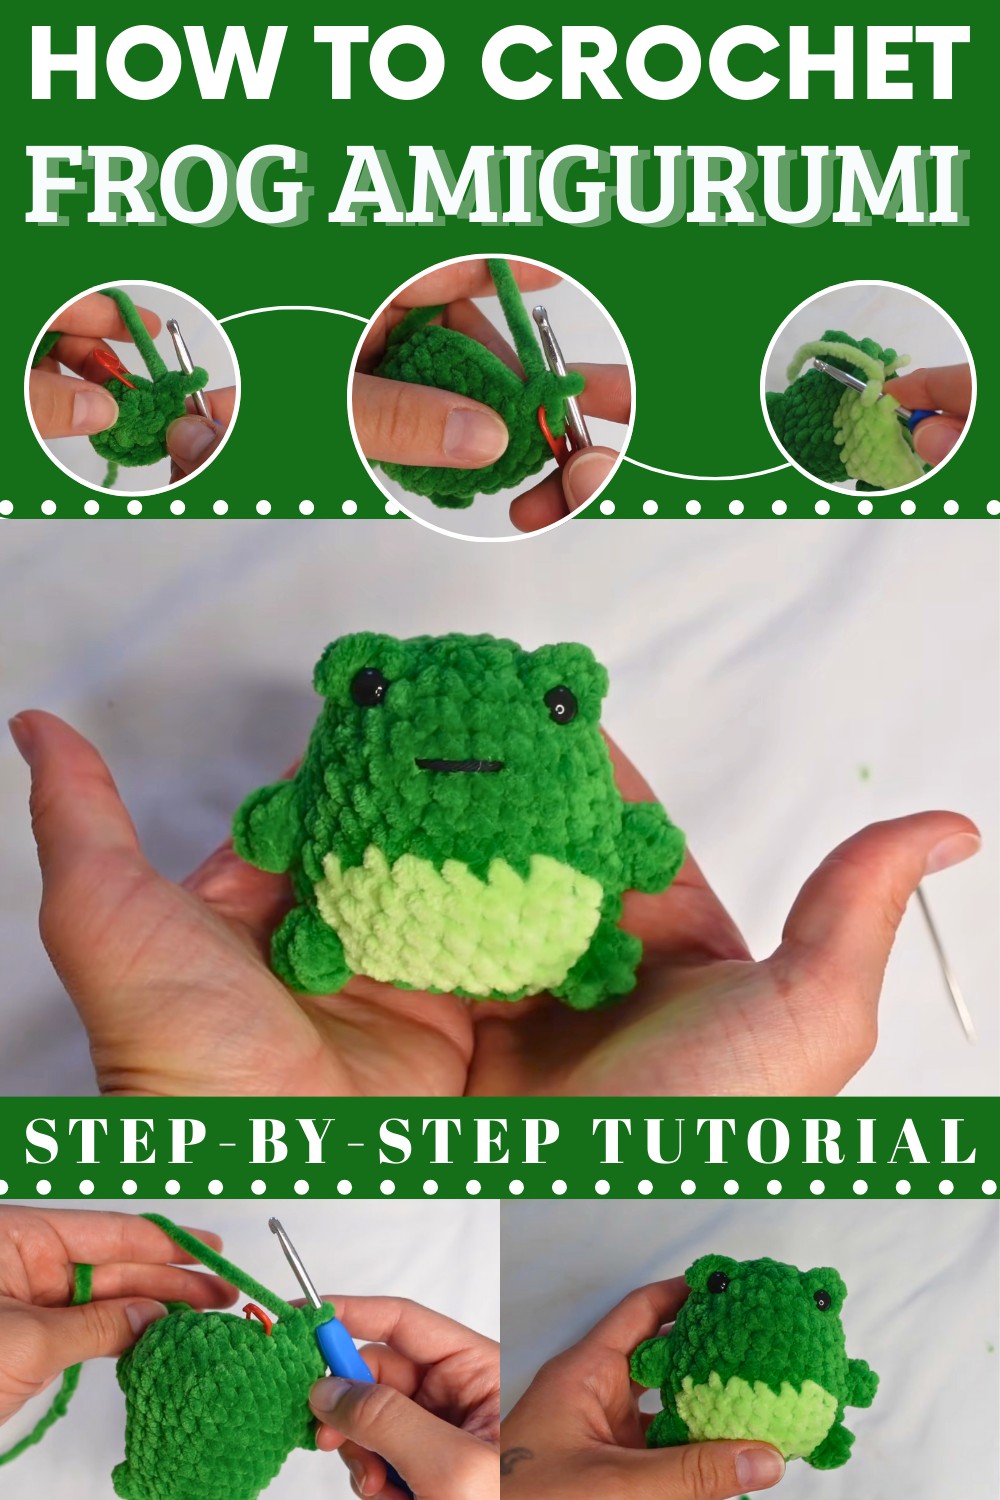
One of the greatest advantages of this pattern is its adaptability. Crocheters can personalize each frog by experimenting with colors, sizes, or additional details, ensuring every piece feels unique. Whether you’re an experienced crocheter or just starting your amigurumi journey, the pattern offers easy-to-follow instructions that make the process both enjoyable and relaxing. Plus, it’s a wonderful way to practice new techniques or refine existing ones.
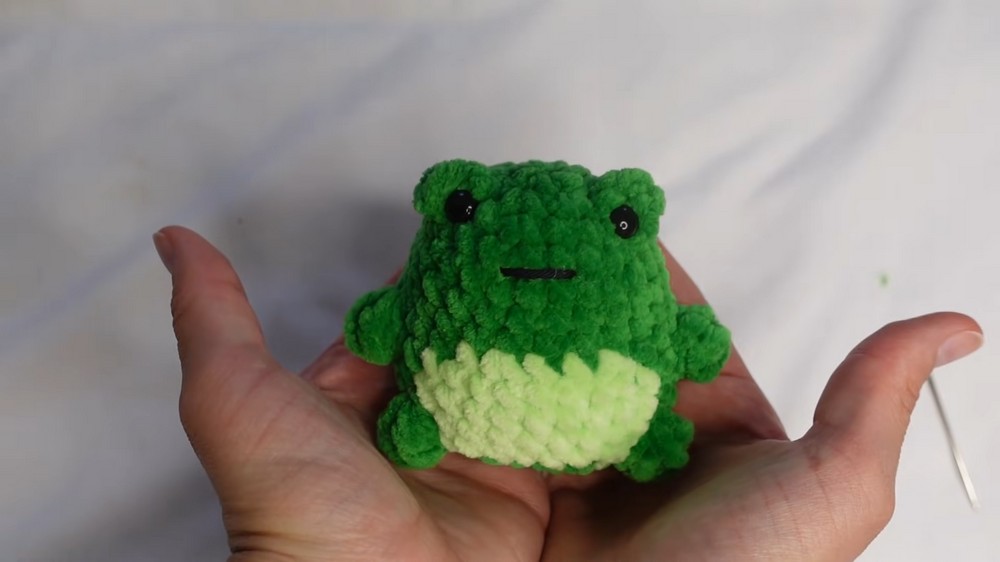
Step-by-Step Details: Crochet the No-Sew Frog
Special Features
- No-Sew Design: The entire project is crocheted as one seamless piece, eliminating the need for stitching body parts together.
- Detailed Instructions: The video includes real-time guidance for every stitch, making it perfect for beginners.
- Techniques Demonstrated: The tutorial teaches foundational crochet techniques like the magic ring, single crochet, increases, decreases, and popcorn stitches.
- Flexibility in Stitches: The instructor explains the option to use either yarn-over or yarn-under single crochet stitches, depending on personal preference.
Materials Required
- Dark Green Yarn (Chenille yarn is recommended, though delicate handling is important).
- Light Green Yarn (for color variations).
- Polyester Fiberfill (for stuffing the frog to give it shape).
- Black Cotton Yarn (to embroider the smile).
- Safety Eyes (to give the frog its adorable look).
- Crochet Hook (size depends on yarn, but a 4.5mm or similar works well with chenille yarn).
- Darning Needle (for weaving in ends and embroidering the little smile).
- Stitch Marker (to mark the beginning of rounds).
Step-by-Step Instructions
1. Creating the Magic Ring (Base)
- Start with dark green yarn and create a magic ring. Form an "X" over your fingers, insert the hook into the loop, and pull the yarn through.
- Crochet 6 single crochet (SC) stitches into the magic ring. Close the ring carefully by pulling the tail yarn.
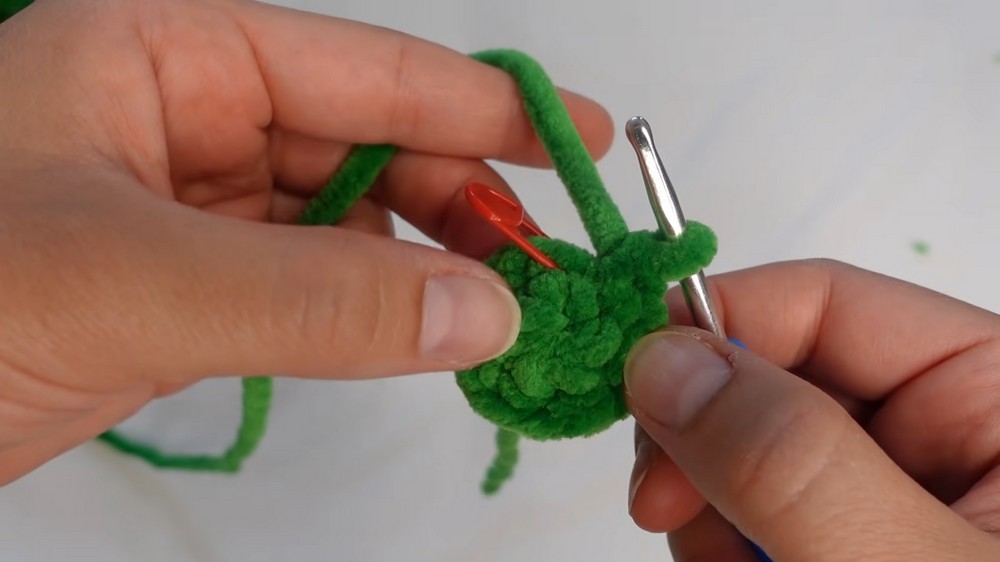
Key Tip: Handle chenille yarn delicately, as it can snap when pulling too hard.
2. Rounds to Build Shape
- Round 2: Crochet an increase in every stitch. This doubles the number of stitches from 6 to 12.
- Round 3: Alternate one SC and one increase. This method creates slight shaping while increasing to 18 stitches.
- Add popcorn stitches to replicate the frog's eye bumps, and follow the pattern to maintain shaping.

3. Gradually Increase and Add Color
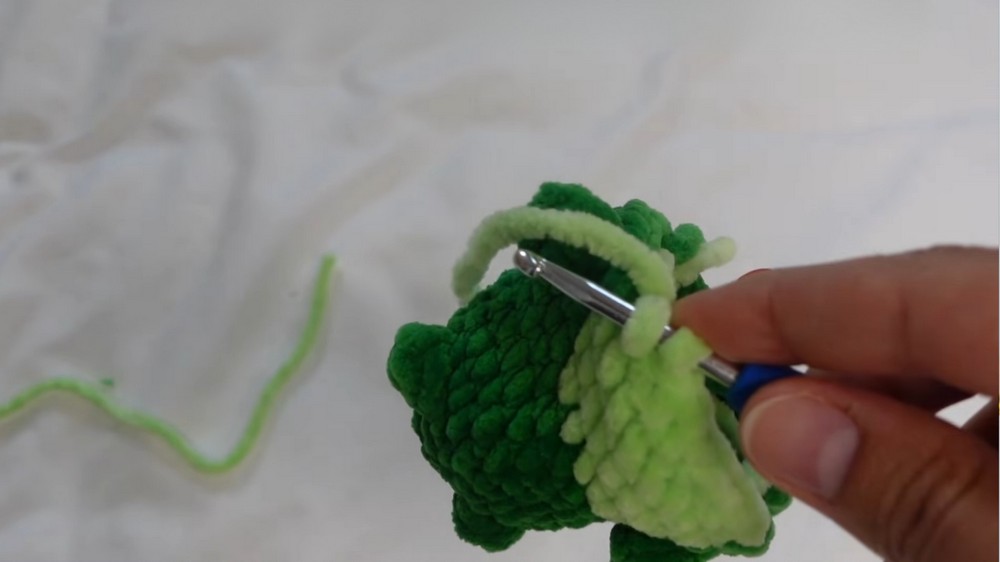
- Alternate between dark green and light green yarn to add visual details to the body. Cut and tie off yarn cleanly between color changes.
- By Round 8, the total stitch count increases to 32, adding dimension to the frog.
4. Adding Popcorn Stitches for Legs
- Use popcorn stitches (5 double crochet stitches in one stitch) to mimic the frog's feet. Alternate single crochet and popcorn stitches as per the pattern for proper placement.
5. Begin Decreasing
- After building the frog’s body, decrease strategically in each round to cinch the bottom of the frog.
- Use single crochet decreases (crocheting 2 stitches together) to bring the count down from 32 to 6 stitches, forming the bottom closure.
6. Stuffing
- Before the final rows, use polyester fiberfill to carefully stuff the frog, ensuring it is firm but squishy.
- Add additional stuffing if necessary before fully closing the bottom.

7. Closing the Hole
- Weave through the outer loops of the last few stitches with a darning needle and gently pull tight to close the hole completely. Tie a secure knot, weave the end, and trim any excess yarn.
8. Adding Final Details
- Use black cotton yarn to embroider a small, simple mouth.
- Insert the safety eyes near the popcorn stitches between rounds 3 and 4. Use a slight angle for symmetry to create a playful look.

Level of Difficulty
This tutorial is beginner-friendly, but it may require some patience. Key techniques like the magic ring, popcorn stitches, and decreases are explained in detail to make learning easier. Beginners might find it slightly challenging to manage chenille yarn due to its delicate nature.
Tutor’s Suggestions
- Patience is Key: The tutor emphasizes that it is normal to make mistakes or restart, especially during the magic ring step with chenille yarn.
- Secure Knots: Tie clean, tight knots when switching colors to avoid bulkiness or unraveling.
- Don’t Over-Stuff: Over-stuffing the frog can distort its shape. Aim for a soft, squishy texture.
Uses of the Finished Frog
- Decor: The frog can be used as a charming decorative piece.
- Gifts: It makes an adorable handmade gift for friends, kids, or loved ones.
- Customization: Experiment with yarn colors to create variations of this frog or use the same techniques for other amigurumi projects.
Tip
Take your time with the popcorn stitches, as they can feel bulky. Ensure the next stitch is visible, and if you struggle, gently adjust the stitch placement so it doesn’t shift.
Conclusion
This no-sew frog tutorial is a fun and engaging project perfect for crochet enthusiasts of all skill levels. The step-by-step instructions, no-sew design, and creative techniques make it ideal for beginners looking to explore amigurumi. By following these detailed steps, you can crochet an adorable frog while honing foundational skills.