
Playful Crochet Bunny Rabbit Pattern Bringing Spring Joy
Soft spring style meets this Crochet Bunny Rabbit Pattern, perfect for gifts, nurseries, shelves, and charming home decor accents indoors.
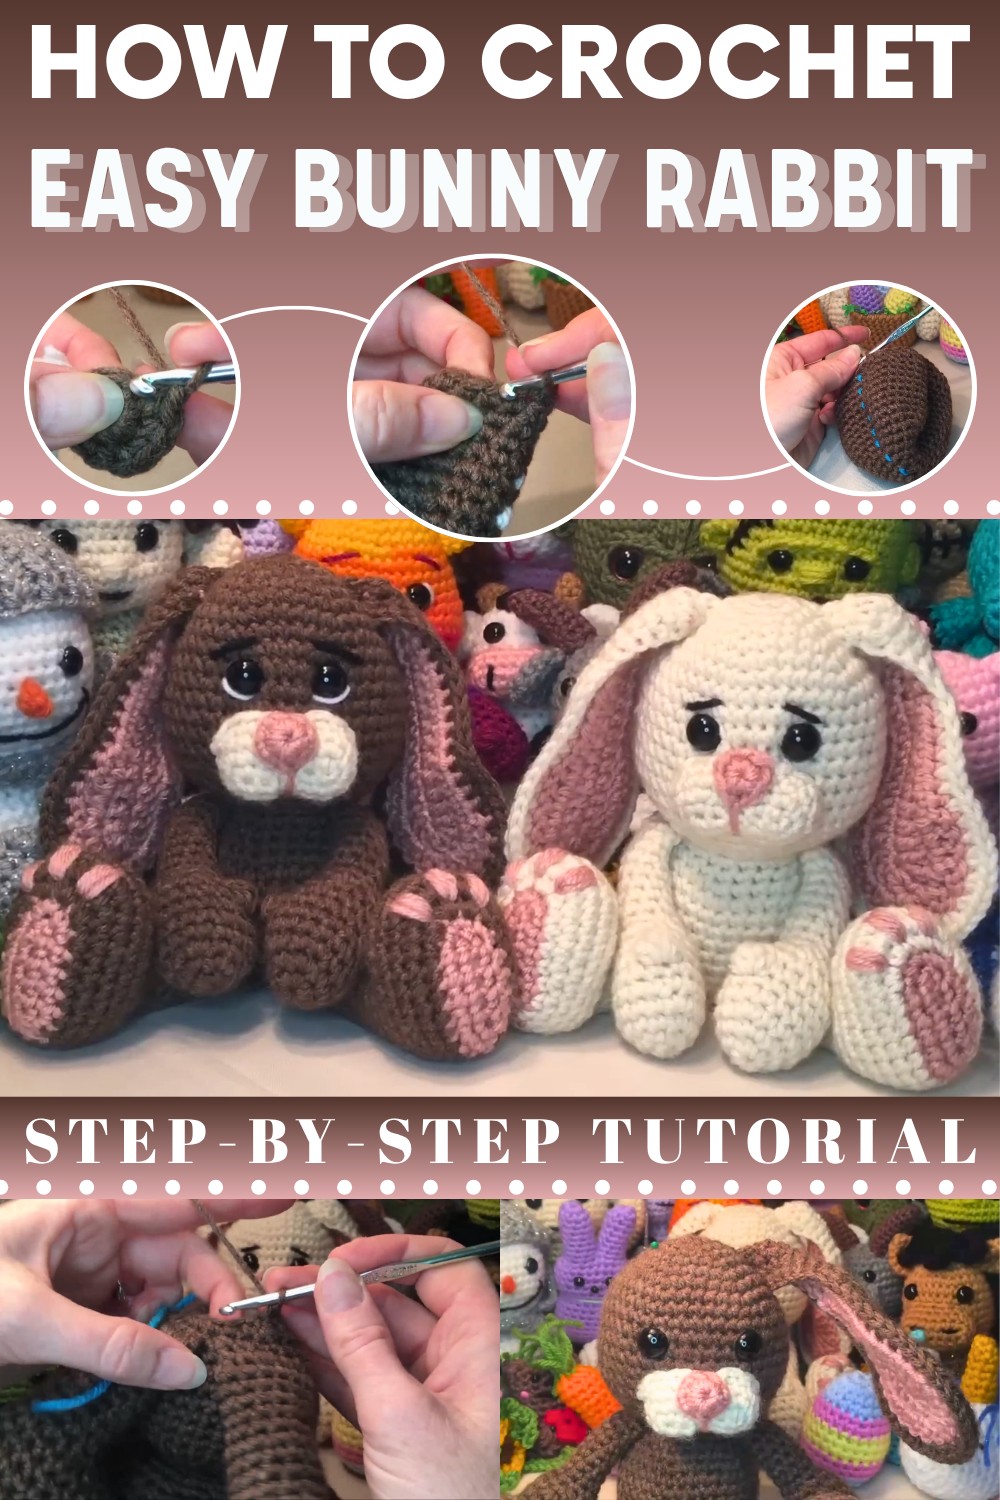
Wholesome Crochet Bunny Rabbit Pattern Pure Soft Vibes
A sense of warmth and sweetness fills this charming figure, making it a delightful addition to many settings. The Crochet Bunny Rabbit Pattern showcases long ears, rounded features, and fine details that give it a calm and inviting appearance. It suits nurseries, bedrooms, and decorative shelves, adding a comforting accent to both everyday spaces and special occasions. Its well-proportioned size allows easy display without disrupting visual balance.
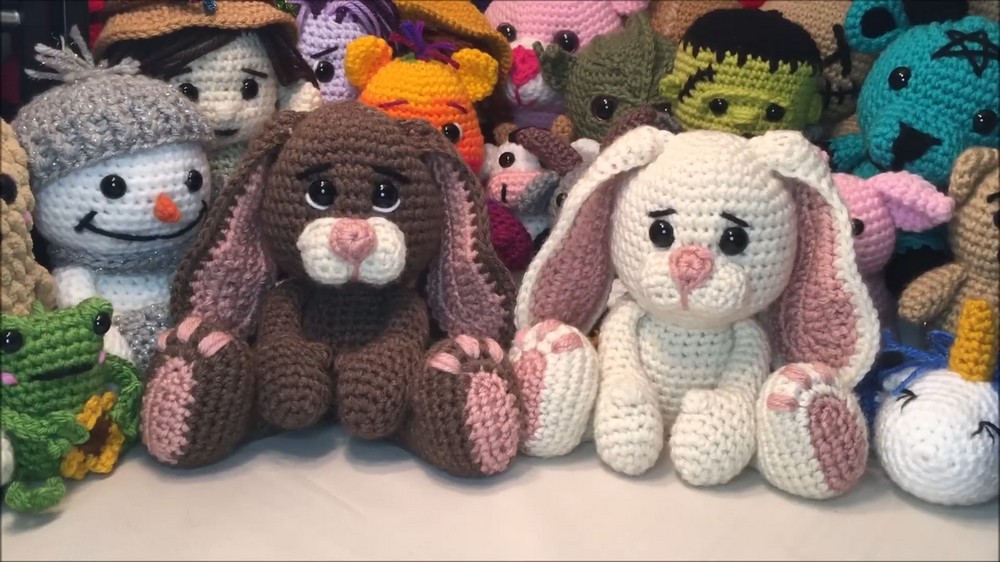
The smooth texture and thoughtful shaping contribute to an elegant and polished look that appeals to all ages. Flexible color choices help match a variety of interior styles, from soft pastels to classic neutral tones. This pattern also works beautifully as a meaningful gift, offering both visual appeal and emotional warmth. The overall presentation feels timeless and refined, delivering a charming decorative piece that enhances interiors with personality, comfort, and a welcoming atmosphere year-round.
Materials Needed
- Yarn:
- Medium weight yarn (#4) for the bunny body.
- Optional accent colors for areas like the muzzle, nose, inner ears, or accessories (e.g., carrot).
- Crochet Hook: 4.25 mm hook.
- Safety Eyes: 14 mm.
- Stuffing: Polyester fiberfill for shaping the head, arms, legs, and body.
- Stitch Marker: To track rows.
- Scissors: For trimming the yarn.
- Darning Needle: To sew on external parts like the muzzle, ears, and nose.
Optional materials include accessories such as yarn for a carrot, Easter eggs, or a basket (links for these tutorials are provided in the video description).
Step-by-Step Instructions
1. Start with the Bunny Arms
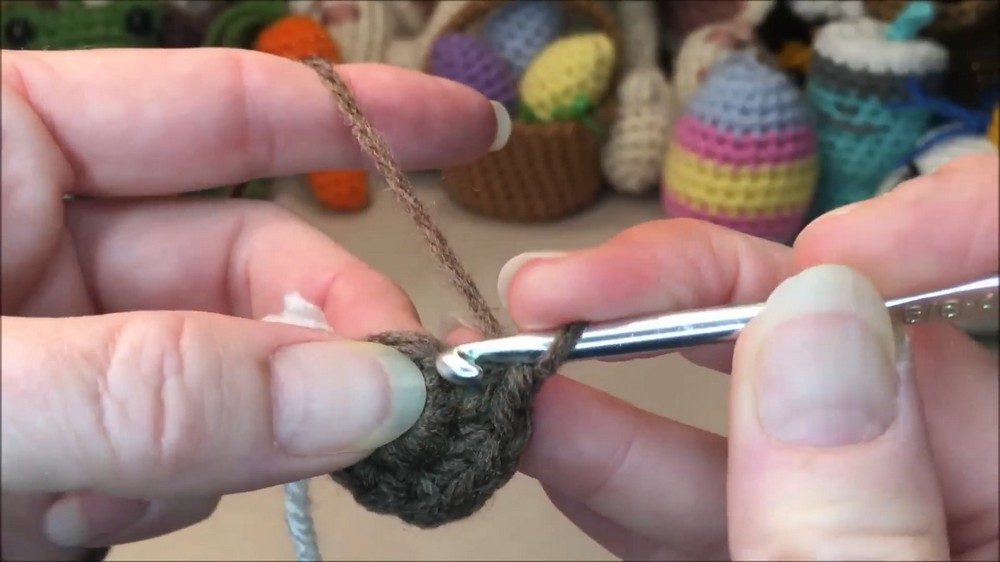
- Begin with a magic loop or a knot with a loop. For Row 1, crochet 6 single crochets into the loop. Pull to close the hole.
- Row 2: Work 6 increases (2 single crochets into every stitch), resulting in 12 stitches.
- Row 3: Crochet 2 single crochets, 1 increase, repeat around (total 16 stitches).
- Rows 4–18: Crochet 16 single crochets per row. Add stuffing as instructed by the tutor. Lightly stuff the arm to keep it flat and avoid overstuffing, which could make the arms stick out awkwardly.
- Close the arm by folding the end in half and crocheting across the last few stitches. Tie off and leave a tail.
2. Make the Bunny Legs
- Chain 6 stitches. Work single crochets along one side and pivot to the other side (creating an oval shape). Gradually increase stitches in the following rows to shape the foot.
- Add stuffing to the legs, ensuring the toes are firm and the foot remains flat.
- Close the leg in a similar fashion to the arms, folding the open end and crocheting across. Leave a tail to attach the legs later.

3. Begin the Head
- Start with Row 1 by crocheting 6 single crochets into a magic loop. Progressively increase stitches to shape the rounded head by increasing in Rows 2–7 until reaching 42 stitches.
- Rows 8–15: Work 42 single crochets evenly to build the head's height.
- Add safety eyes between Rows 10 and 11. Ensure symmetry by positioning the eyes around the center based on arm placement.
- Add stuffing to the head before attaching additional parts. Make the head firm but avoid overstretching the stitches.
4. Create and Attach the Body
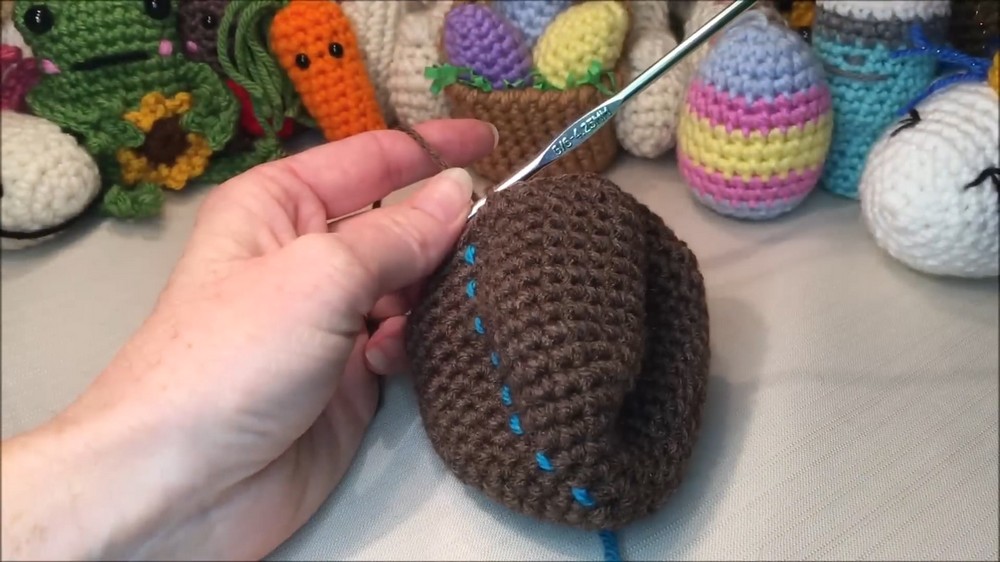
- Crochet single crochets to decrease stitch counts and shape the body. Along Row 20, attach the arms by aligning them with the body stitches and crocheting through the arm and body simultaneously.
- Continue shaping the body with increases and decreases up to Row 30.
- Attach the legs similarly to the arms during the appropriate row, ensuring perfect alignment for a balanced bunny.

5. Add External Details
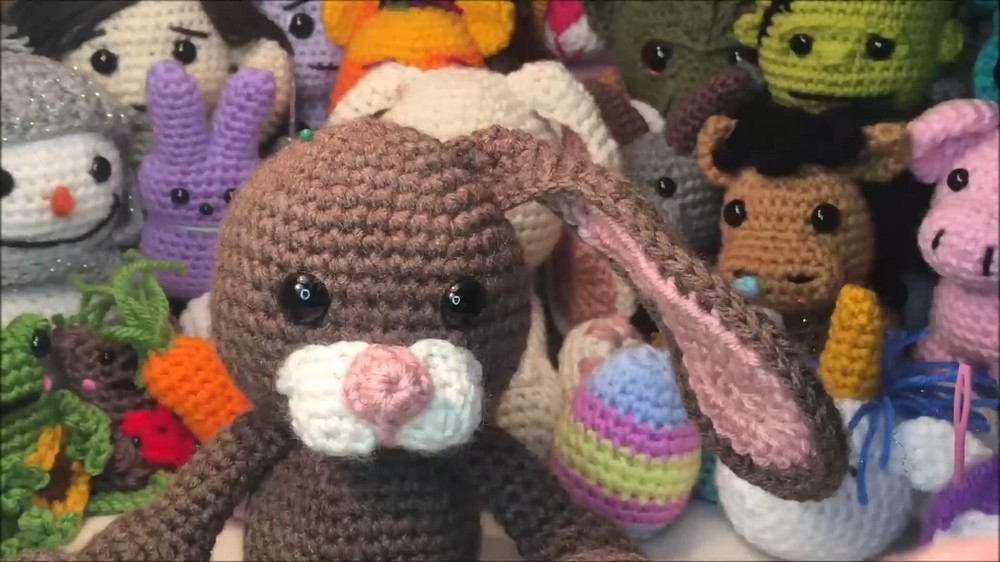
- Muzzle: Crochet the oval-shaped muzzle with single and slip stitches, adding stuffing to enhance structure. Pin the muzzle below the eyes and sew it in place, creating a V-shaped curve at the bottom.
- Ears: Work the inner ear with accent colors and the outer ear in the main color. Align both pieces and sew them together, creating a 3D folded look or leaving flat ears depending on preference. Leave tails for sewing onto the head.
- Nose: Make the small circular nose using just one or two crochet rounds. Sew firmly onto the muzzle at the center.
- Use embroidery to enhance facial details, like the nose and whiskers.
6. Finish Stuffing and Closing
- Add final stuffing to the head and body, maintaining shape and stability. The legs should also be stuffed lightly to keep them triangular and ensure the bunny can sit upright.
- Close the bottom of the body by working six decreases in the final row. Use a darning needle to close leftover gaps and weave in loose ends.
7. Optional Accessories
The tutor suggests adding playful items like a crochet carrot, Easter eggs, or a basket for the bunny to hold, depending on the desired theme. Links to these tutorials are provided in the video description.
Special Features
- No-Sew Body Design: The arms, legs, and body are crocheted together seamlessly during construction, reducing time spent sewing parts on.
- Customizability: You can adjust colors, add decorations, or create accessories (e.g., a carrot or Easter basket) to personalize your bunny.
- Beginner-Friendly Crochet-Along: The tutorial provides step-by-step guidance with pattern instructions displayed visually for the first 30 seconds of each row.
- Integrated Design: The arms and legs are attached mid-crochet, ensuring secure placement without additional effort.
Level of Difficulty
The project is rated beginner to intermediate. Basic stitches such as single crochet, slip stitch, and increases are essential for beginners, while intermediate crocheters can enjoy experimenting with invisible decreases, seamless limb attachment, and shaping techniques.
Tutor’s Suggestions
- Use Stitch Markers: Track the first stitch of each row for precise crochet work.
- Stuff Gradually and Carefully: Add stuffing as you go, ensuring parts like the arms remain lightly stuffed to maintain their flat appearance.
- Handle Increases and Decreases Smoothly: Practice invisible decreases for a cleaner finish, though regular decreases are acceptable.
- Ensure Symmetry: Use pins or darning needles to center parts such as the eyes, muzzle, ears, and legs. Check their alignment visually before sewing.
- Experiment with Accessories: Add carrots, eggs, or a basket following the linked tutorials for added charm.
Uses
- Easter Decorations: This bunny works wonderfully as a festive decoration.
- Personalized Gifts: Create unique handmade bunnies for friends, children, or loved ones.
- Skill Practice: Improve your crochet techniques for shaping, limb attachment, and embroidery details.
- Toys: Safe and soft for children when safety eyes are securely attached.
Pro Tip
When stuffing the body and head, keep the bottom slightly flat to help the bunny sit upright. Use small, controlled amounts of stuffing near the neck to avoid overstretching the stitches.
Conclusion
This crochet bunny project combines creativity and charm with a simplified no-sew design that saves time and effort. The tutorial ensures even beginners can follow along, while intermediate crocheters can experiment with design enhancements like embroidery and customization.