Pawsome Crochet Cat Loaf Pattern To Brighten Your Space
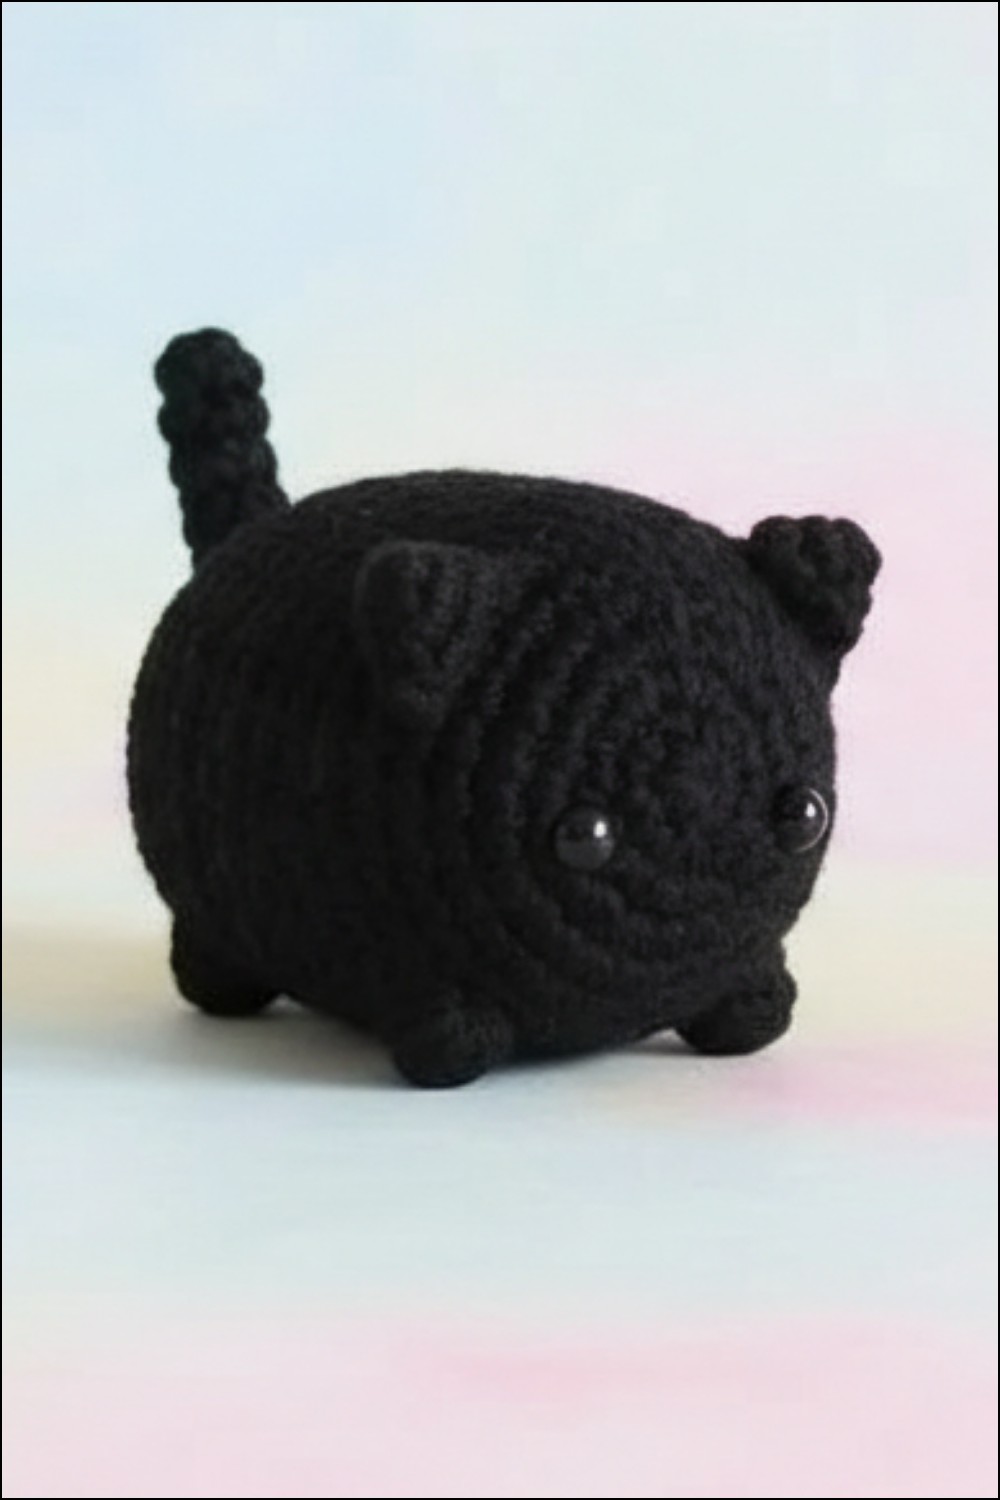
It’s hard to find something as cute and comforting as a crochet cat loaf! This tiny, handmade creation is absolutely irresistible, with its squishy, loaf-like body, tiny ears, and an adorable face that instantly steals hearts. The Crochet Cat Loaf pattern is perfect for creating a charming addition to your home decor, whether it’s displayed on shelves, desks, or bedside tables. It brings a cozy, playful vibe to any corner, brightening up even the simplest spaces.

You can also use this delightful creation as a thoughtful gift, spreading smiles and warmth to loved ones who appreciate unique and creative handmade pieces. Its compact size makes it easy to carry or place anywhere, and you can customize the pattern to fit your favorite colors and style. Whether as a decoration, a keepsake, or a stress-relieving buddy, this adorable cat loaf is sure to win hearts wherever it goes.
Stitch a cute Crochet Cat Loaf Pattern and bring to life an adorable kitty that will fill your space with smiles giggles and cozy charm.

Cuddlelicious crochet cat loaf pattern that inspires smiles
Materials:
Prepare the following materials:
- Medium worsted weight yarn in these colors:
- Black (main color).
- Black (for tail stripes).
- 5 mm crochet hook.
- 8 mm safety eyes (2 pieces).
- Polyester fiberfill stuffing for shaping.
- Black embroidery thread and needle for whiskers and mouth detailing.
- Tapestry needle for assembling and weaving in ends.
- Stitch markers (optional, for tracking rounds).
- Scissors for trimming loose ends.
Key Abbreviations:
Here are the terms and abbreviations used throughout the pattern:
- R = Round/Row.
- ch = Chain.
- st(s) = Stitch(es).
- sc = Single crochet.
- dc = Double crochet.
- bo = Bobble stitch (work 4 double crochet into the same stitch, leaving the last loop of each dc on the hook, then yarn over and pull through all loops).
- inc = Increase (2 sc in the same stitch).
- dec = Decrease (work 2 sc together).
- sl st = Slip stitch.
- […] x = Repeat instructions in brackets x times.
- (…) = Total number of stitches at the end of the round.
Pattern Instructions:
Head and Body:
- Begin using Black yarn:
- R1: Work 6 sc into a magic ring. (6 sts)
- R2: [Inc] x6. (12 sts)
- R3: [Sc, inc] x6. (18 sts)
- R4: [Sc, inc, sc] x6. (24 sts)
- R5: [Sc 3, inc] x6. (30 sts)
- R6: Sc in each st. (30 sts)
- R7: [Sc 2, inc, sc 2] x6. (36 sts)
- Add bobble stitches for cheeks/facial features:
- R8: Sc 14, bo (bobble stitch), sc 6, bo, sc 14. (36 sts)
- Continue shaping the bunny's head and body:
- R9–R16: Work 1 sc in each st around for 8 rounds. (36 sts)
- Insert 8 mm safety eyes between R3 and R4, slightly below the center of the face.
- Begin decreasing to taper the body:
- R19: [Sc 2, dec, sc 2] x6. (30 sts)
- R20: [Sc 3, dec] x6. (24 sts)
- R21: [Sc, dec, sc] x6. (18 sts)
- R22: [Sc, dec] x6. (12 sts)
- Begin decreasing to taper the body:
- Stuff firmly with polyester fiberfill before closing:
- R23: [Dec] x6. (6 sts)
- Close the body:
- Fasten off and leave a long tail. Use the tail to weave through the front loops of the last 6 stitches. Pull tightly to close the hole, and weave in the tail securely.

Ears (Make 2):
-
- R1: Work 4 sc into a magic ring. (4 sts)
- R2: [Sc, inc] x2. (6 sts)
- R3: [Sc, inc] x3. (9 sts)
- F/O leaving a long tail for sewing.
Tail:
-
- R1: Work 6 sc into a magic ring. (6 sts)
- R2–R3: Work 1 sc in each st. (6 sts each round)
-
-
- R4–R5: Sc in each st. (6 sts each round)
-
- Alternate colors:
- R6–R7: Switch back to Black and sc in each st. (6 sts each round)
- R8–R9: sc in each st. (6 sts each round)
- R10: sc in each st. (6 sts)
- Flatten the tail and close:
- Sc through both layers to seal the top.
- F/O leaving a long tail for sewing.
Assembly Instructions:
- Attach the ears: Sew the ears on both sides of the head between R6 and R7. Ensure symmetry.
- Attach the tail: Sew the tail securely at the back of the bunny’s body.

Customization Ideas:
- Color Palette: Switch colors to pastel or bold shades to create seasonal or themed variations.
- Pattern Modifications: Add more texture to the bunny using various stitches or details like bows, glasses, or bags.
- Accessories: Crochet accompanying items like carrots, baskets, or scarves to complement the bunny.
Special Notes:
- Stuffing: Ensure fiberfill is evenly distributed to avoid lumps and misshaped areas.
- Eye Safety: If gifting to young children, securely fasten safety eyes or use embroidered features for extra safety.
- Bobble Placement: Position bobbles carefully—these add personality to the bunny’s design.
Conclusion:
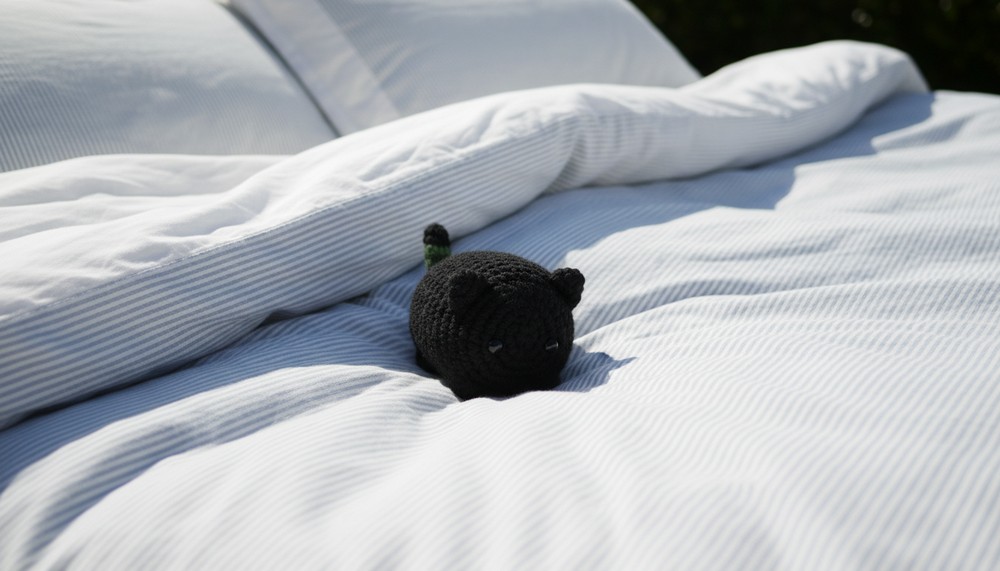
Your adorable bunny is complete! With its charming tail, beautiful flower embellishment, and intricate details, this amigurumi is perfect as a decor piece, thoughtful gift, or whimsical toy. Feel free to experiment and personalize the pattern to make the bunny uniquely yours!
Pattern Corrections & Tips:
- Correction: If encountering difficulty with bobble stitches, ensure loose tension for smoother execution.
- Tips:
- Use a stitch marker to track the first stitch of each round for seamless progress.
- Double-check stitch counts after each round to avoid inconsistencies.